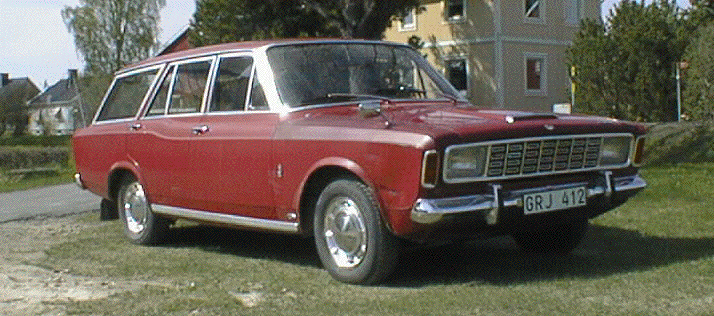
Well I have together with my brother a 20m Turnier from 1968. A nice car that in it's youth served as a combined Cab(Taxi) and Ambulance. The car is fitted with a 2.0 litre V6-engine. The car has been equipped with an engine from an 26M. That engine is not to fresh and will undergo renovation when time and money allows.

In the summer of 2014 I went up to my brother to get my Turnier home after over 17 years in my borthers barn. So here are some pictures from the picking up of the M.
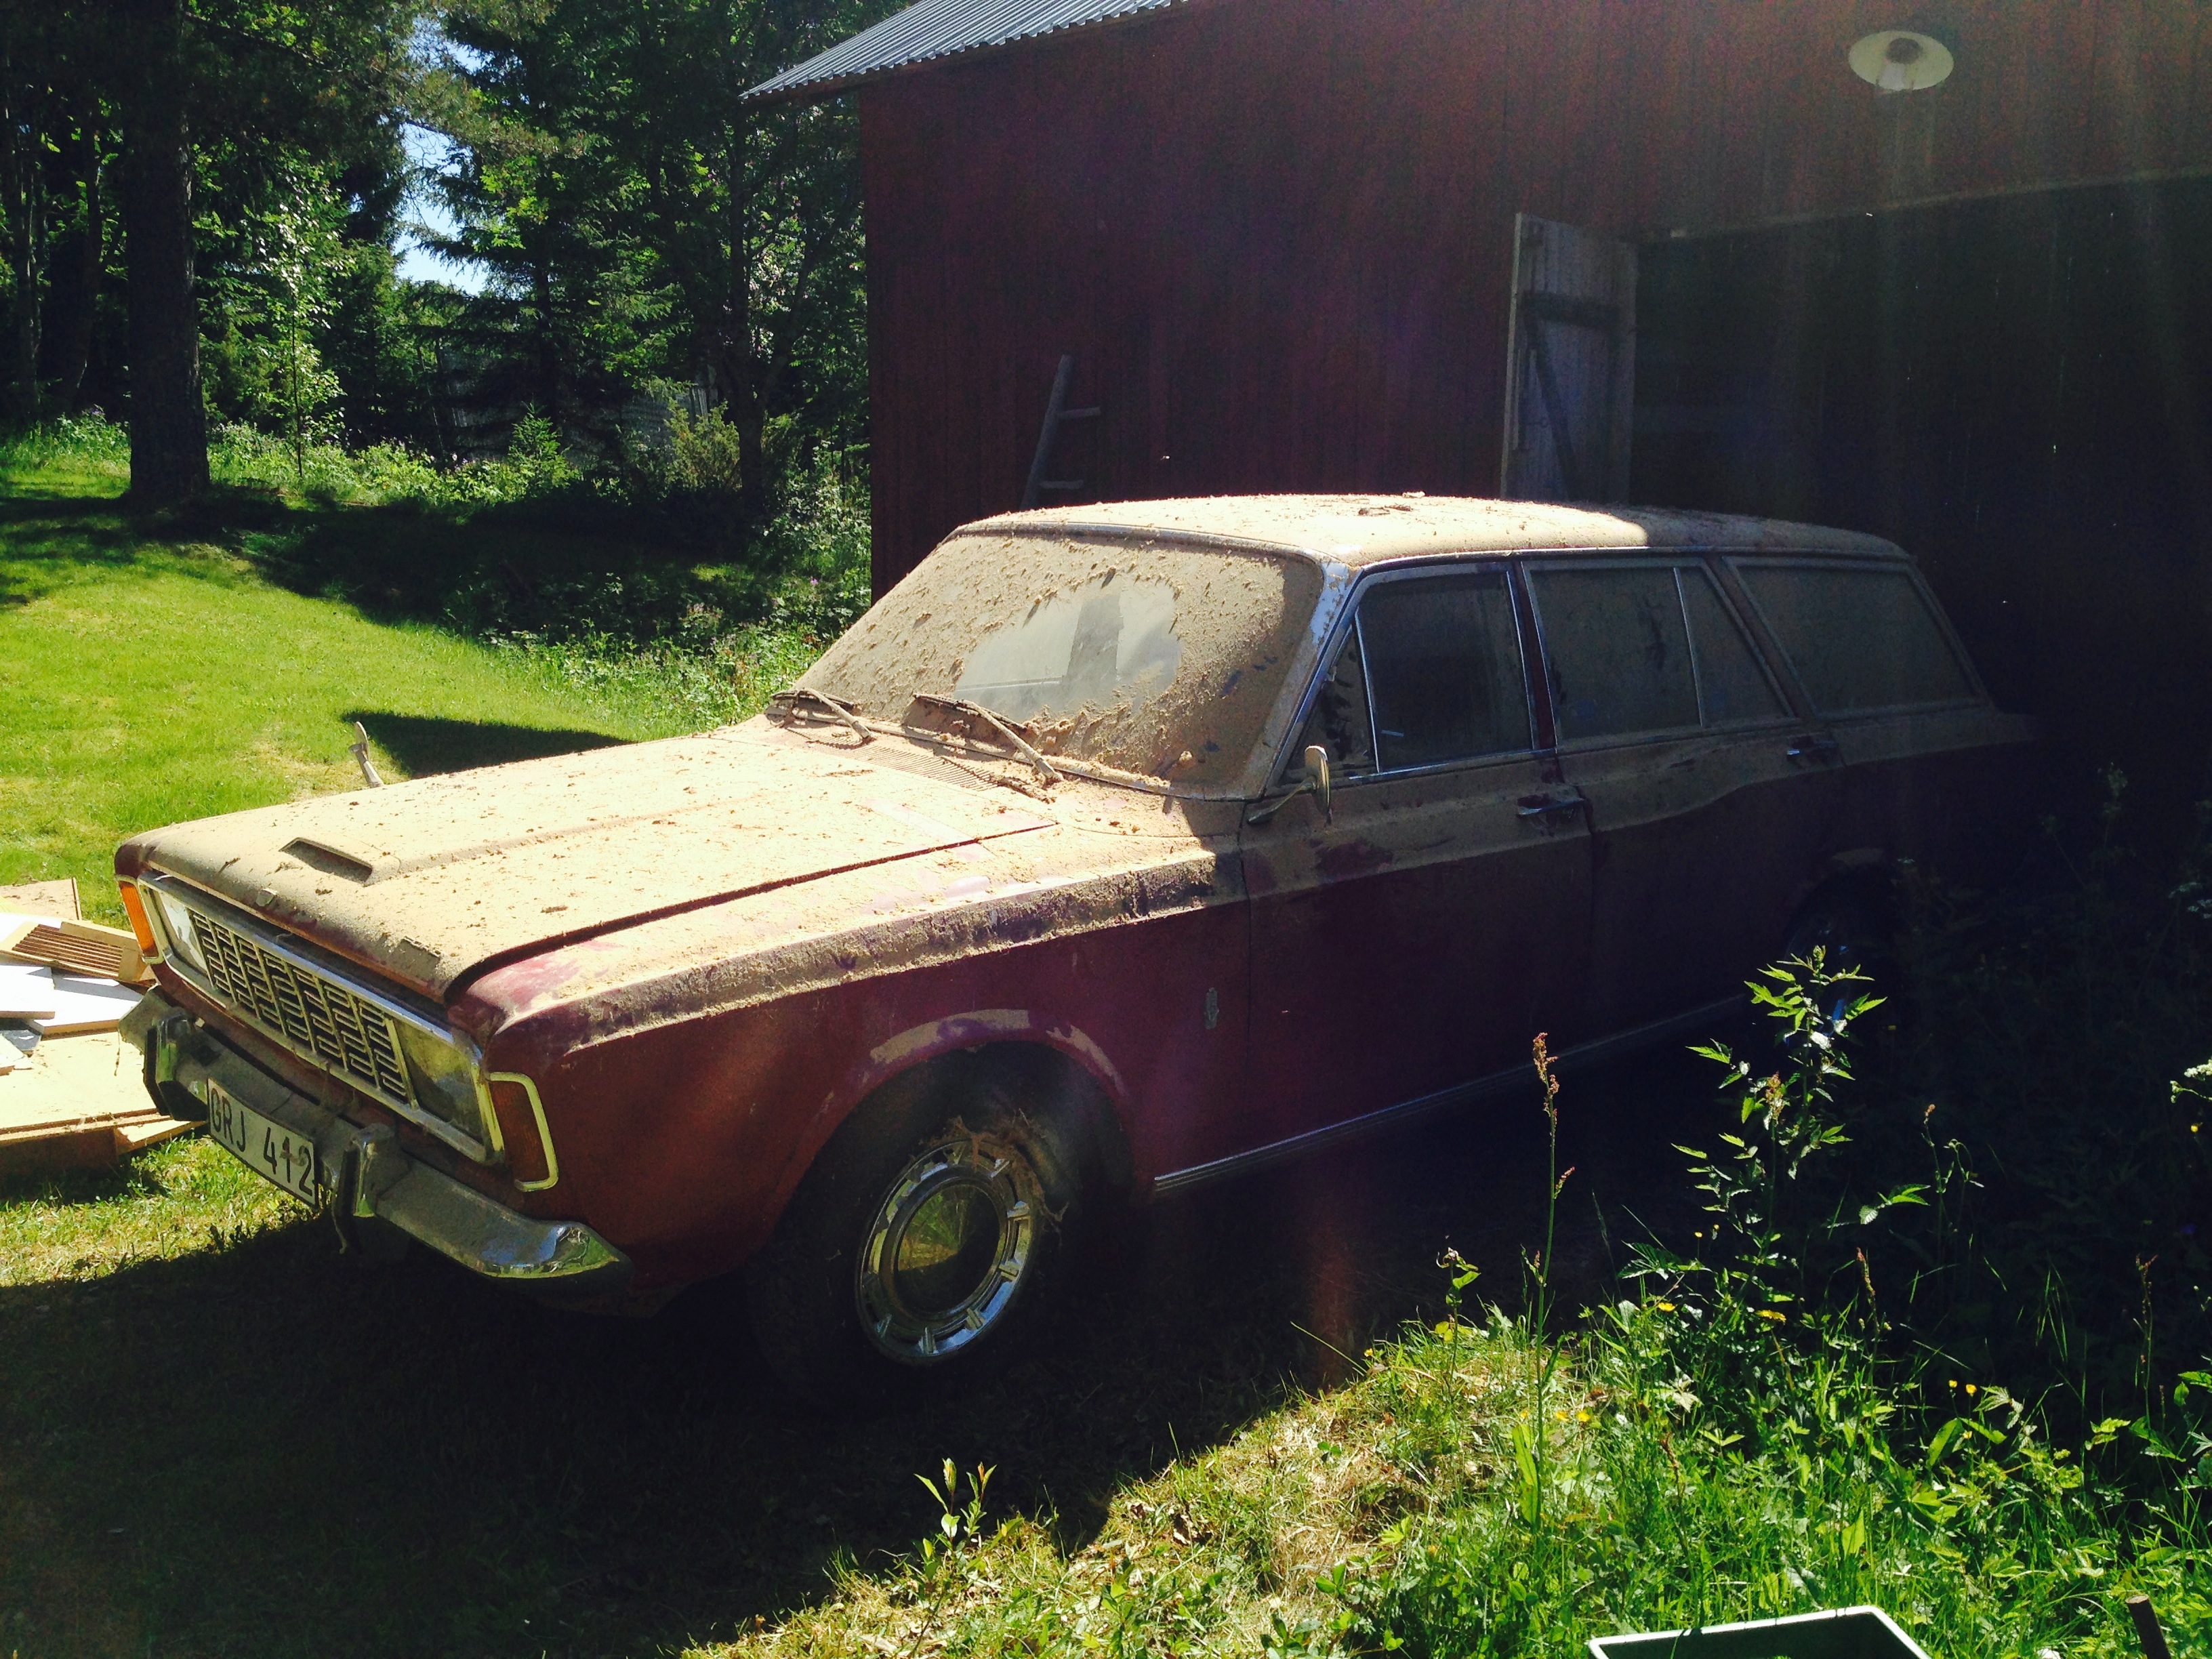
Finally outside the barn. Several years of dust and sawdust on the car but at least i sees the sun for the first time in years
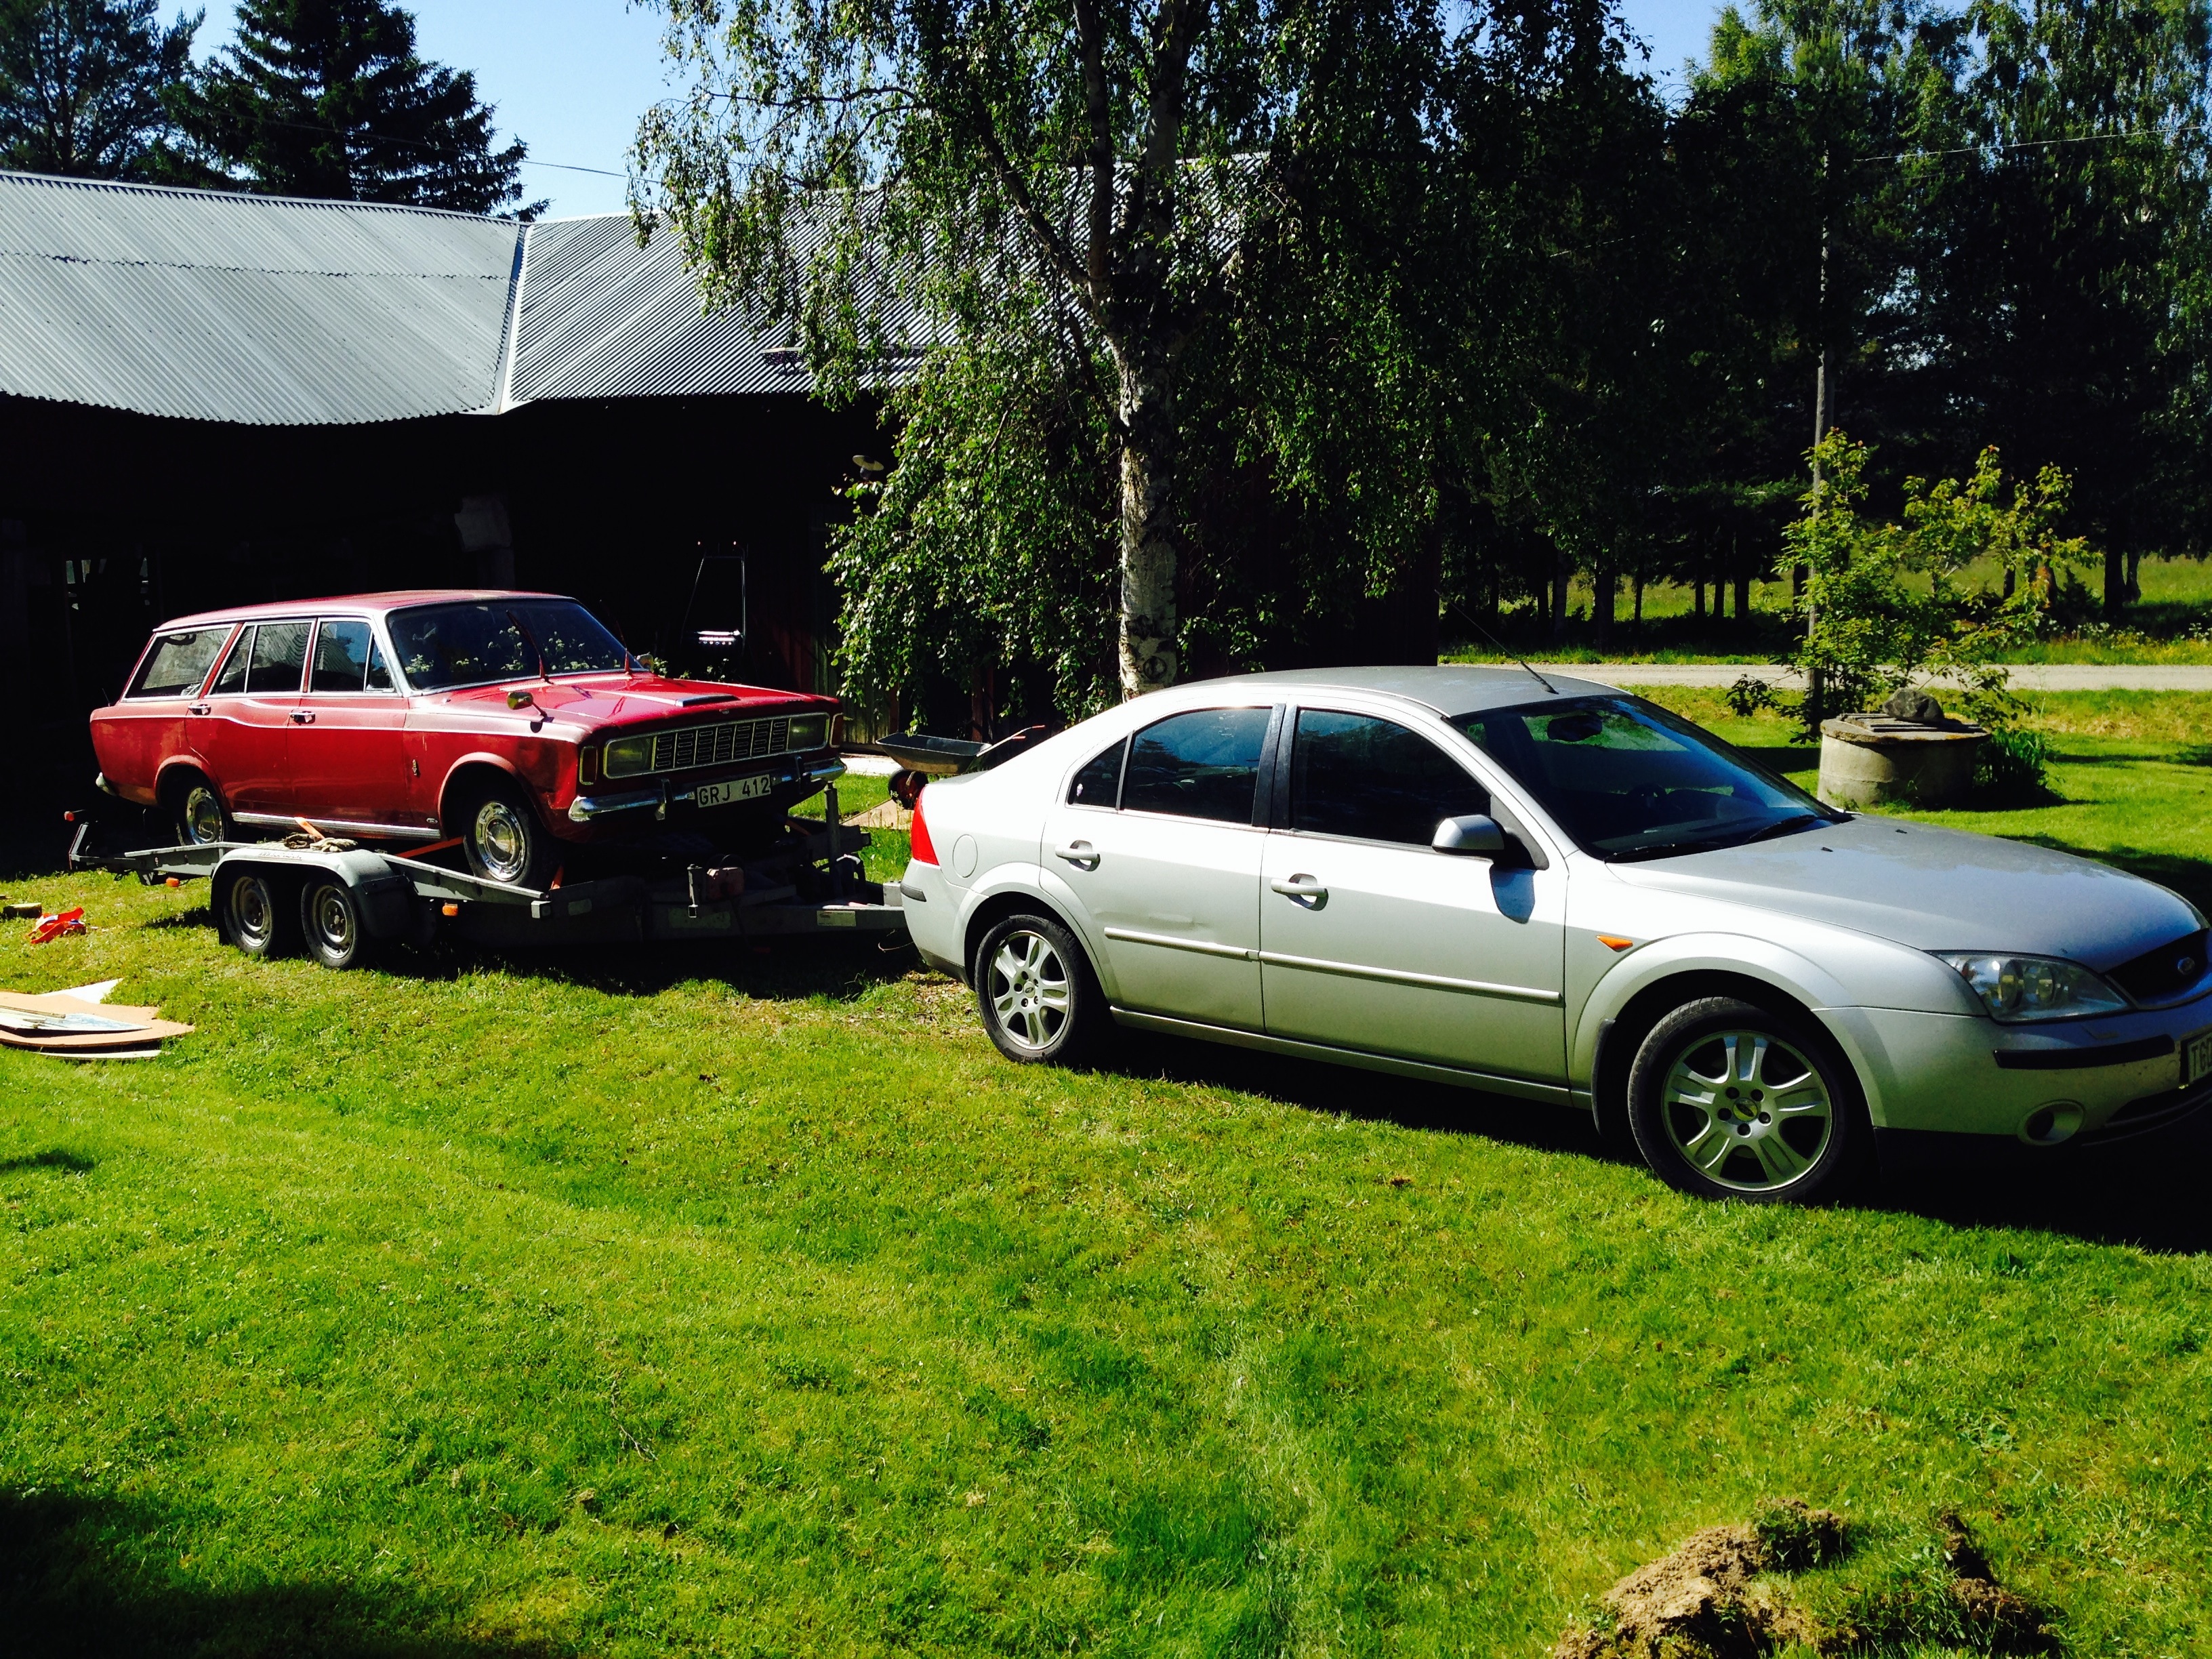
The Turnier mounted and washed on the trailer and ready for the almost 800km trip home
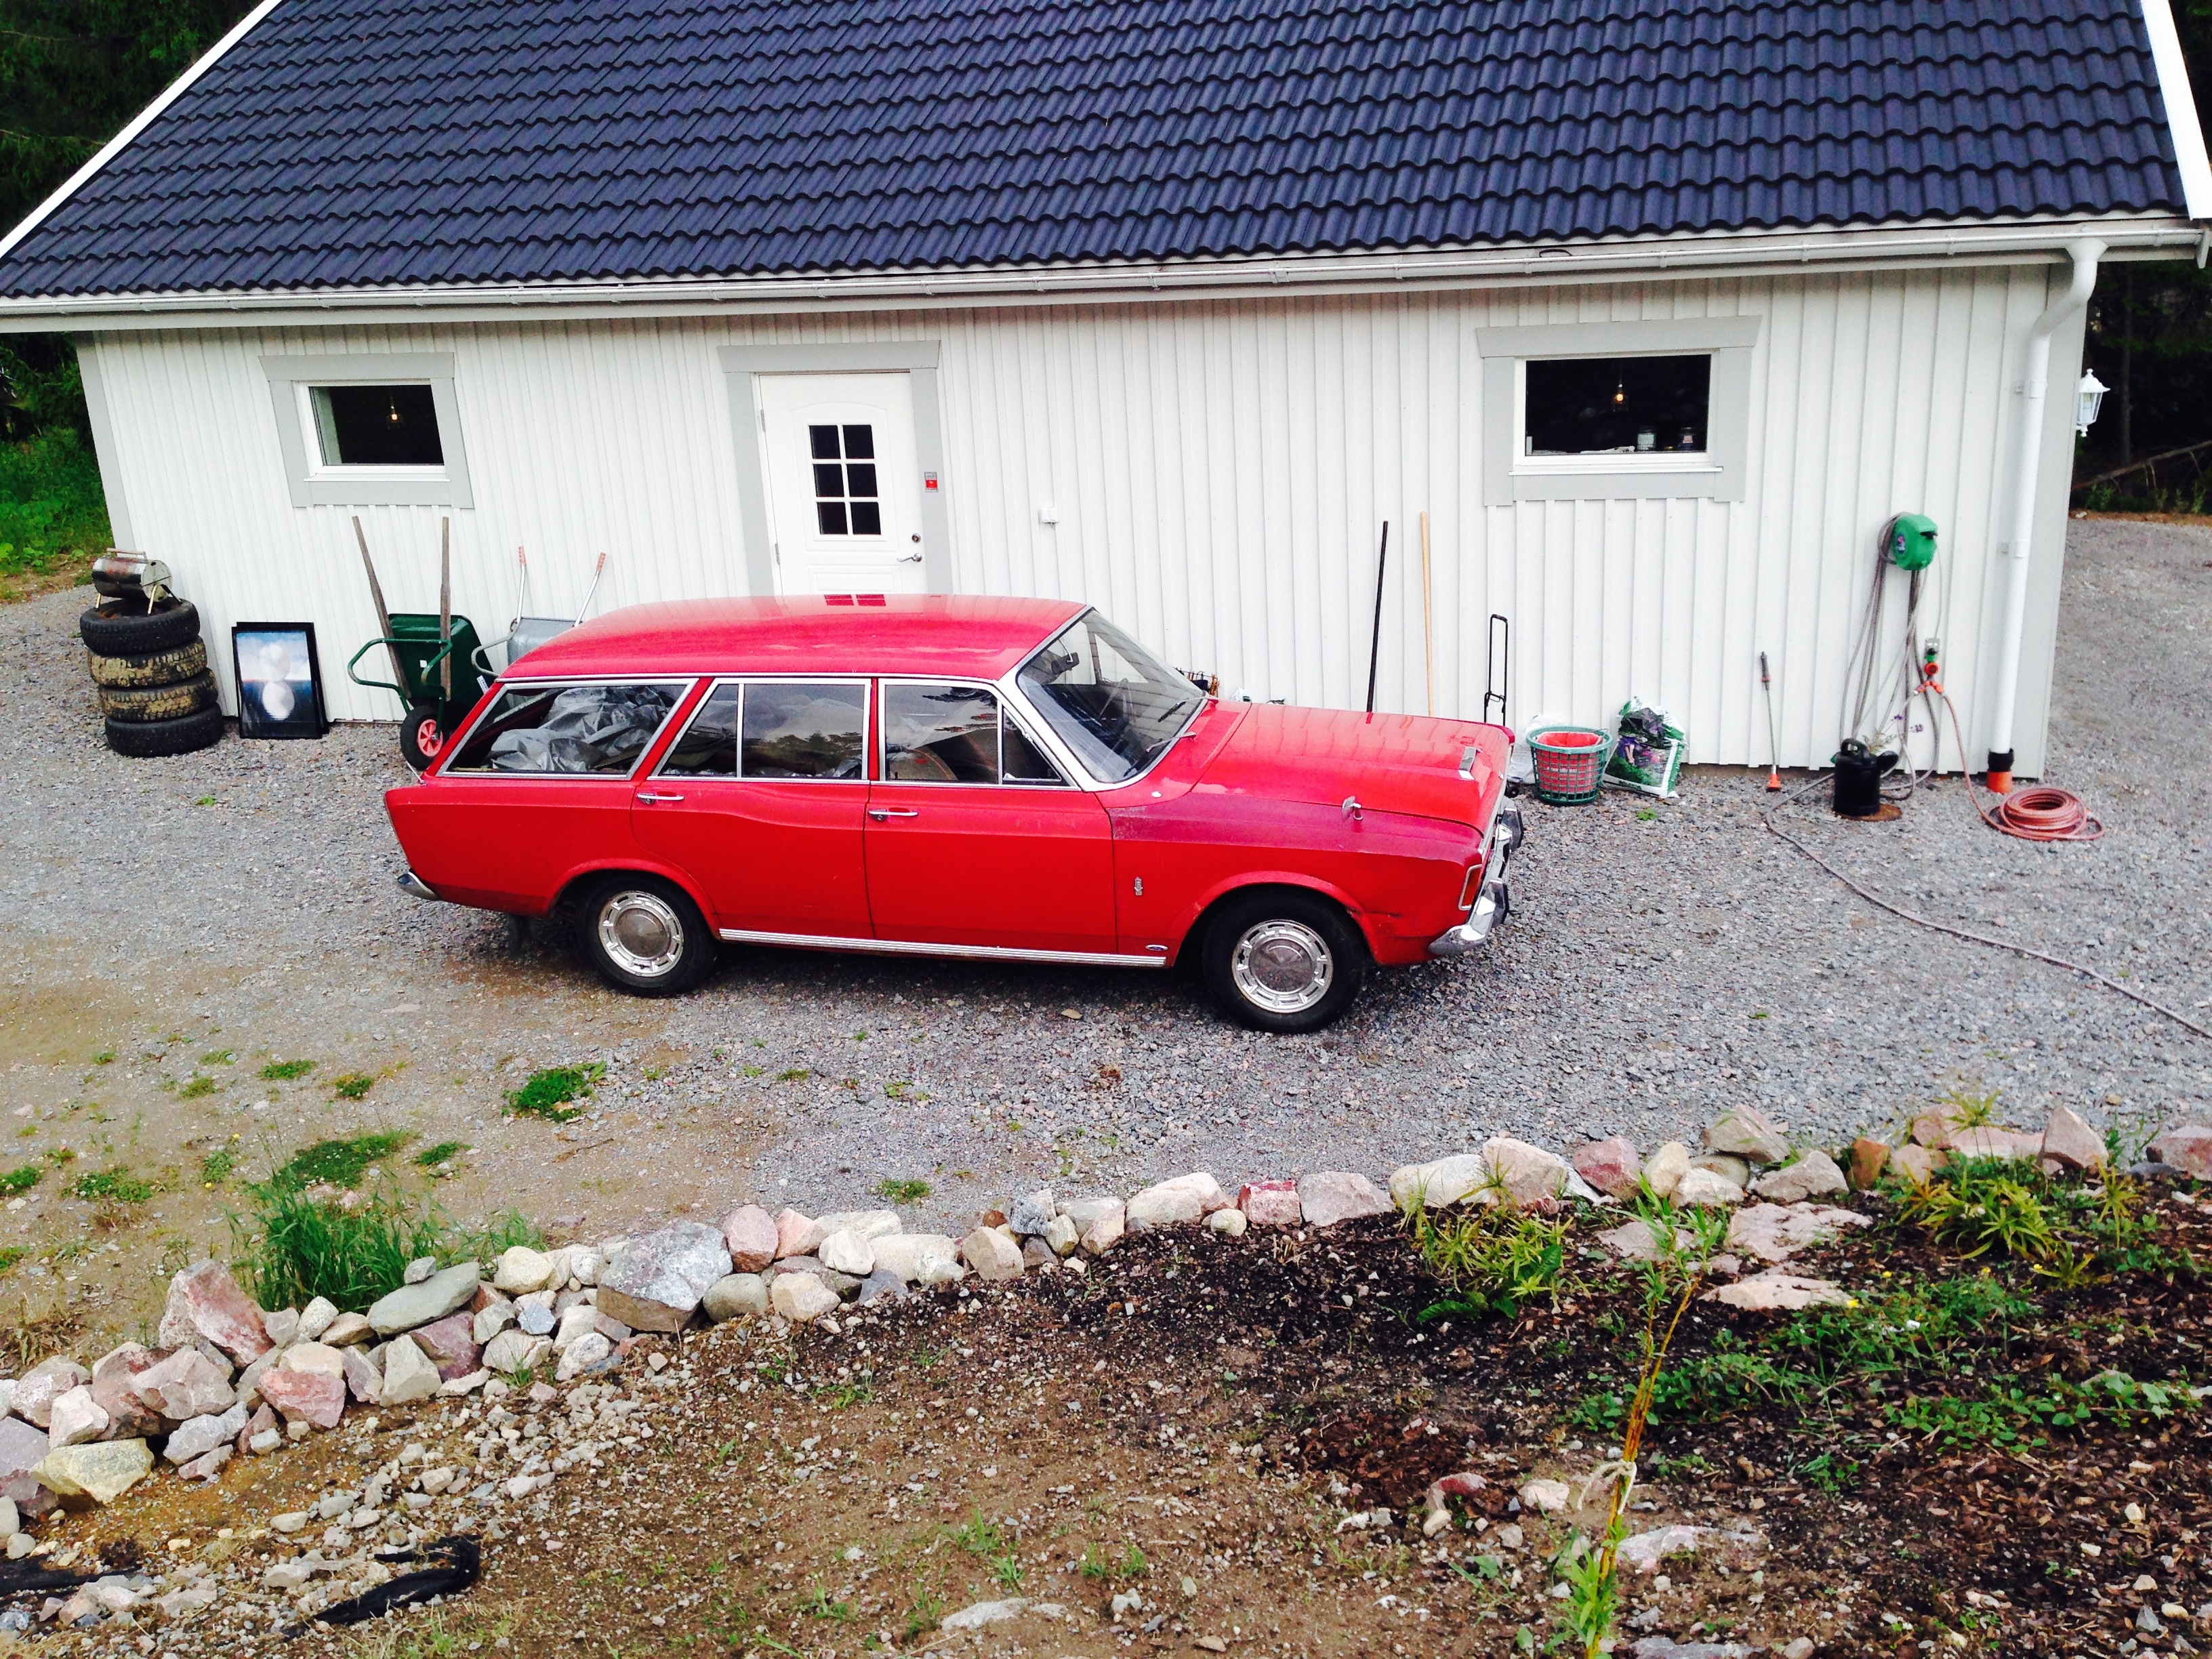
Home.. and unloaded from the trialer and residing in front of the Garage.
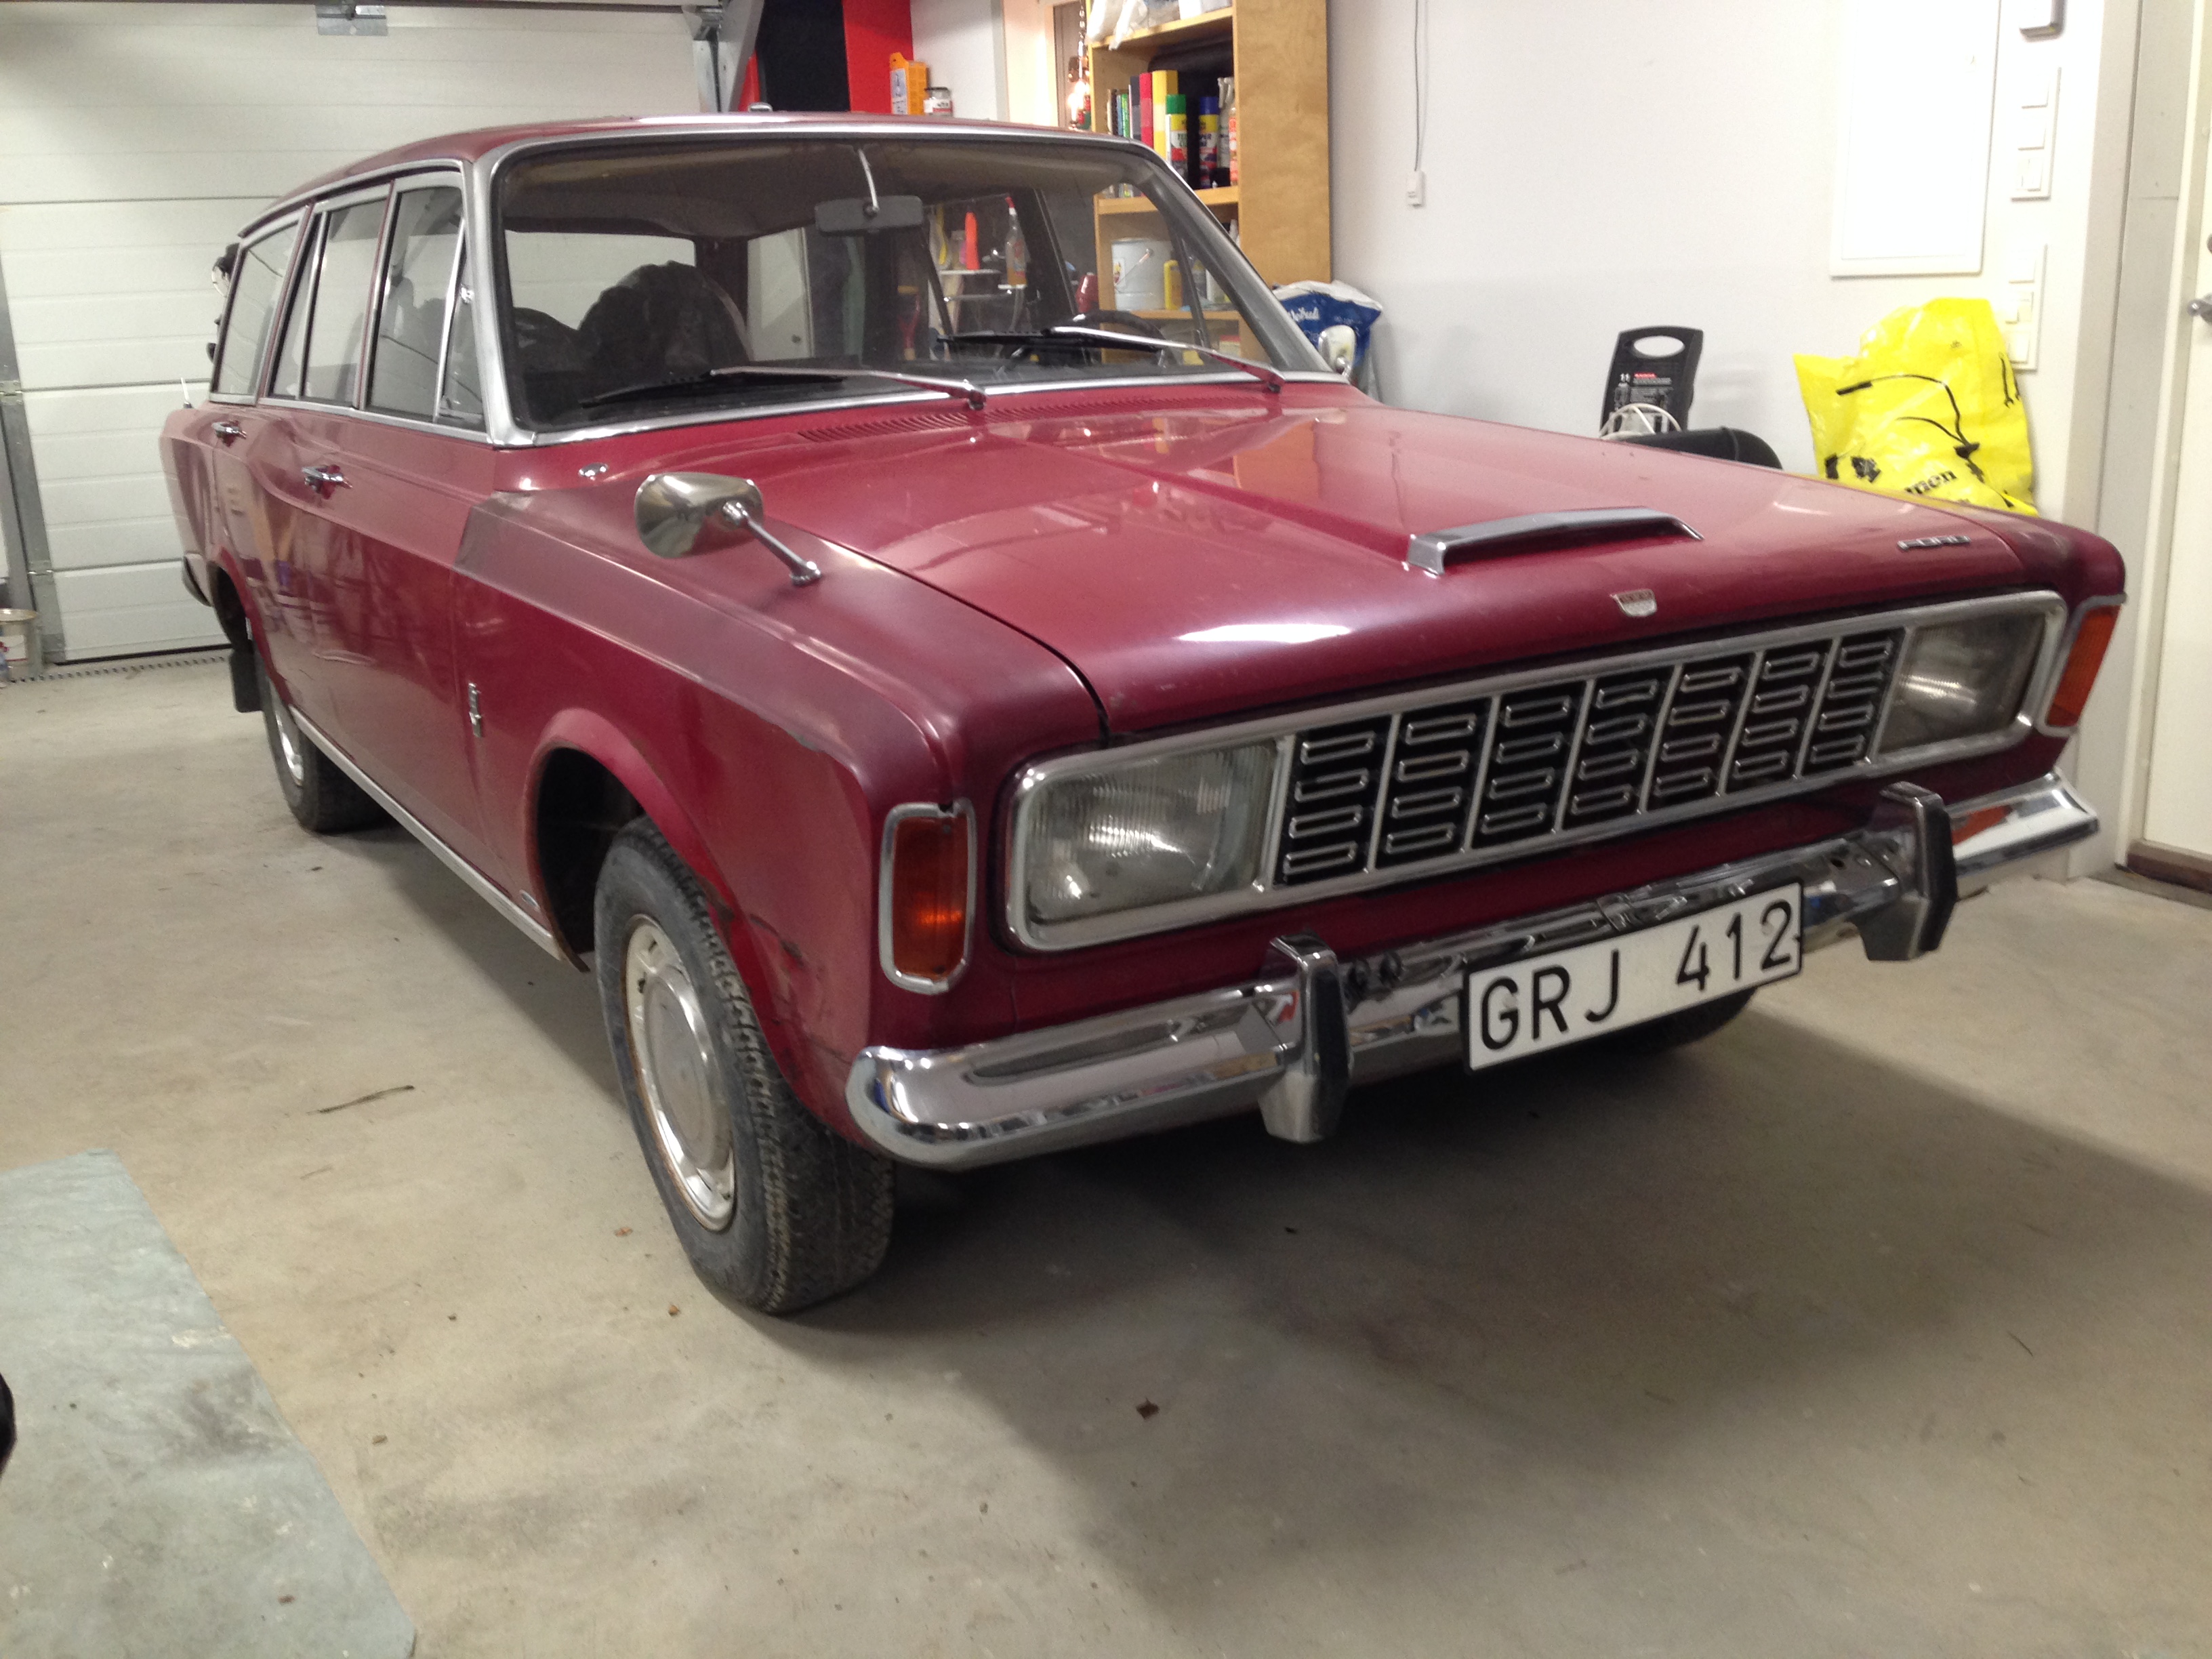
So finally in december 2014 the Turnier was given a space in the garage
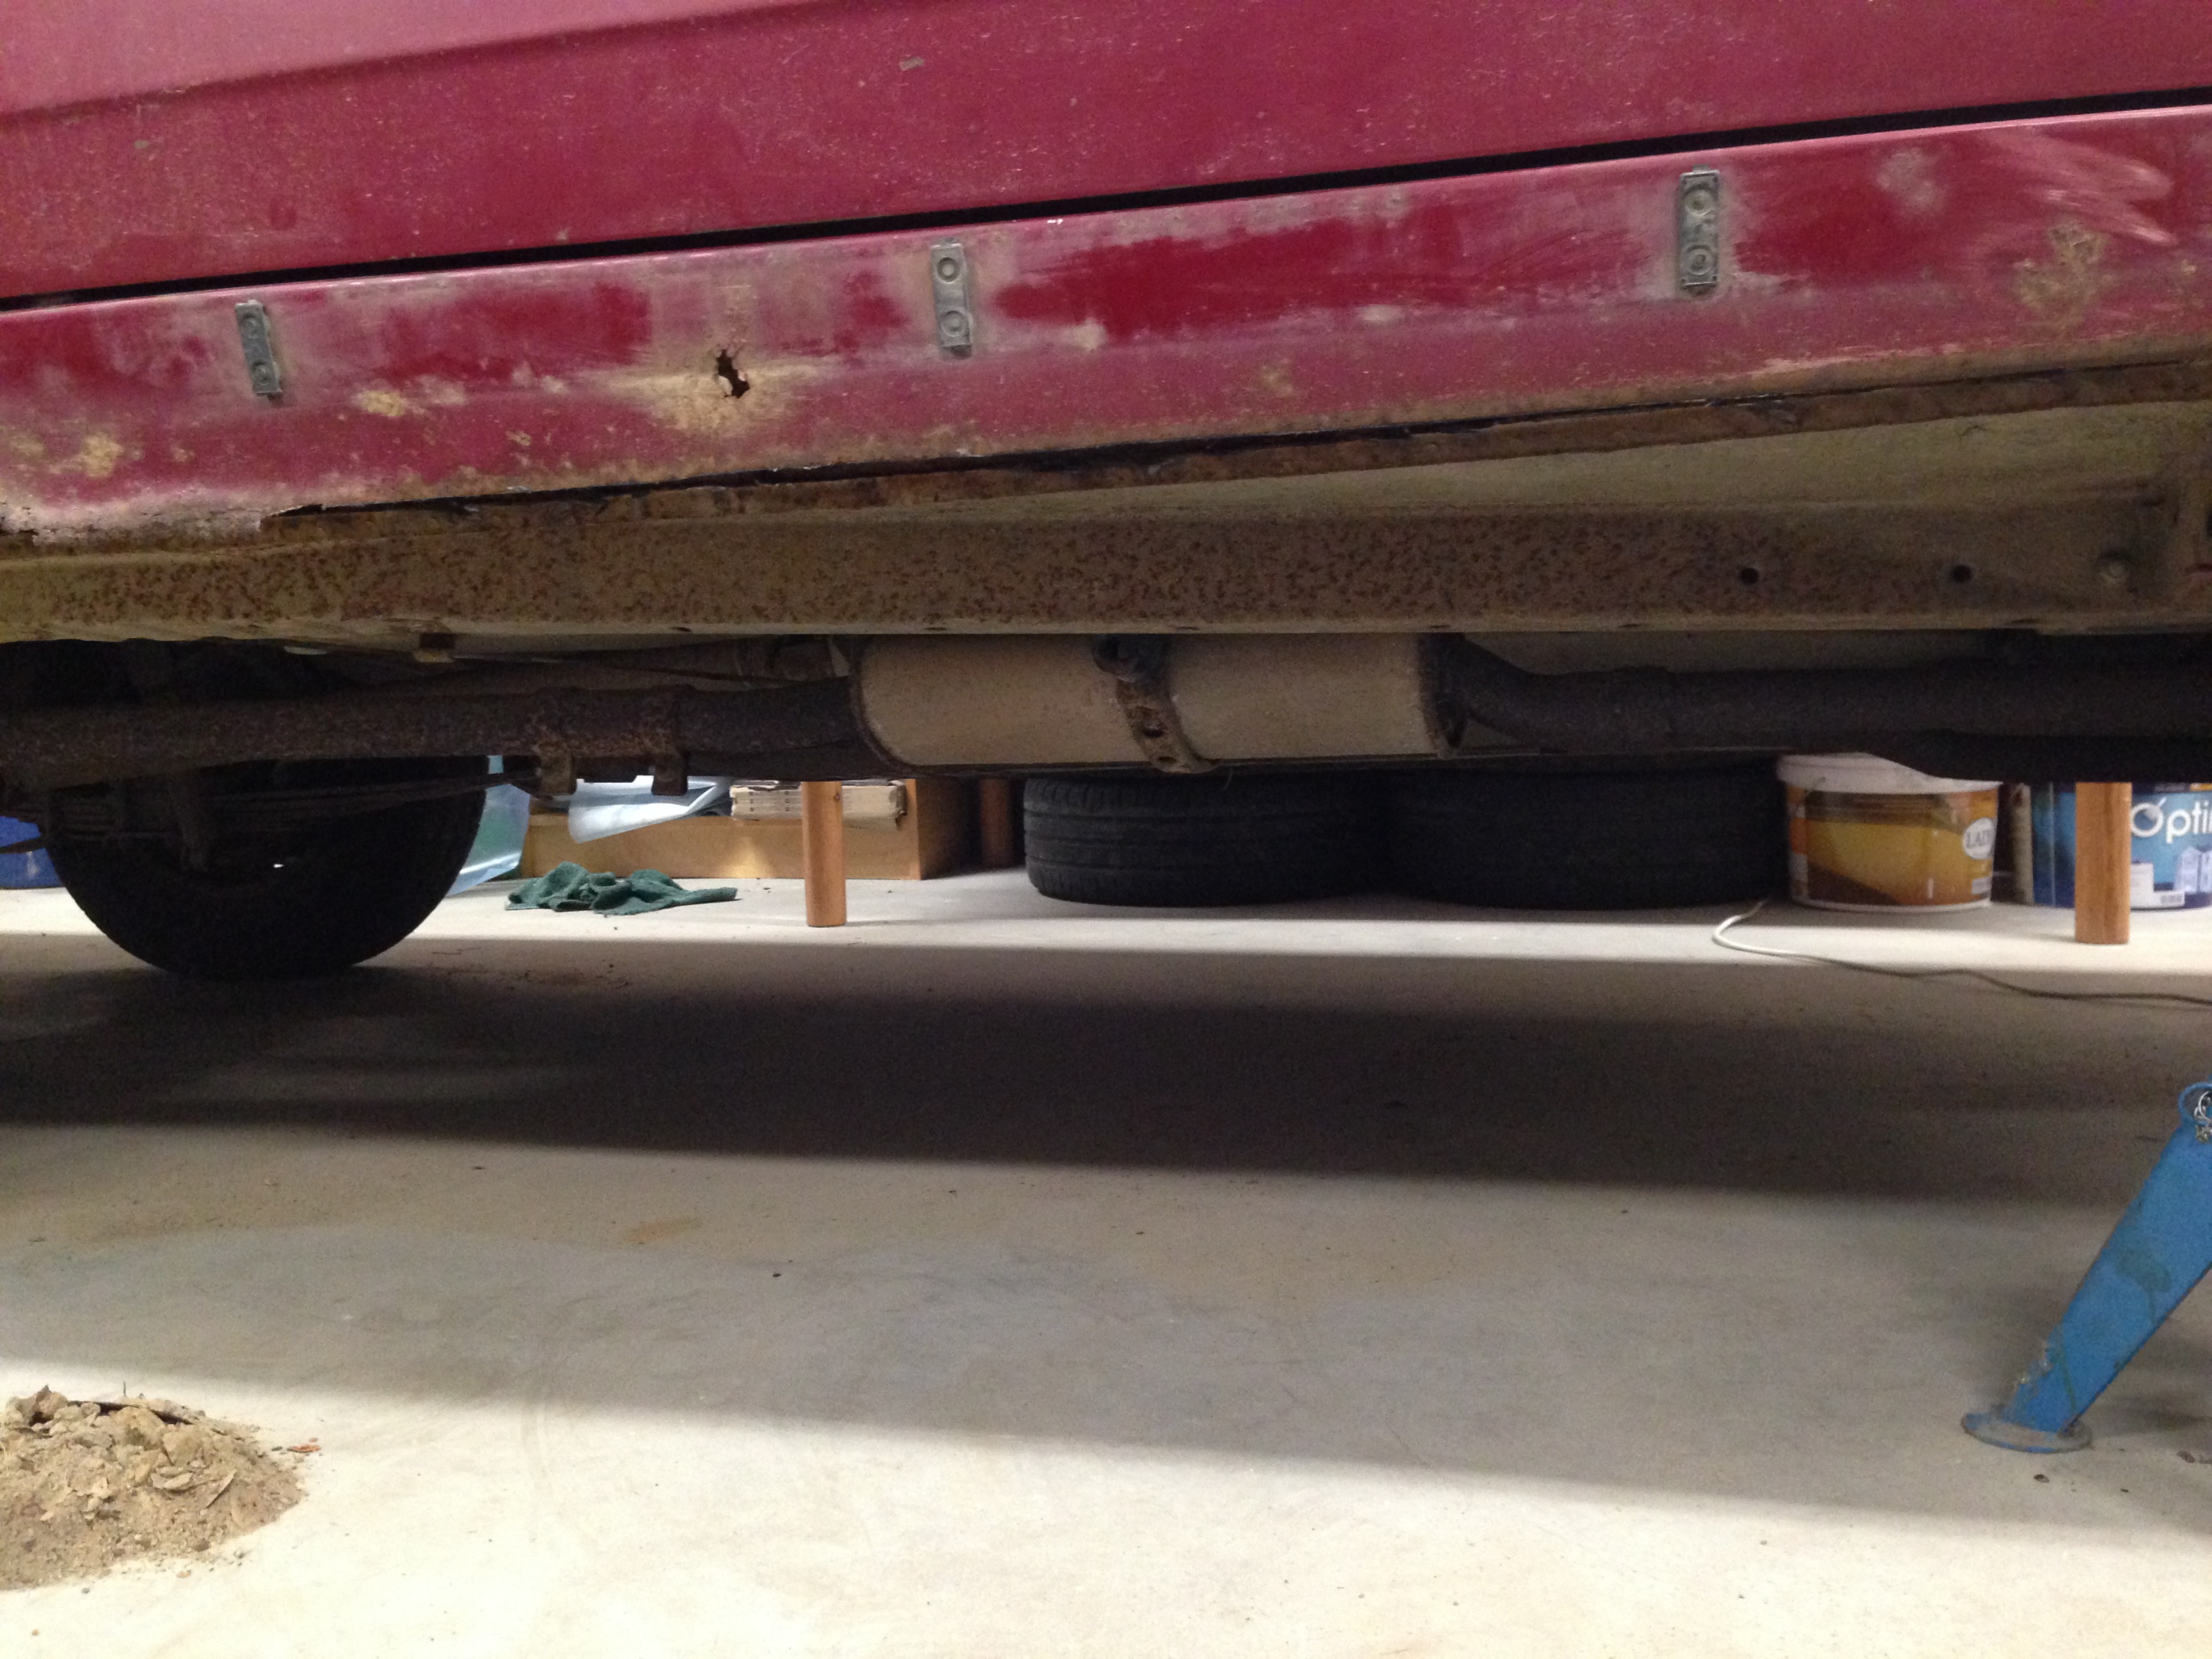
A close up of the rotten sill which is being replaced
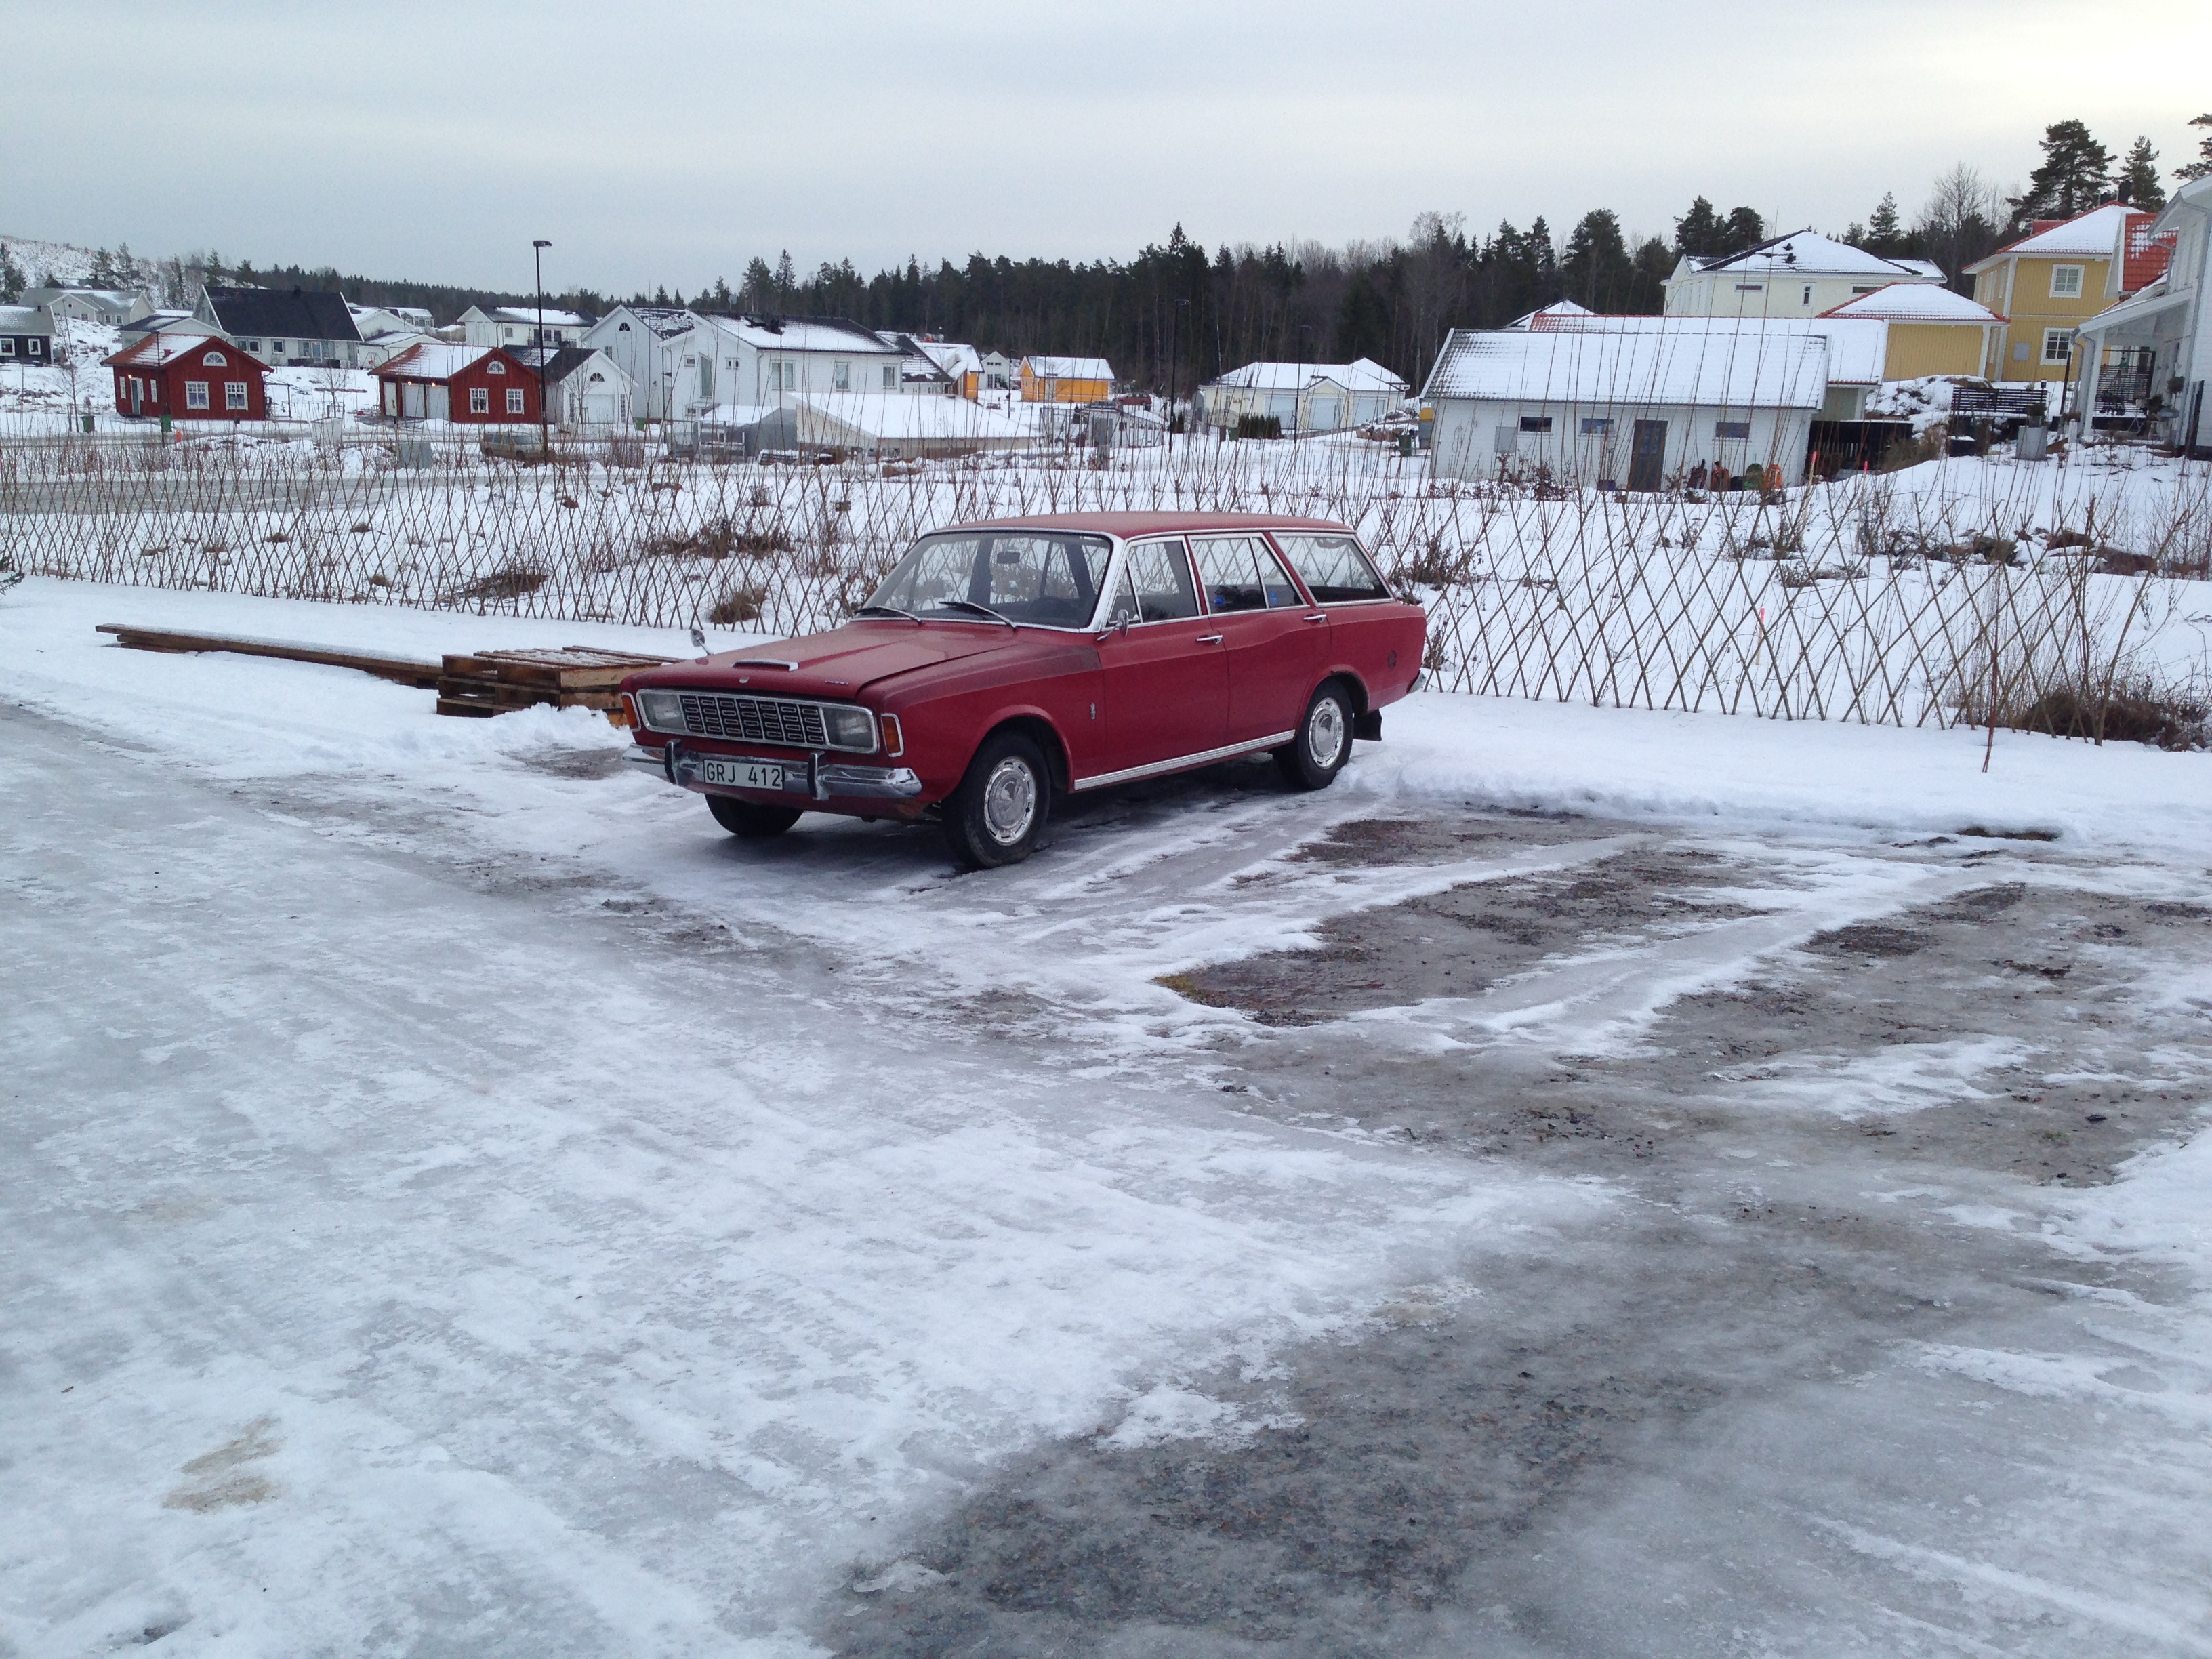
Had to take it out again due to a repair of my daily driver and to get the car back in tio the garage I had to by some snow chains and mount them since the front brakes was on a little bit
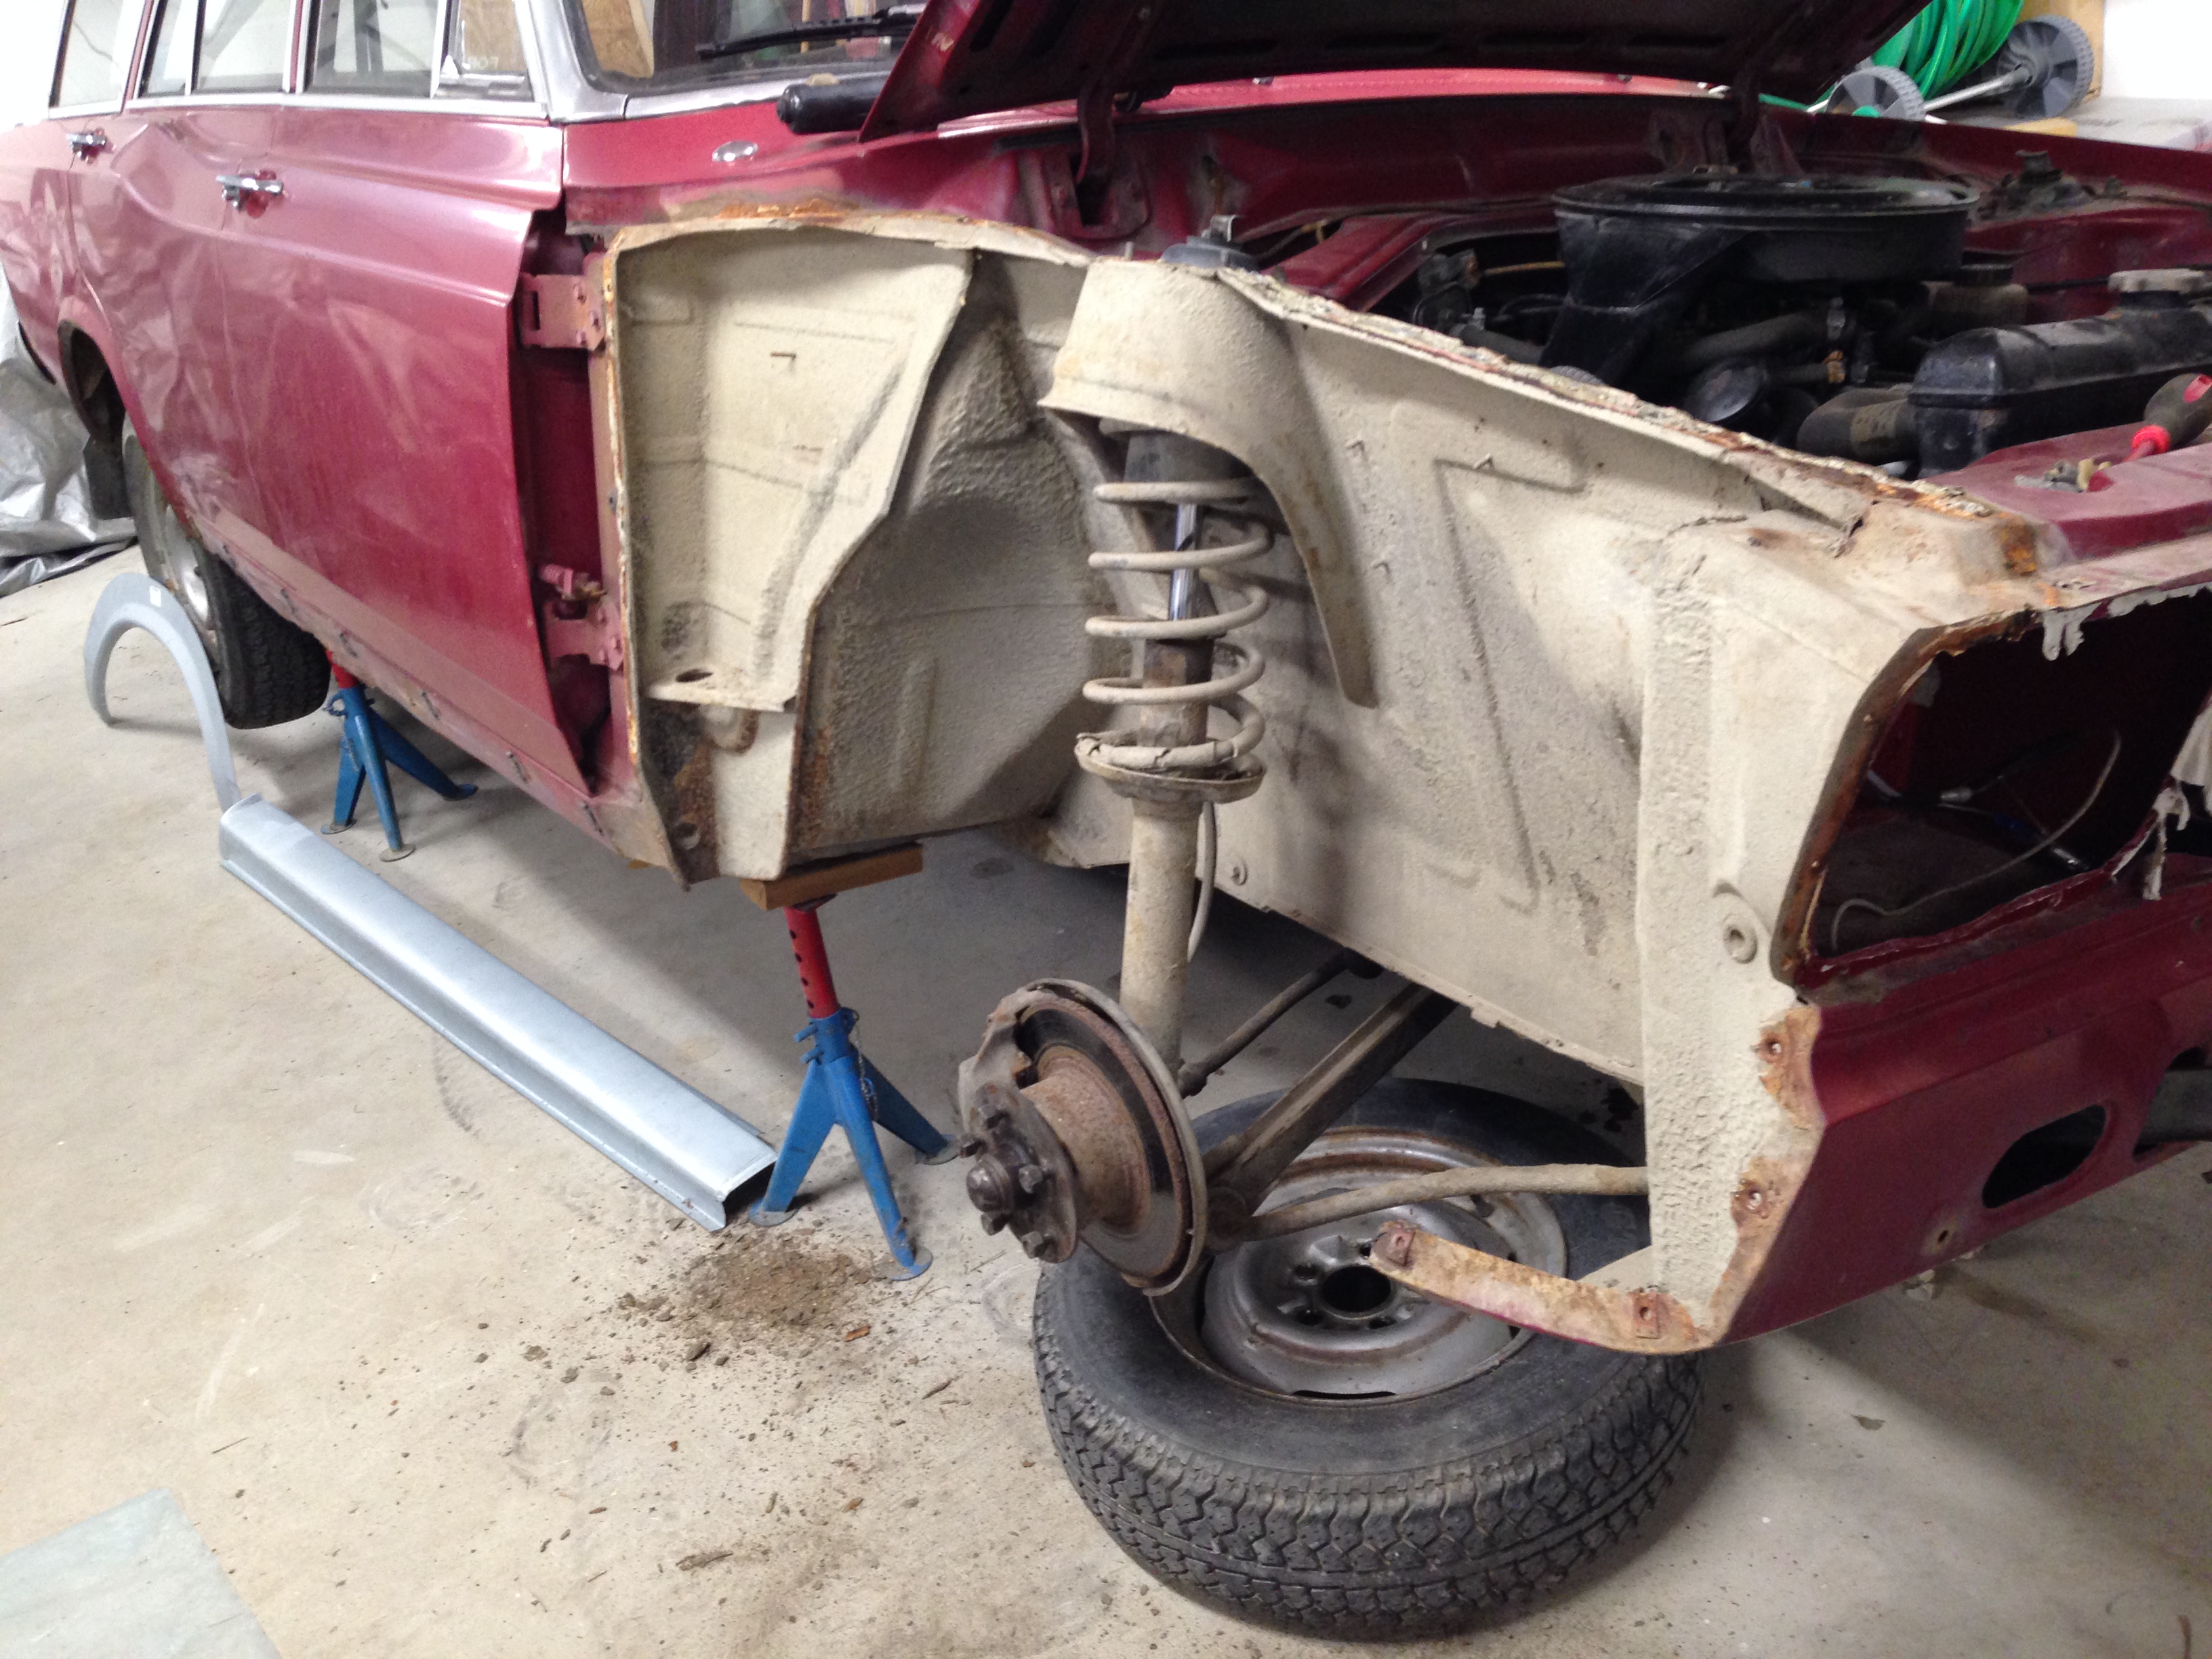
So back in the garage, Front wing removed and fixing som rot inunder. Actually a lot better than i expected.
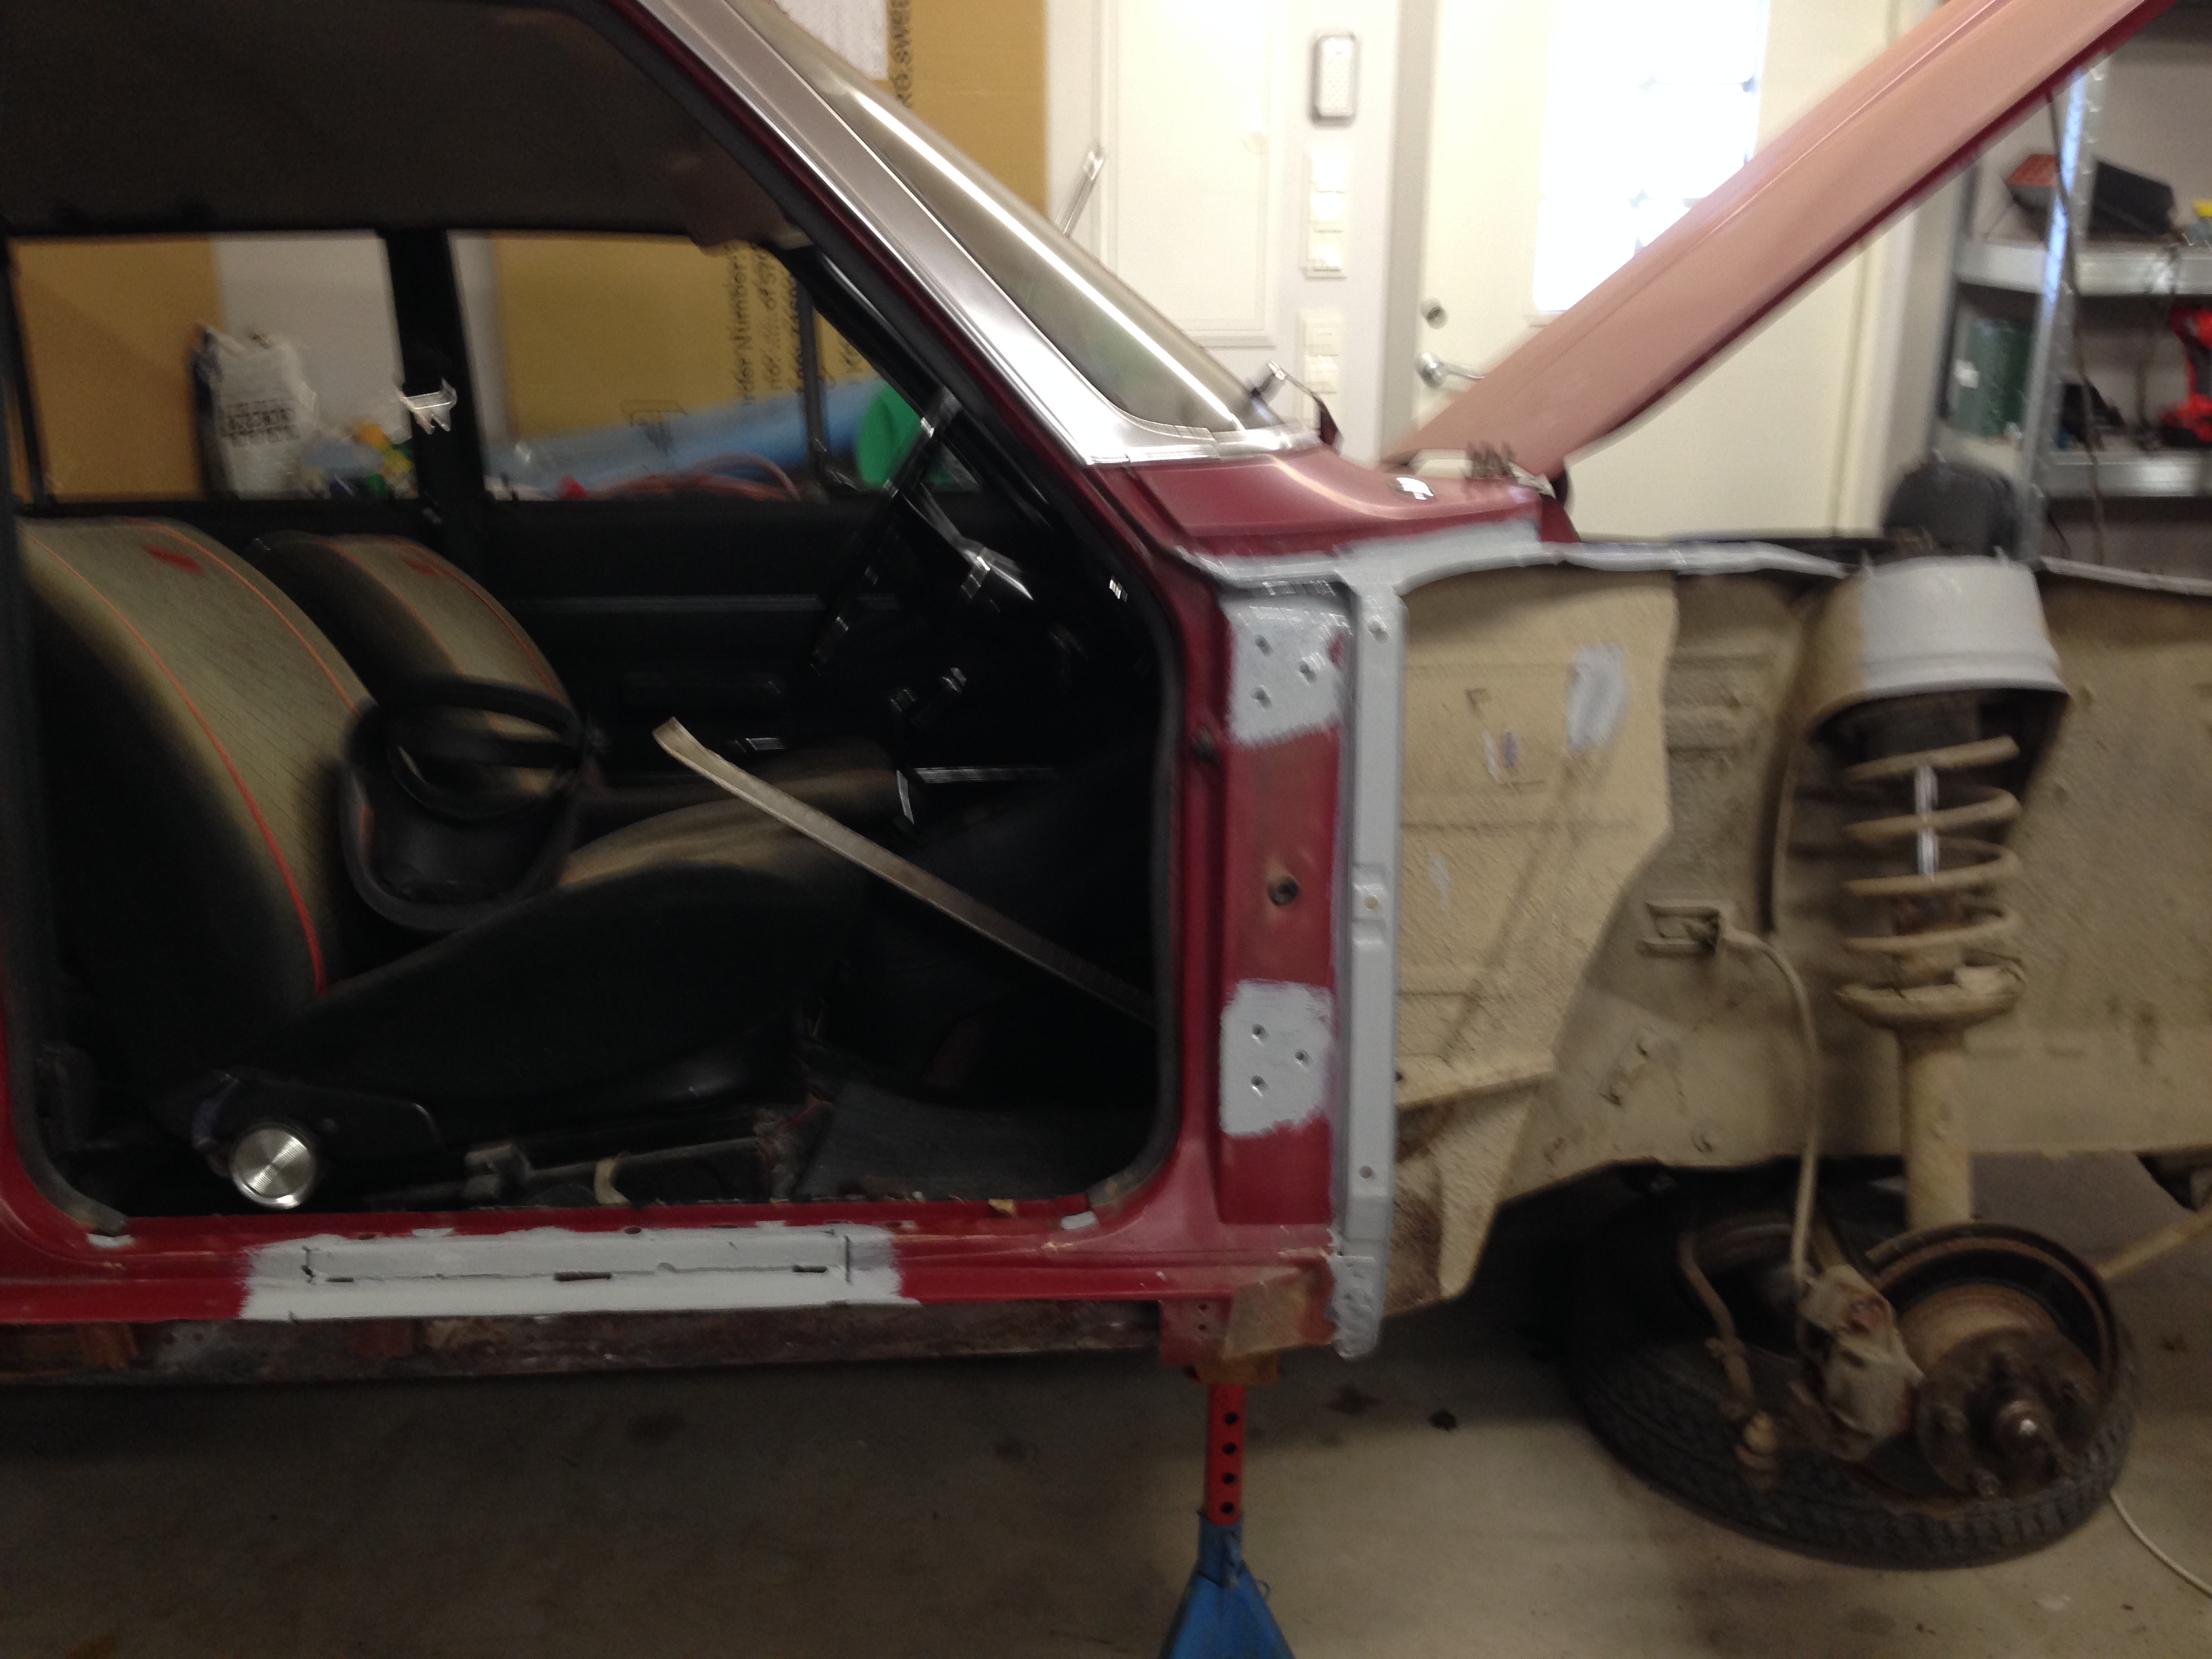
In February I cut away the rotten sill and removed all the rot inside and then rust protected everything
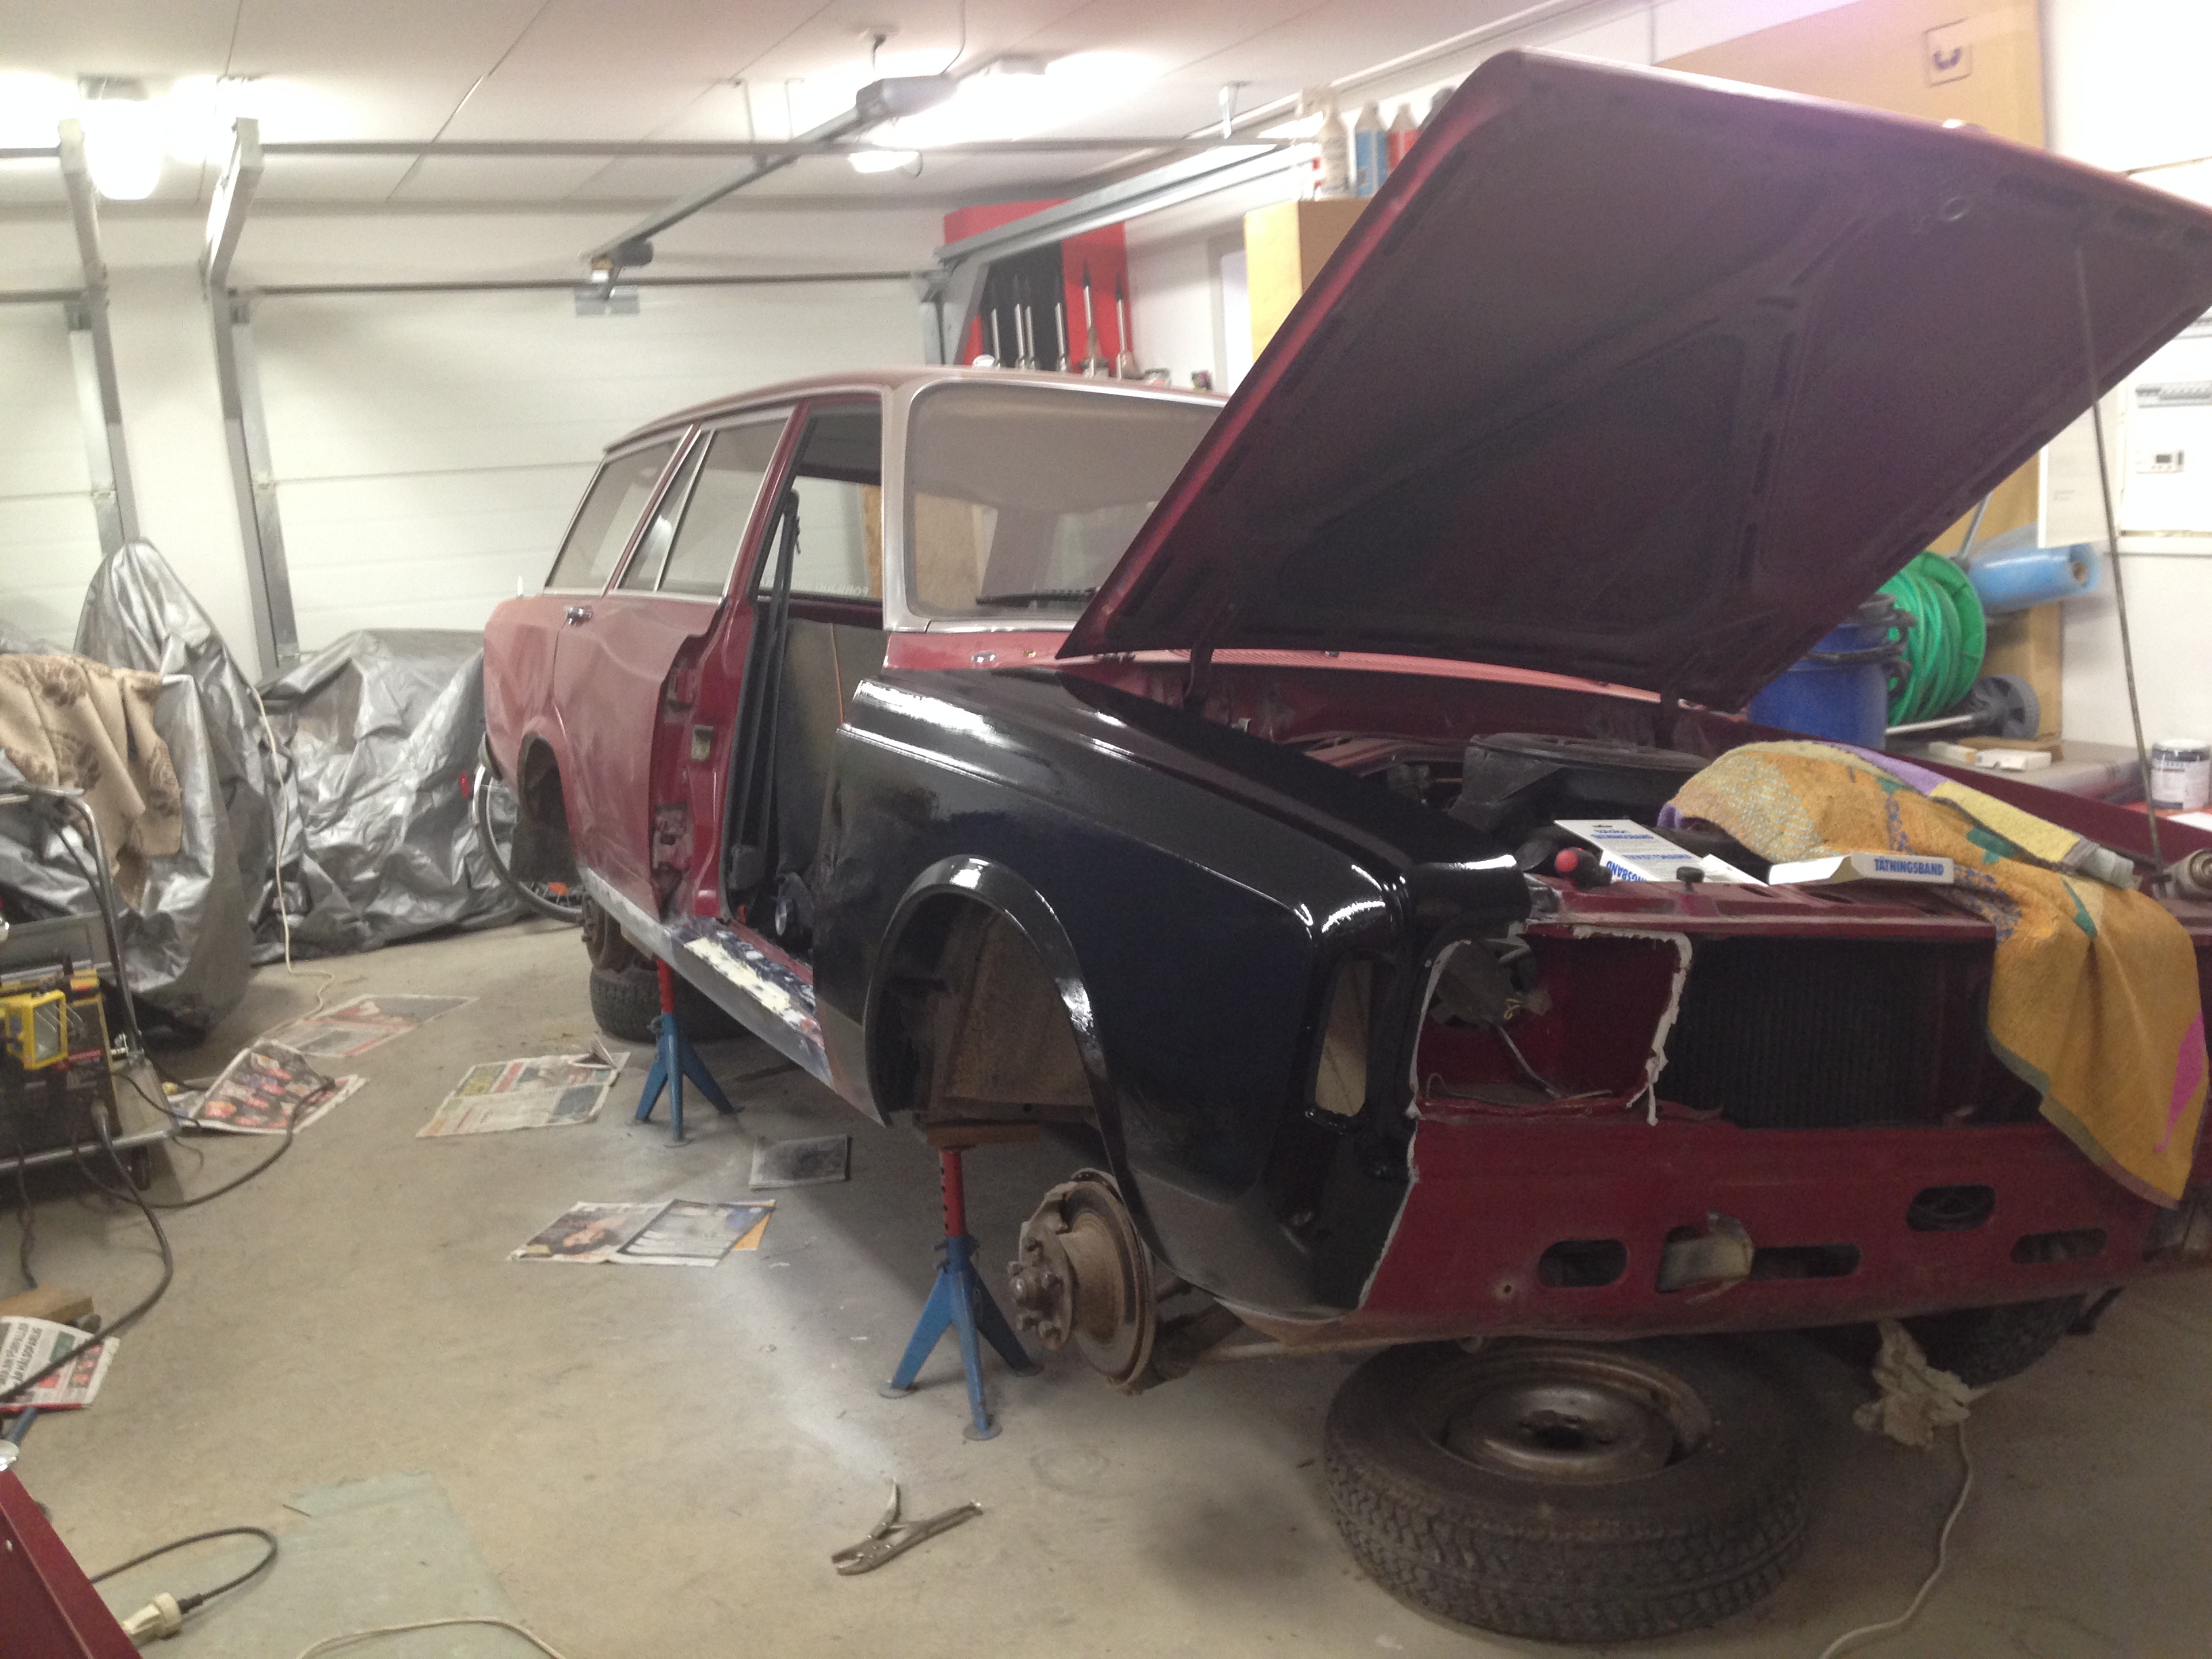
The new sill velded in to place and the new front wing mounted
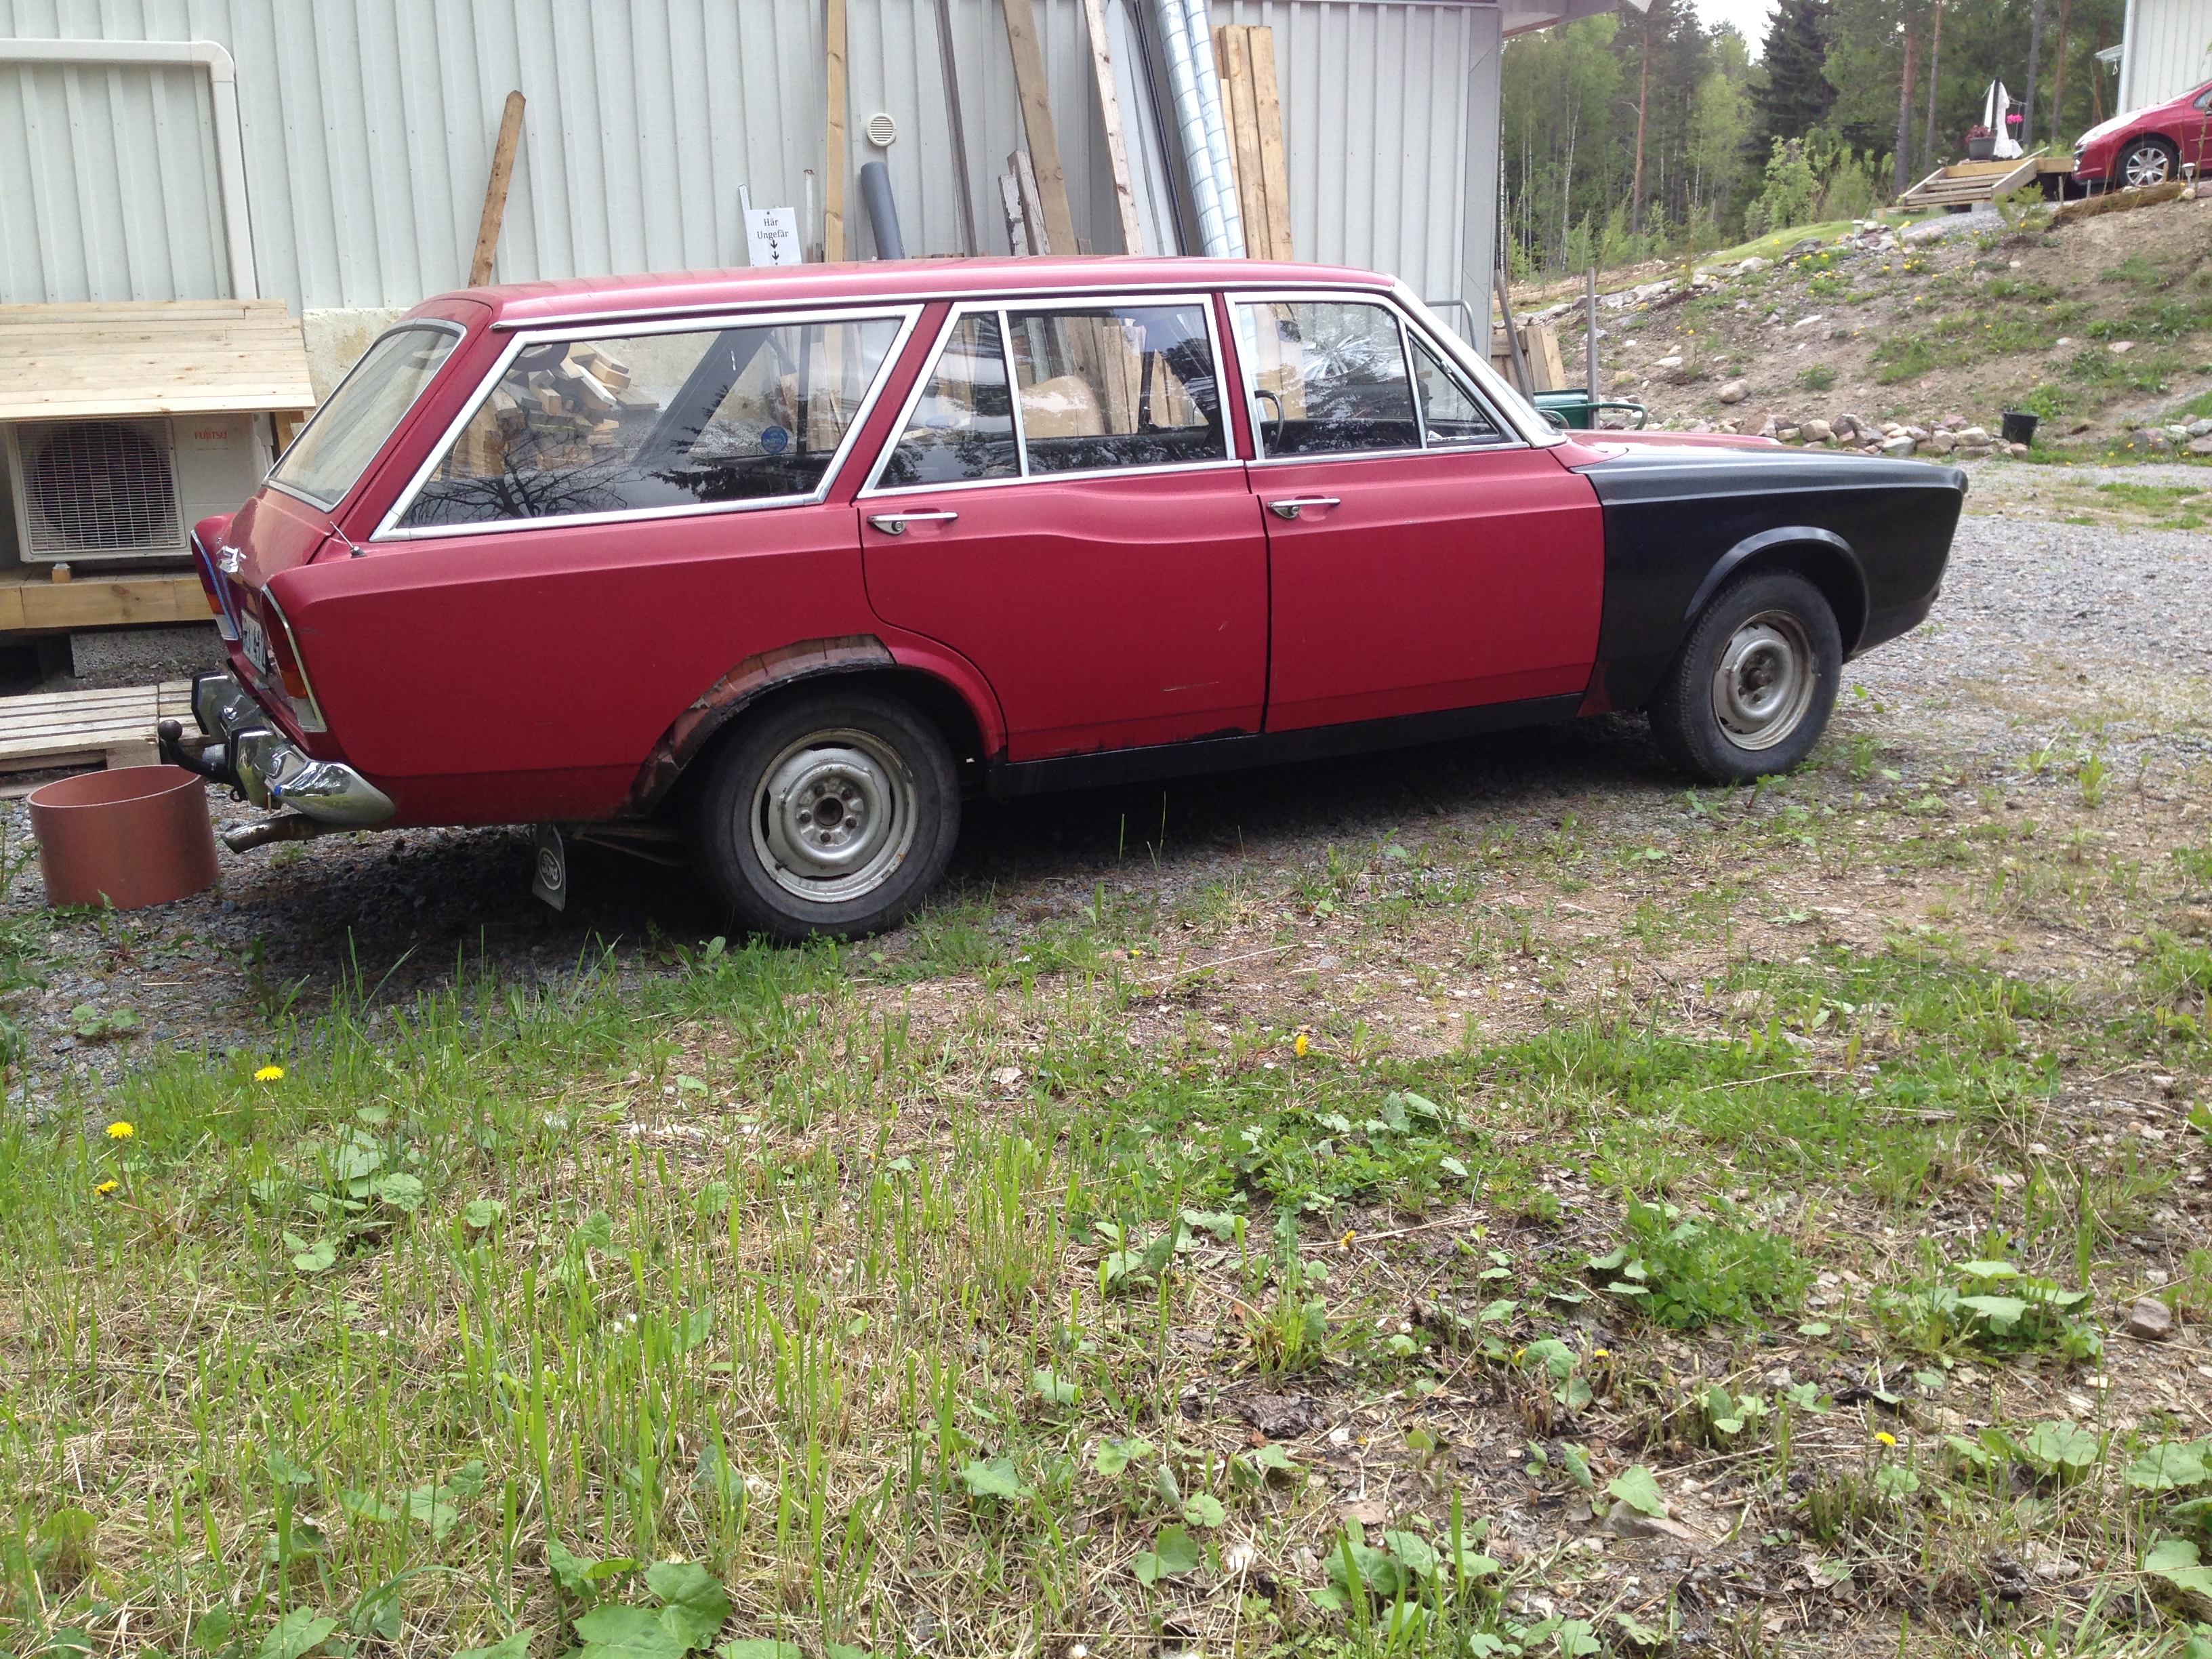
So in May 2015 the Turnier had to go out in order to give some room for the "Constructuion Season" Carport and glazing of the terraze to be done making the garage into a painting studio. Hopefully new progresses when autumn kicks in. During the summer i have removed the front brake calipers and taken the to a company in Bromma that will renovate them.
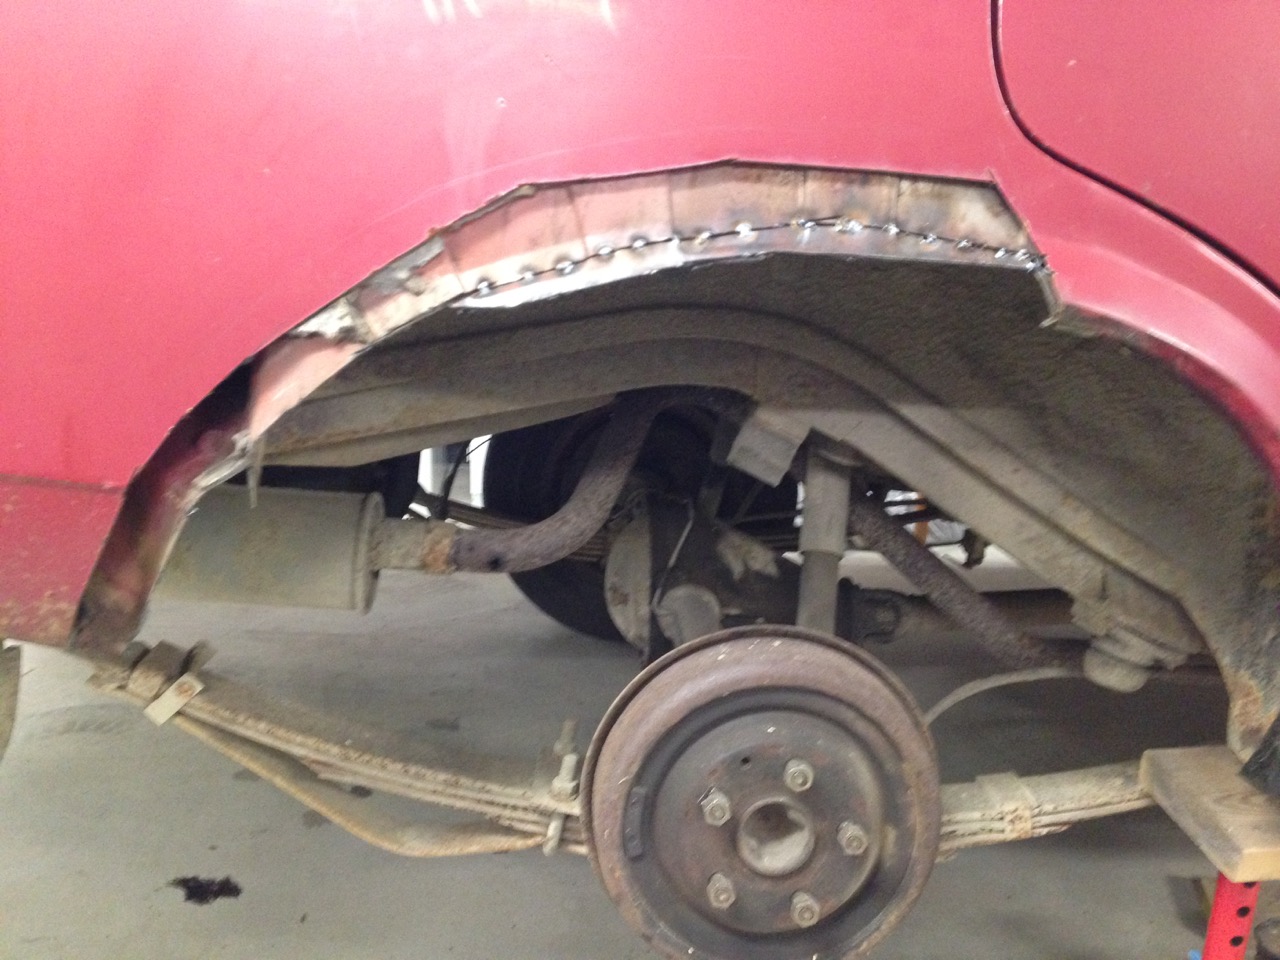
So in April 2016 i finally got to it again and cut all rot away from the right wheel arch.
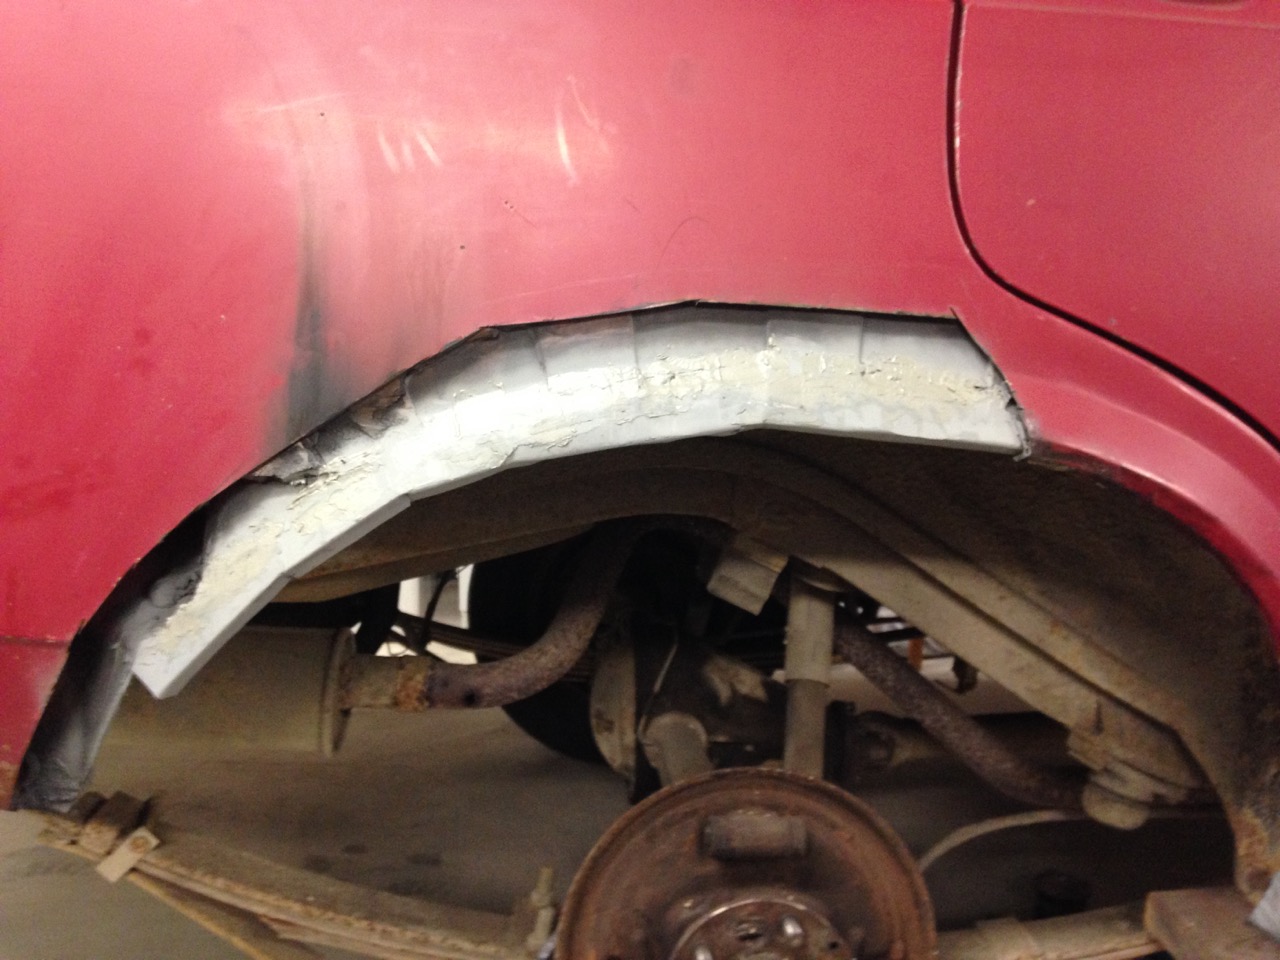
Some of the inner wheel arch replaced with sound steel.
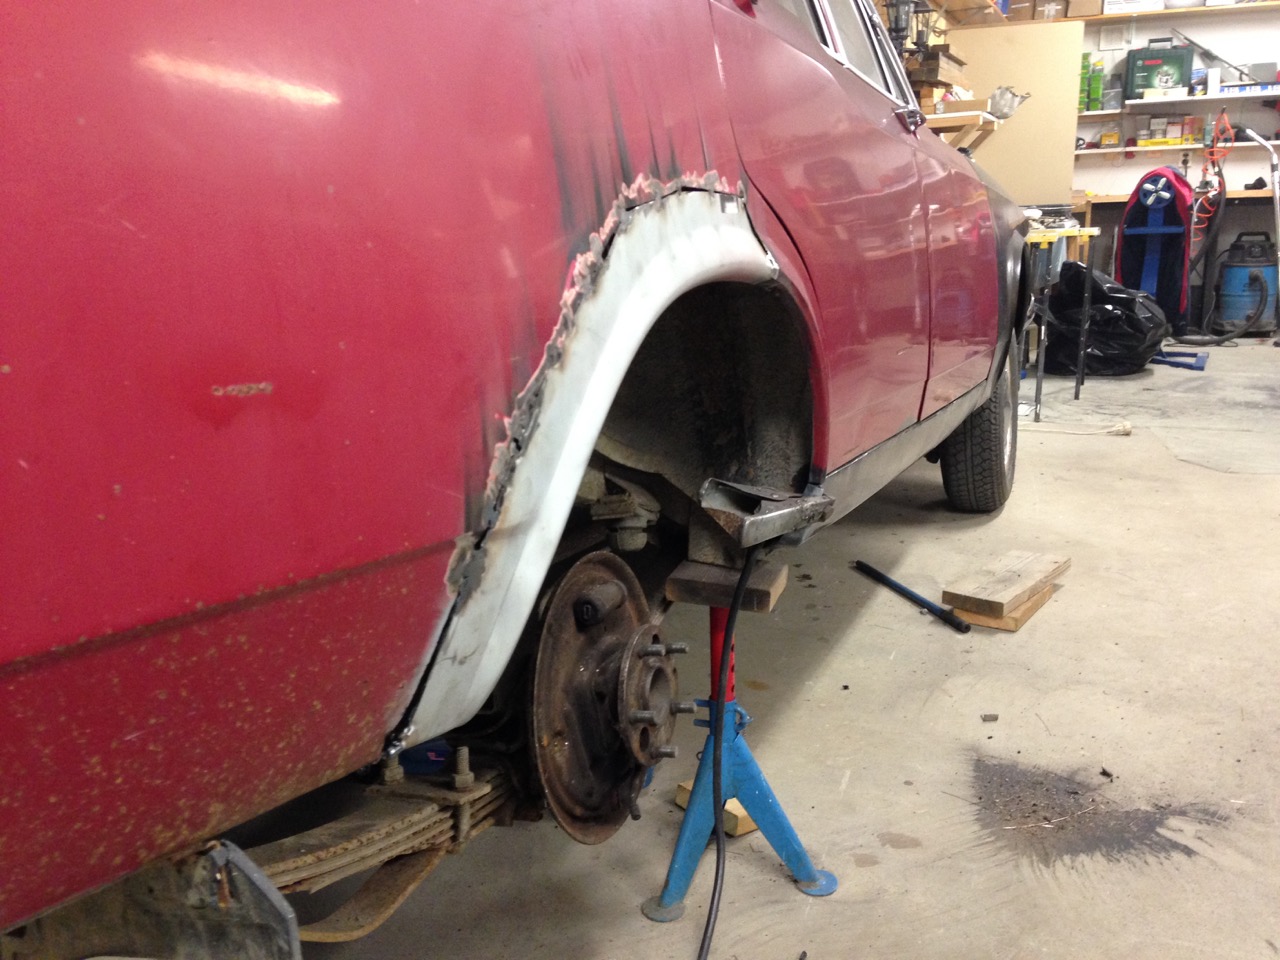
And the "economy steel" in place so now some plastering and some grinding left .
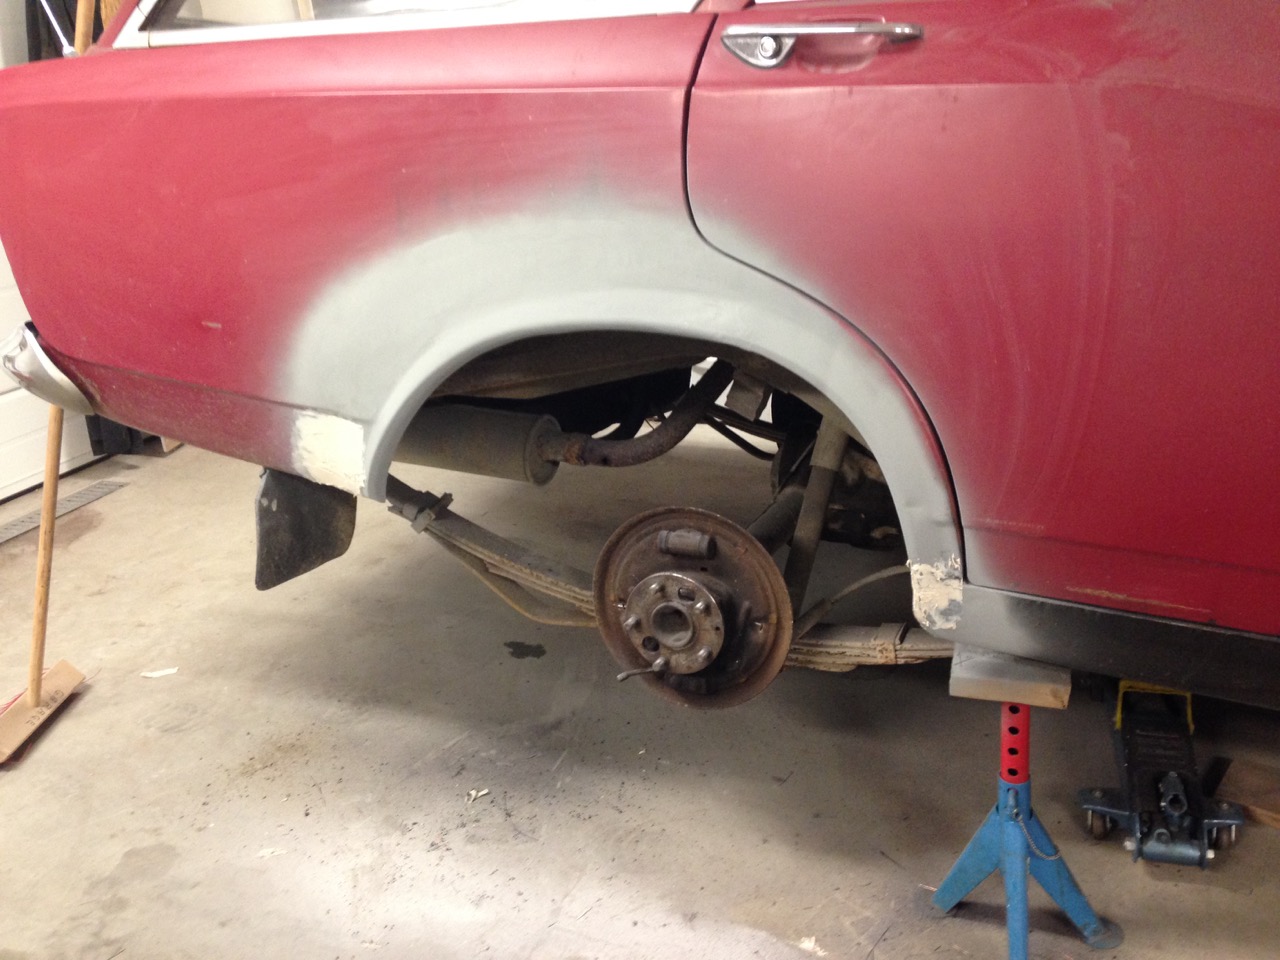
After some plastering and grinding, almost good and first wheel arch ever replaced..
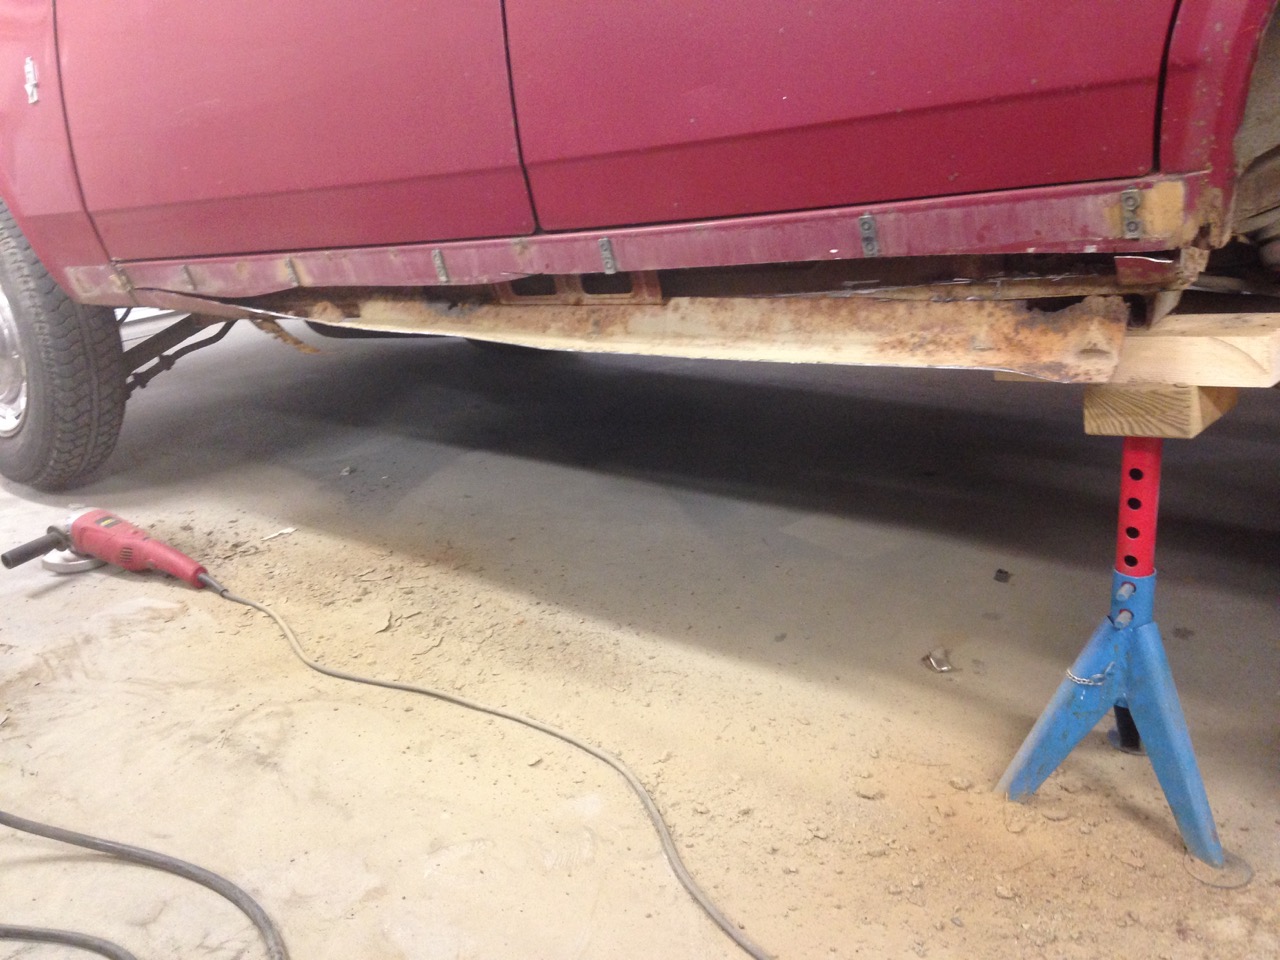
The sill cut open and revealing some old dirt and other stuff that had gathered there over the years.
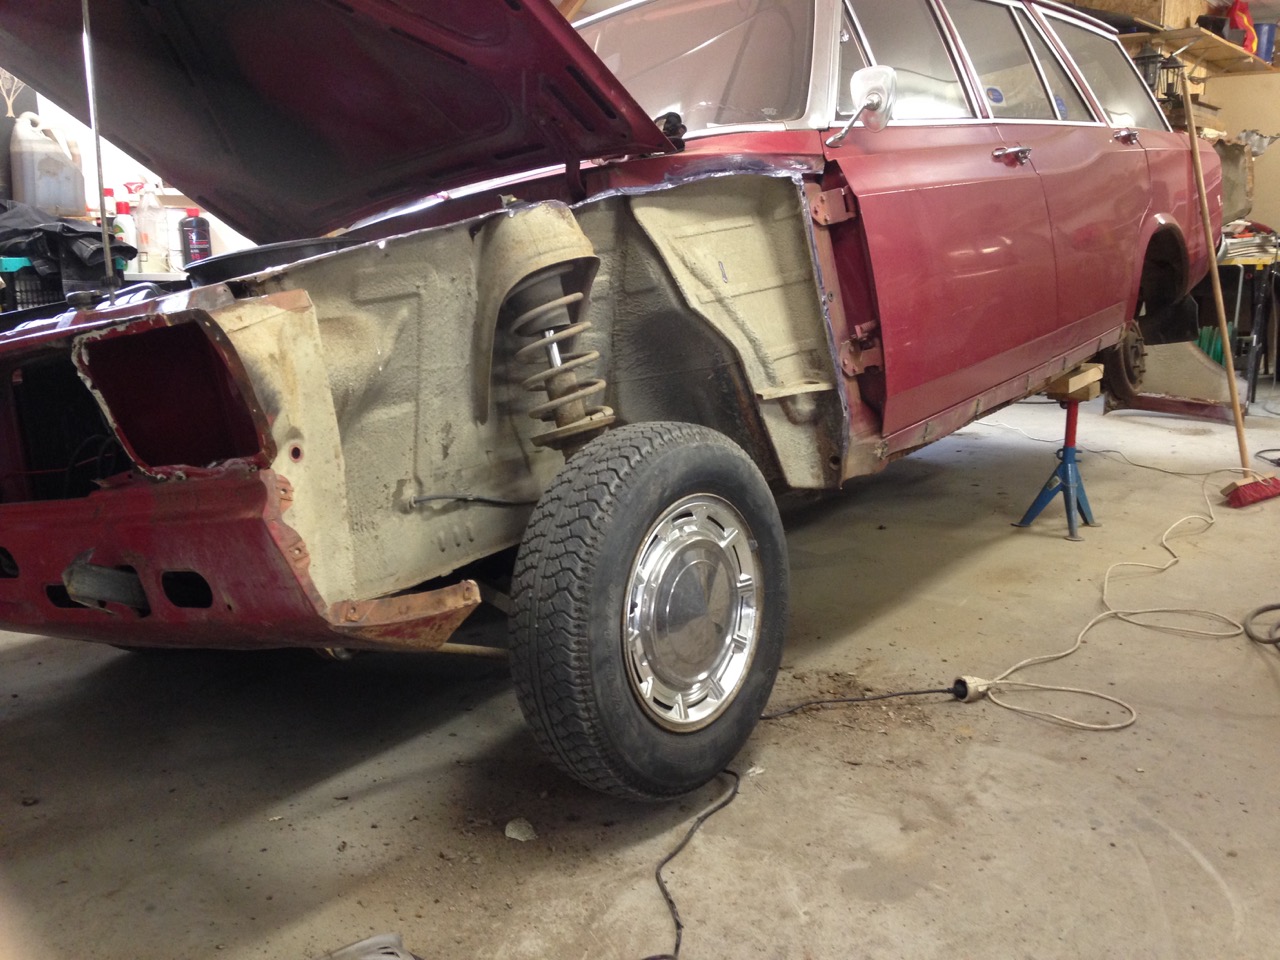
Front wing removed to display som small rot, also better than I feard on this side.
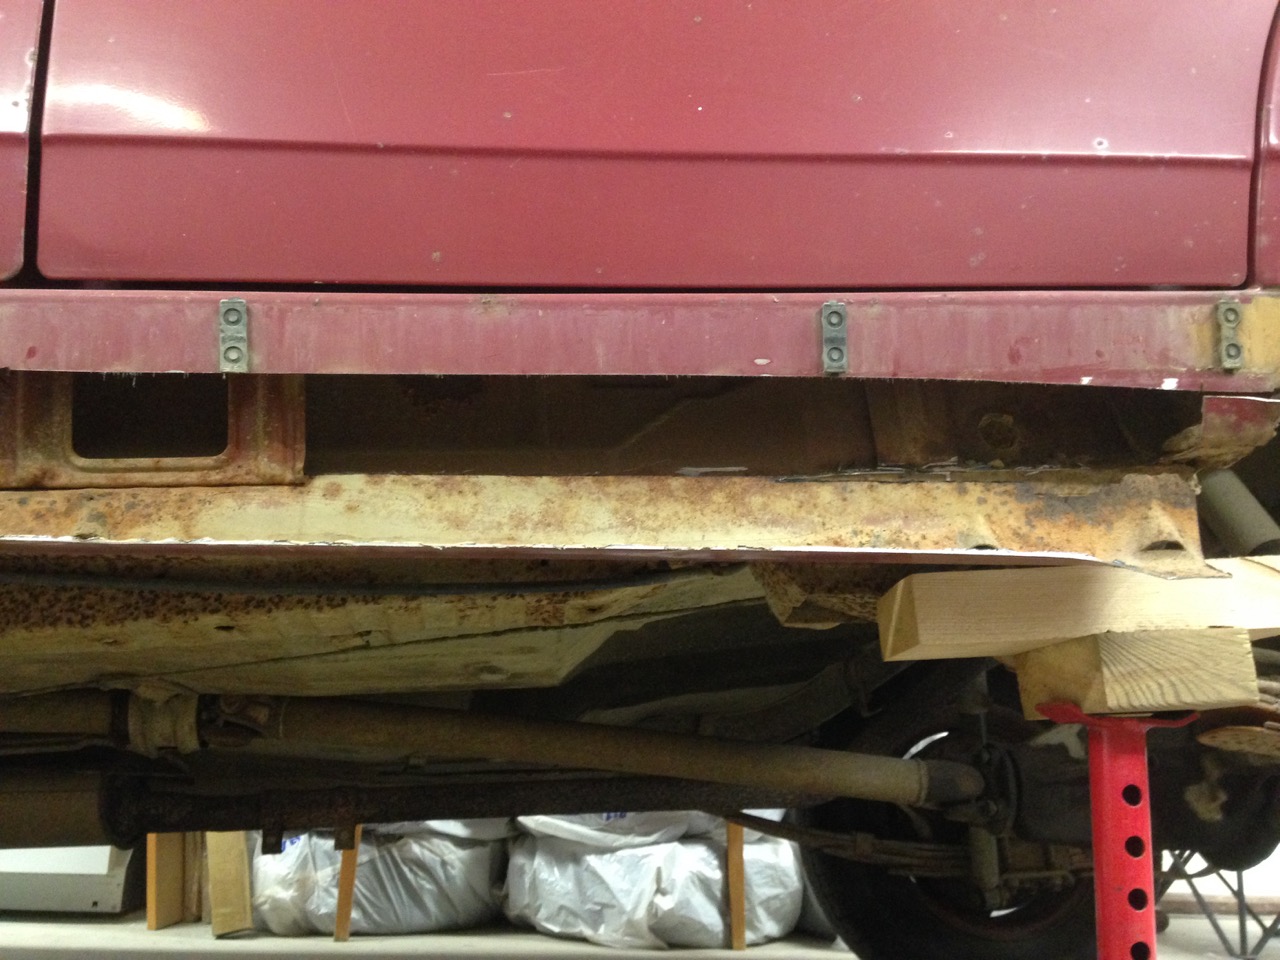
Sill cut up and showing a lot of rust.

All rust sensitive places under the front wing treated with rust converter.
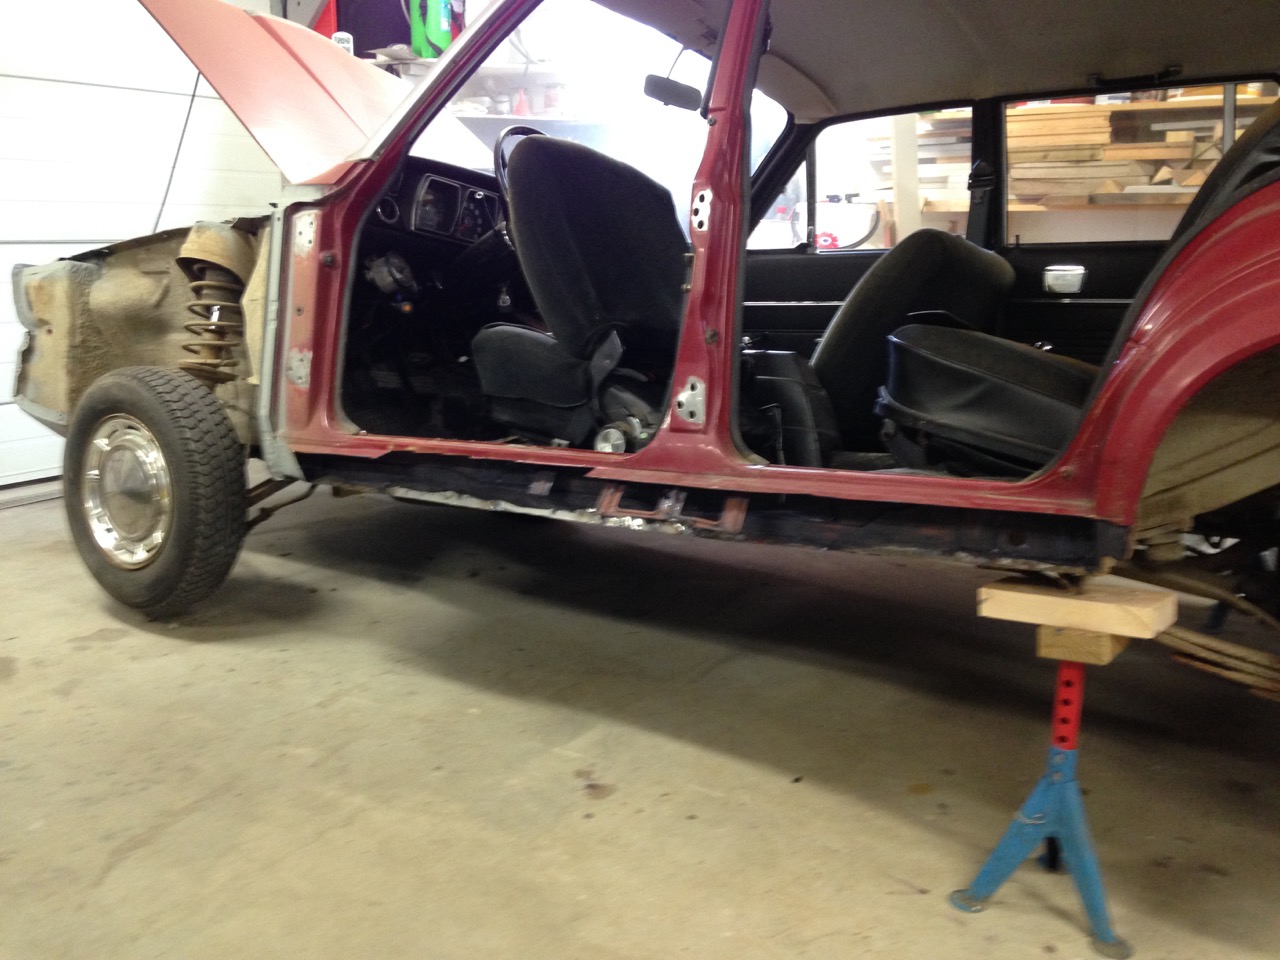
Outer sill cut away and all rust grinded and treated with rust converter.
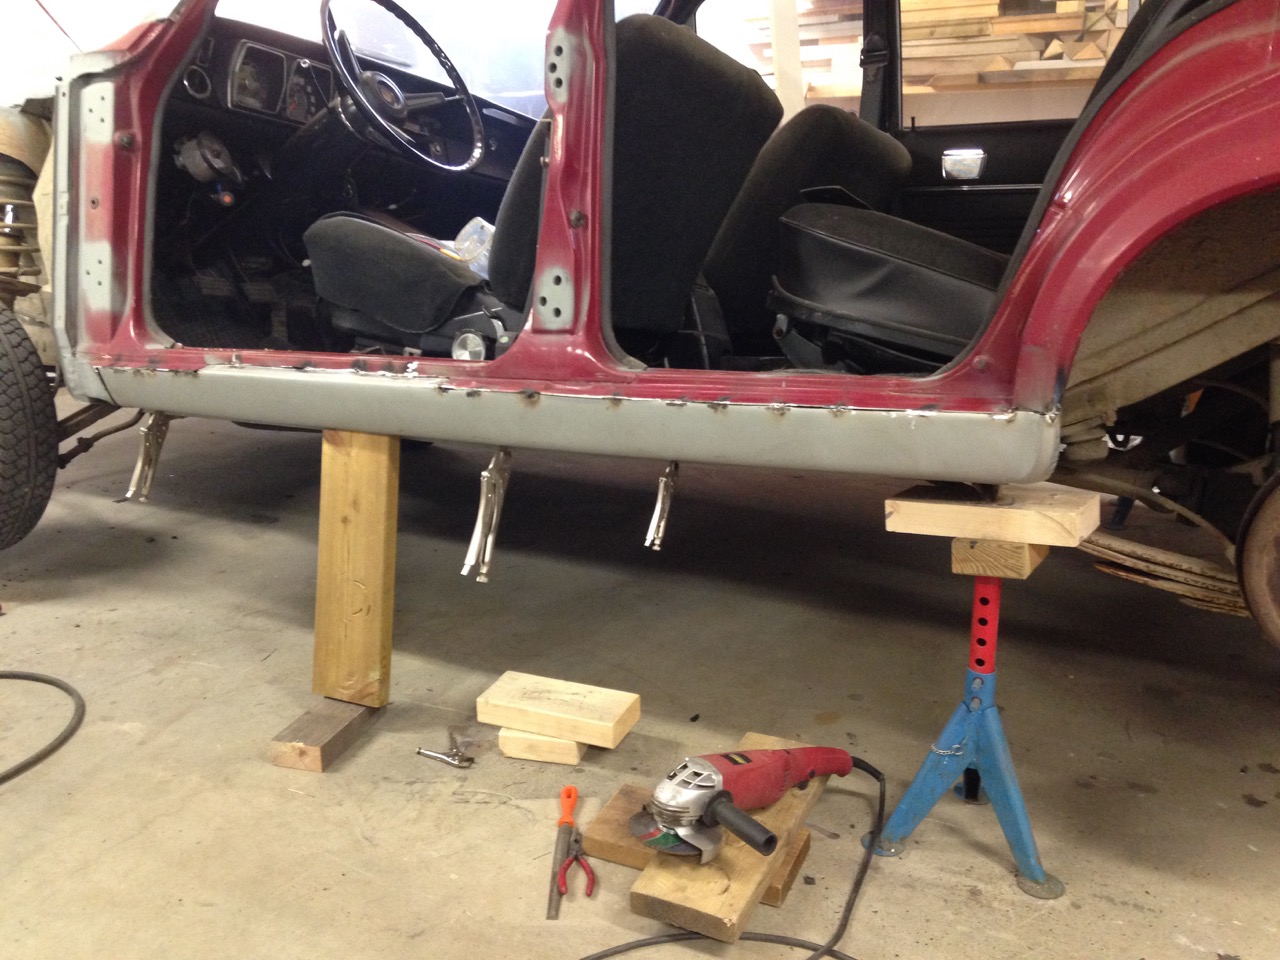
New sill spot welded in to place, and supported by a wood peace.
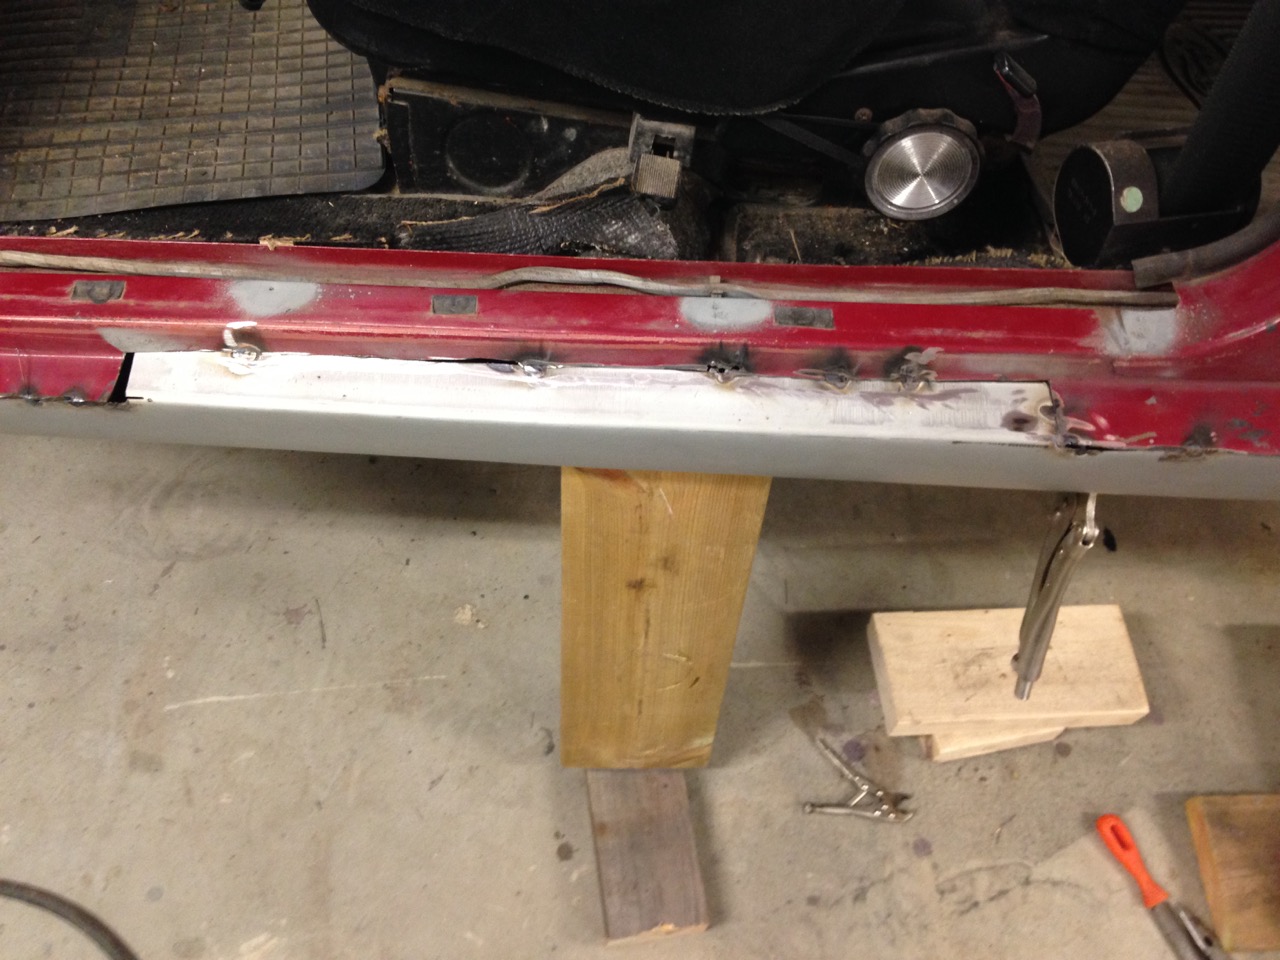
View from above, driver door.
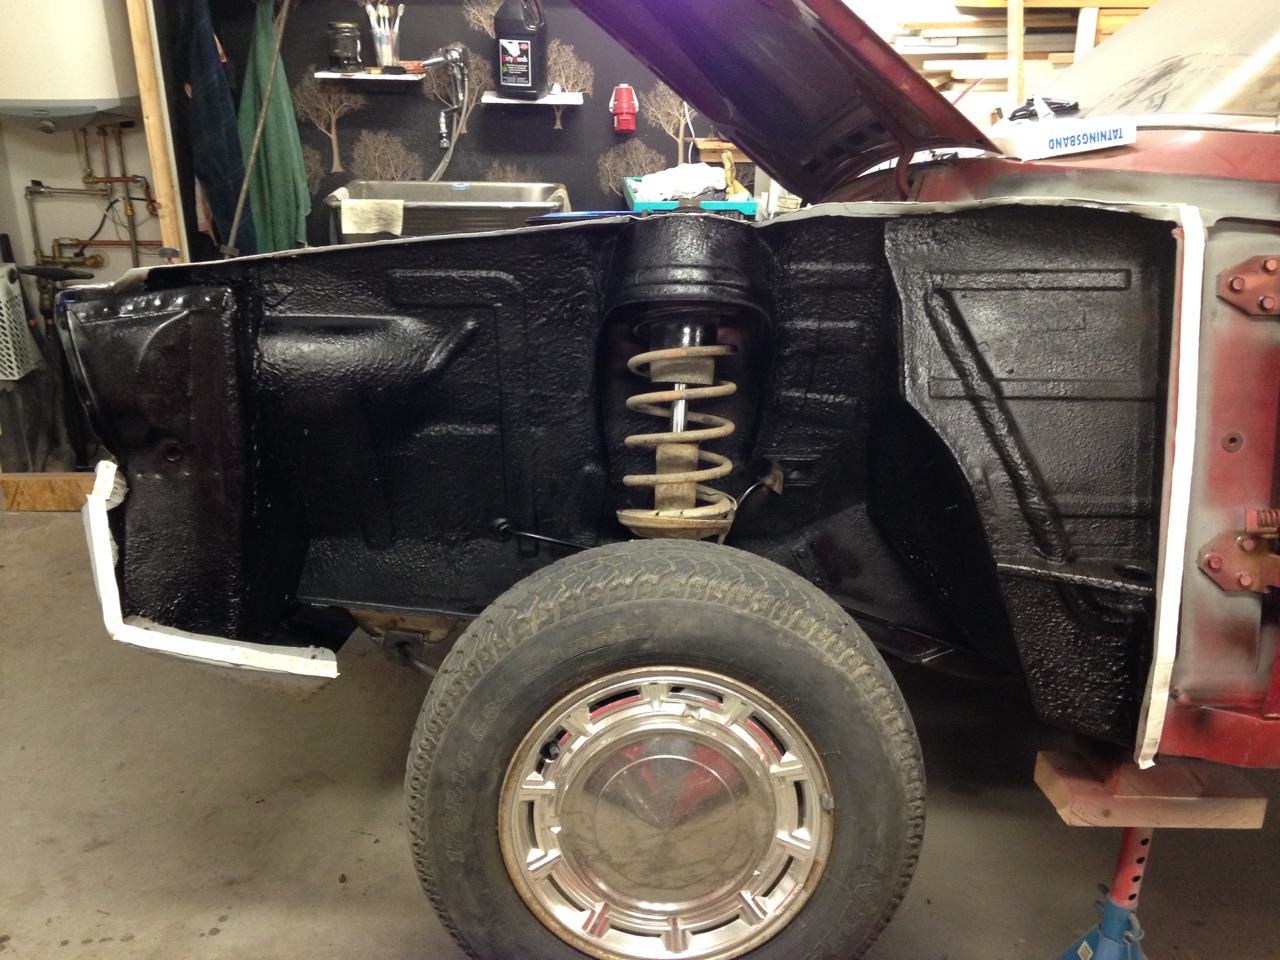
Ready to mount front wing. Inner wing coated with protective underbody and putty on contact surfaces.
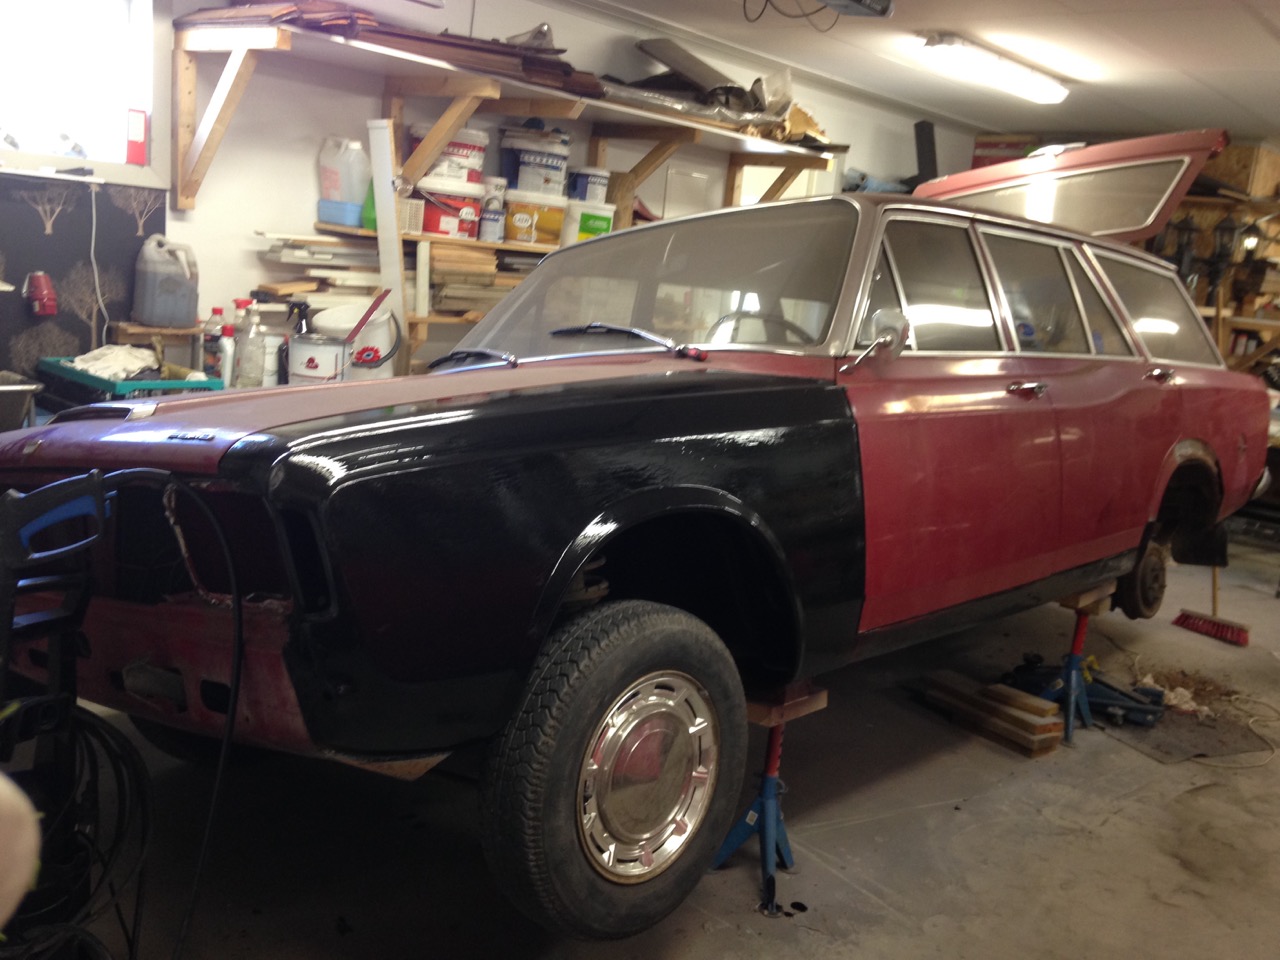
Front wing mounted and painted with protective paint.
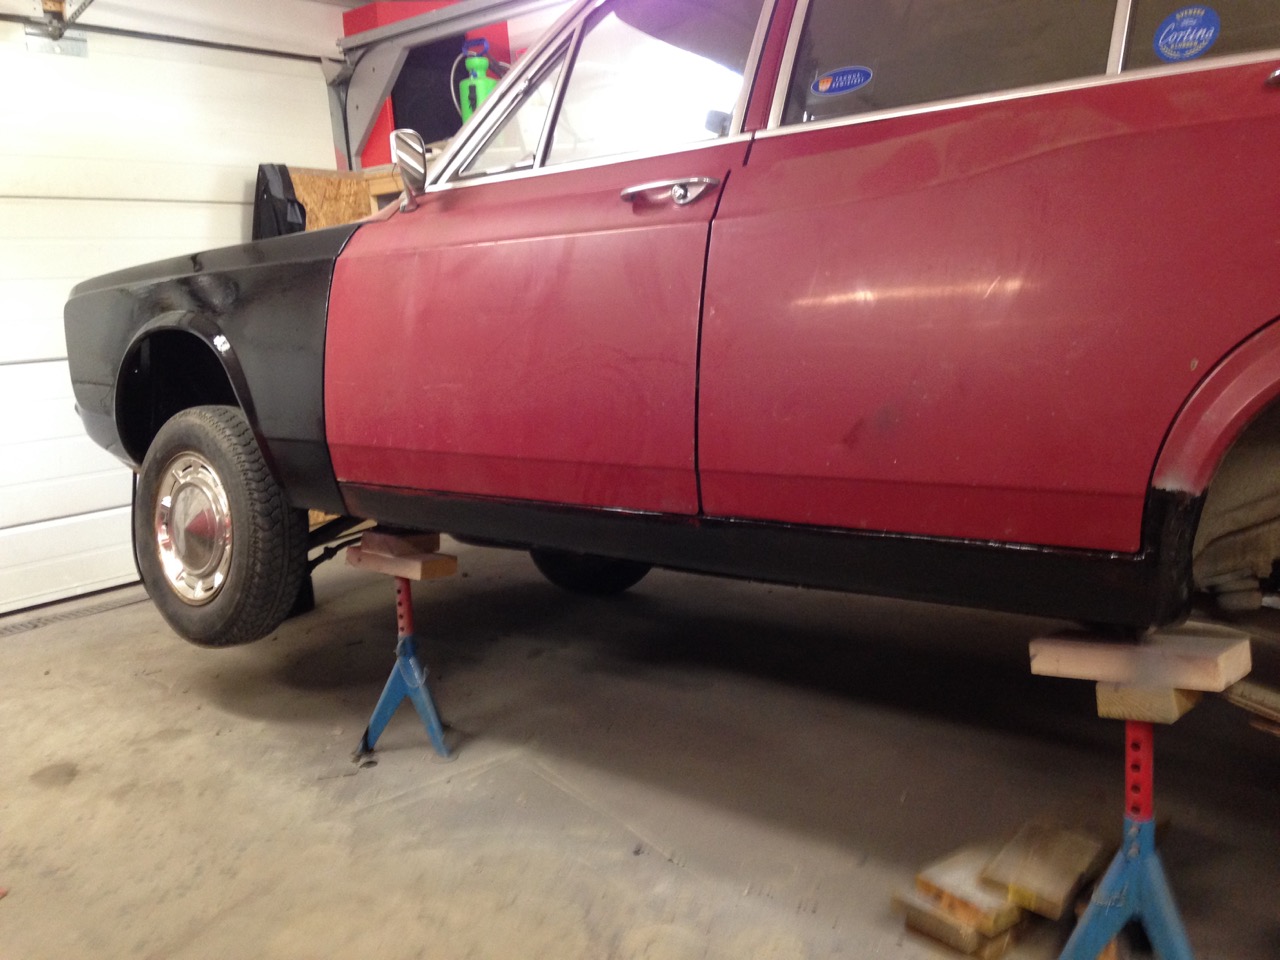
Front wing and sill painted with protective paint.
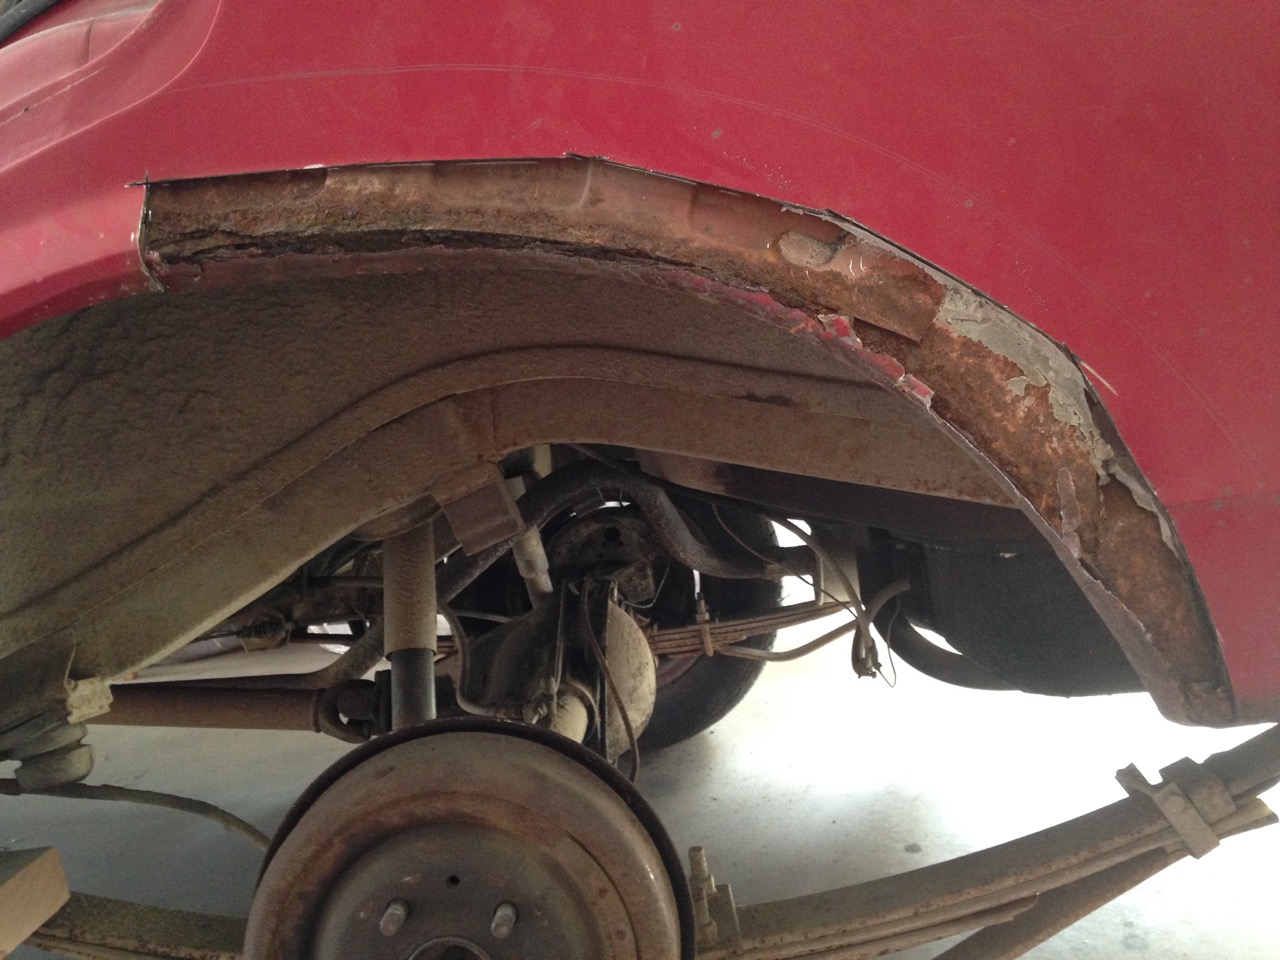
Cut away the outher rusty wheel arch, showing the rusty inner wheel arch
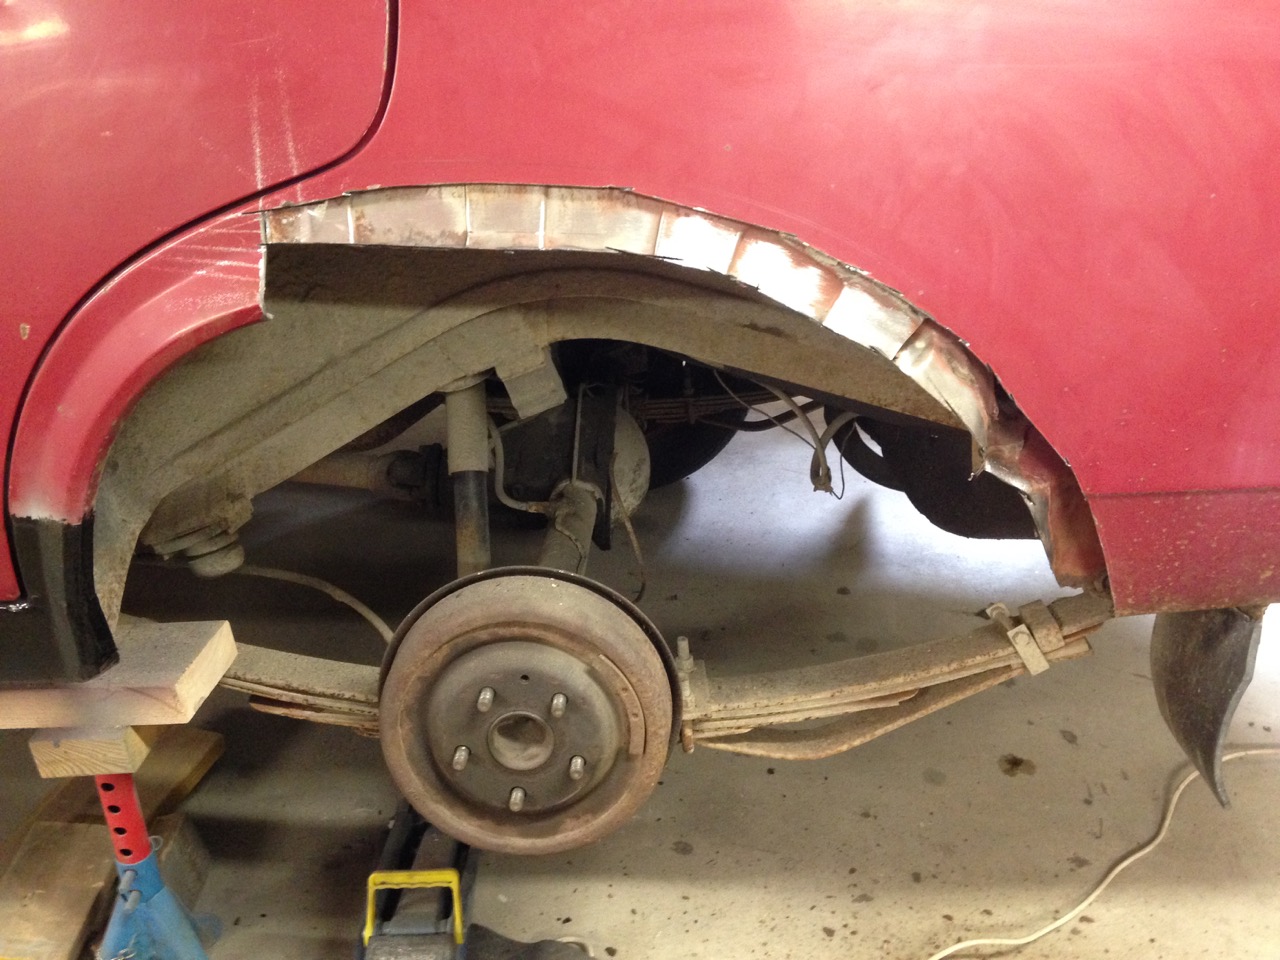
The rusty part of the inner wing cut away
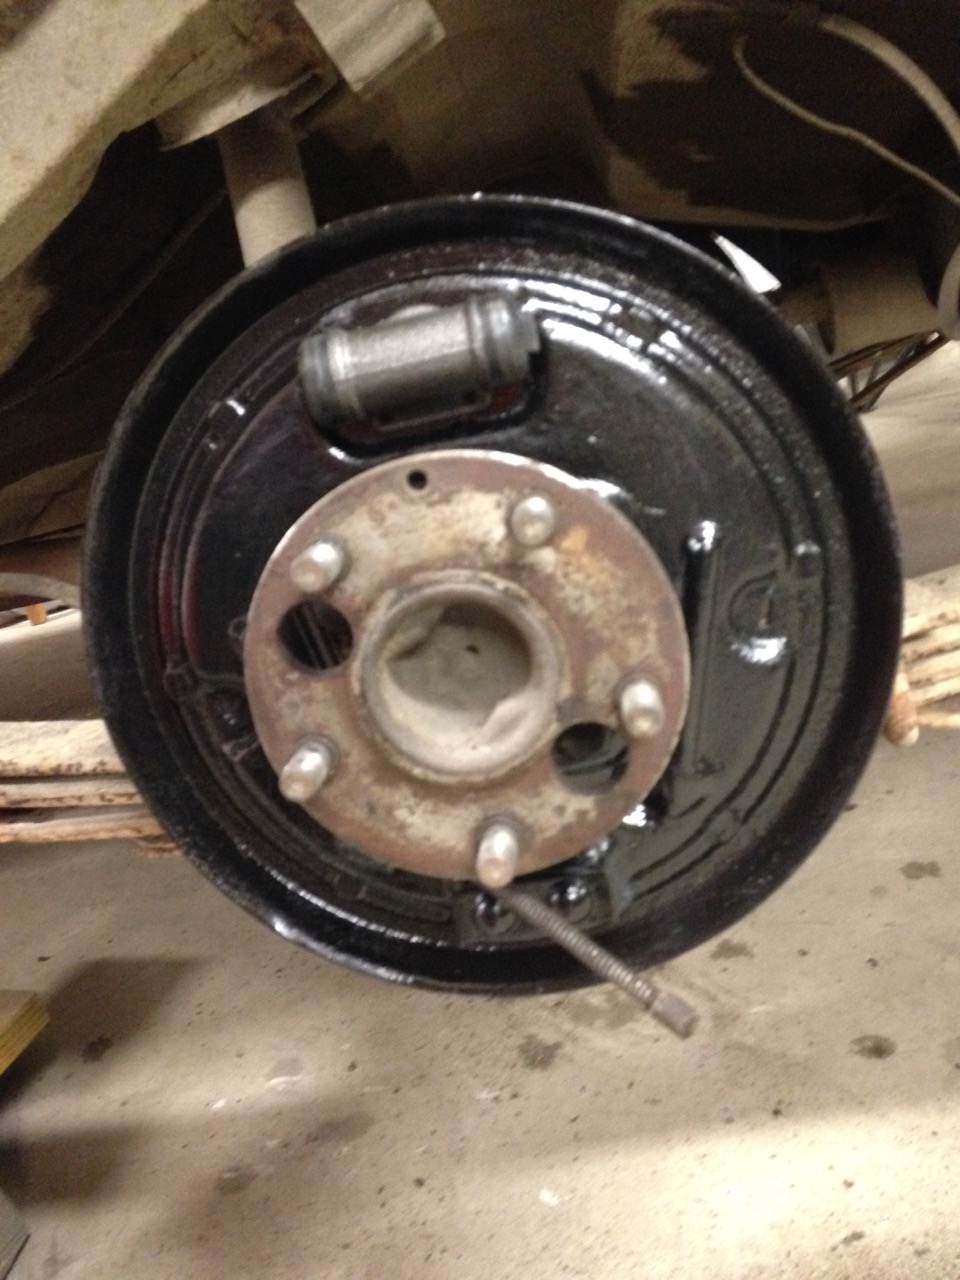
Renovated and repainted brake shield and a new wheel cylinder mounted
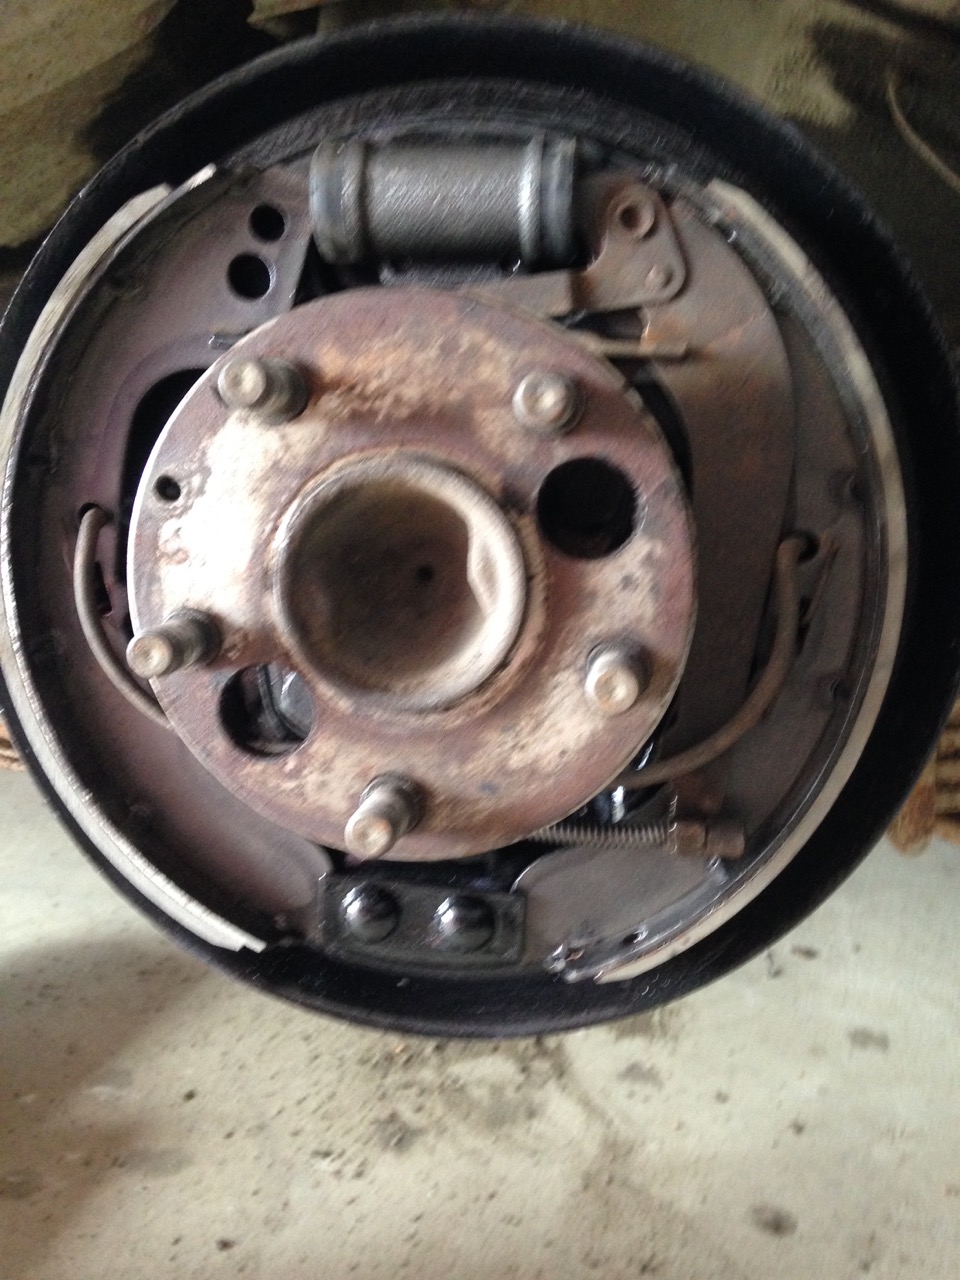
And new brake shoes also i place, just to attach the drum
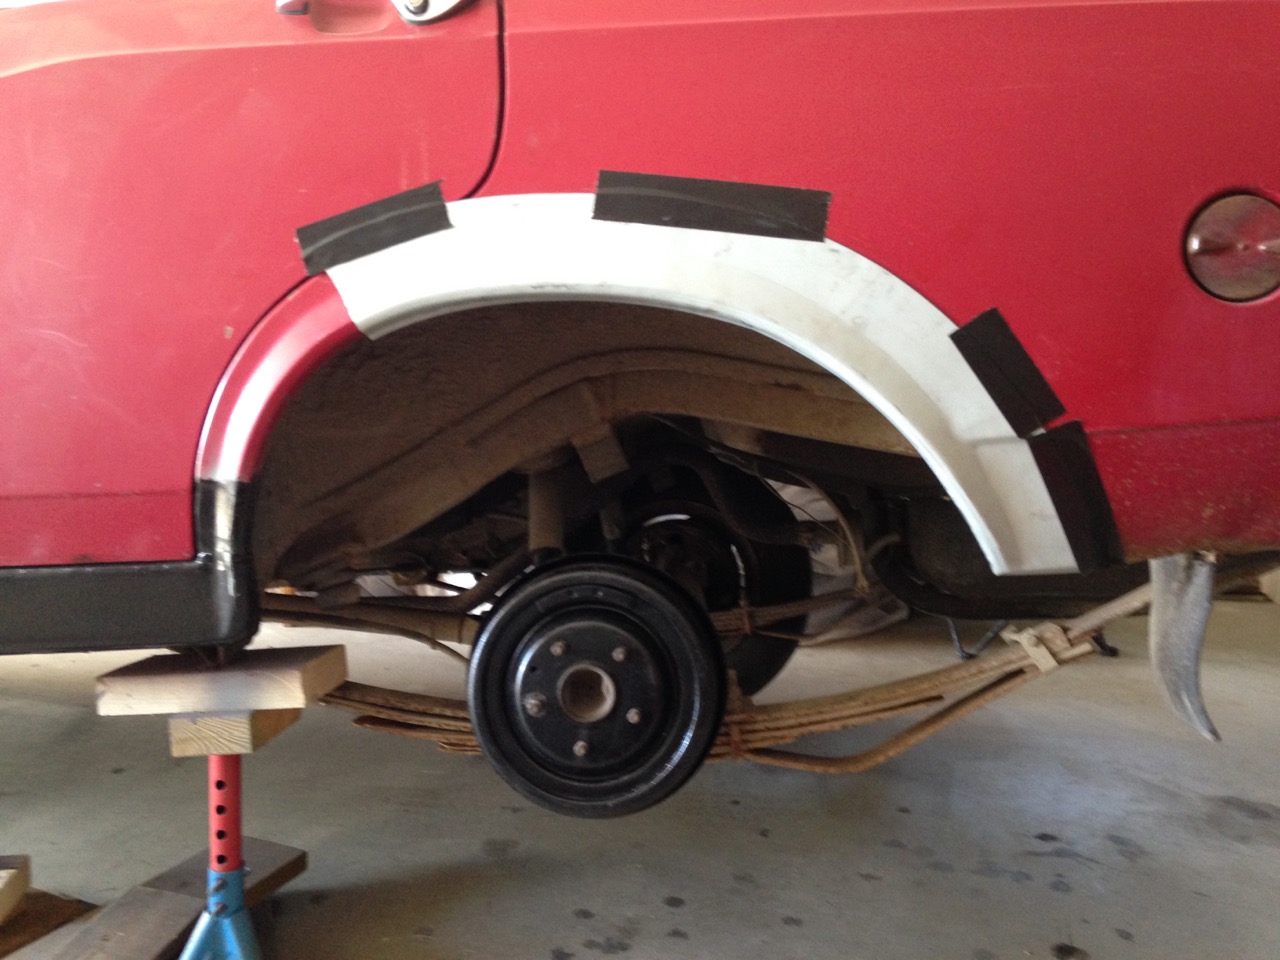
Attached the wheel arch with adhesive tape to be able to make the inner wing
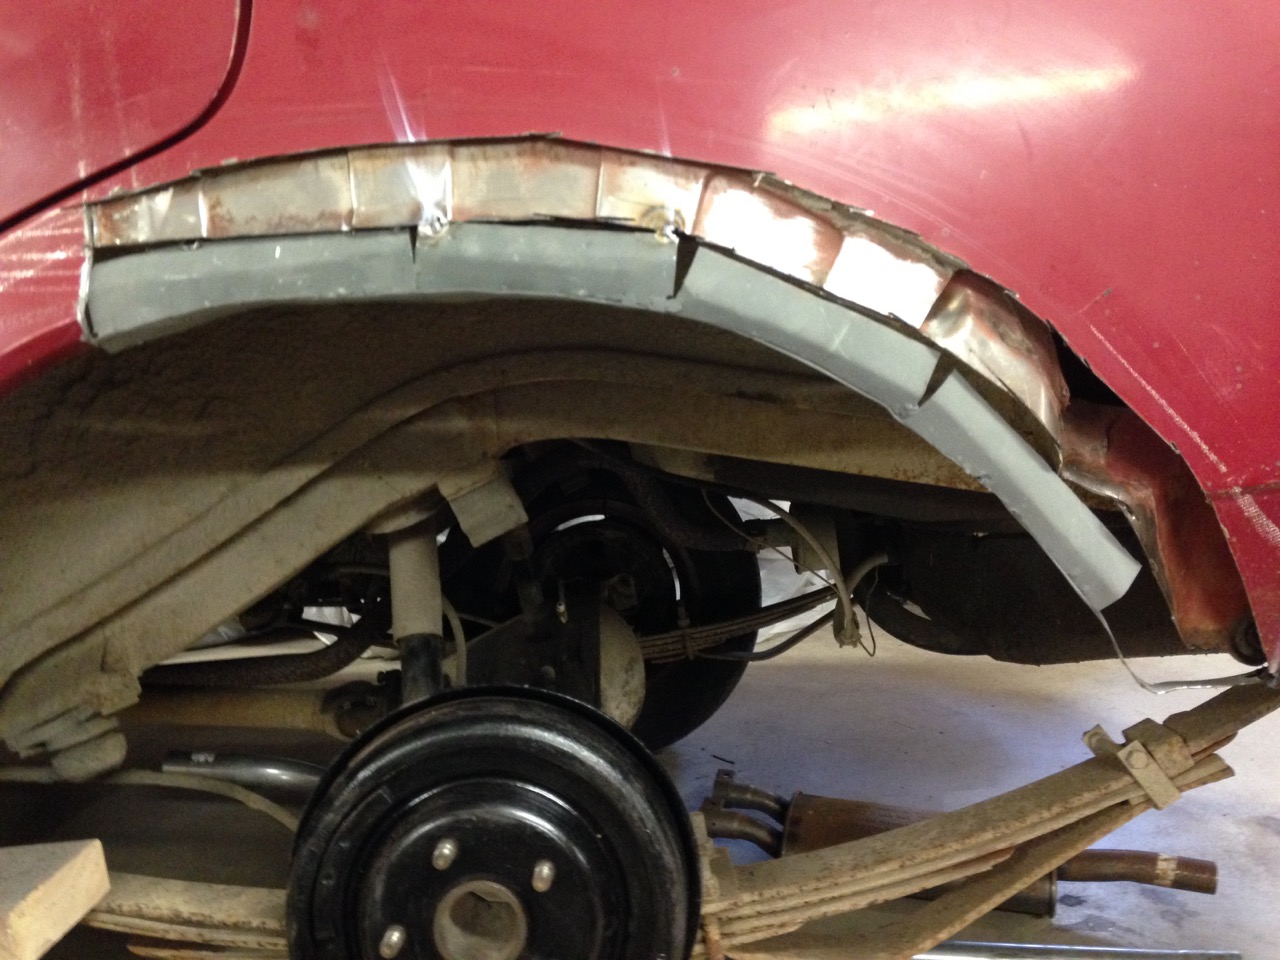
Inner wing attached to inner wheelhouse
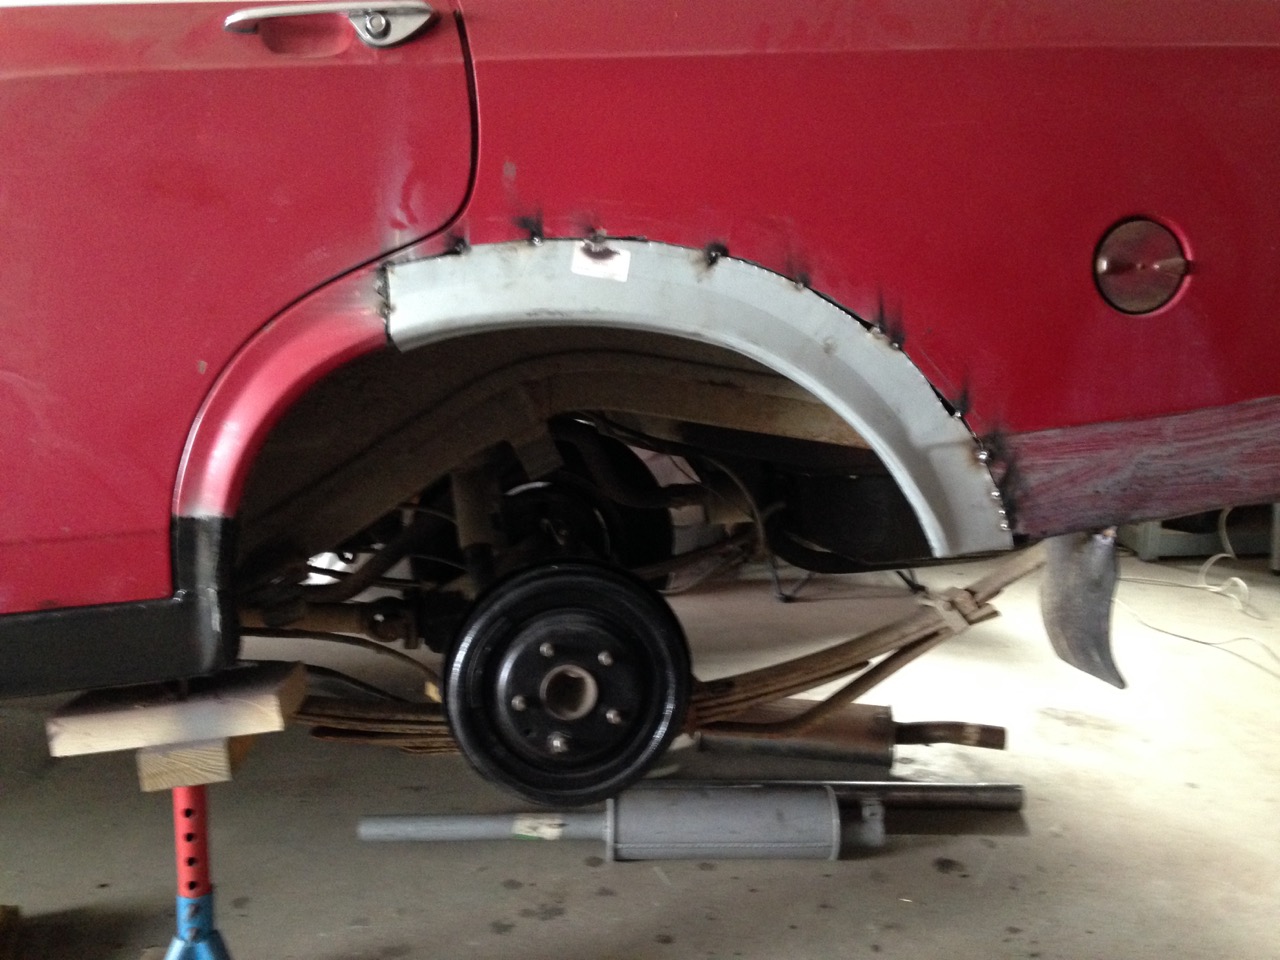
After some more welding and rust proteting the outer wheel house is spot velded in place
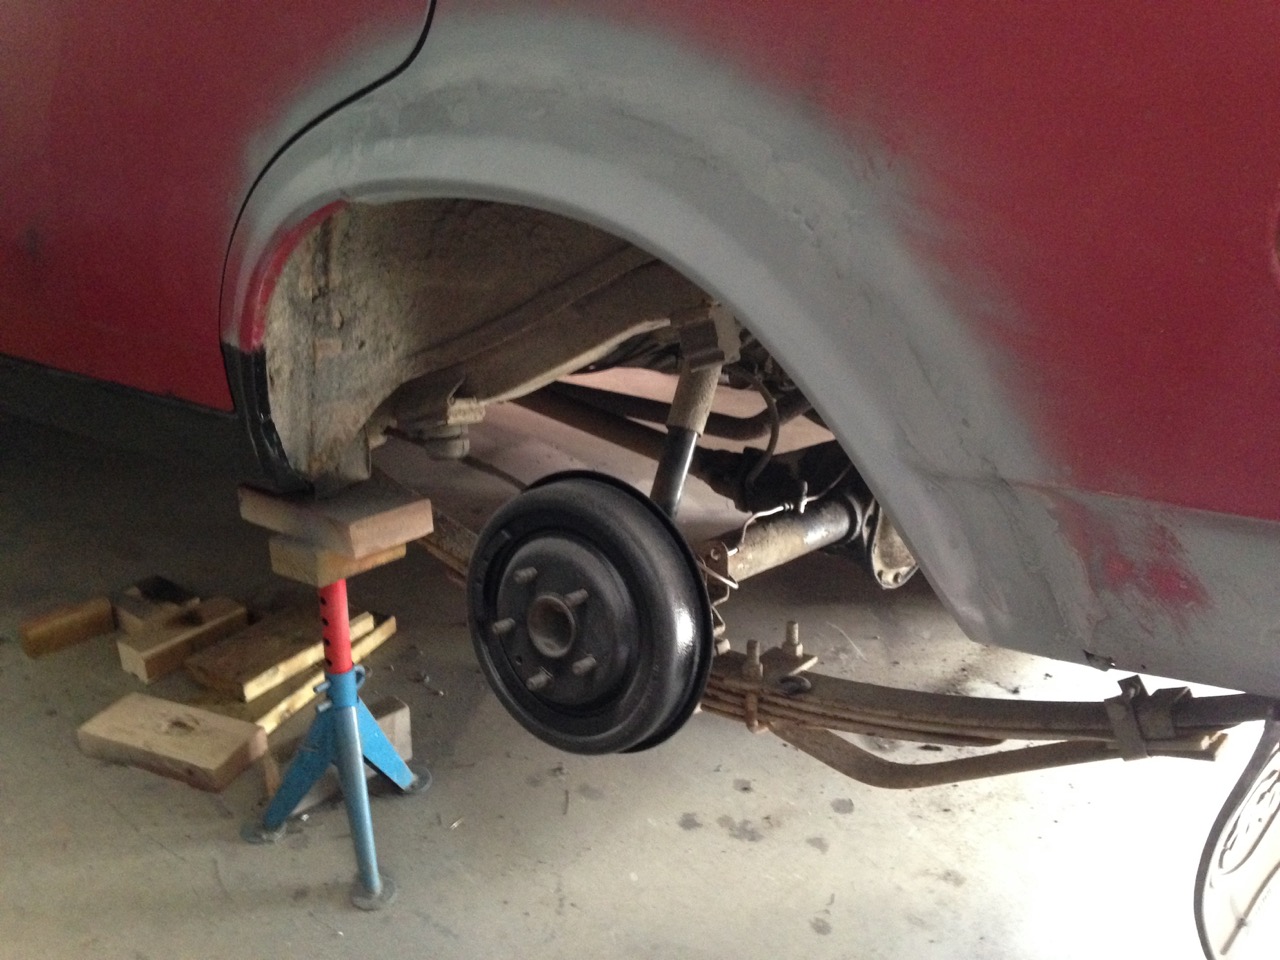
After some putty and sanding the wheel arch start to look nice
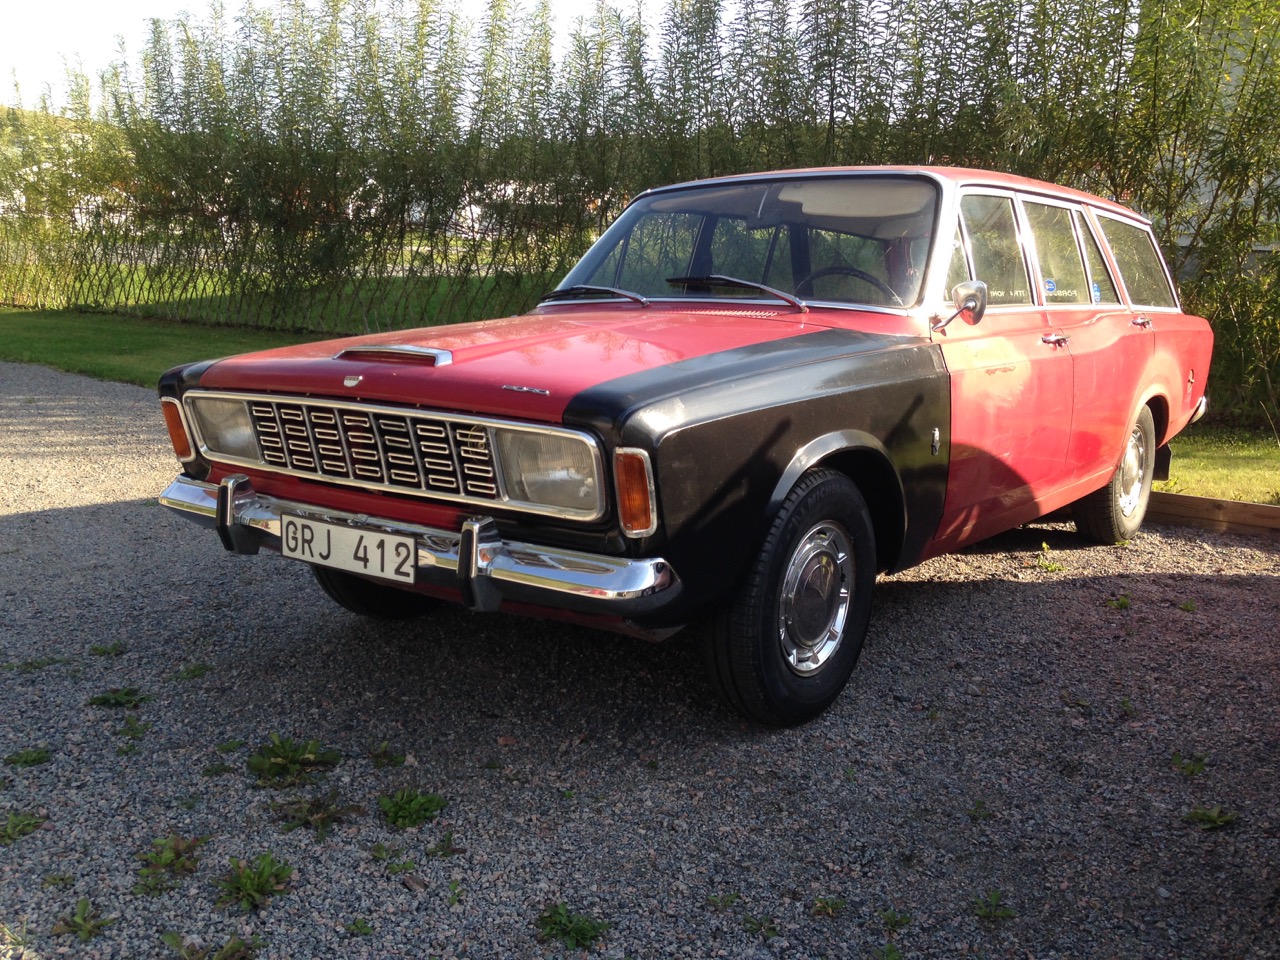
Finally after some more sill welding, a new exhaust system and tires the car is approved by the vehicle inspection
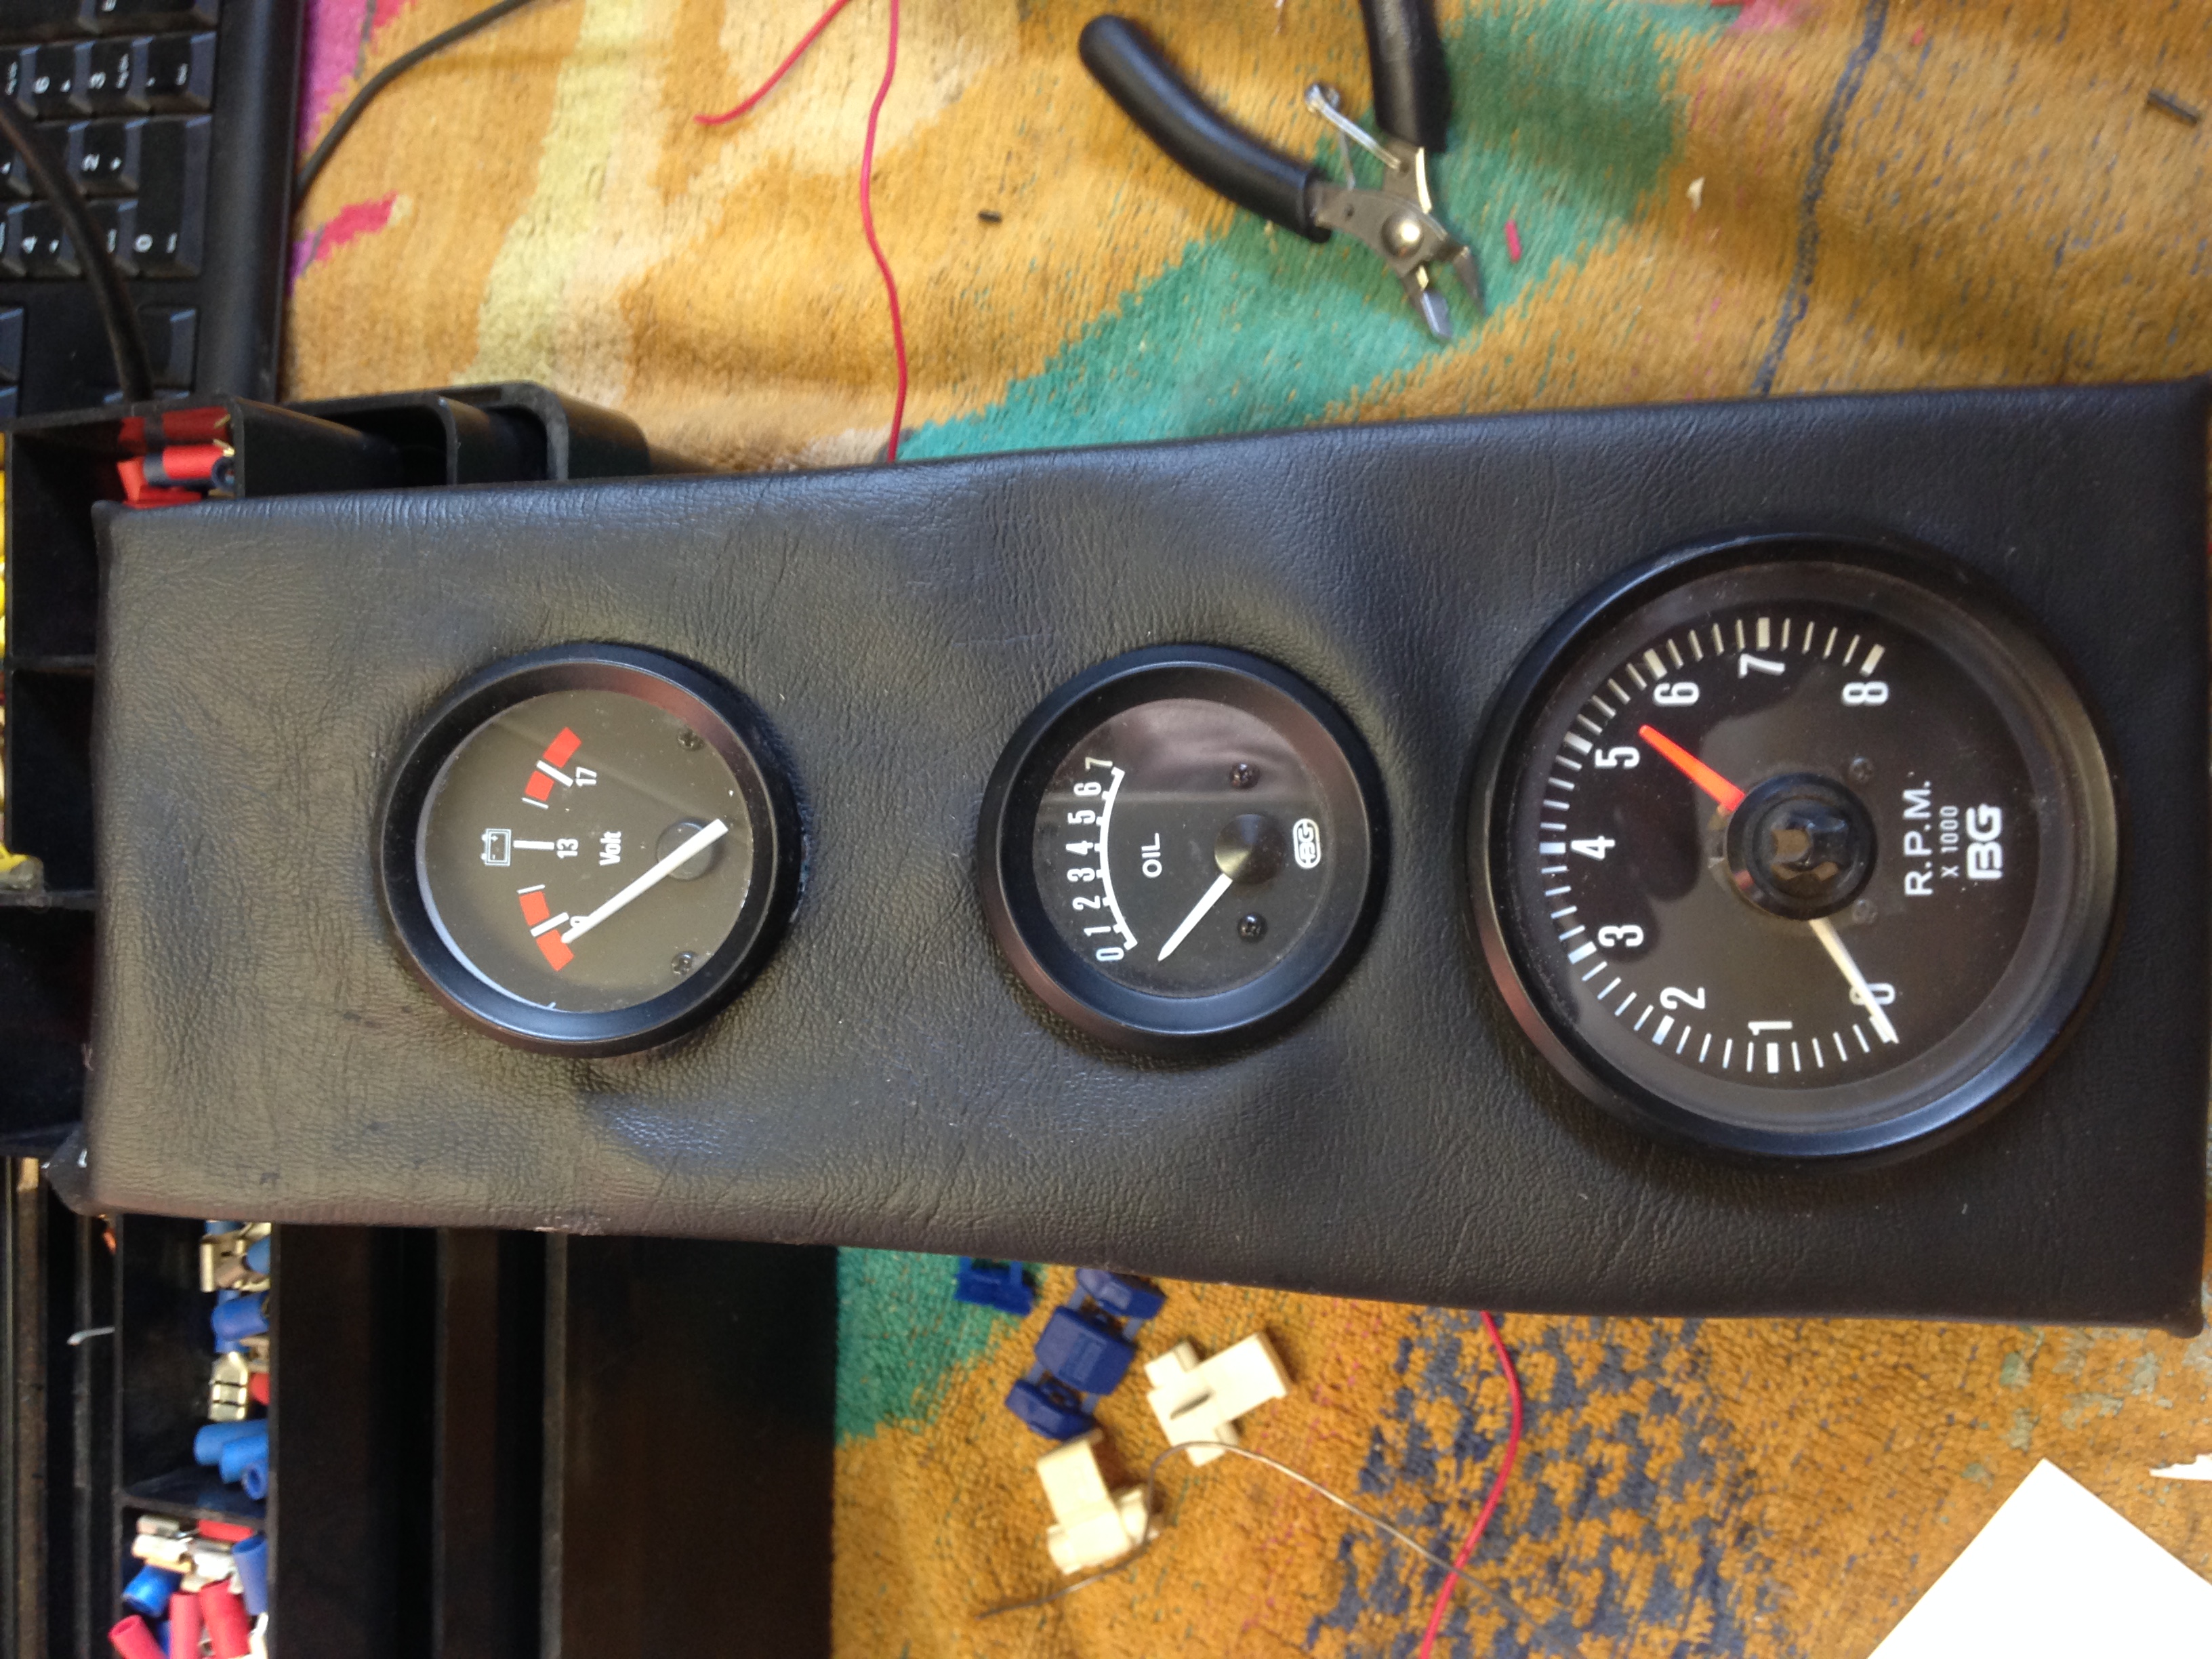
So i made an extra consol out of plywood instead of the broken lid
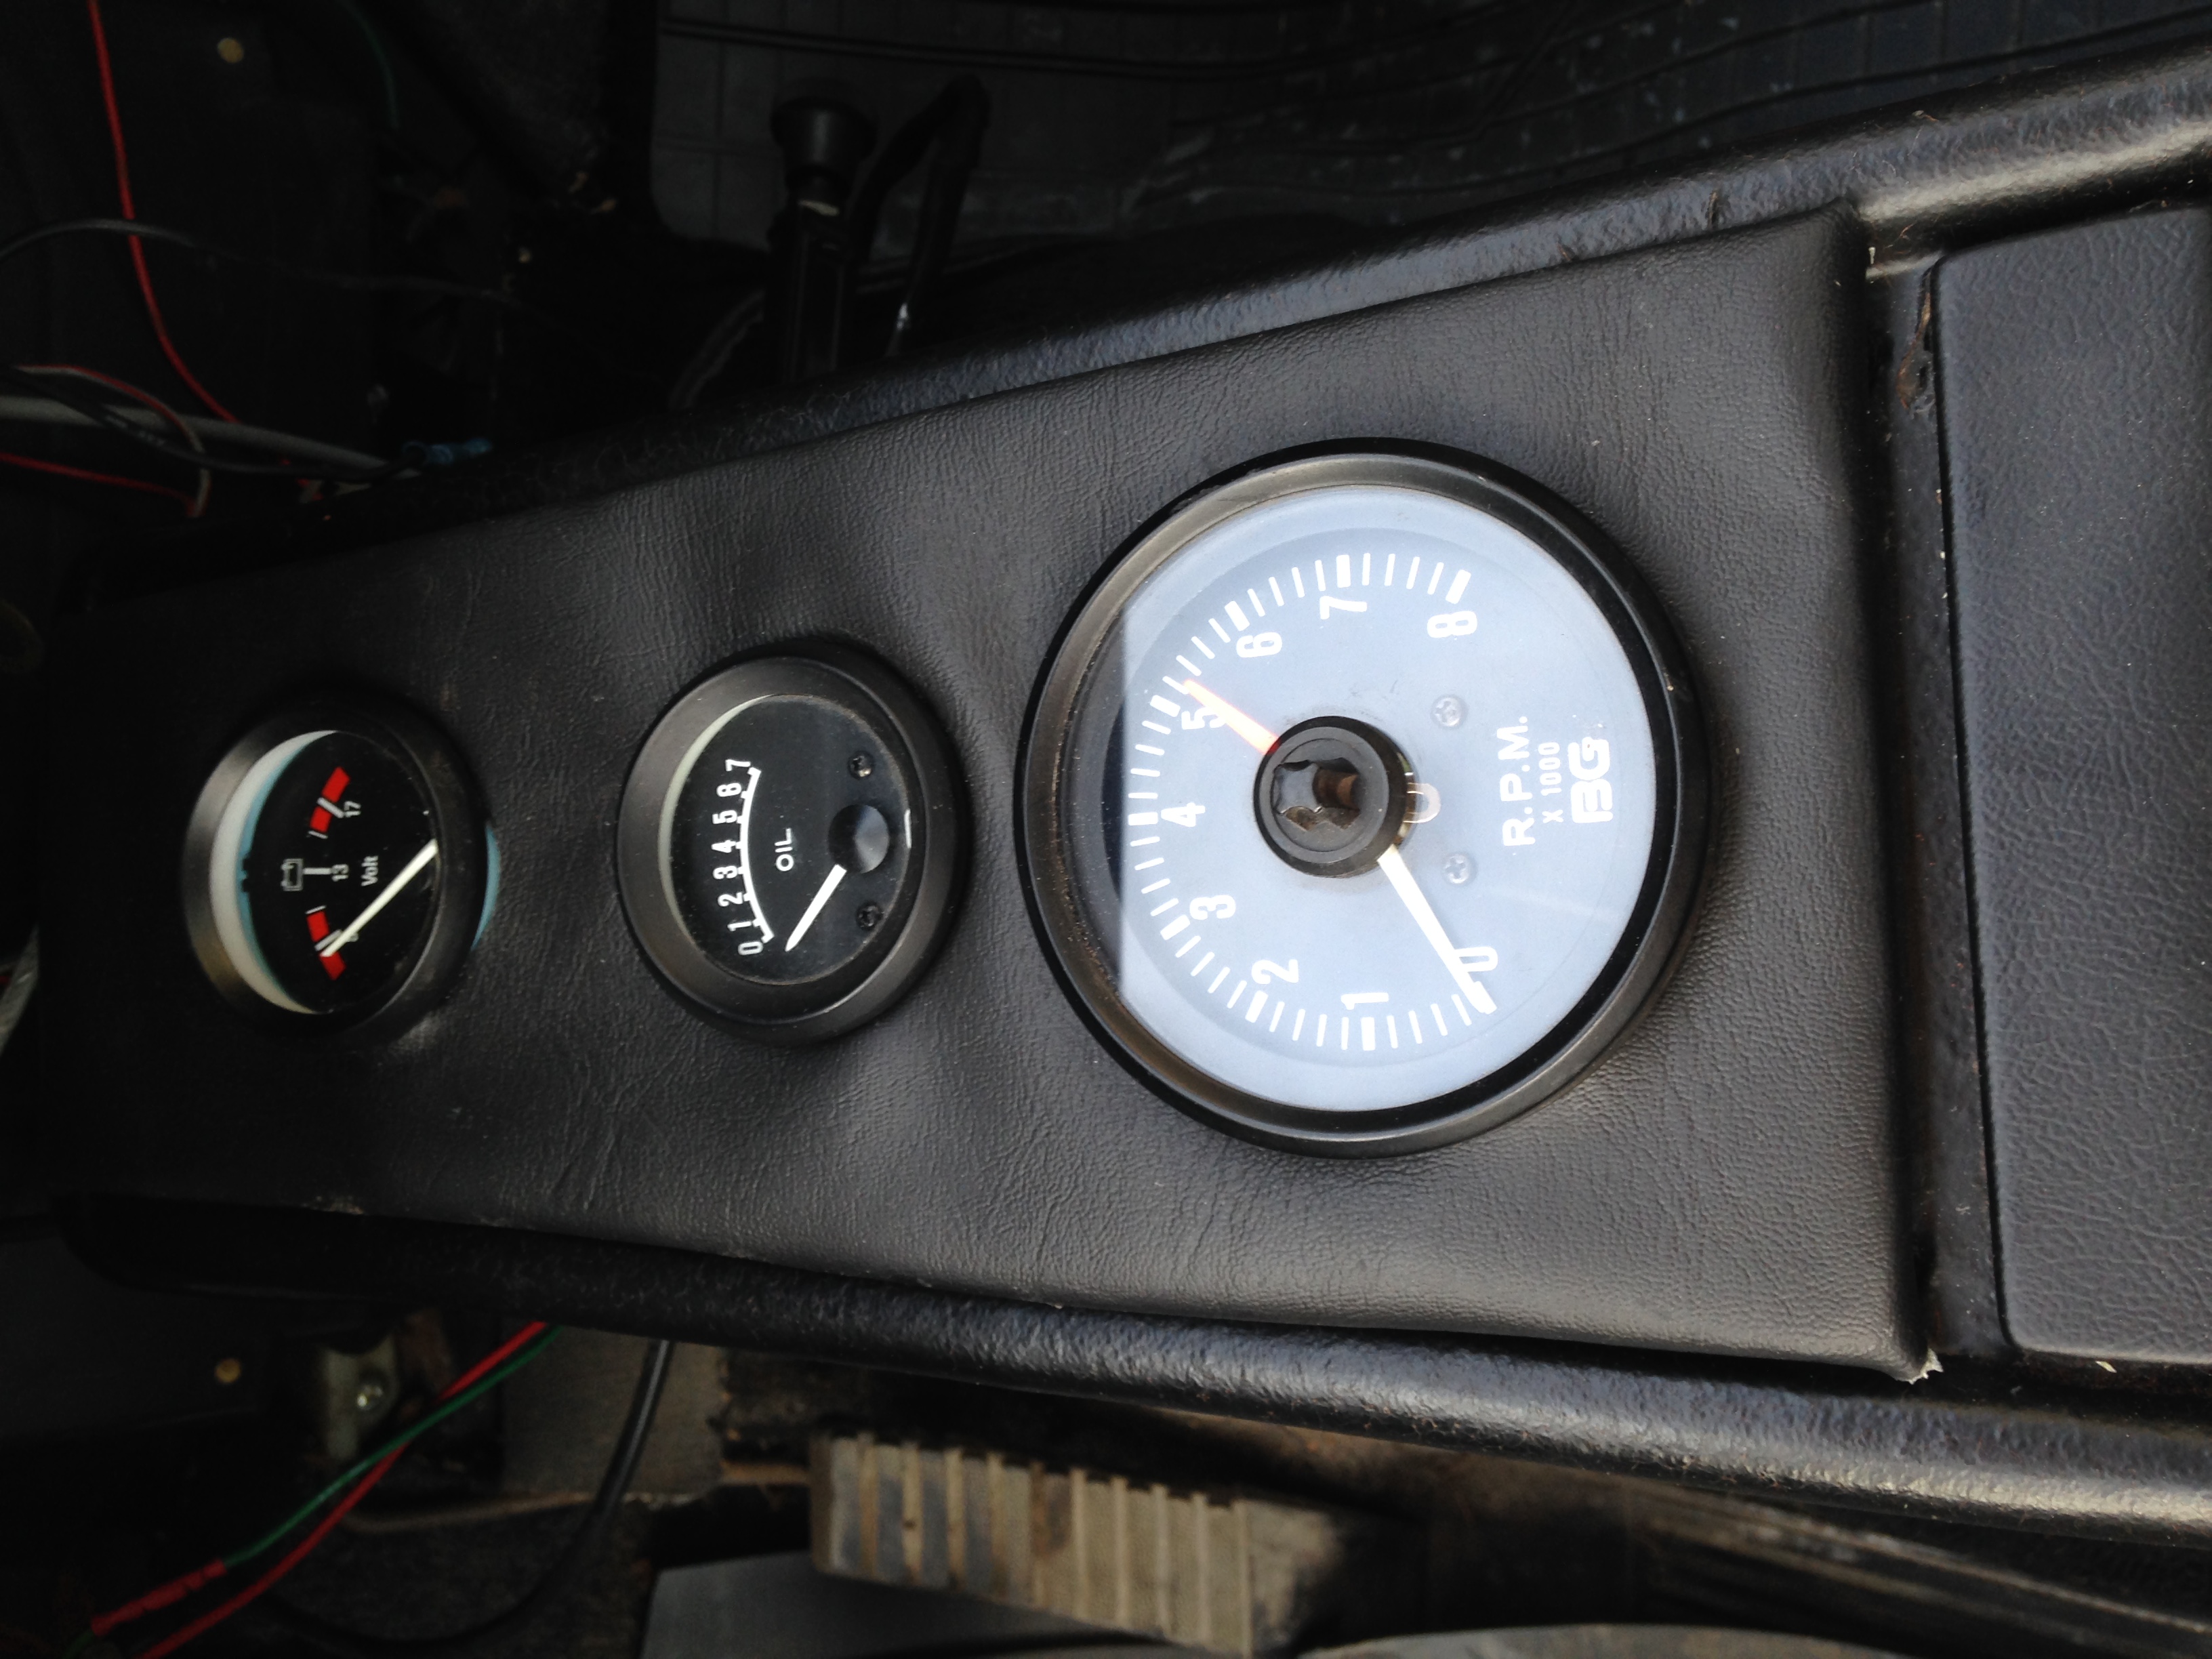
Console in place, nice with som extra dials
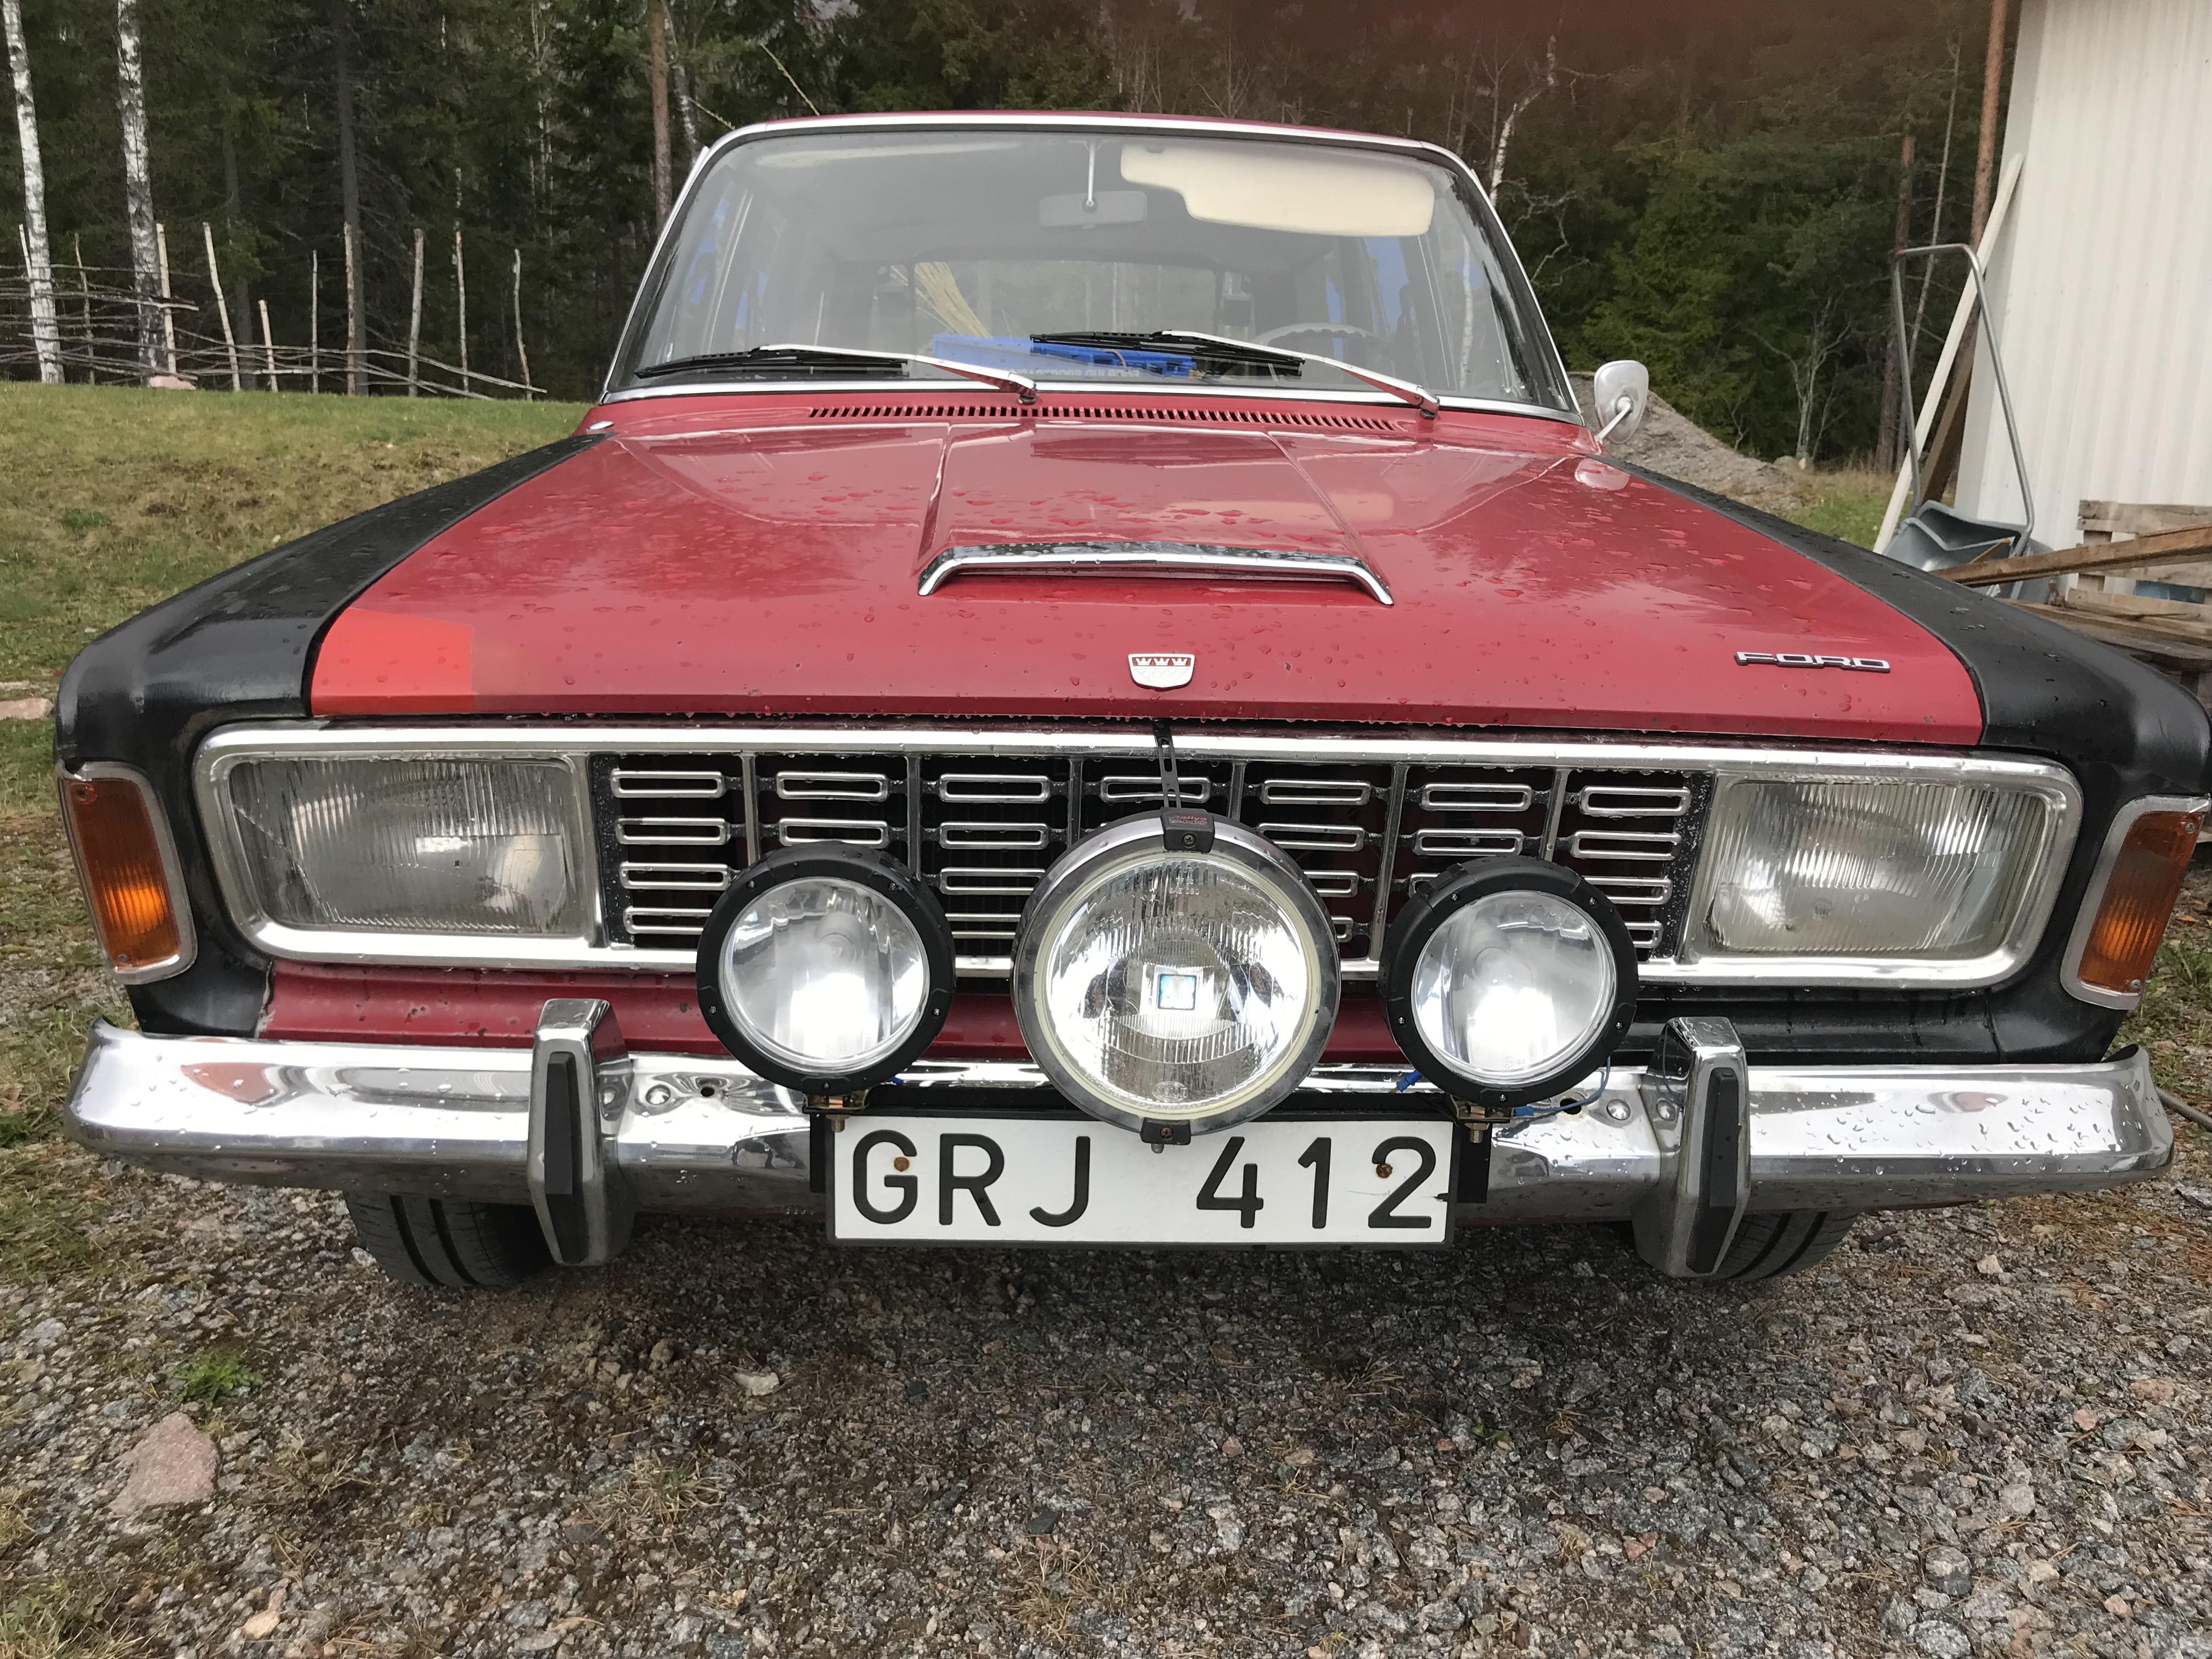
Tried on som auxiliary lights, but the side ones look small
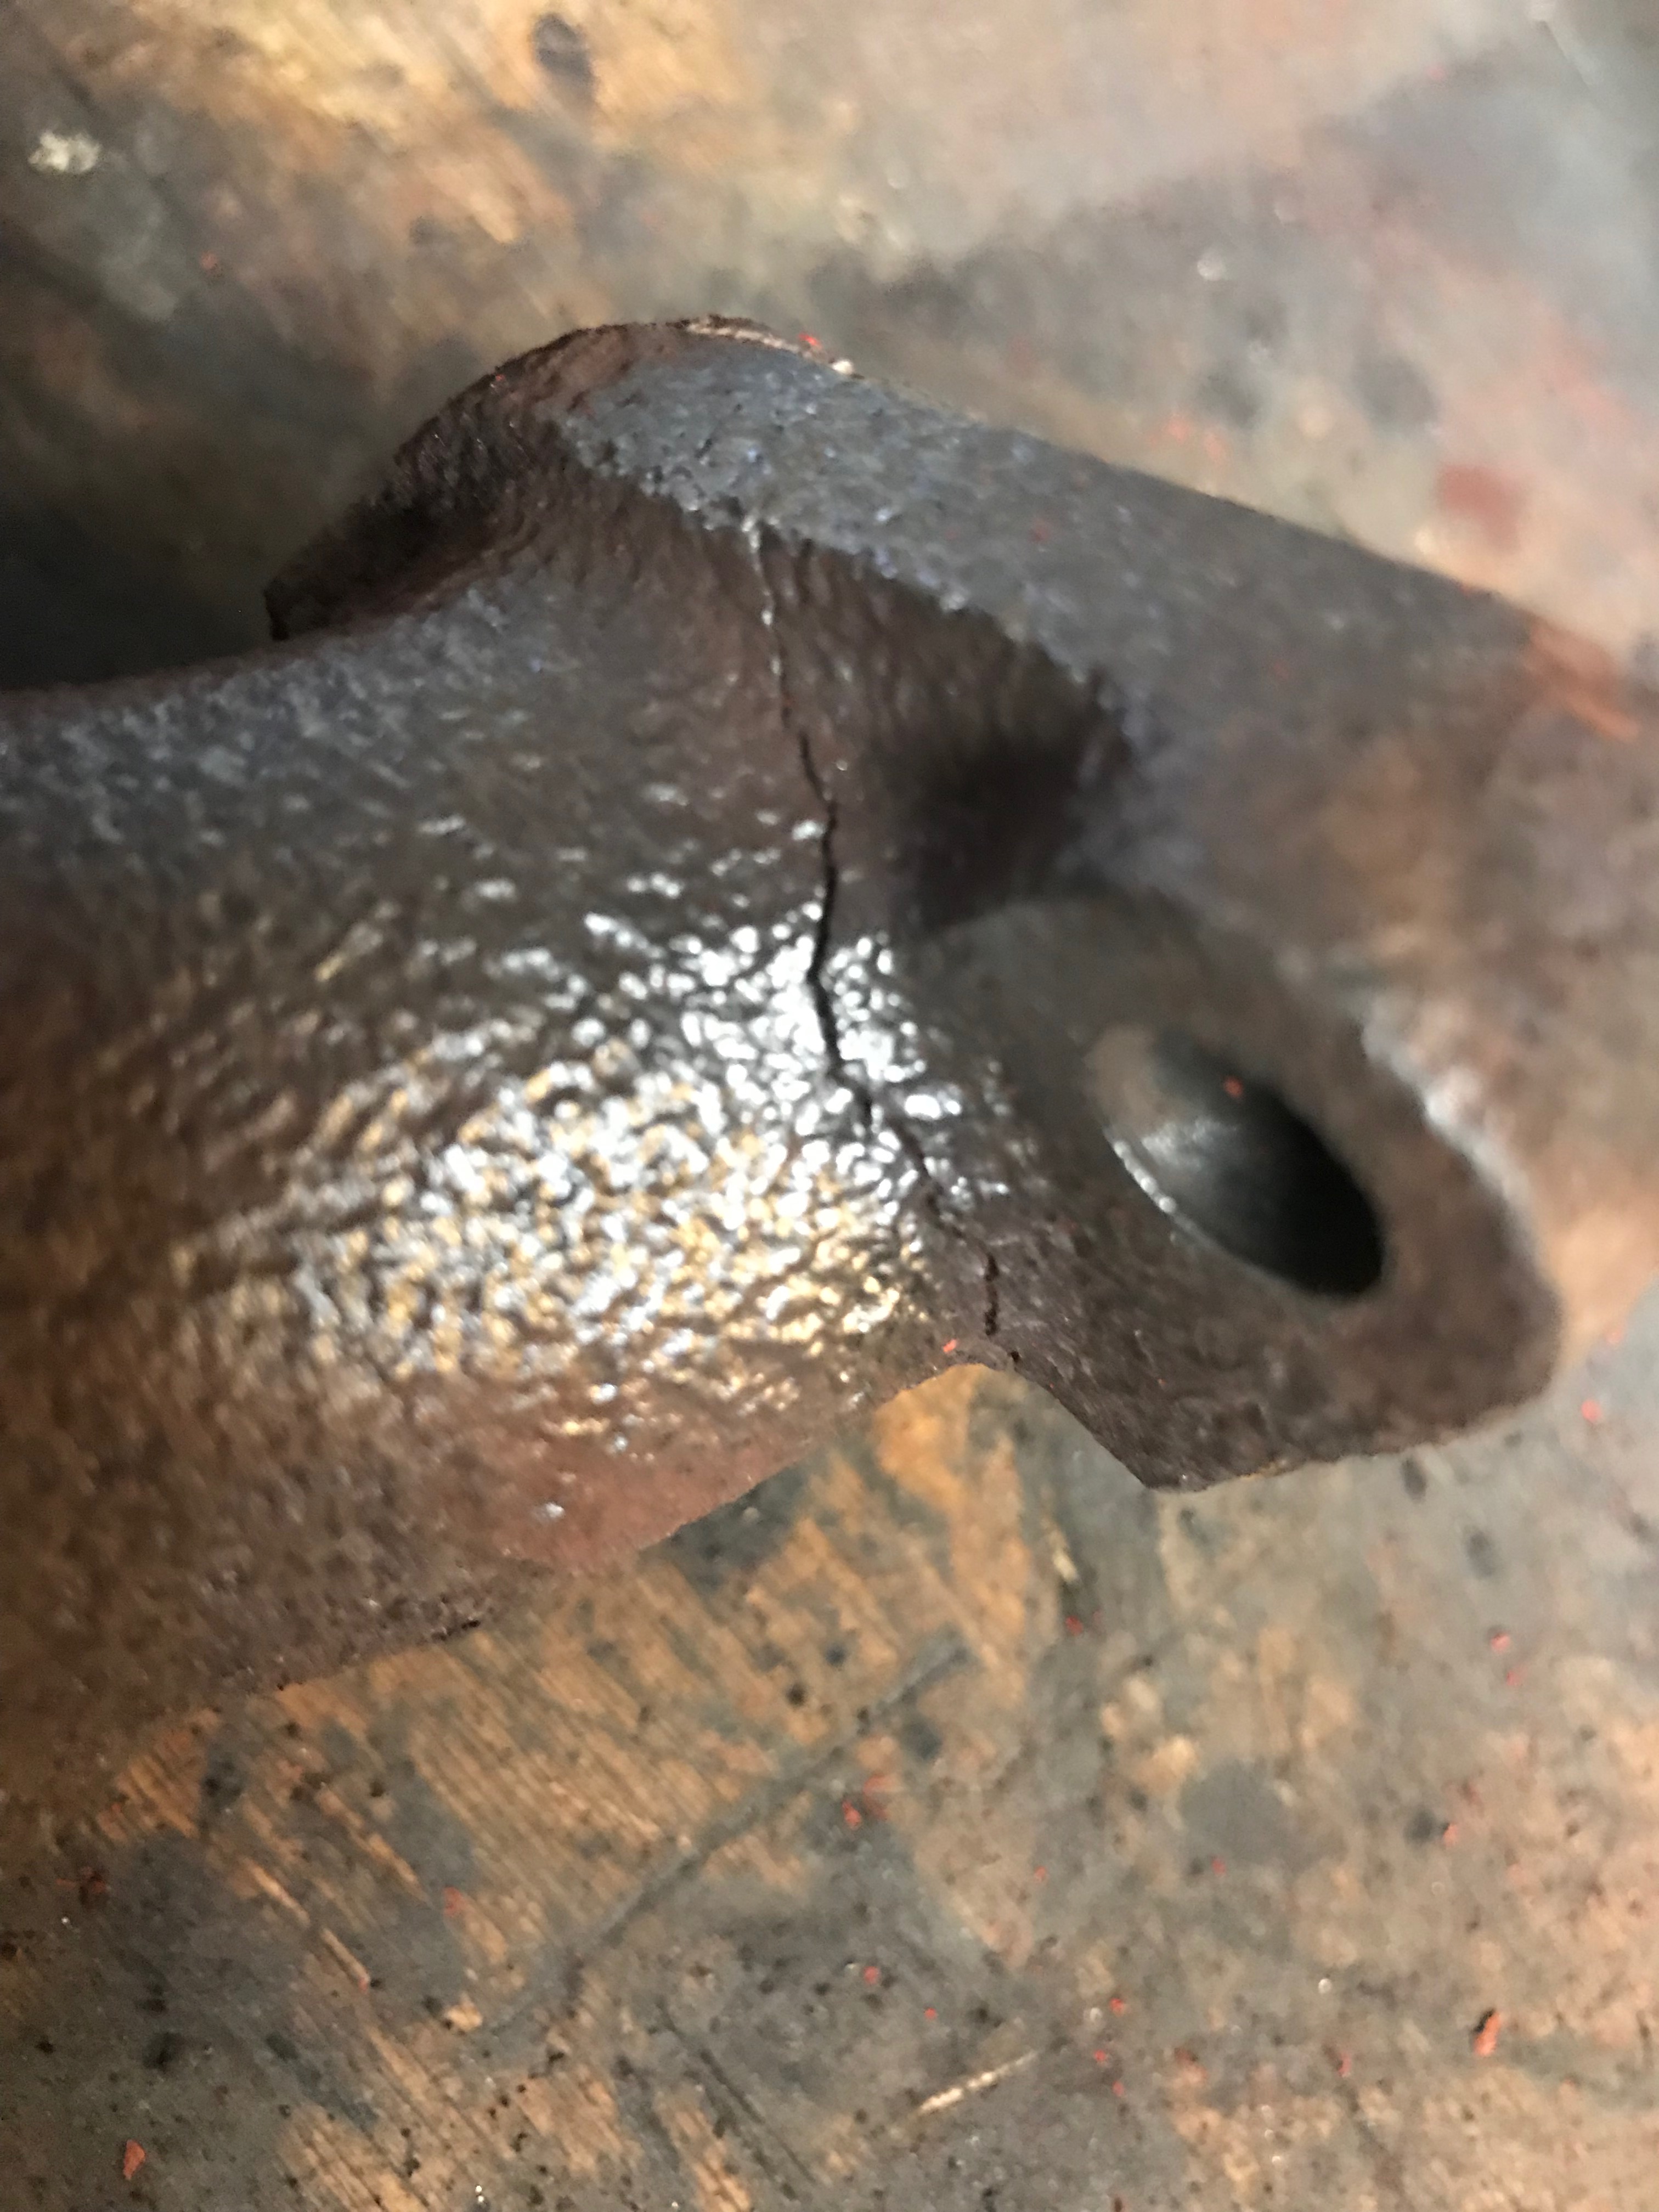
Oh not, the right manifold is cracked, making some bad sounds
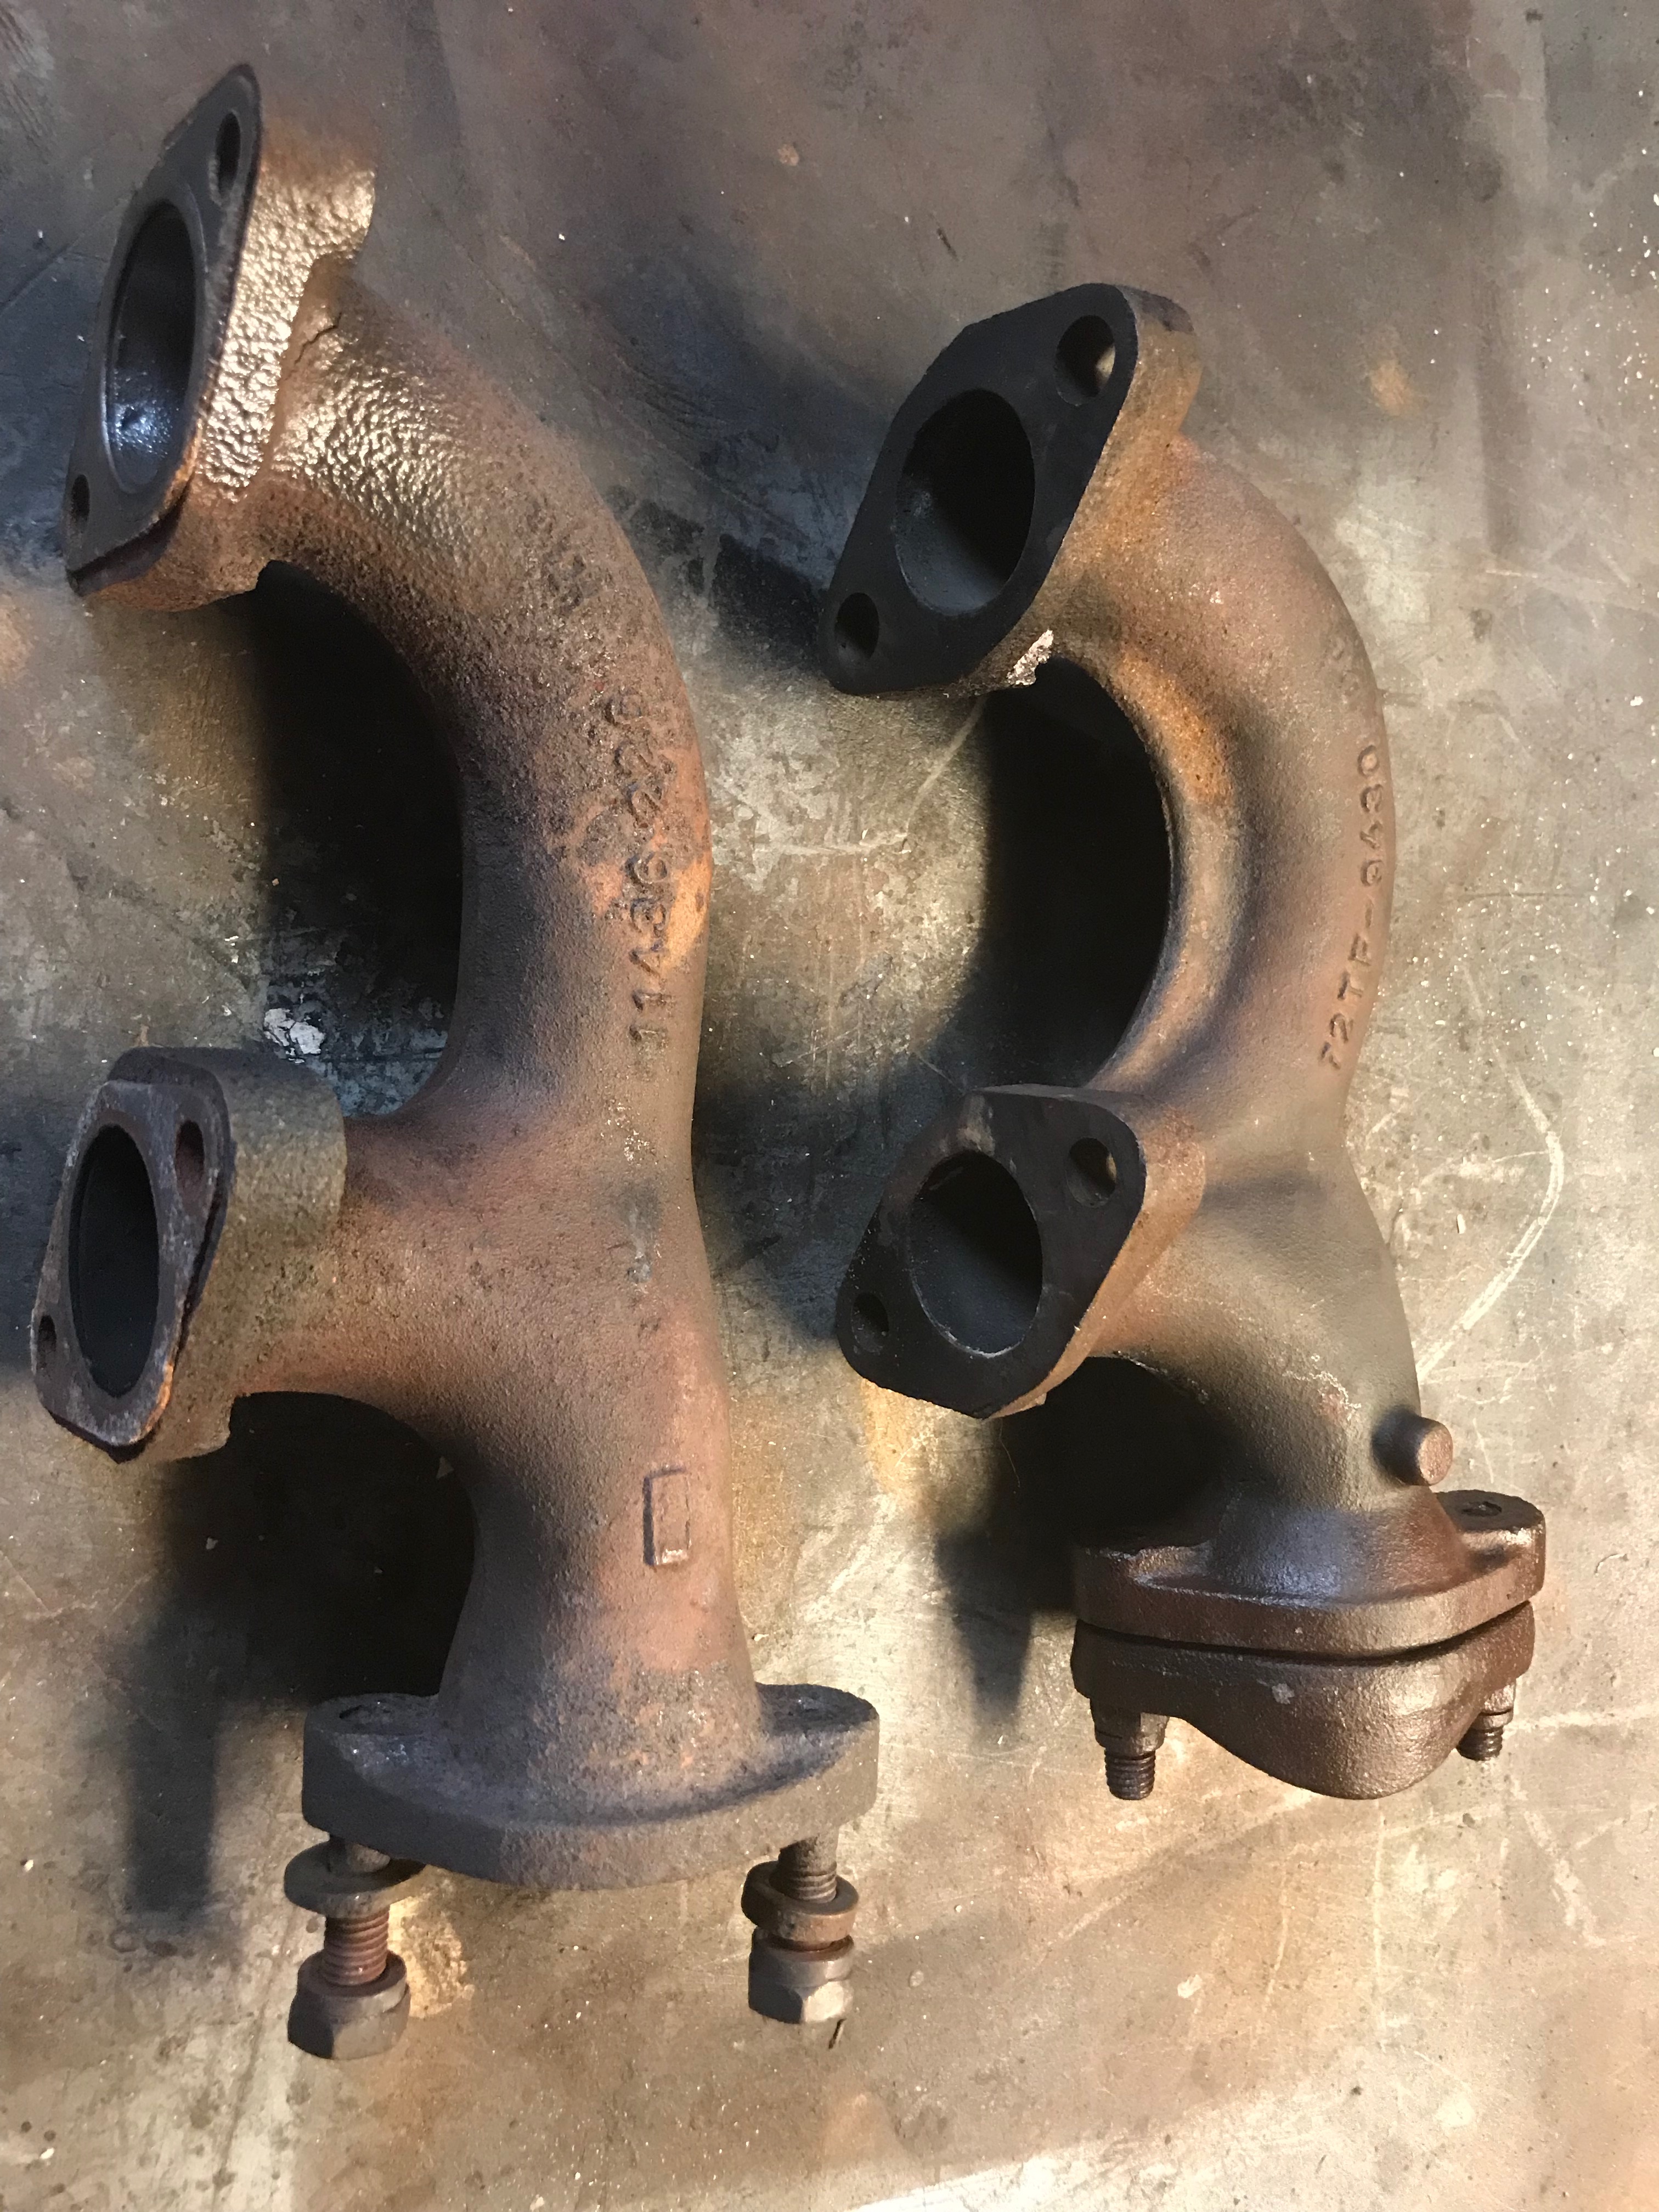
And the Granada manifold is a bit to short
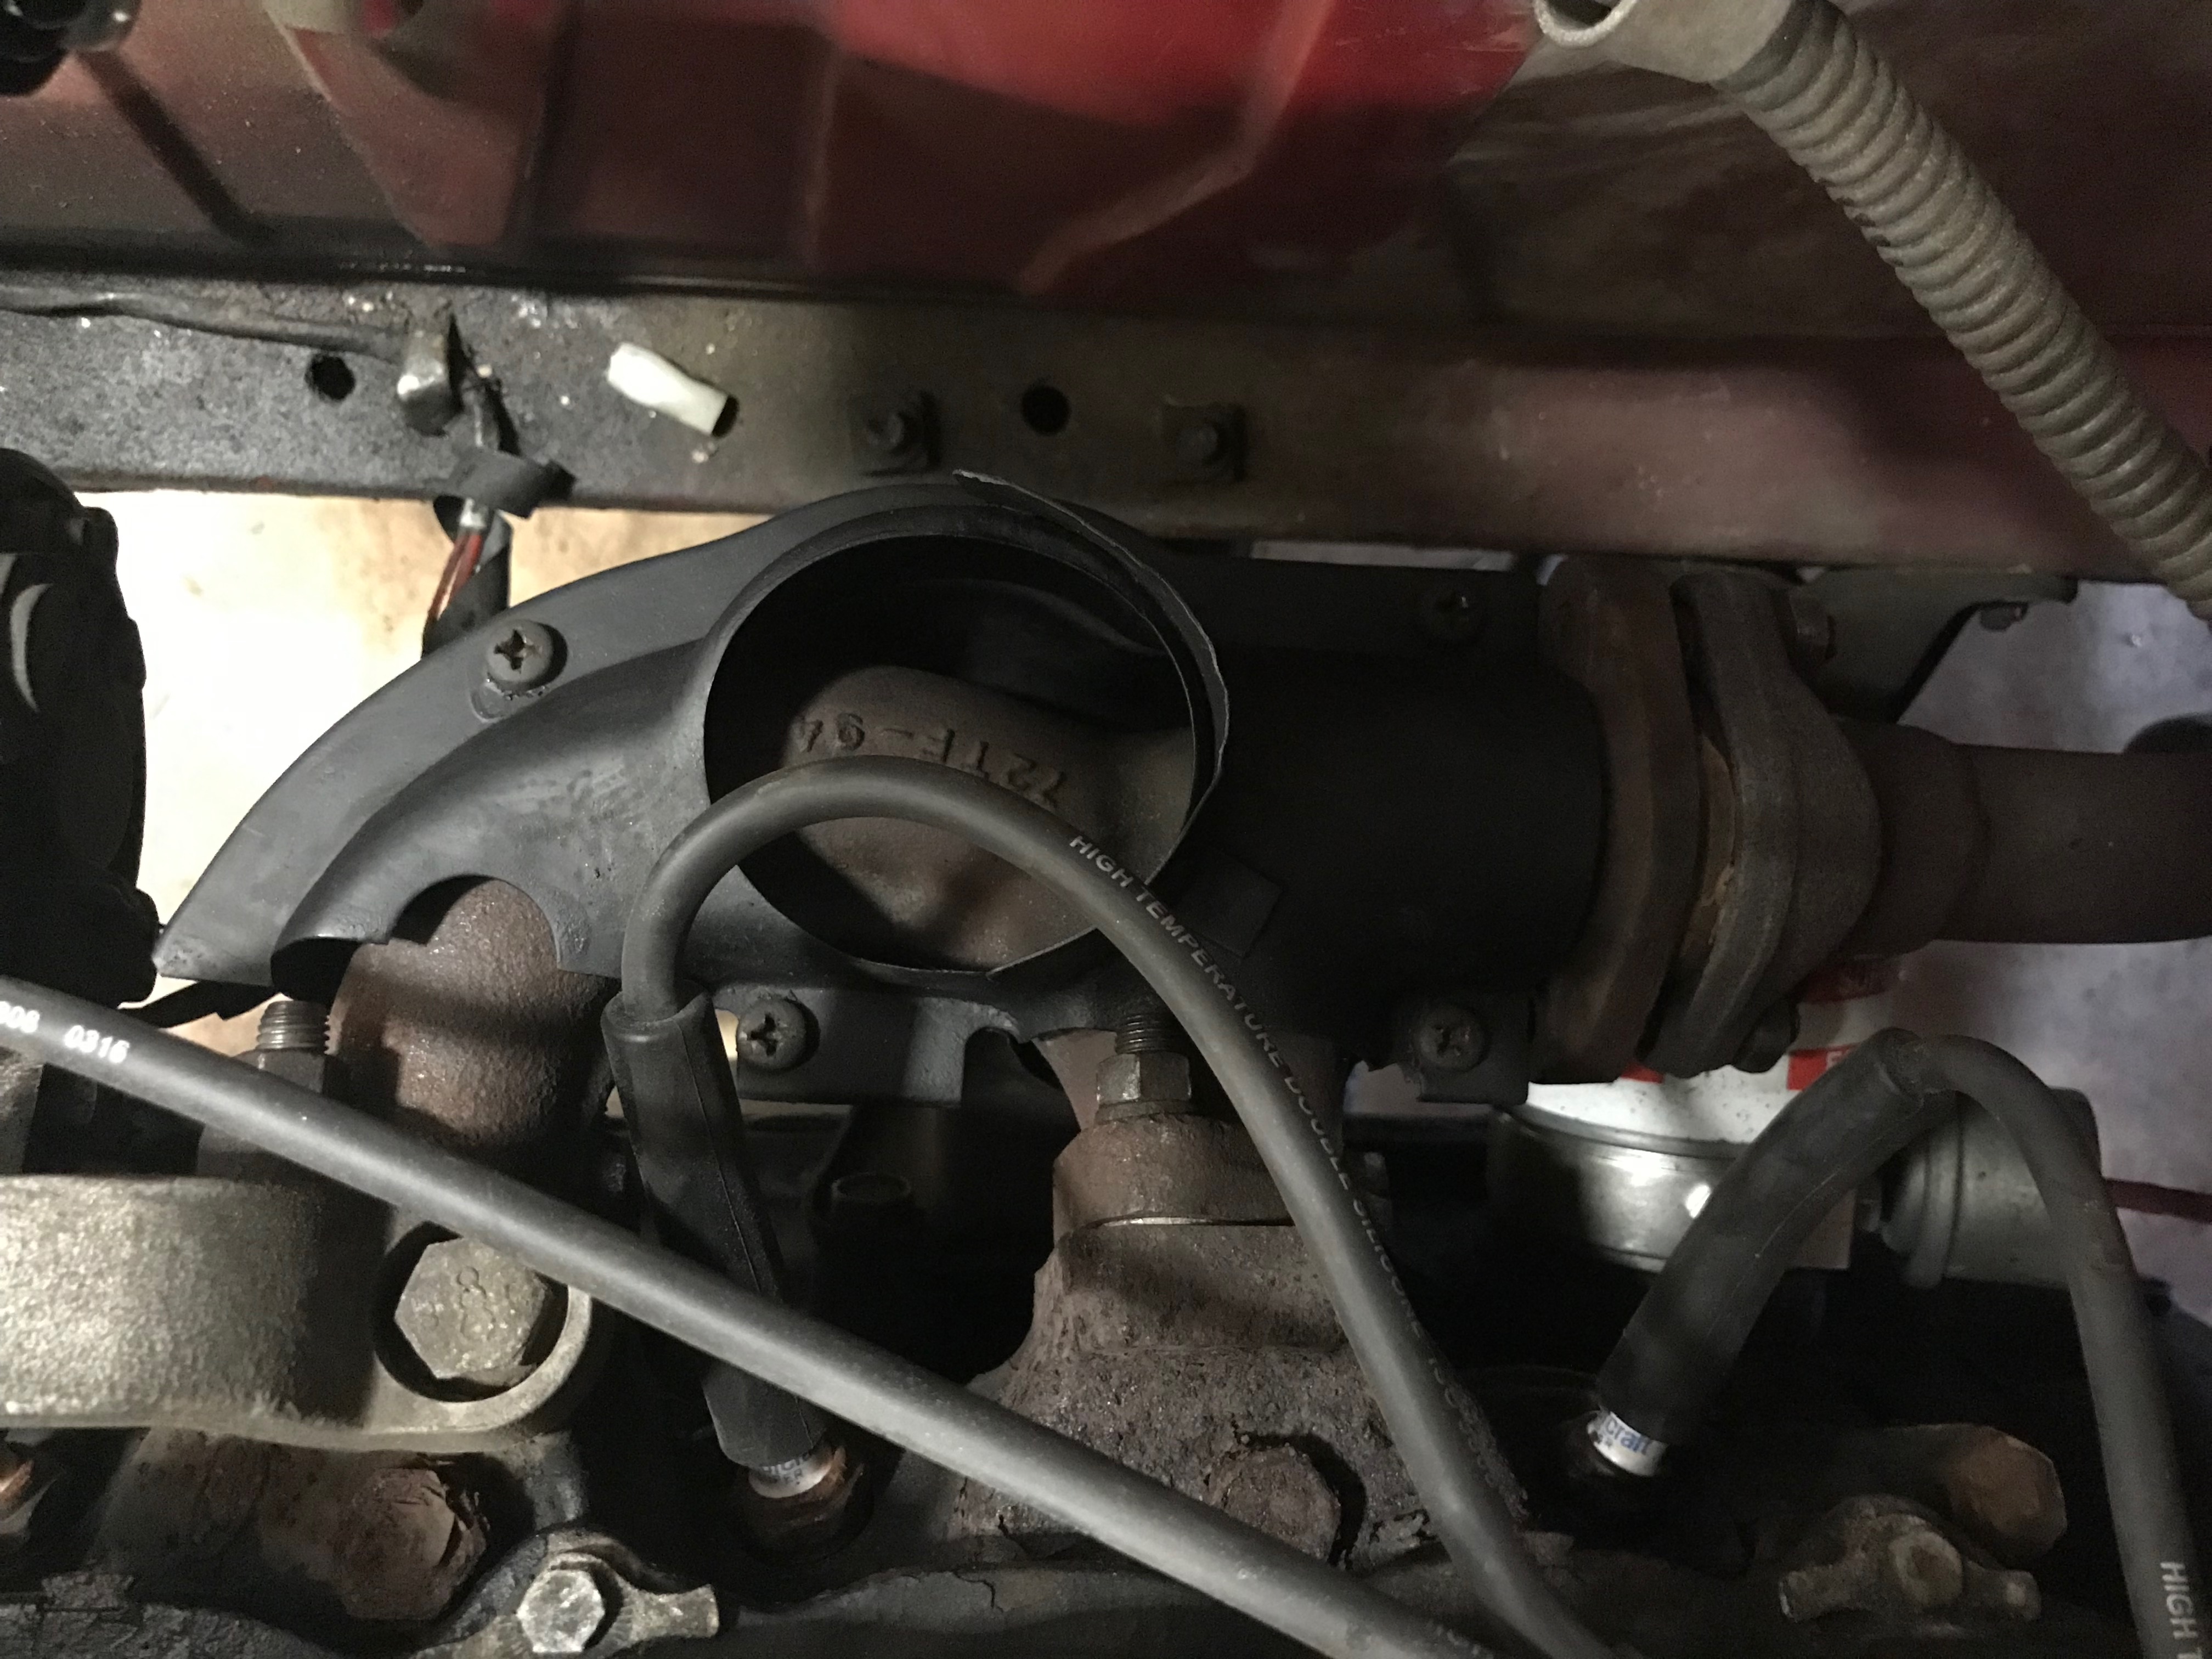
So finally io got the cracked manifold soldered or what it is called, much sand in the casting made it a difficult task, but now is fixed and mounted.
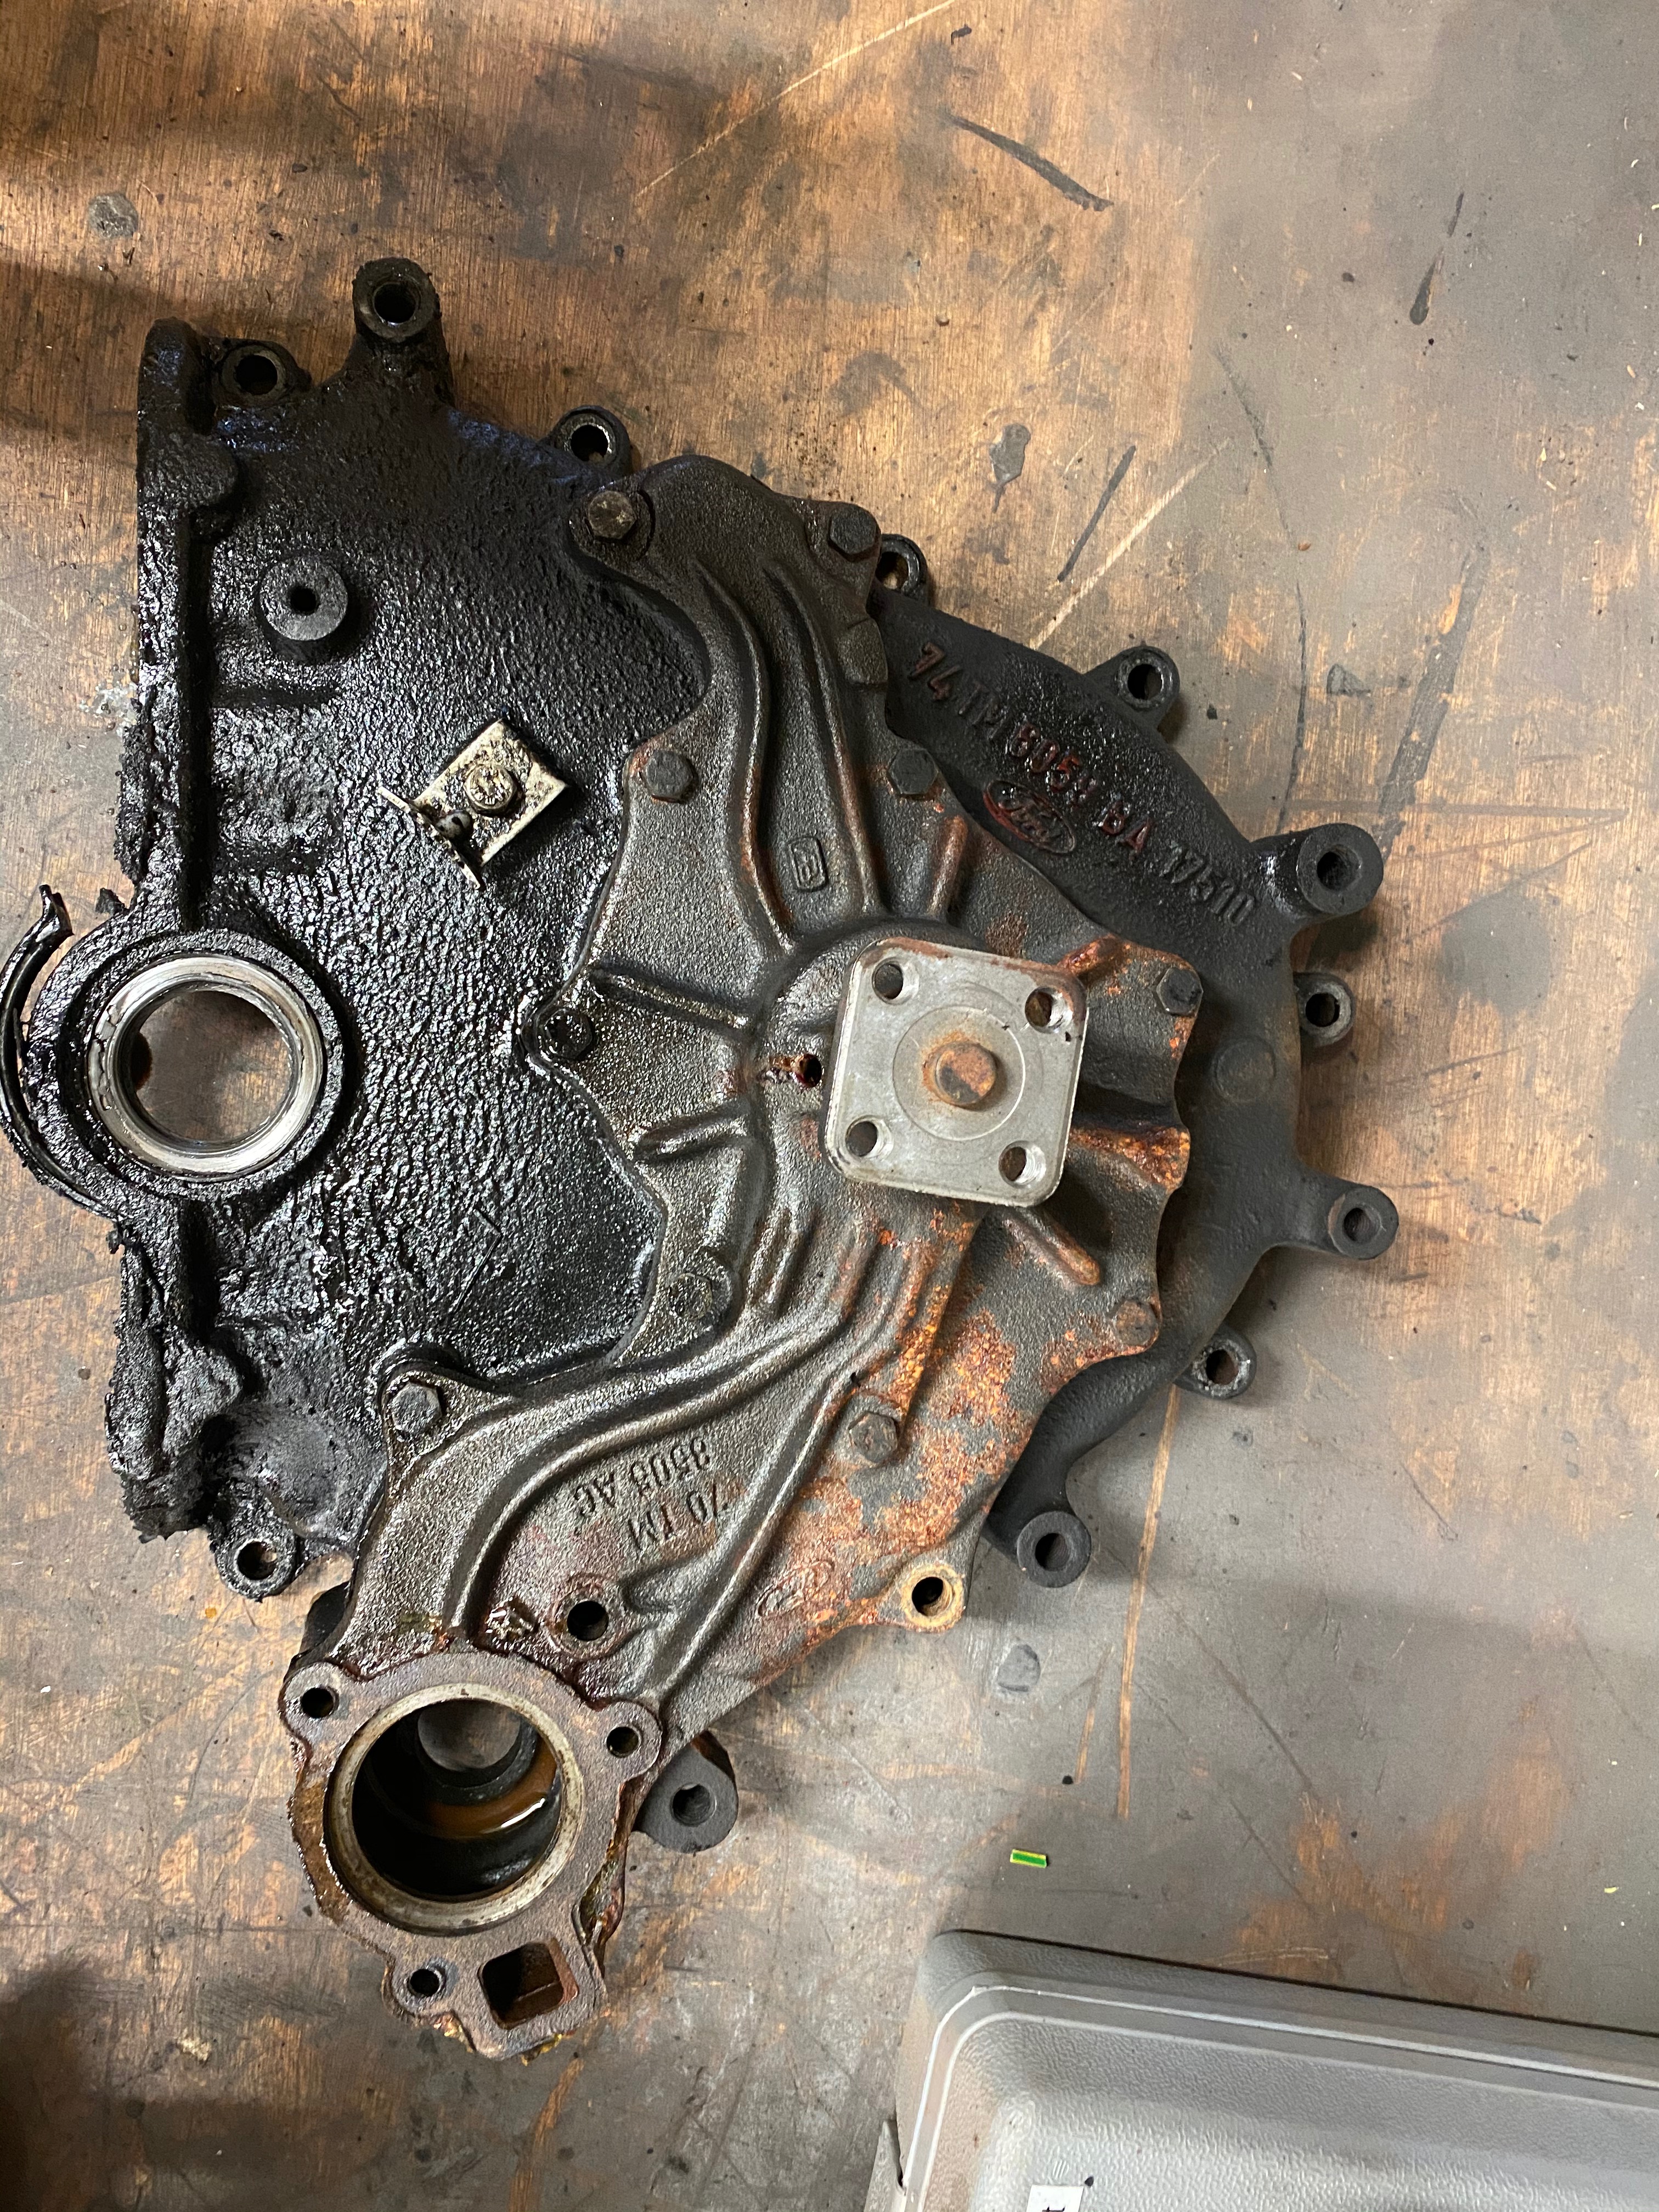
Removed the front of the engine to get hold of a leaking seal. And possibly change the seal and the put the front back
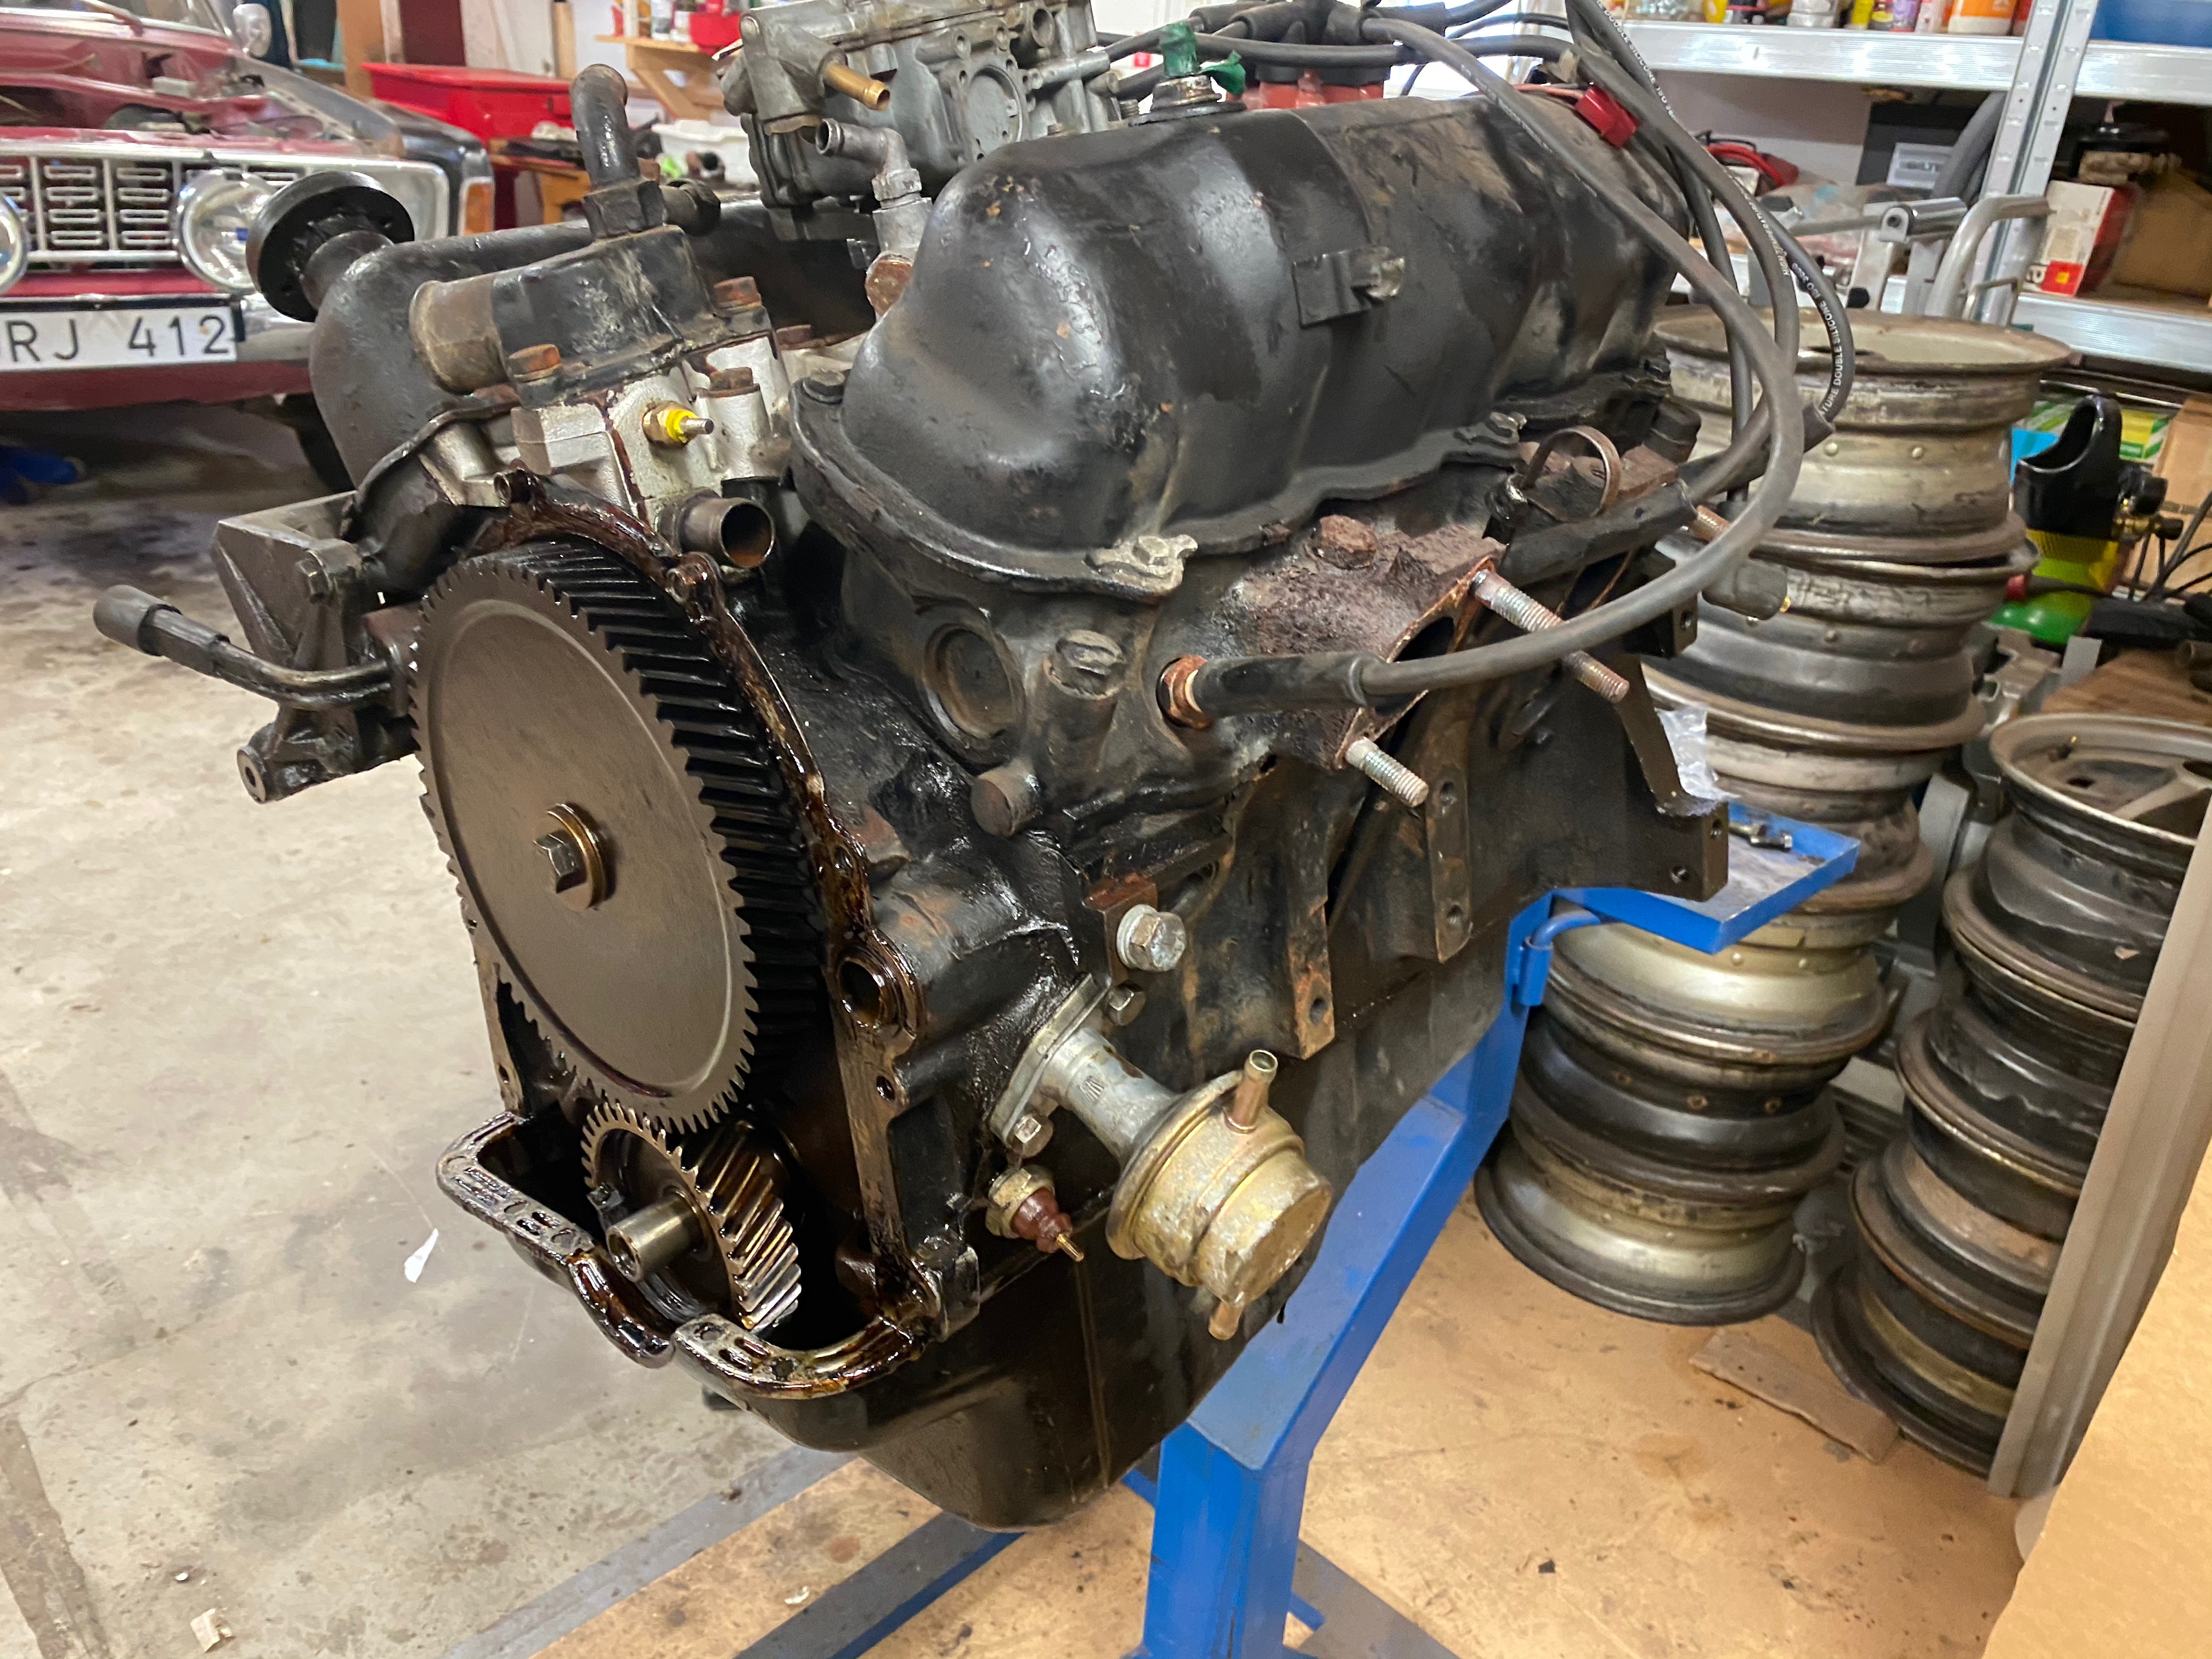
Well that did not work as a i had hoped so the engine had to come out
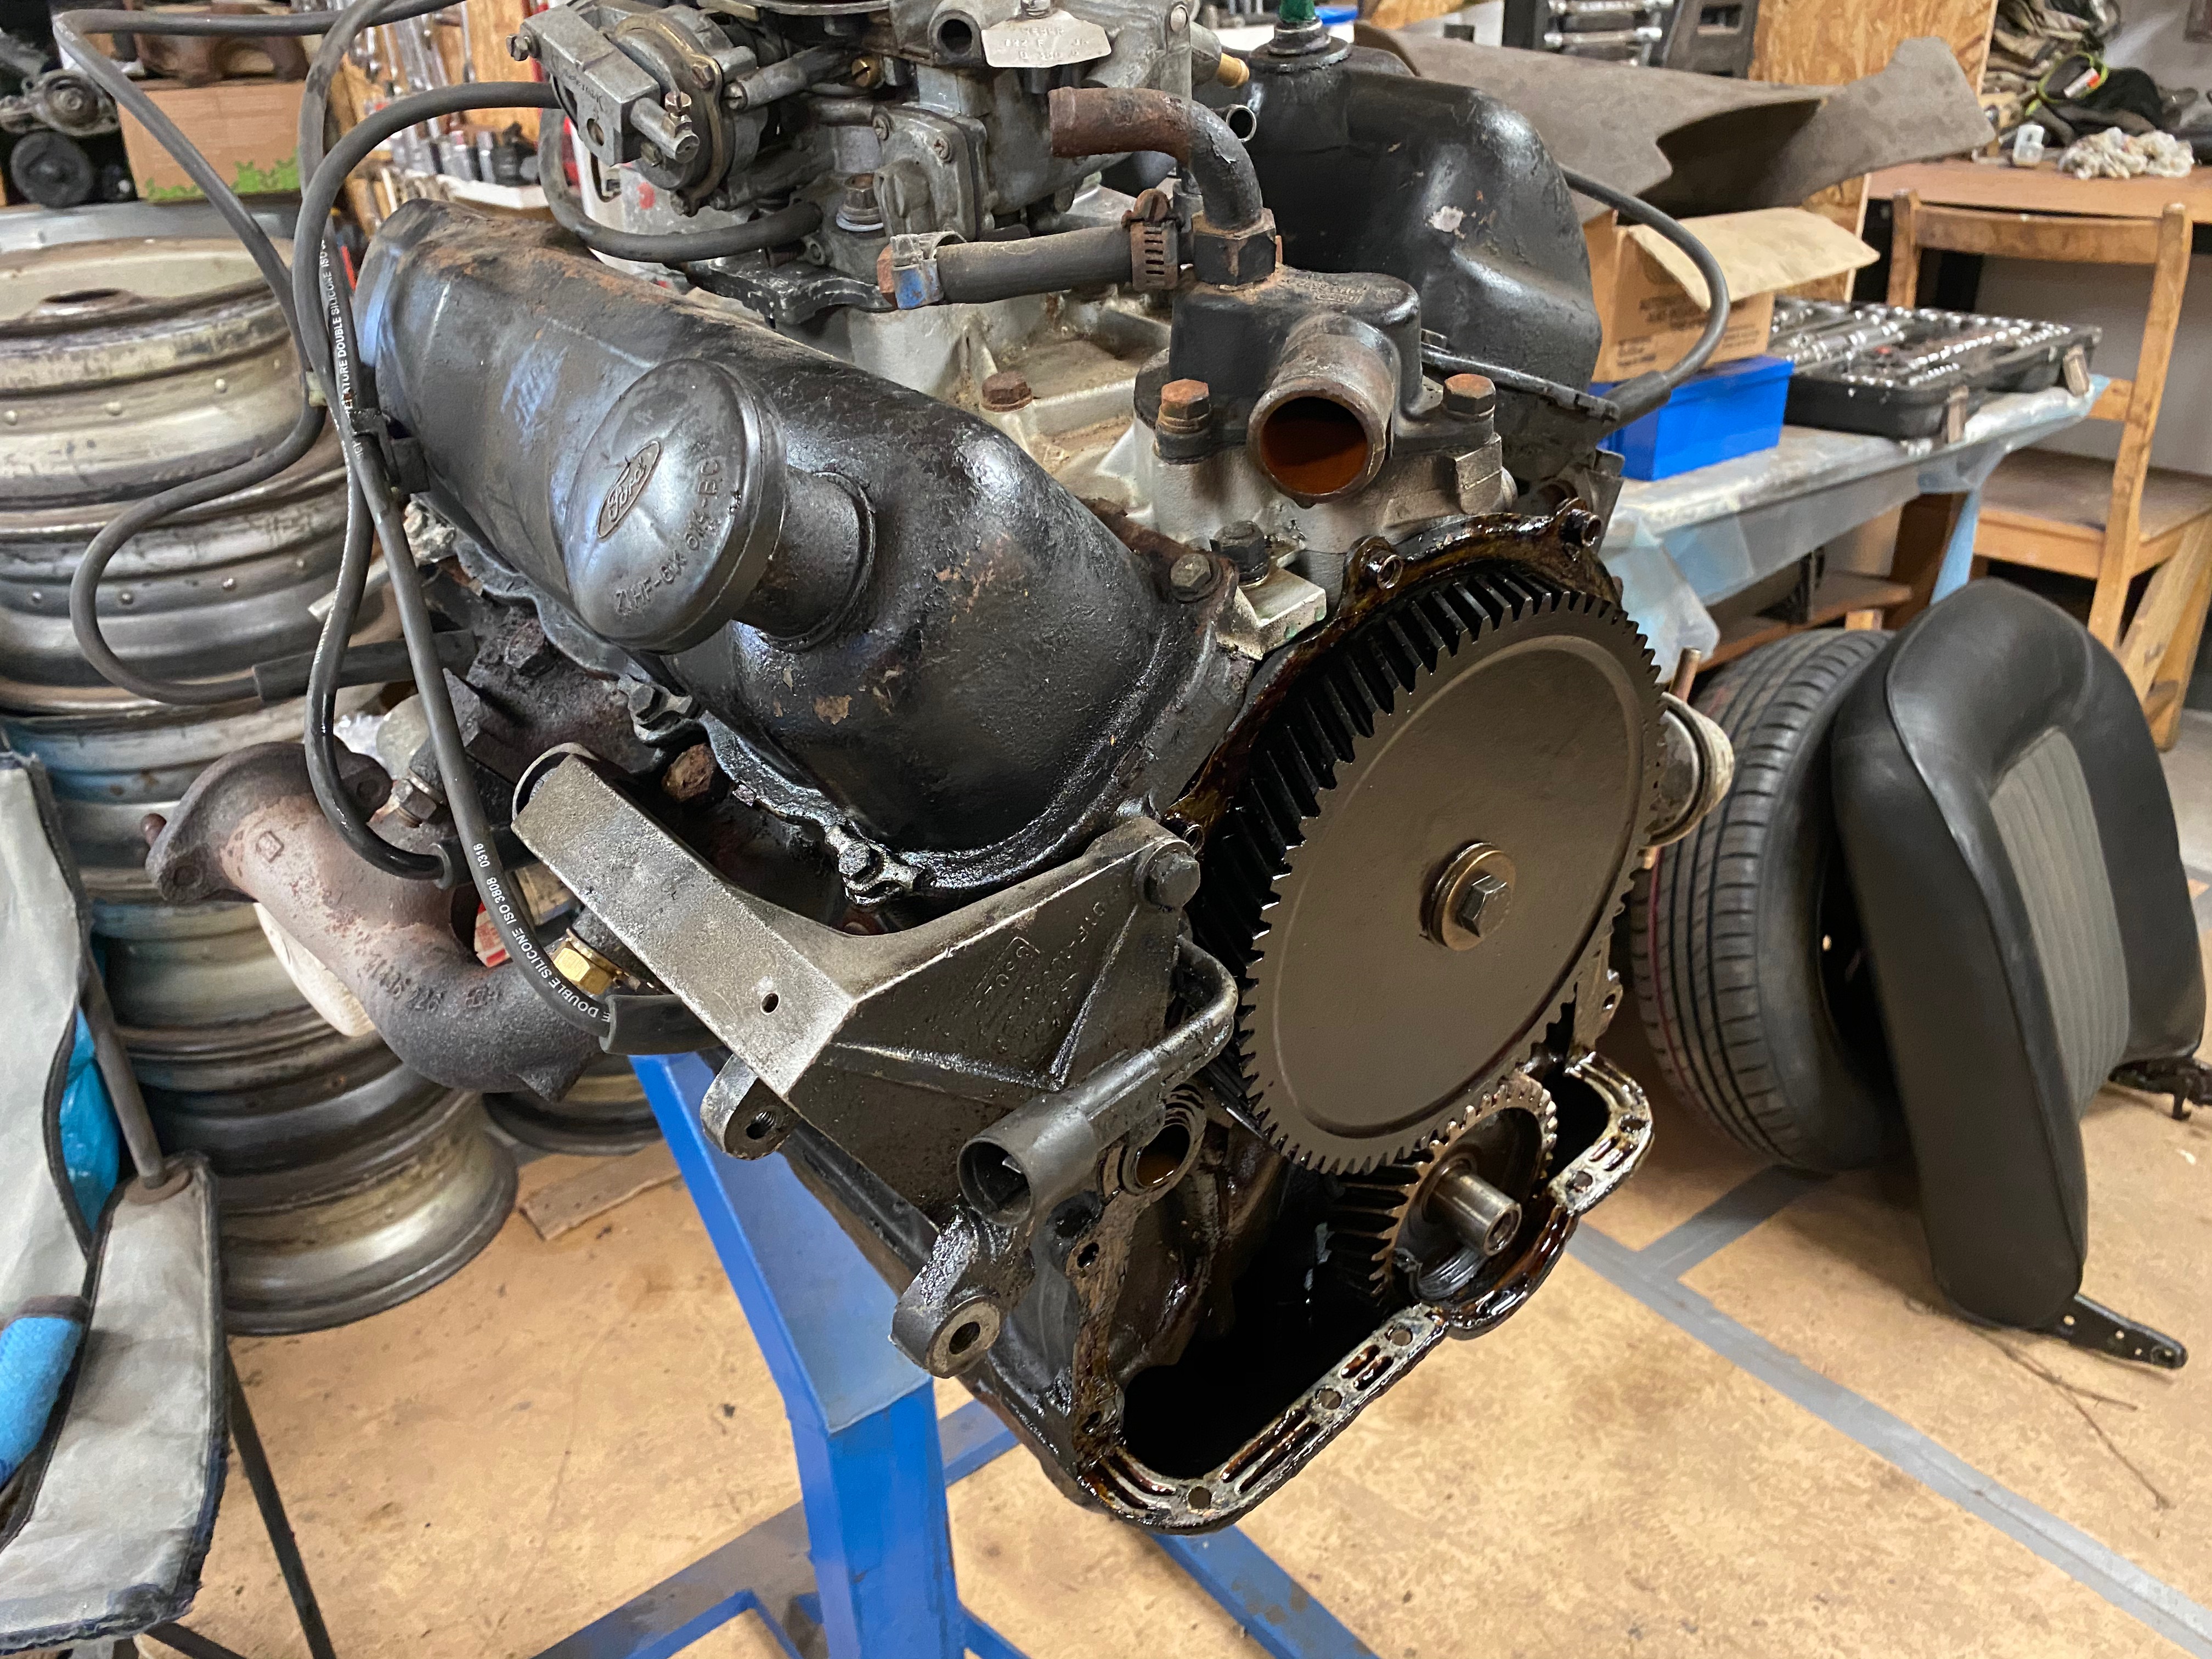
From the other side
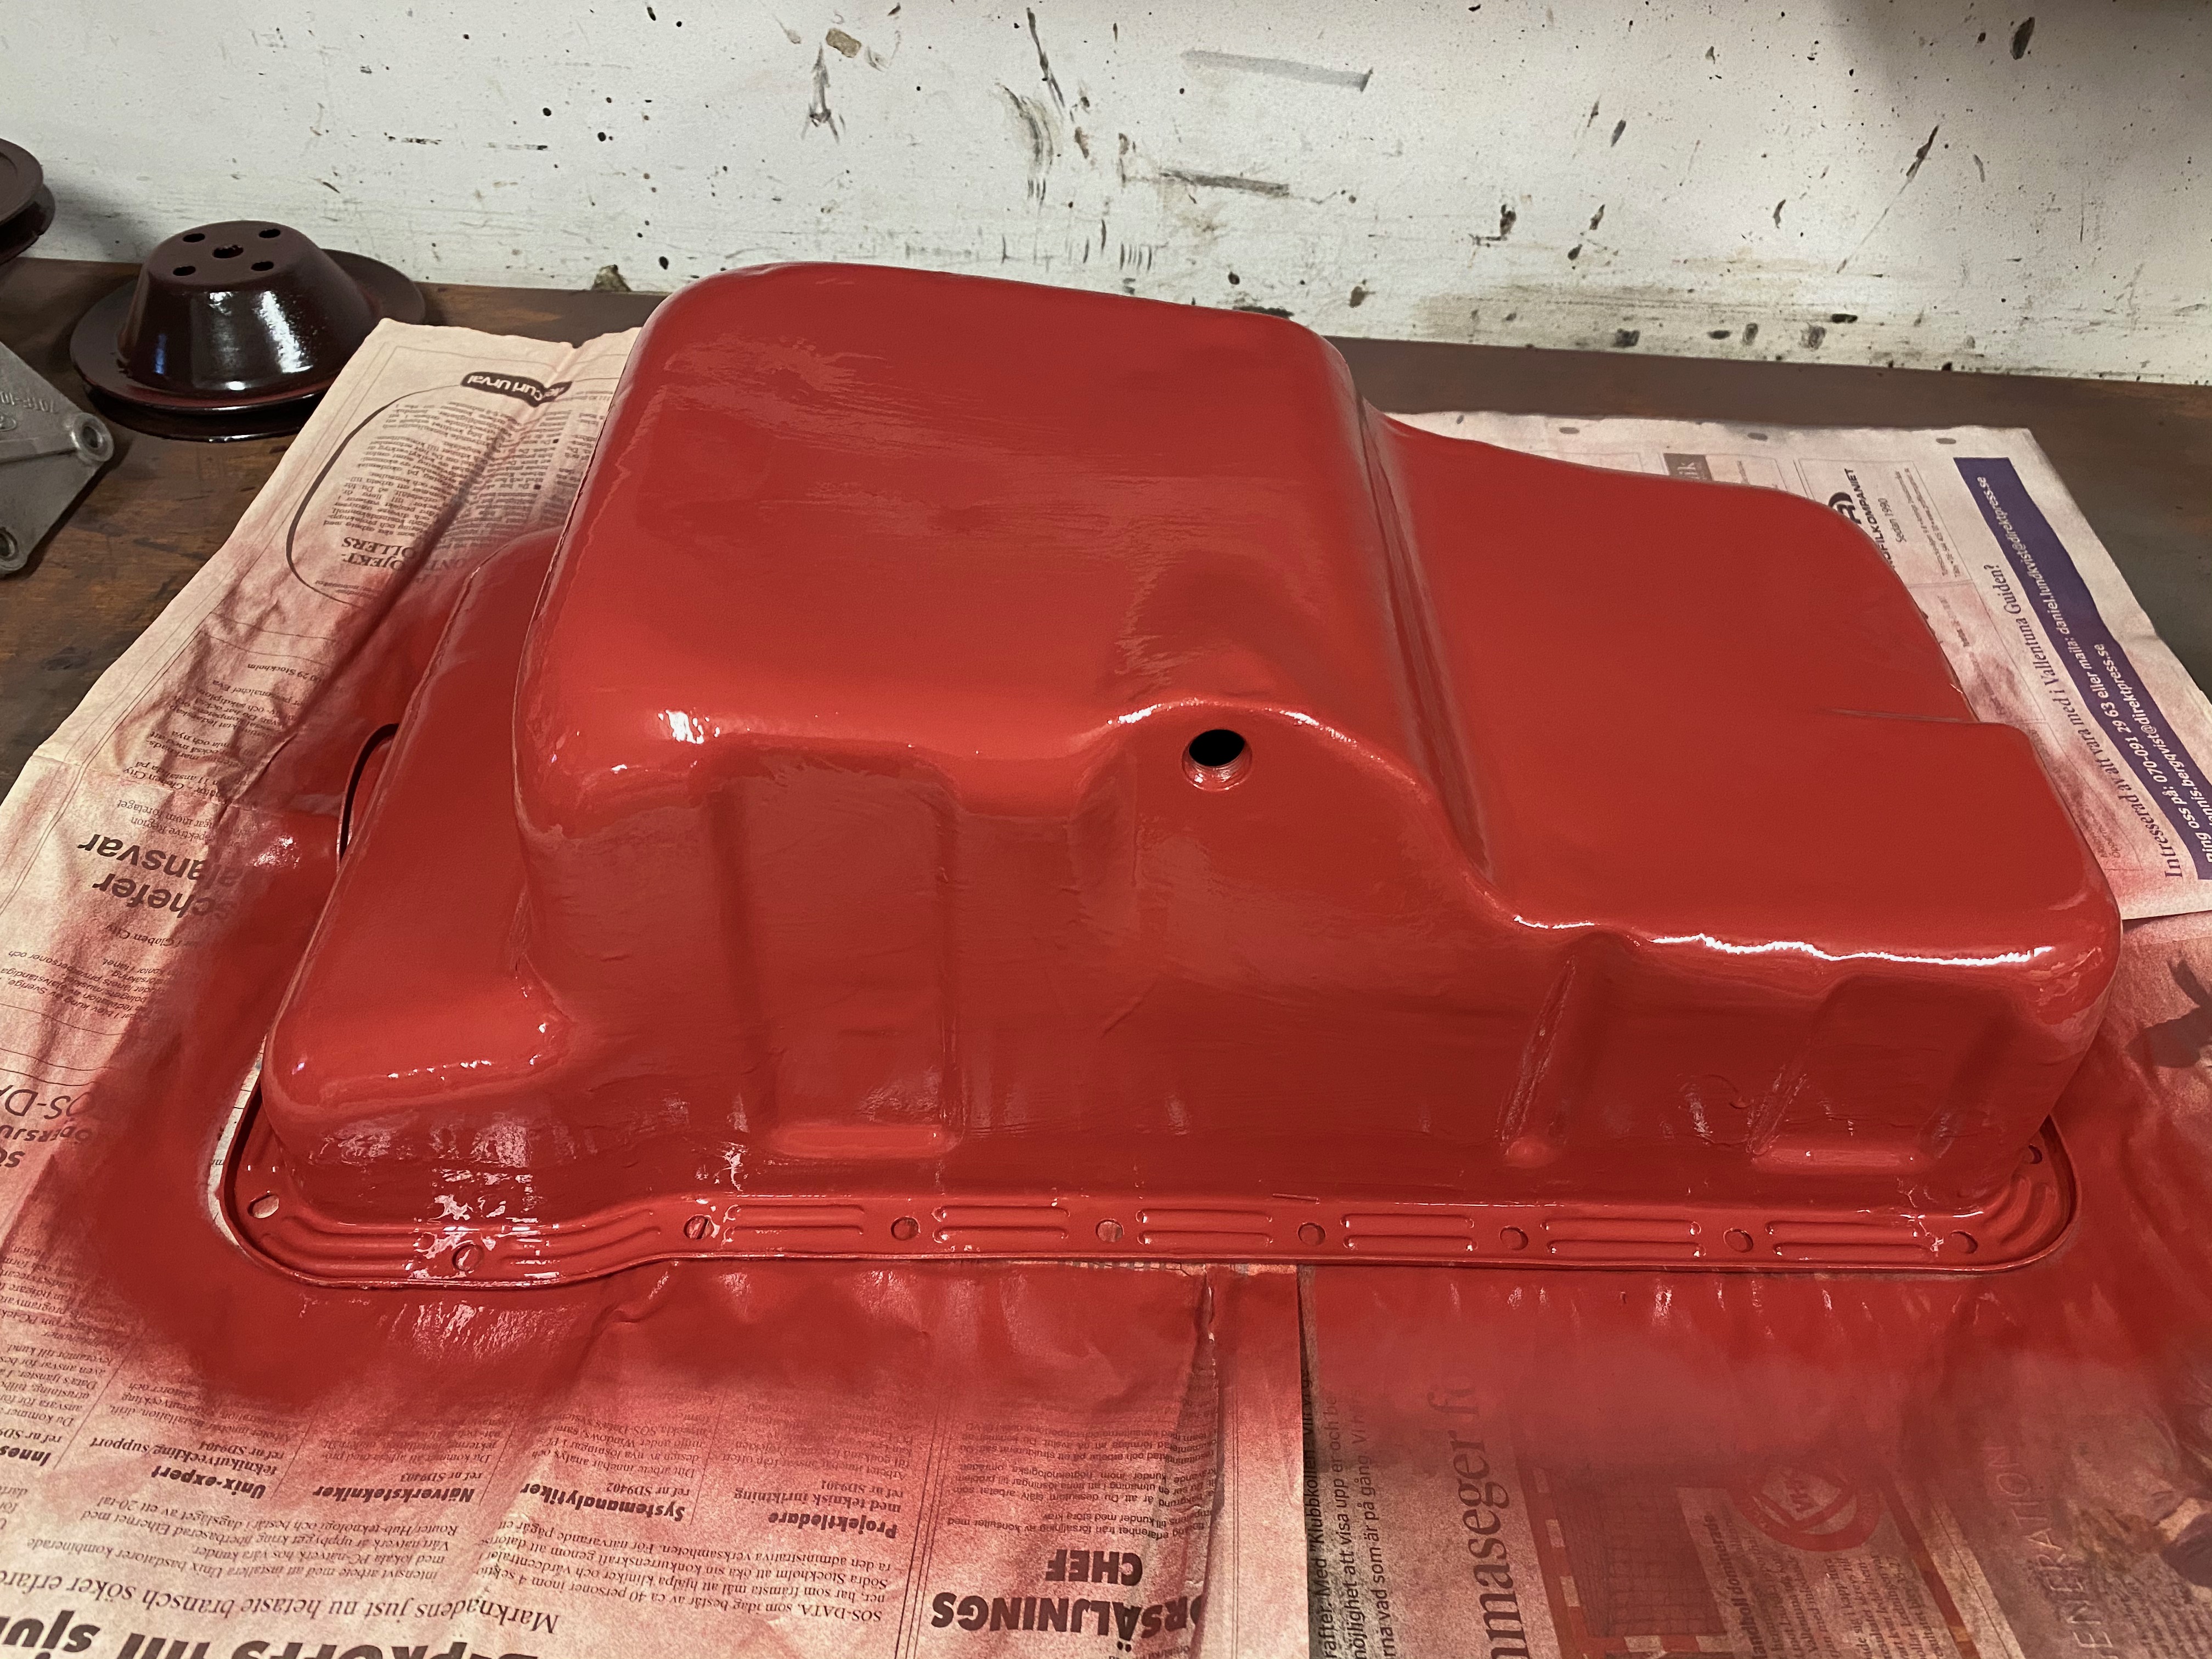
Engine sump cleaned and painted with primer
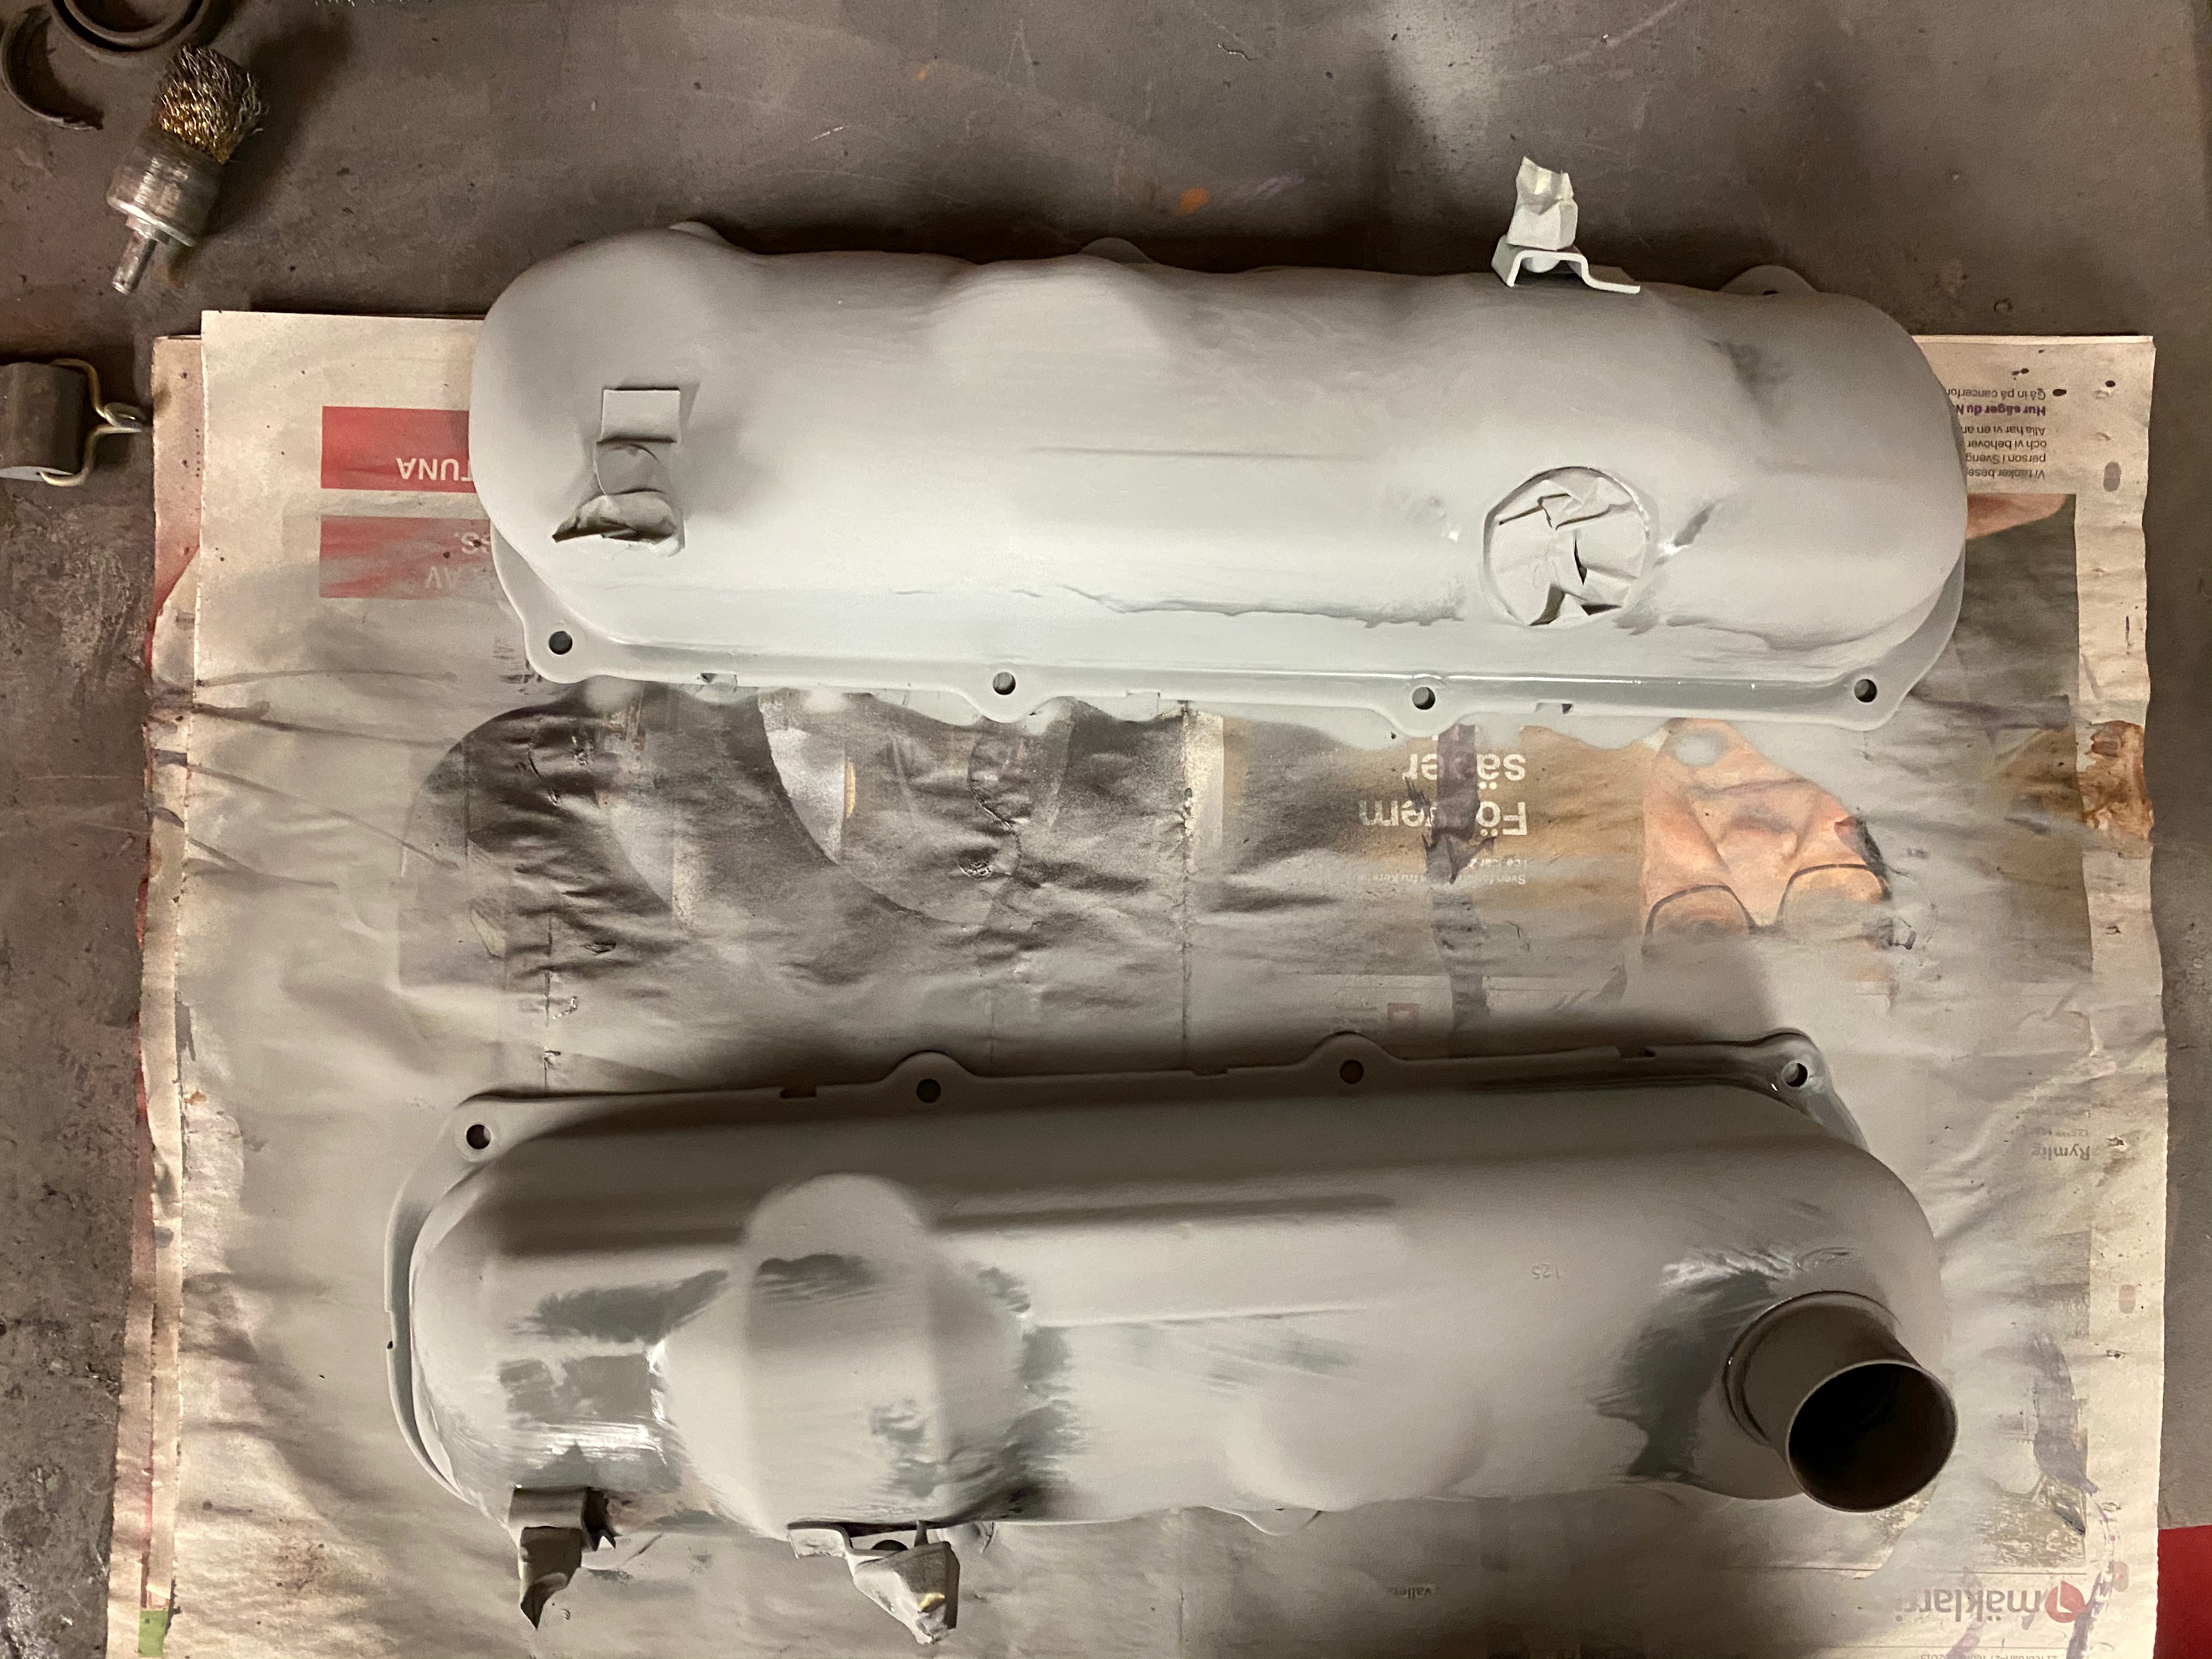
Valve covers cleaned and painted with first primer
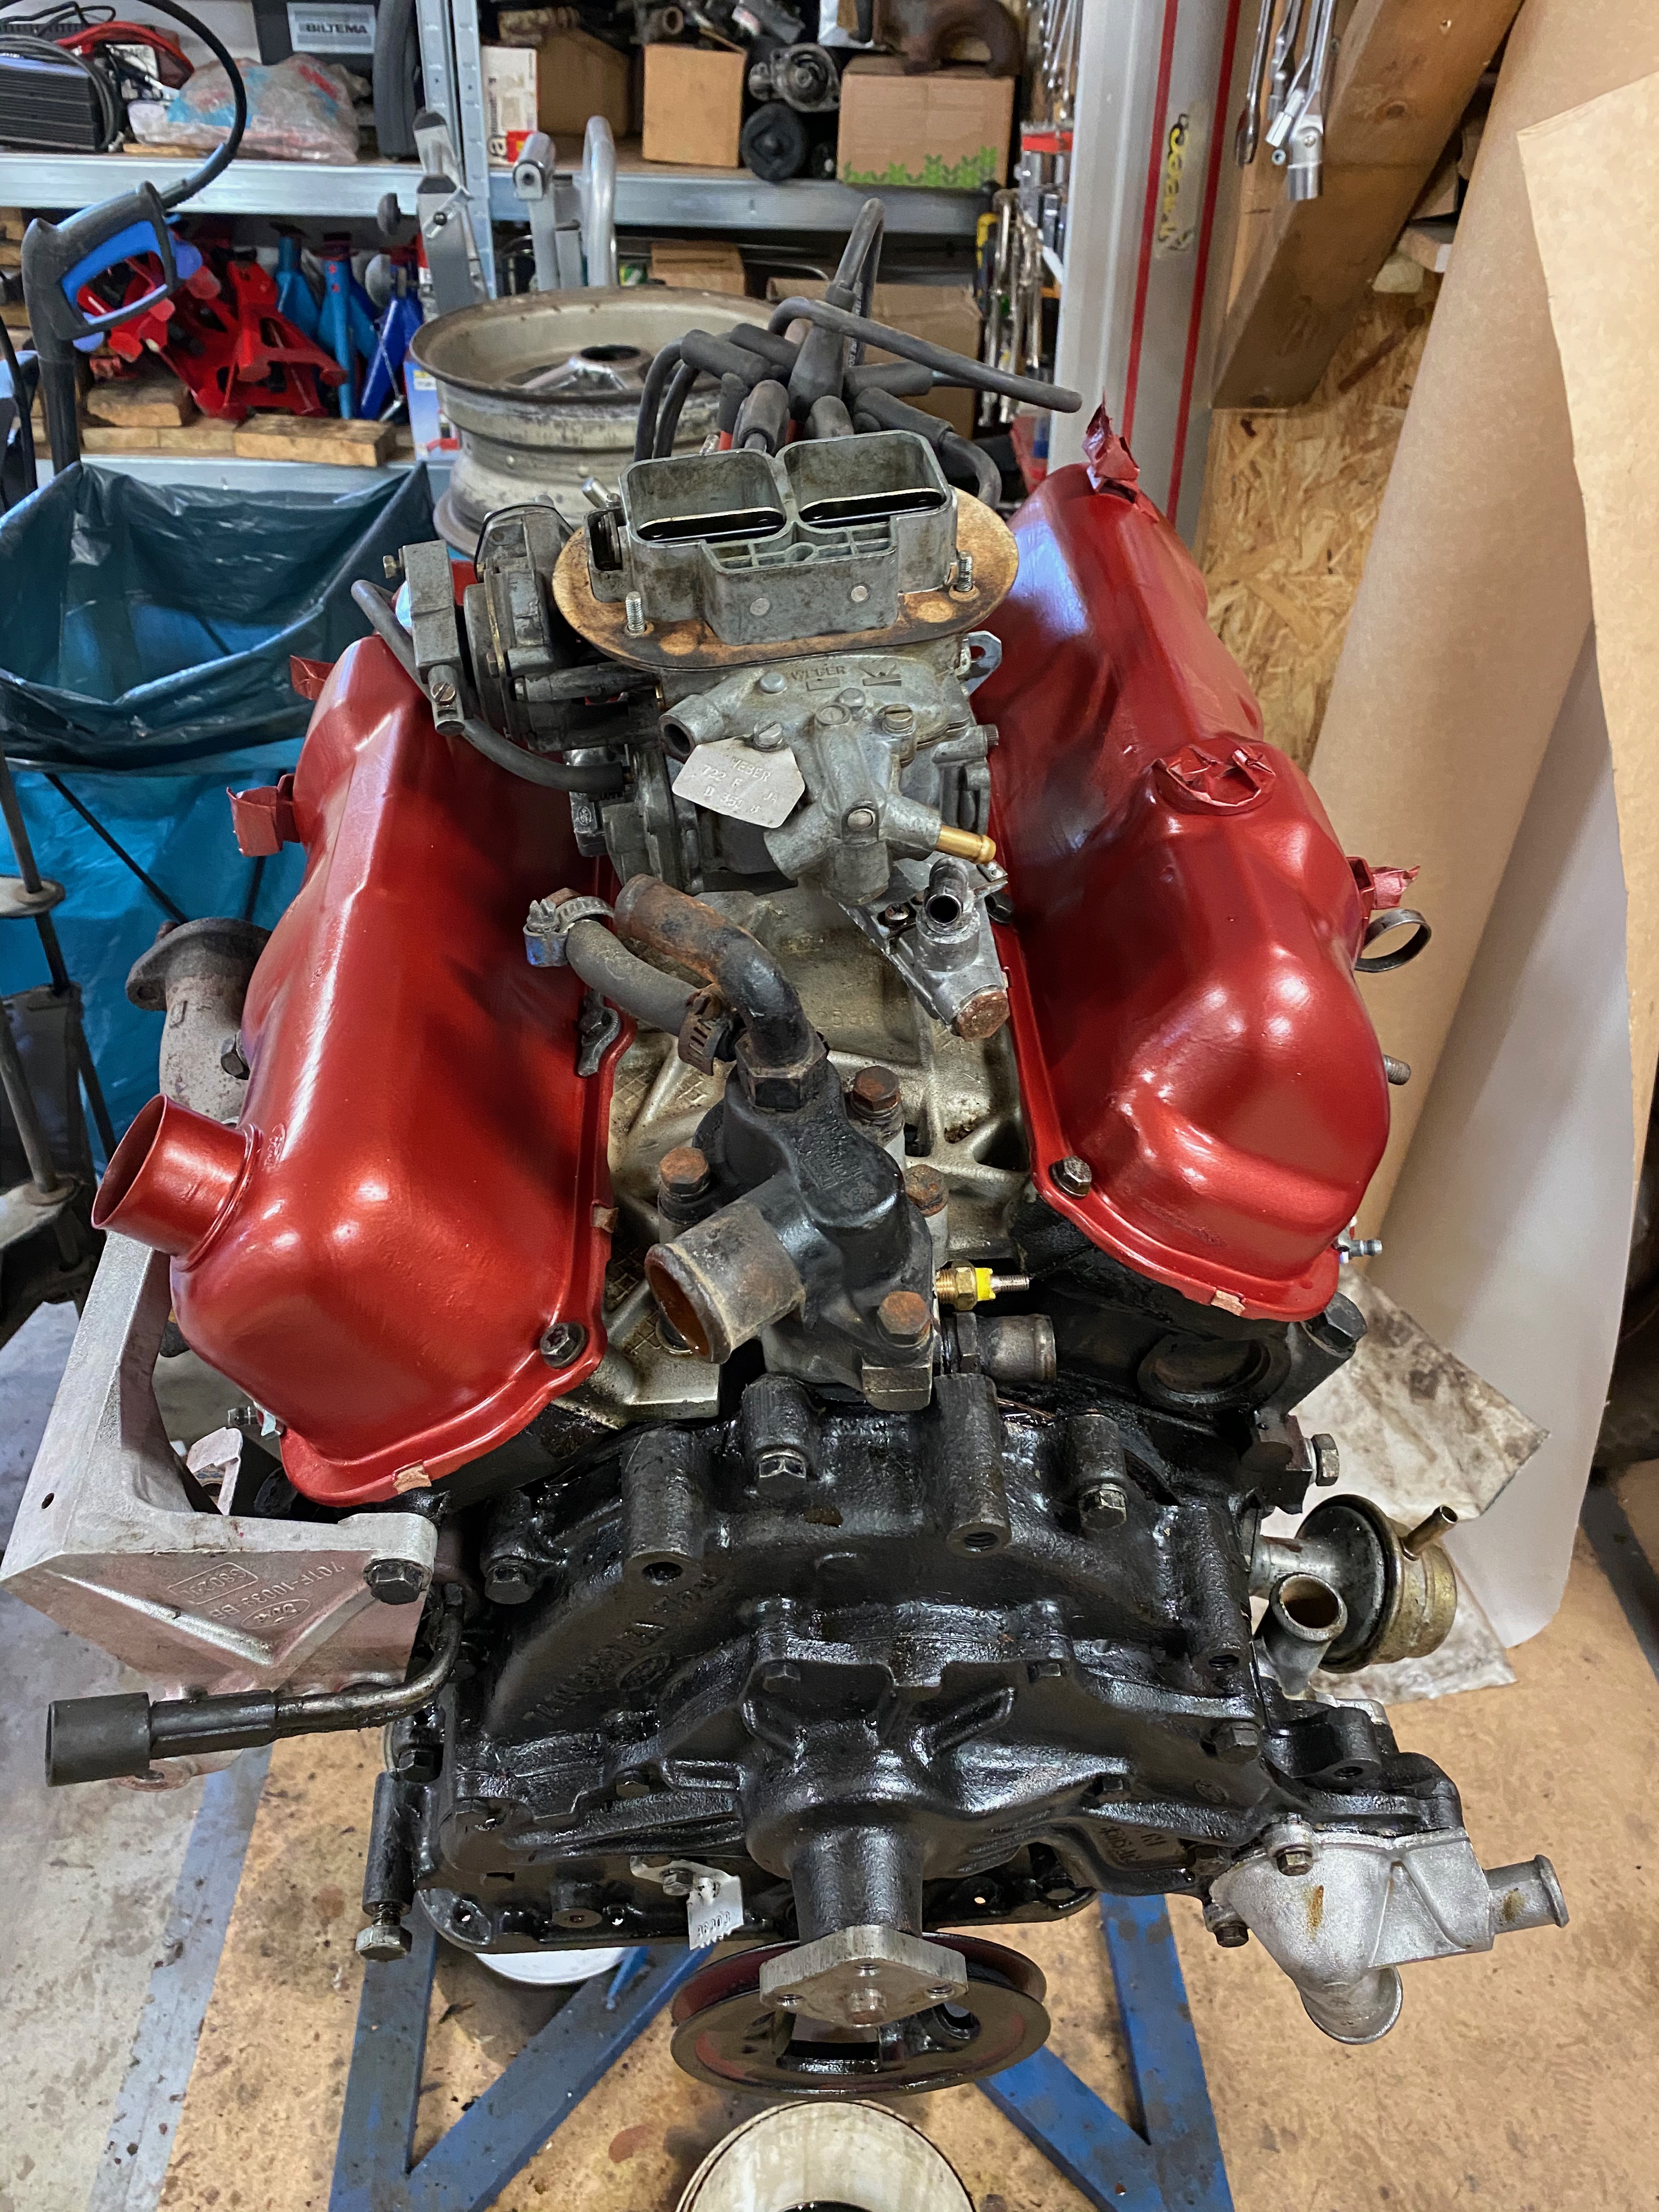
The engine with the newly painted valve covers on, had an old can of paint from the sold BMW so the valve covers are painted in copper red
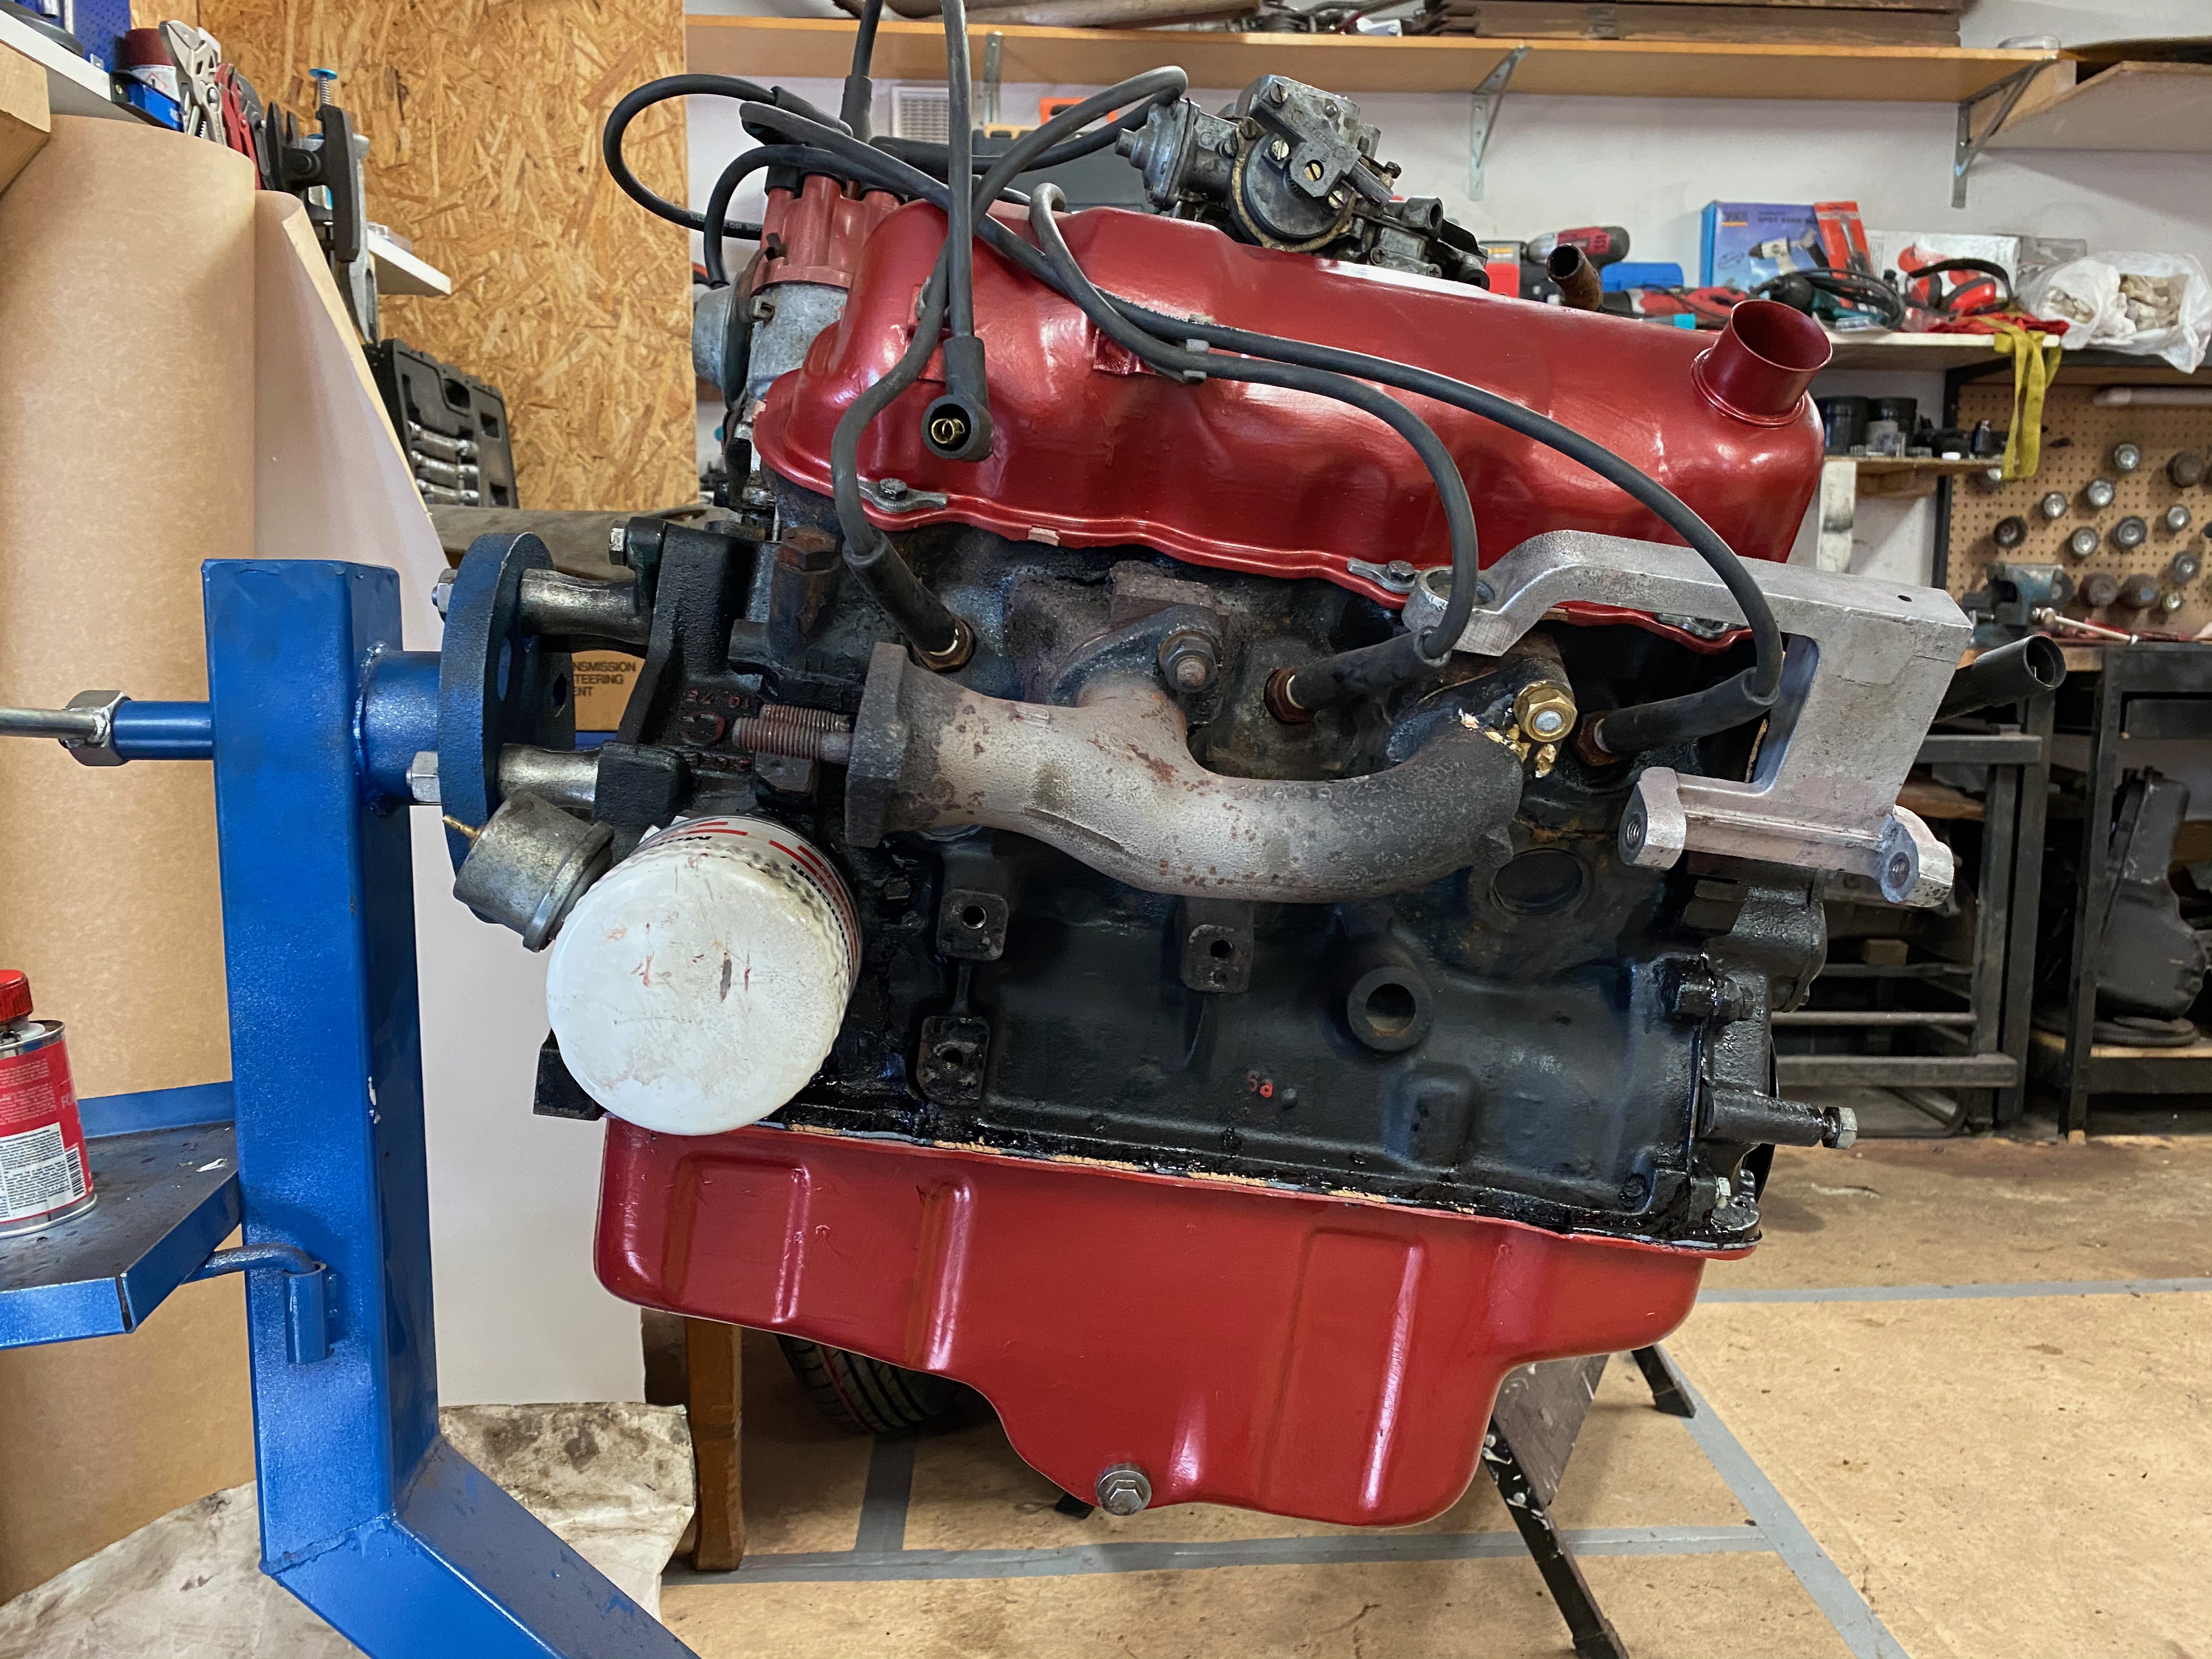
The engine hangs a little crooked on the motor support
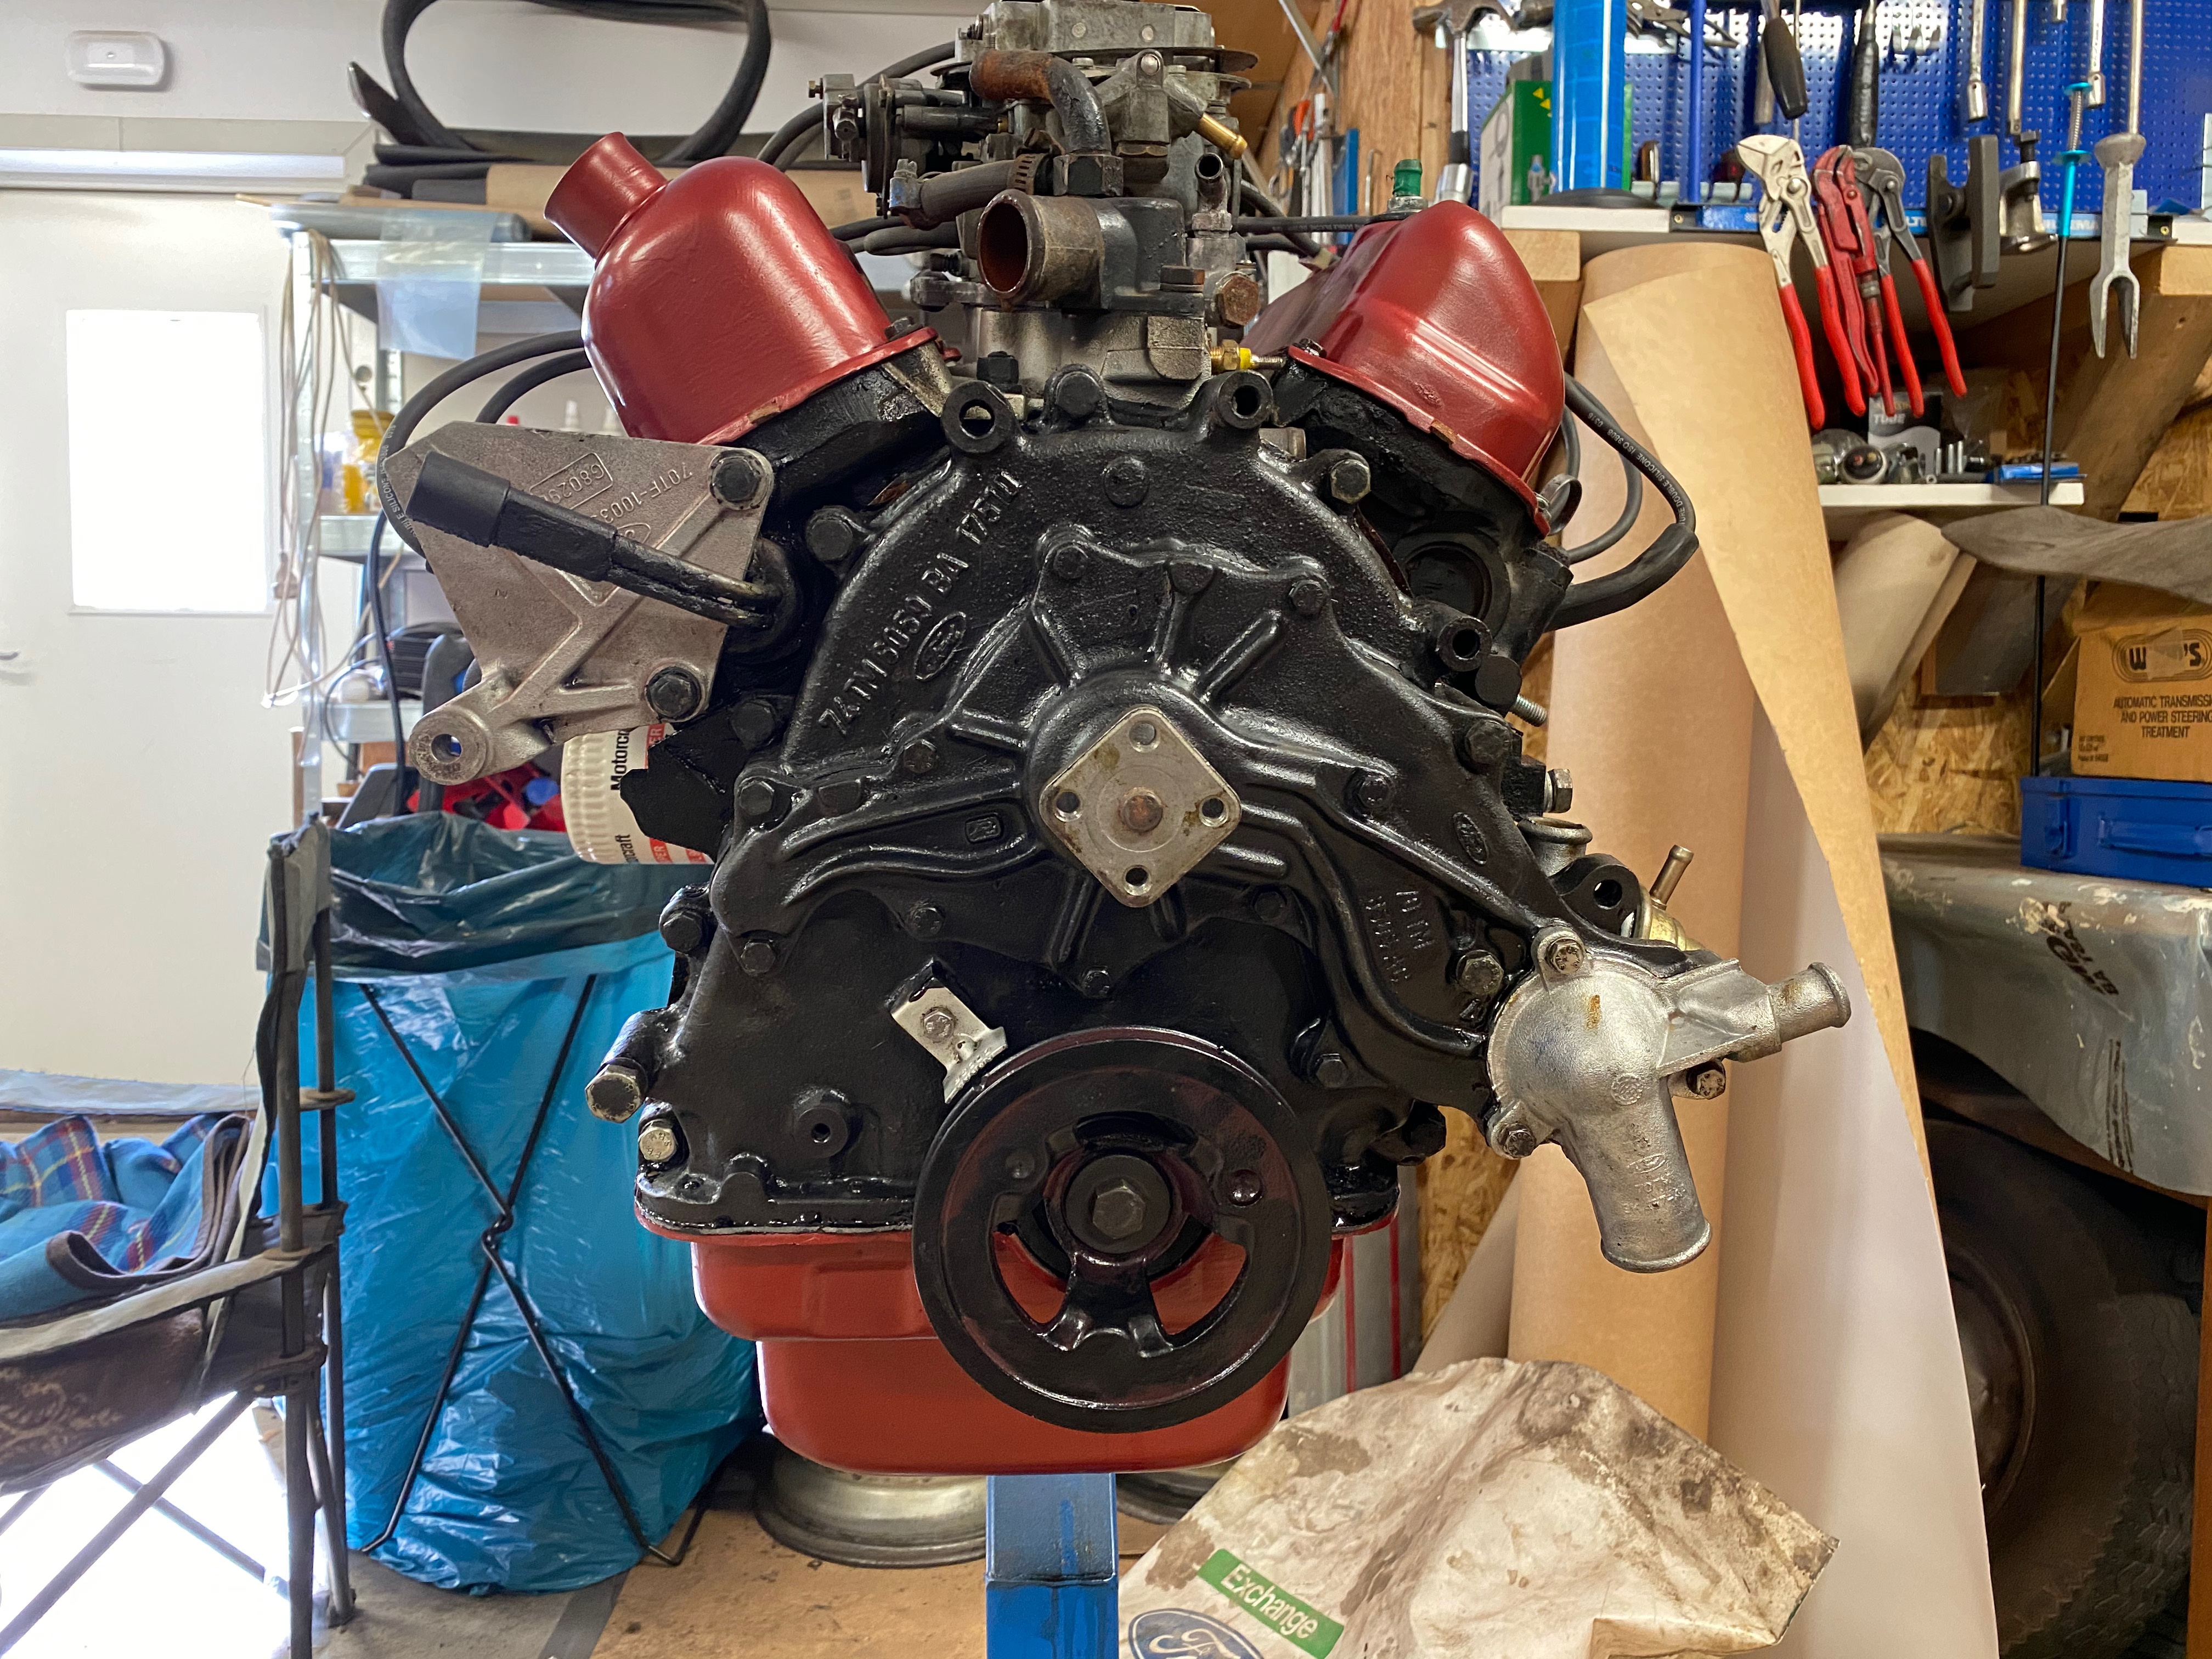
The engine looks nice form this view, ready for installation in the car
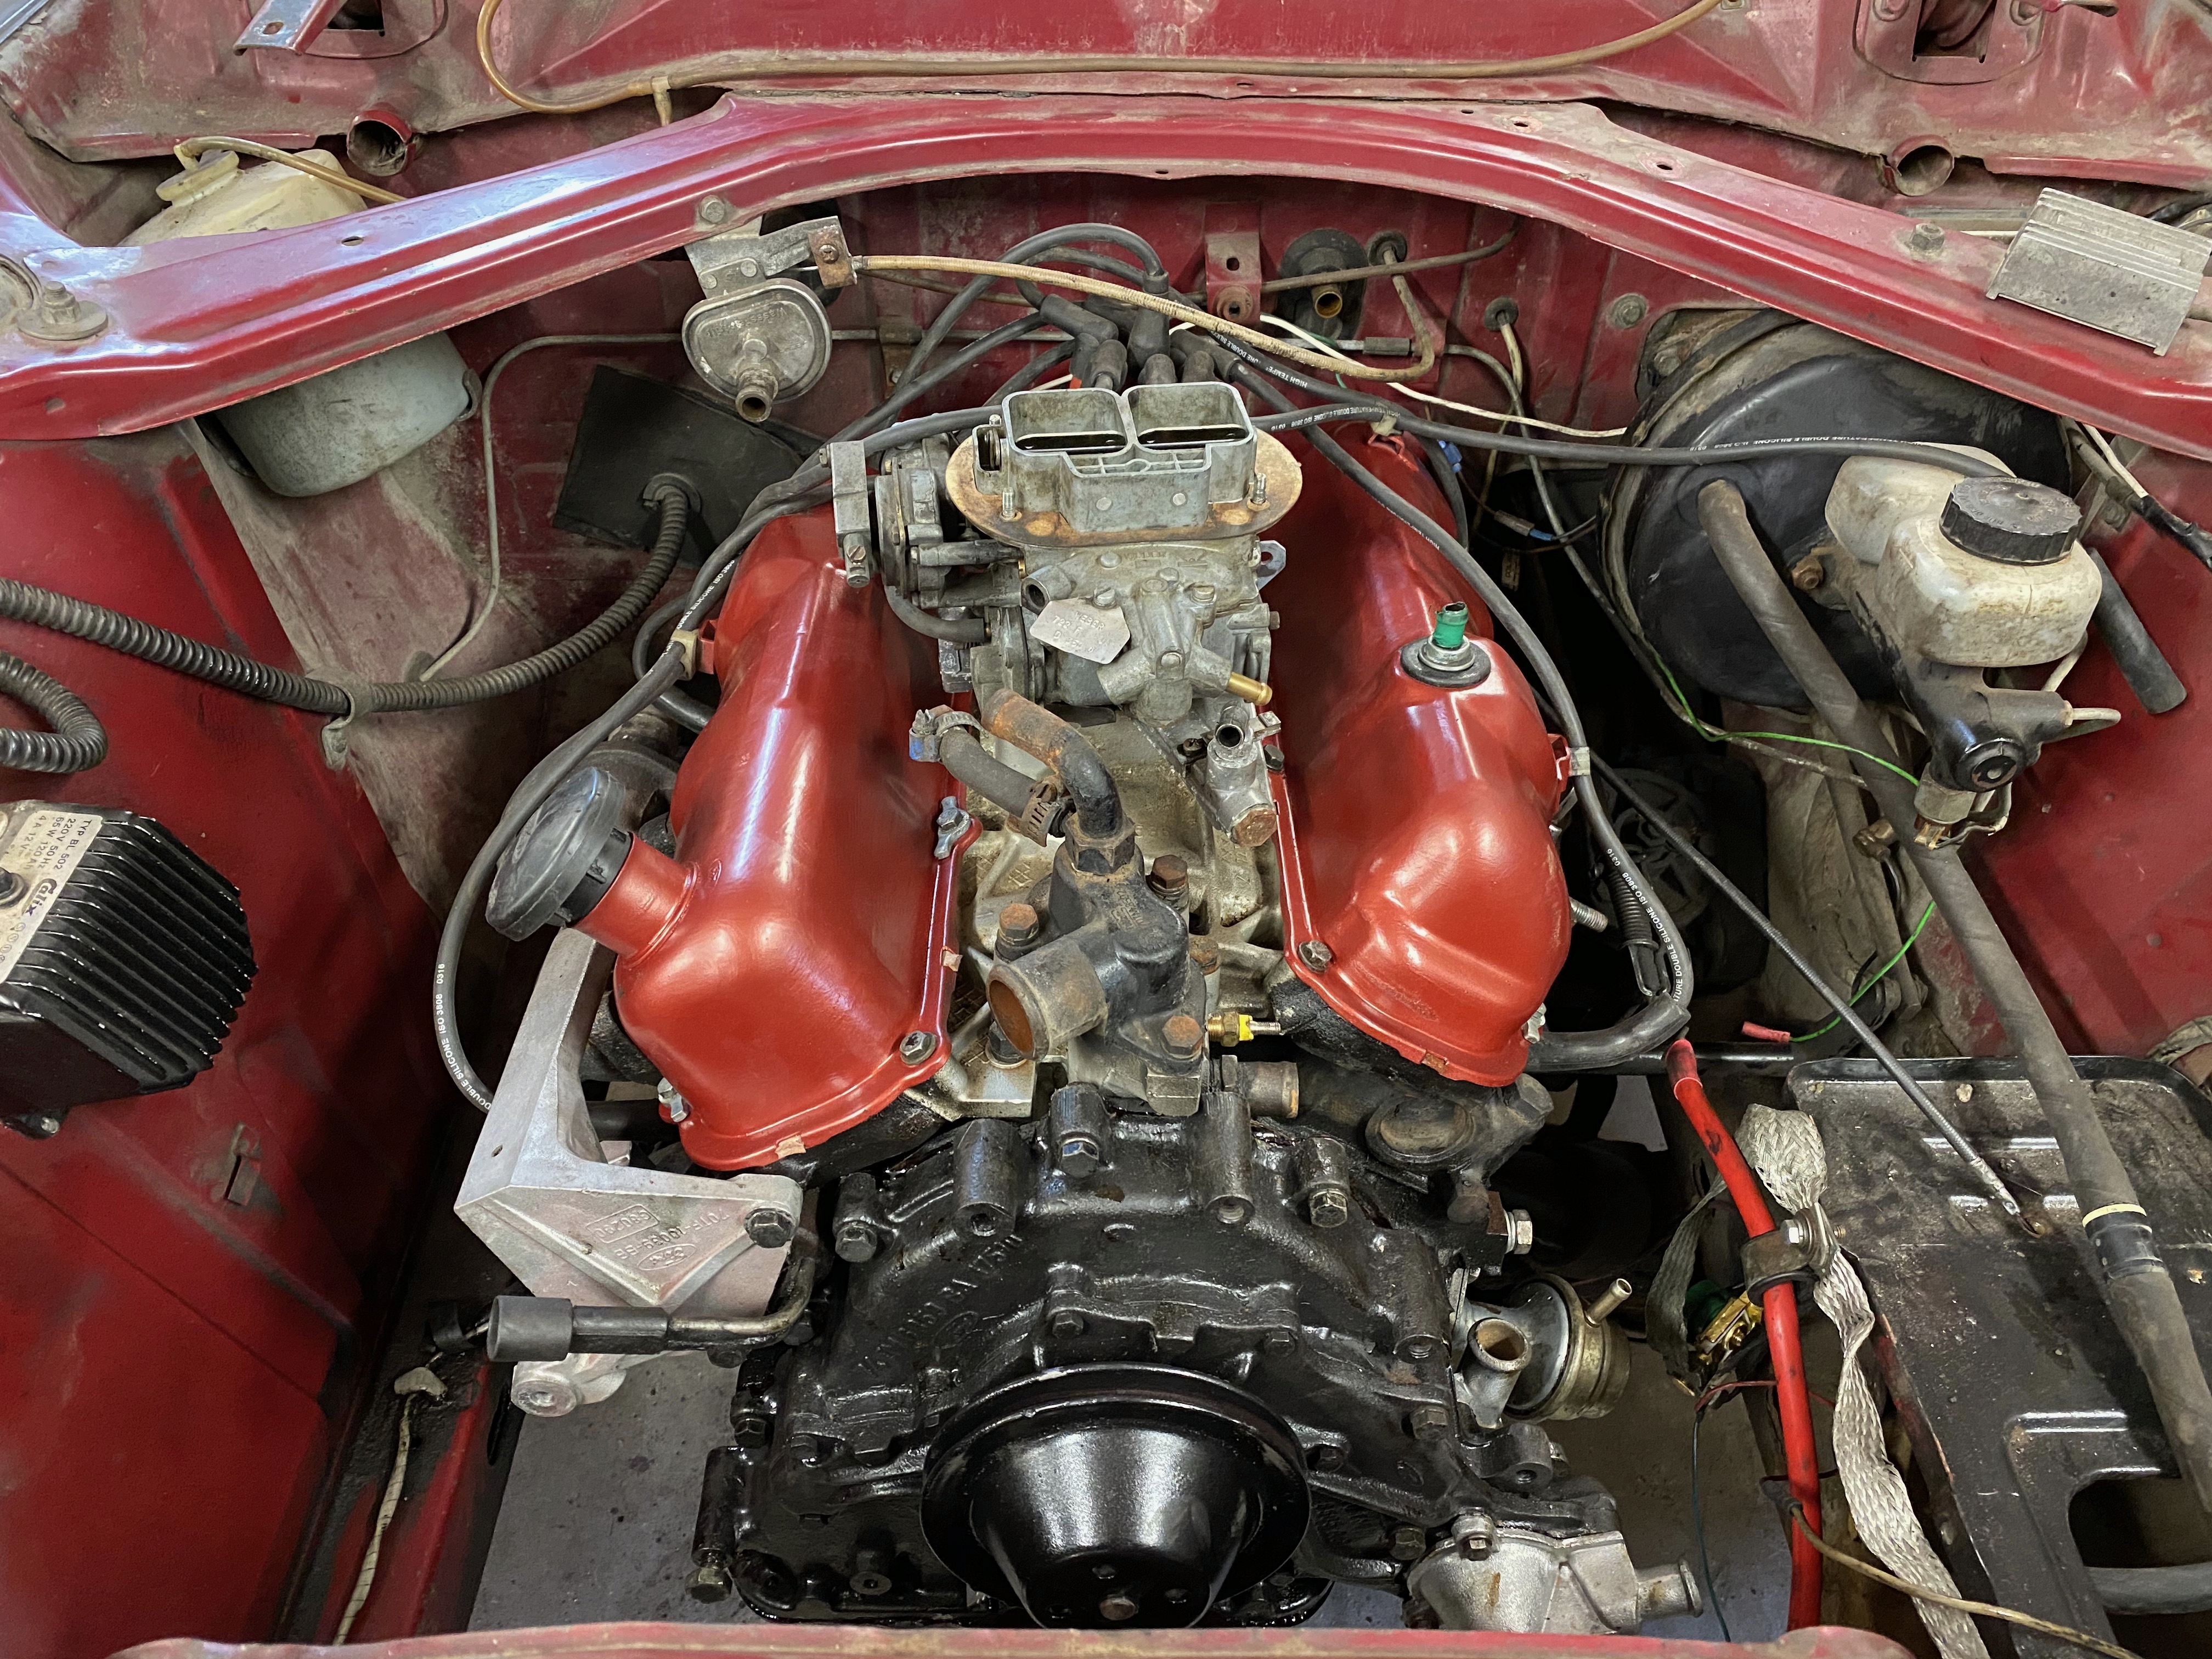
2020-05 The engine finally installed, just the rest to go
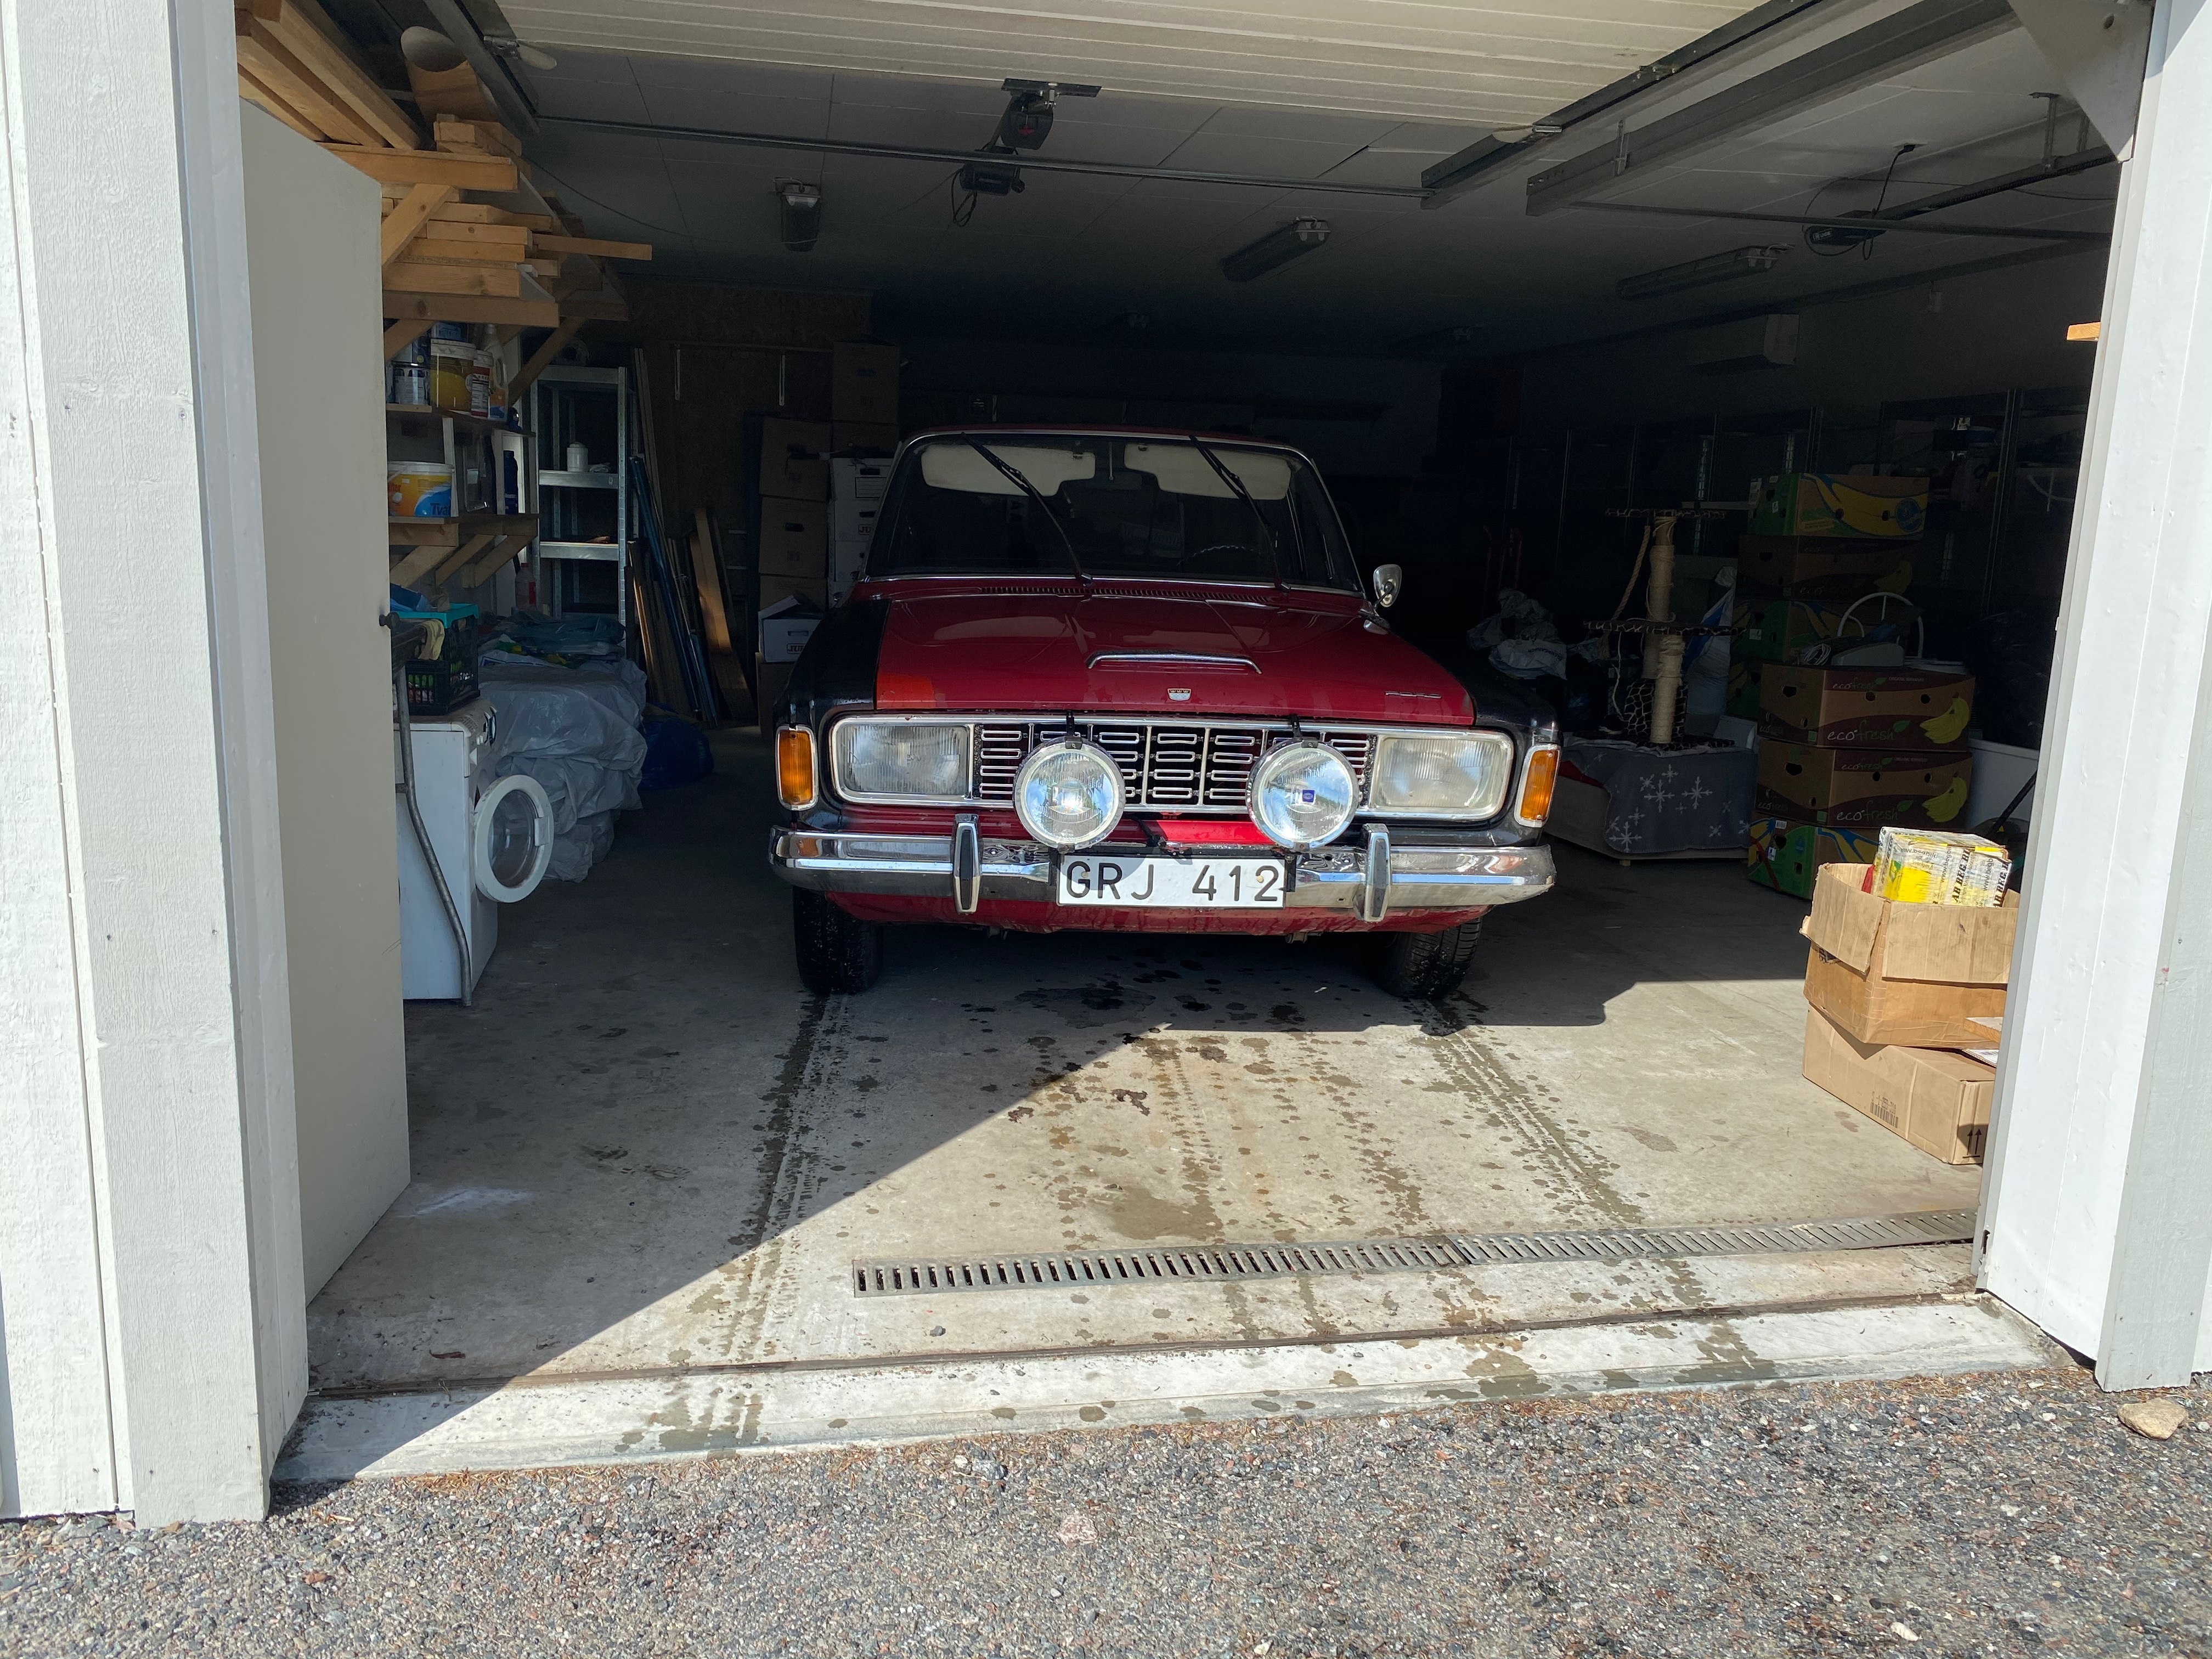
2020-09 Ready to move
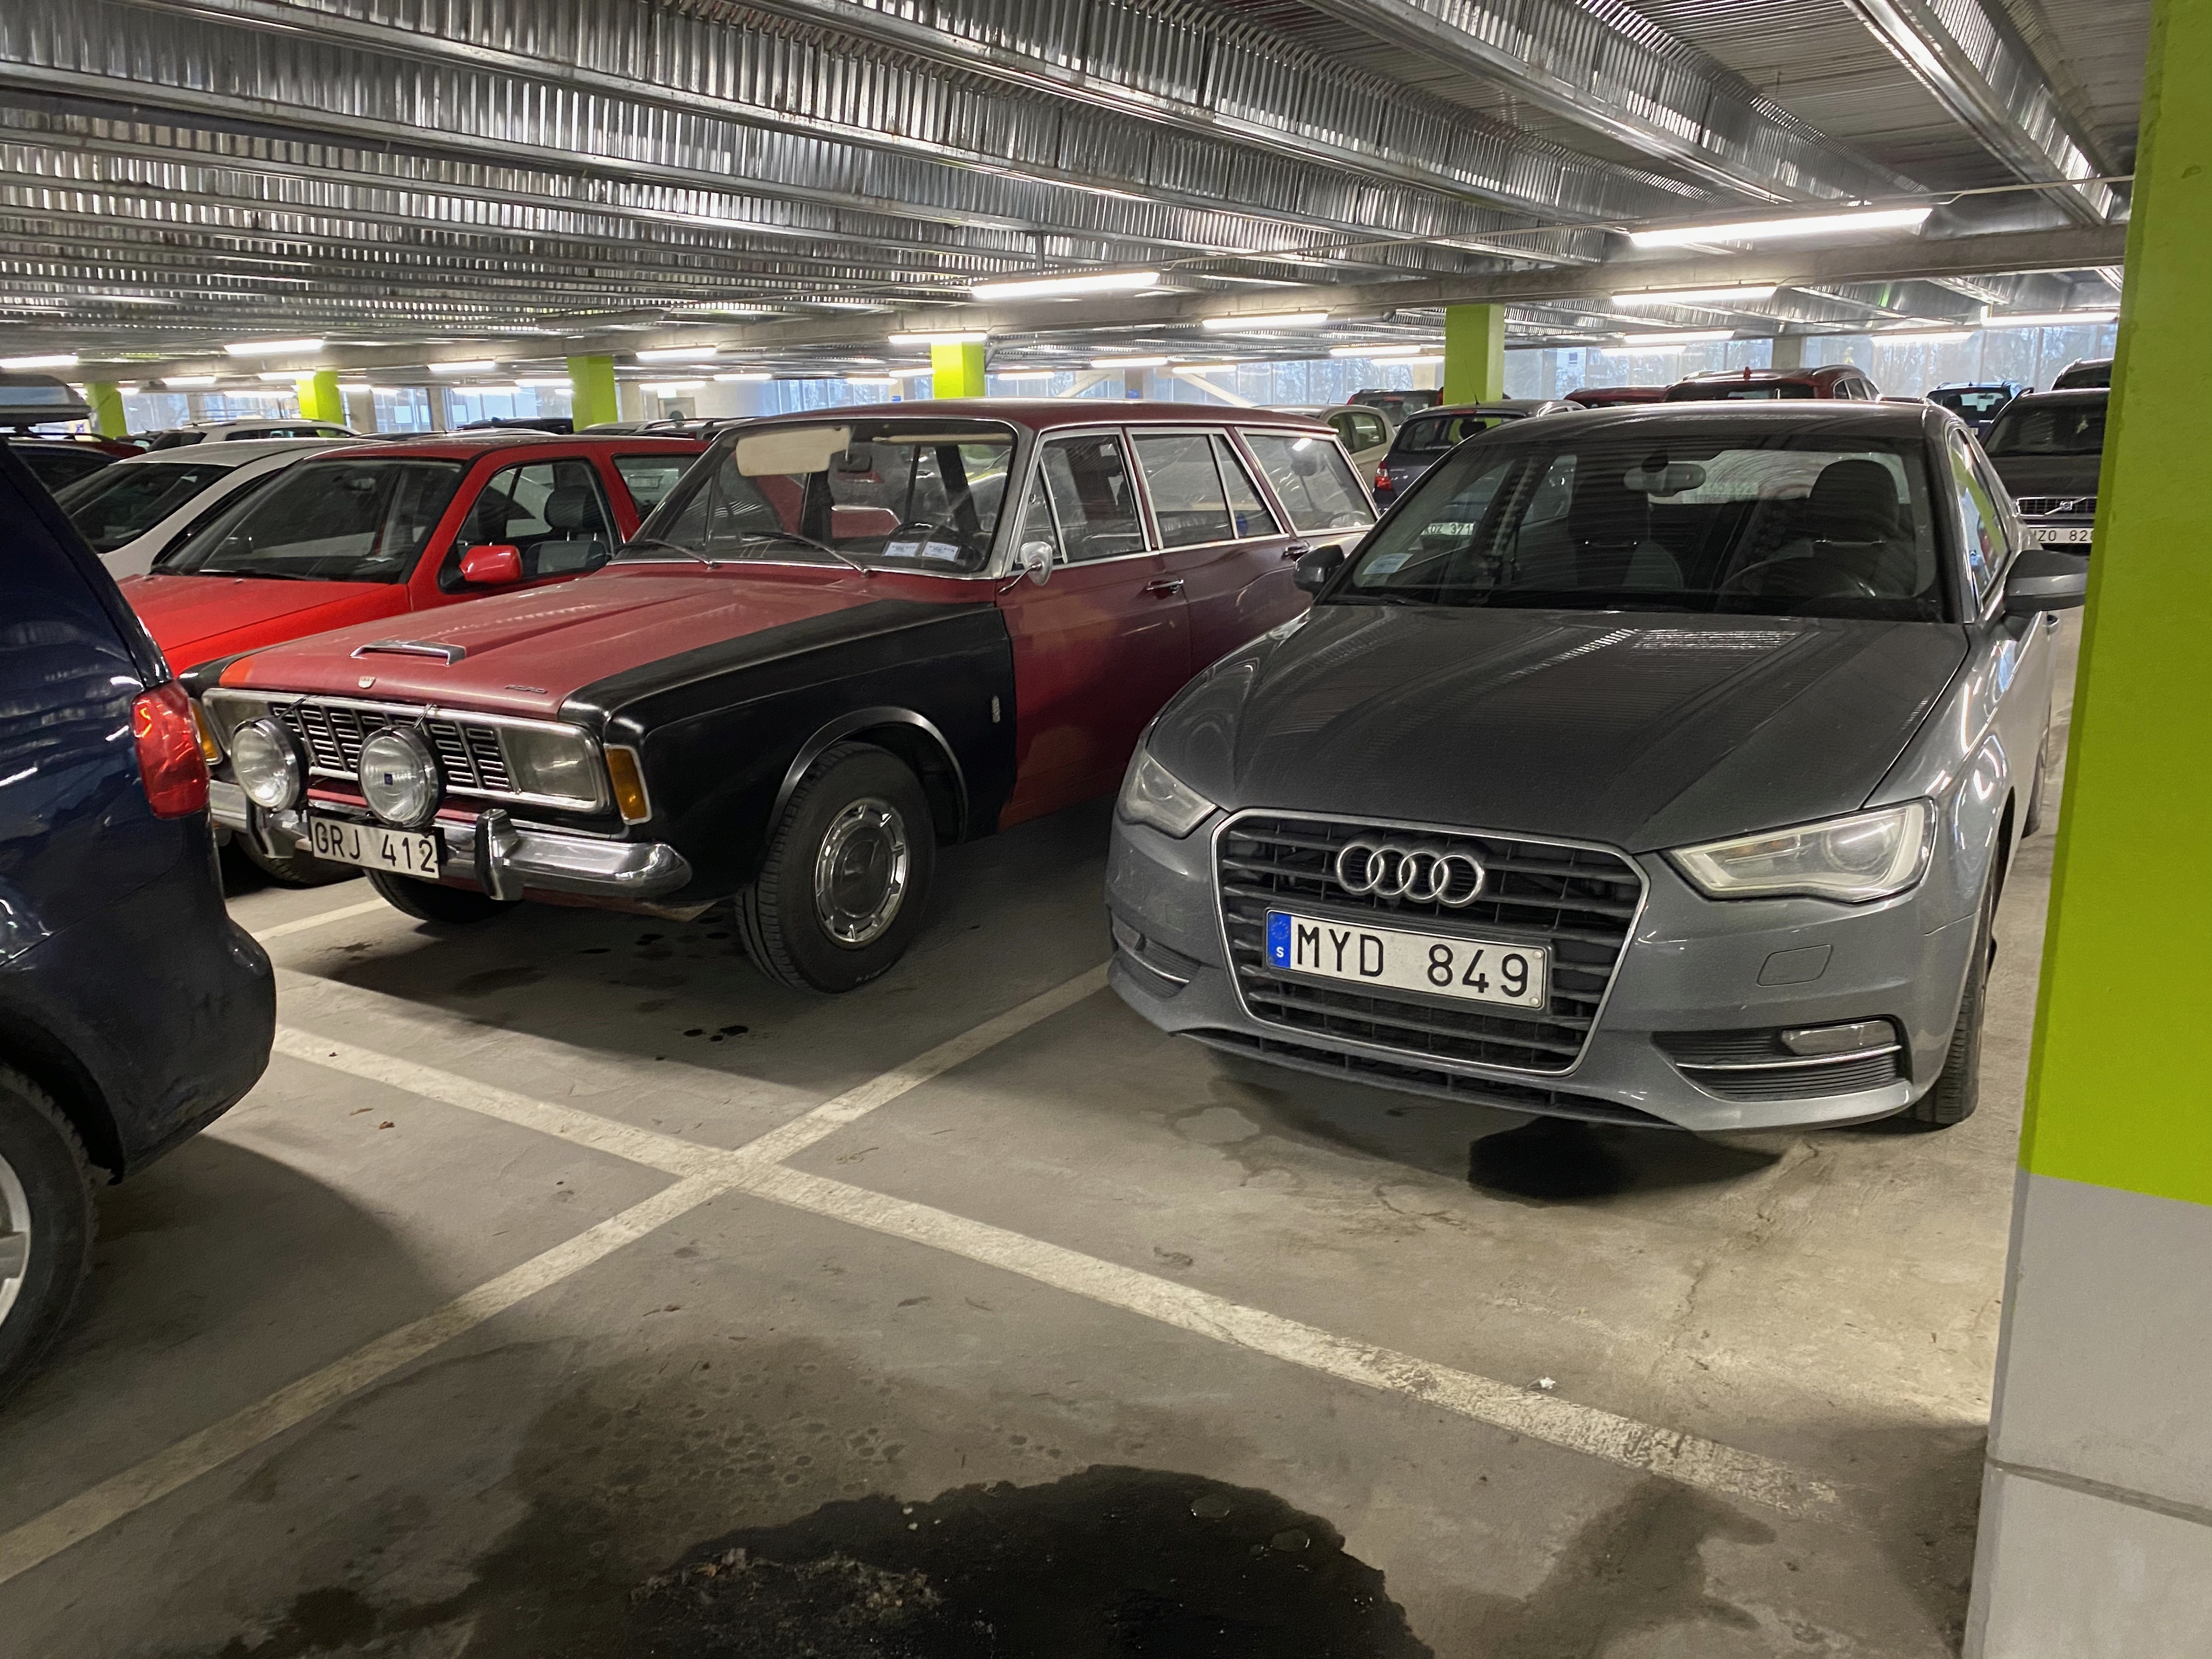
2020-12 Parked in the parking garage after the move
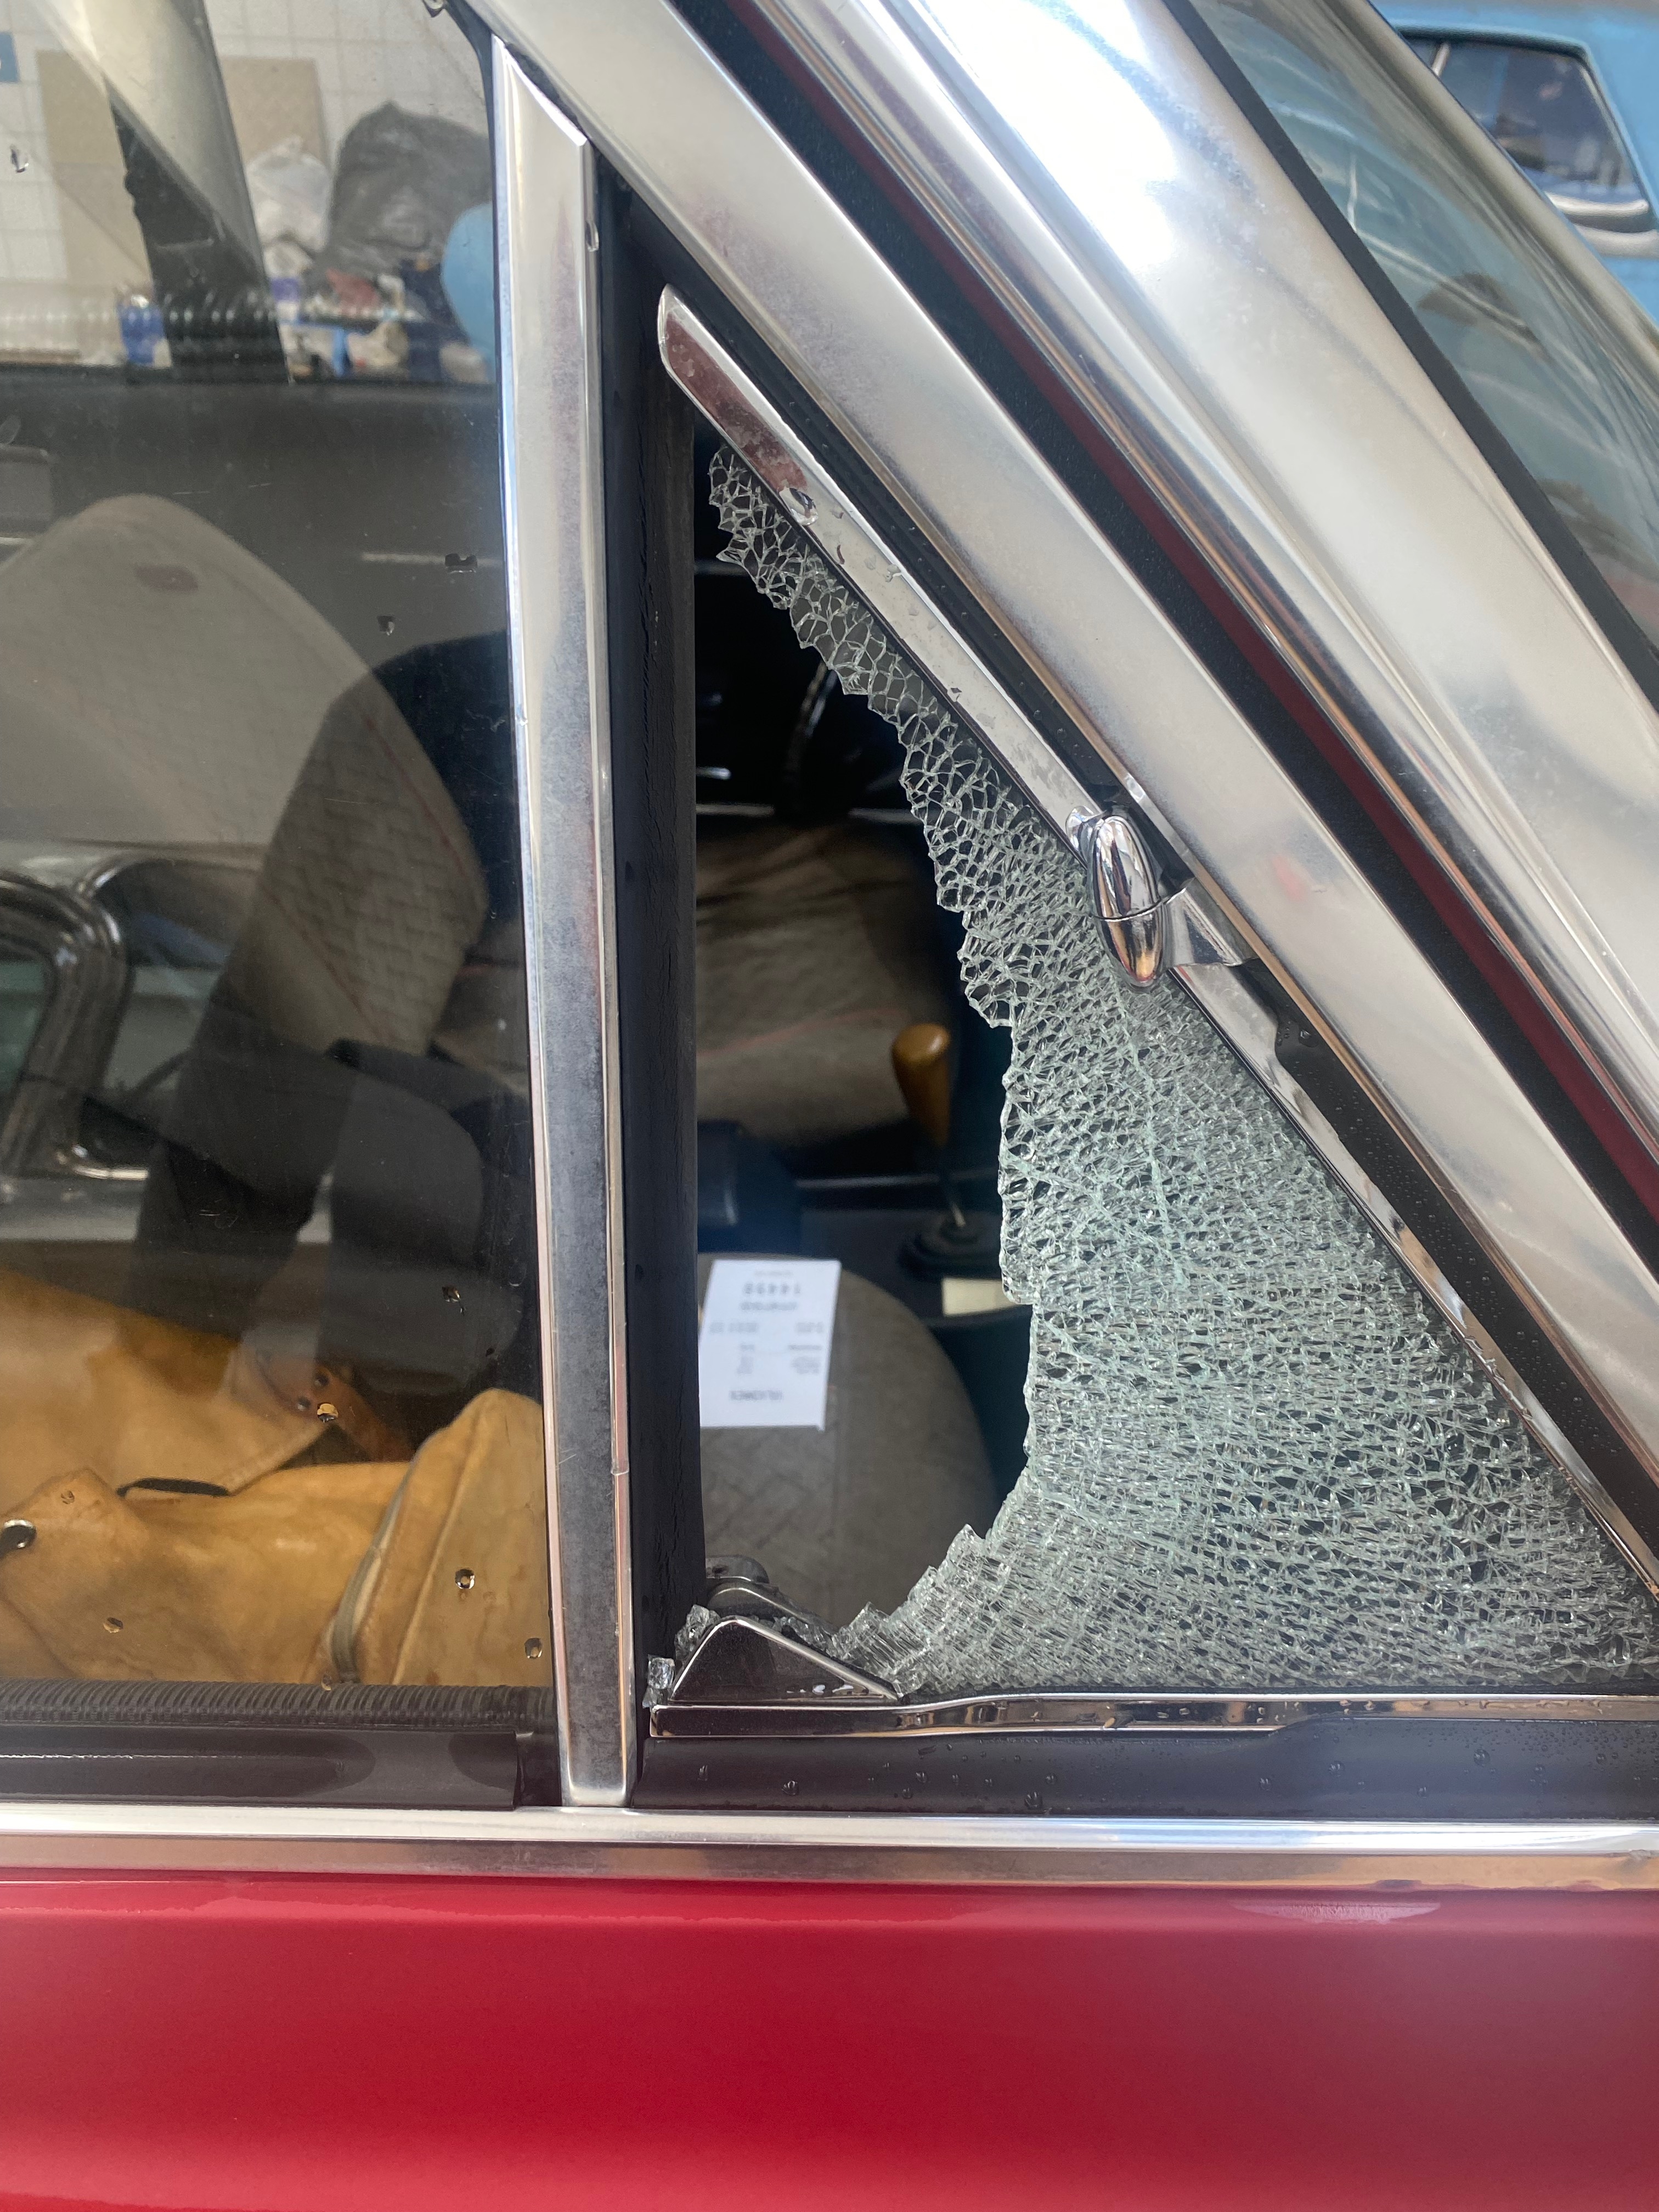
2023-05 Some retarded person found it nice to crash my ventilation window
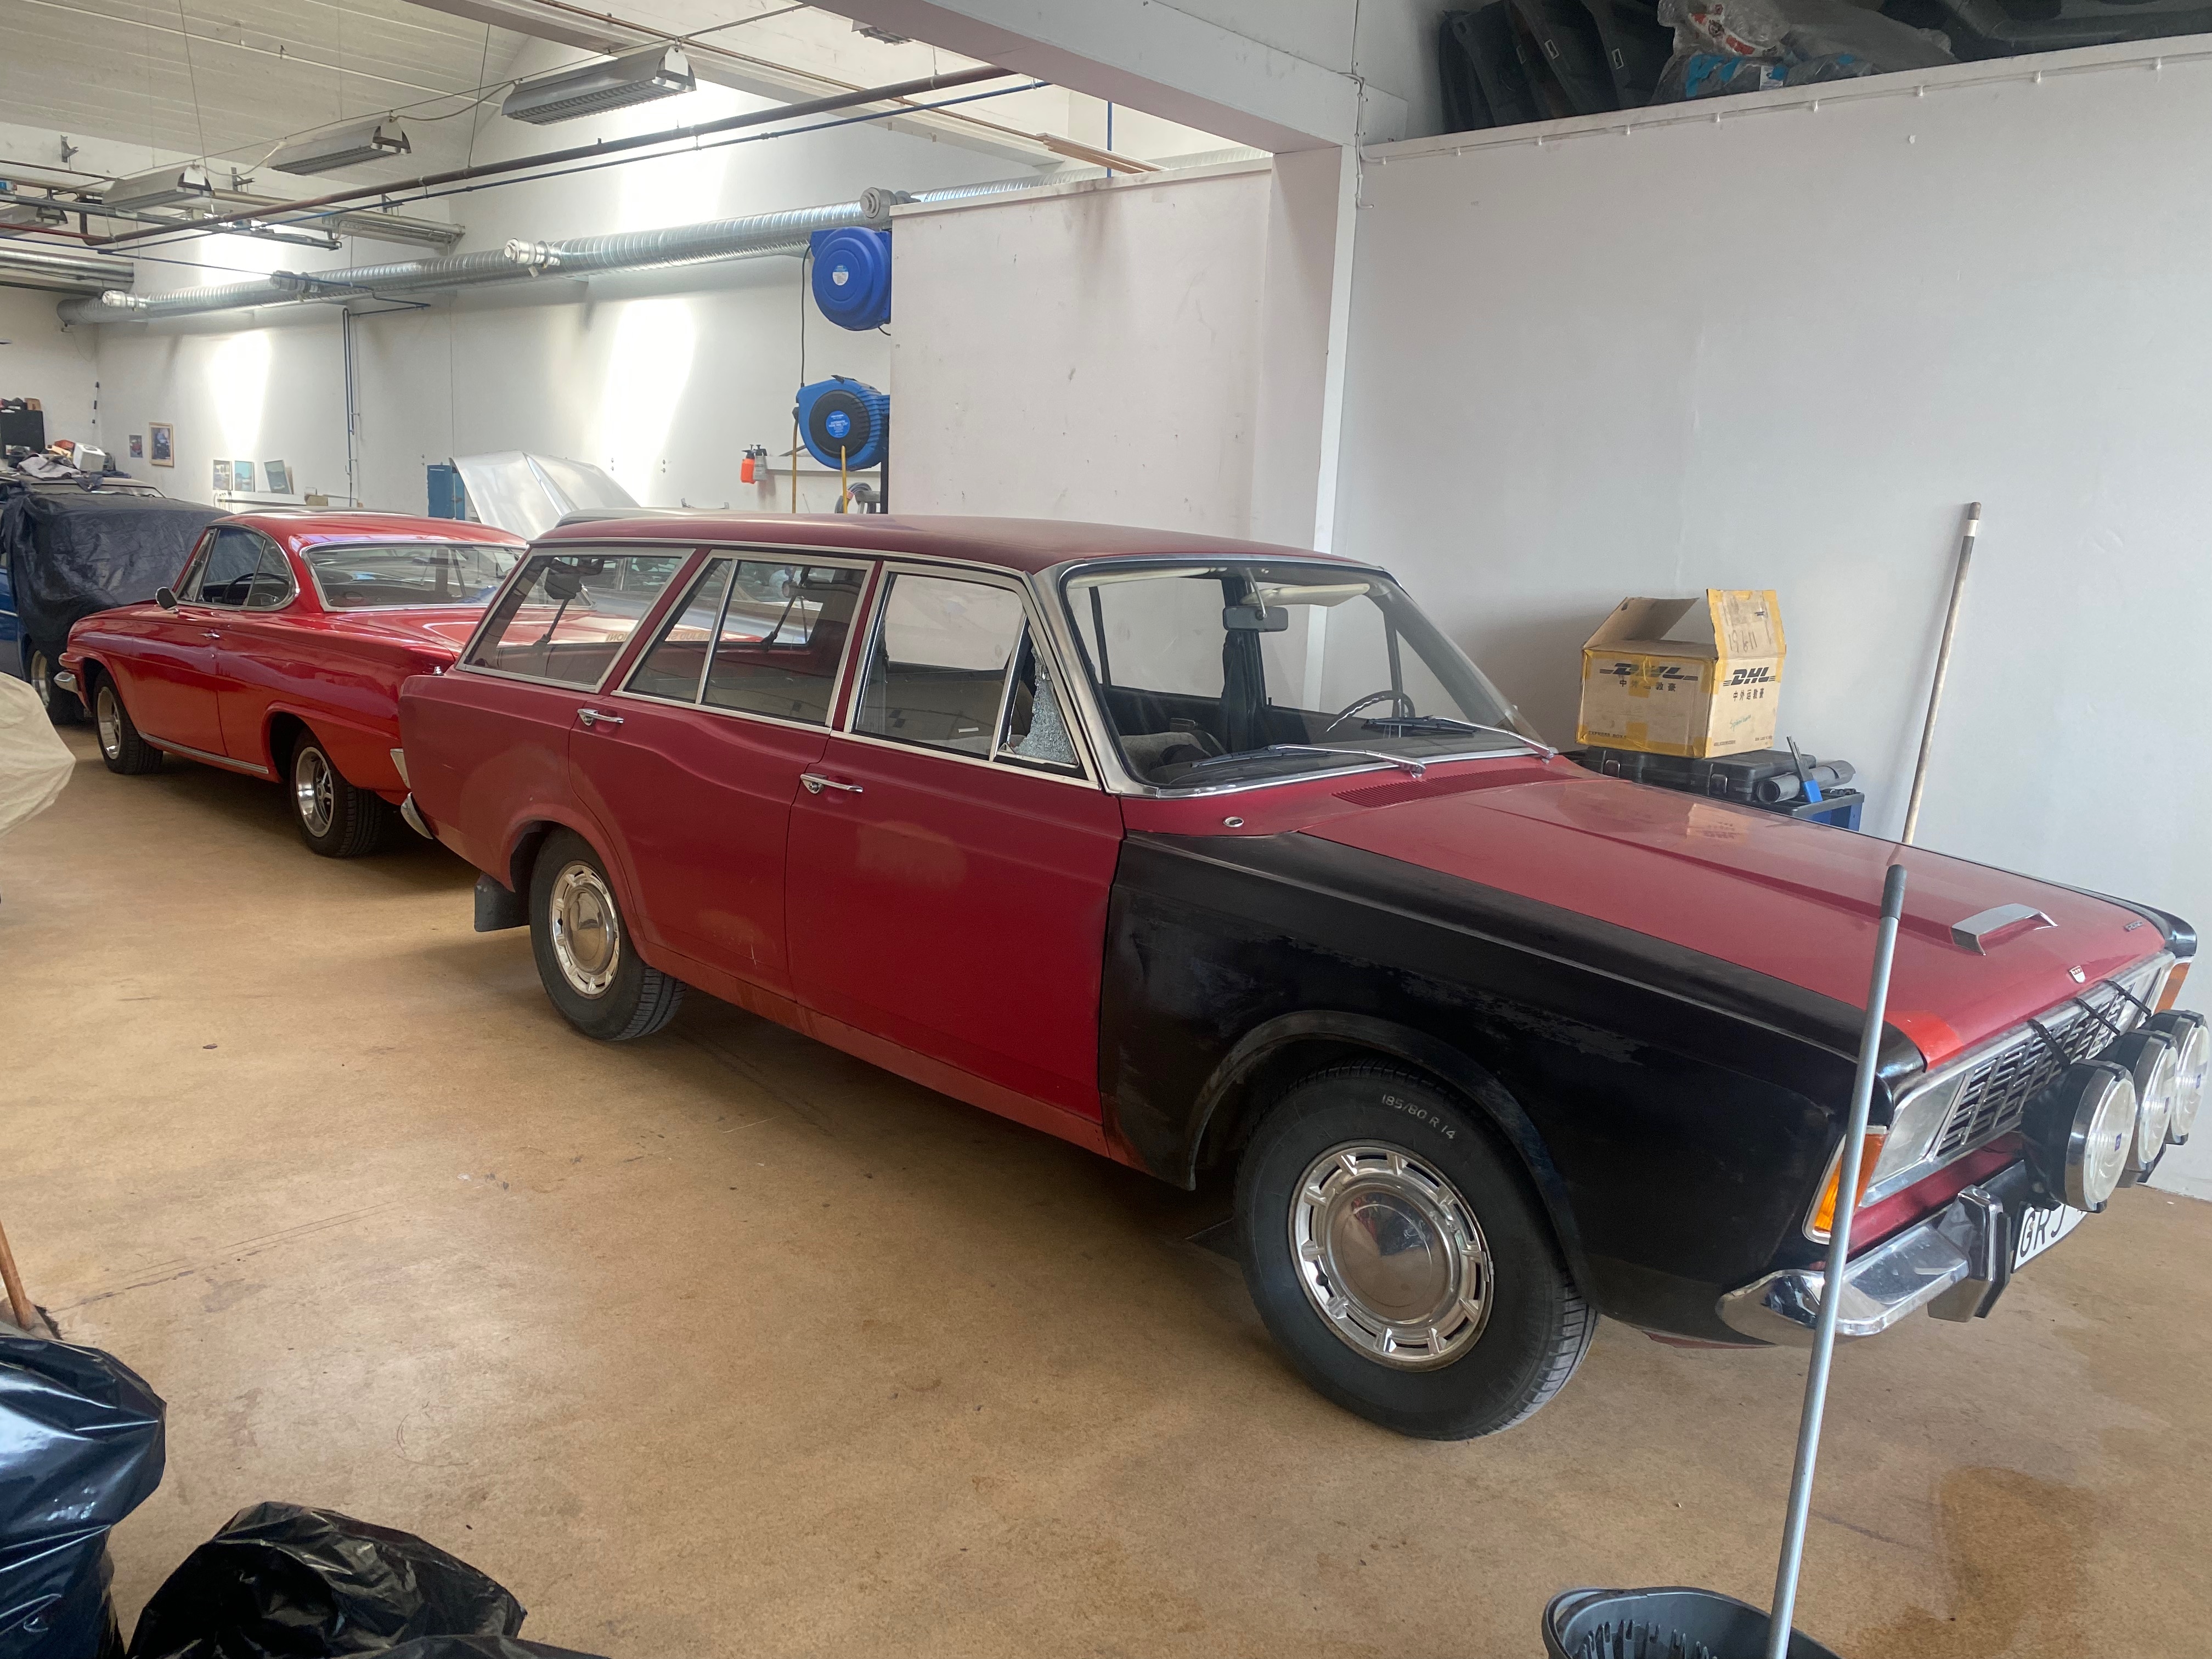
2023-05 Finally in the warm garage so i can start to fix the M
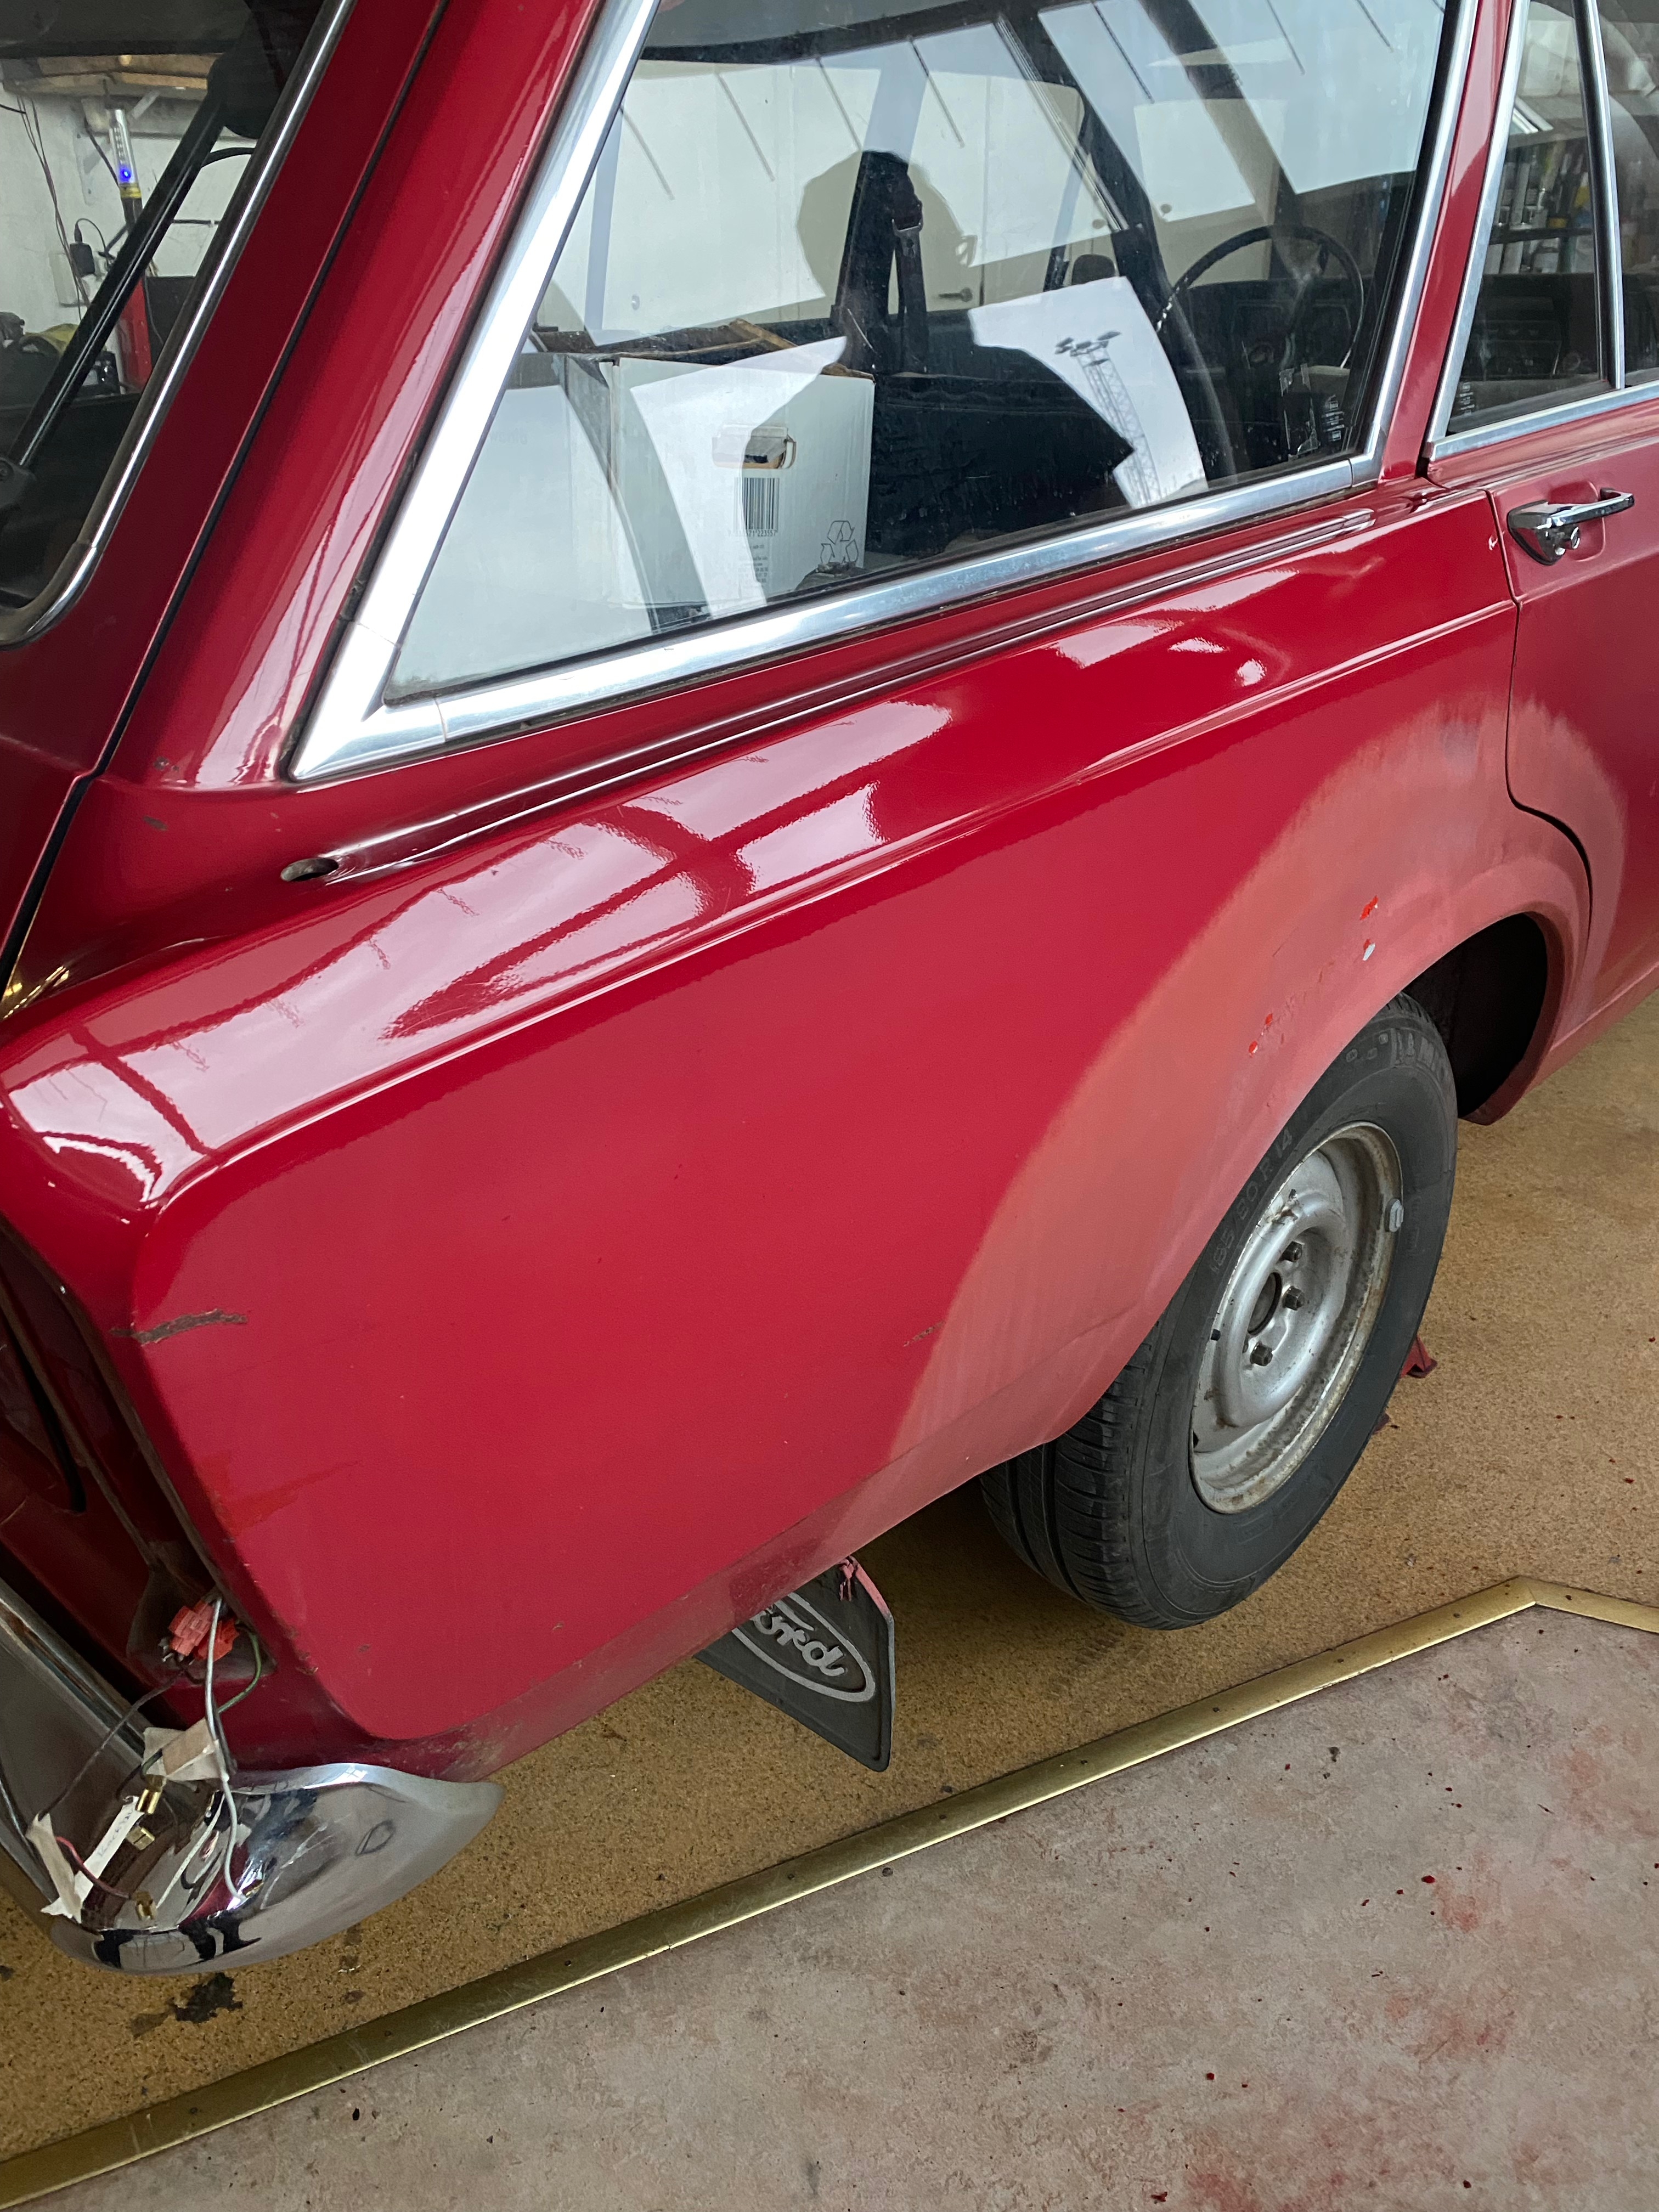
2023-05 Polished rear wing showing of the colour of the car
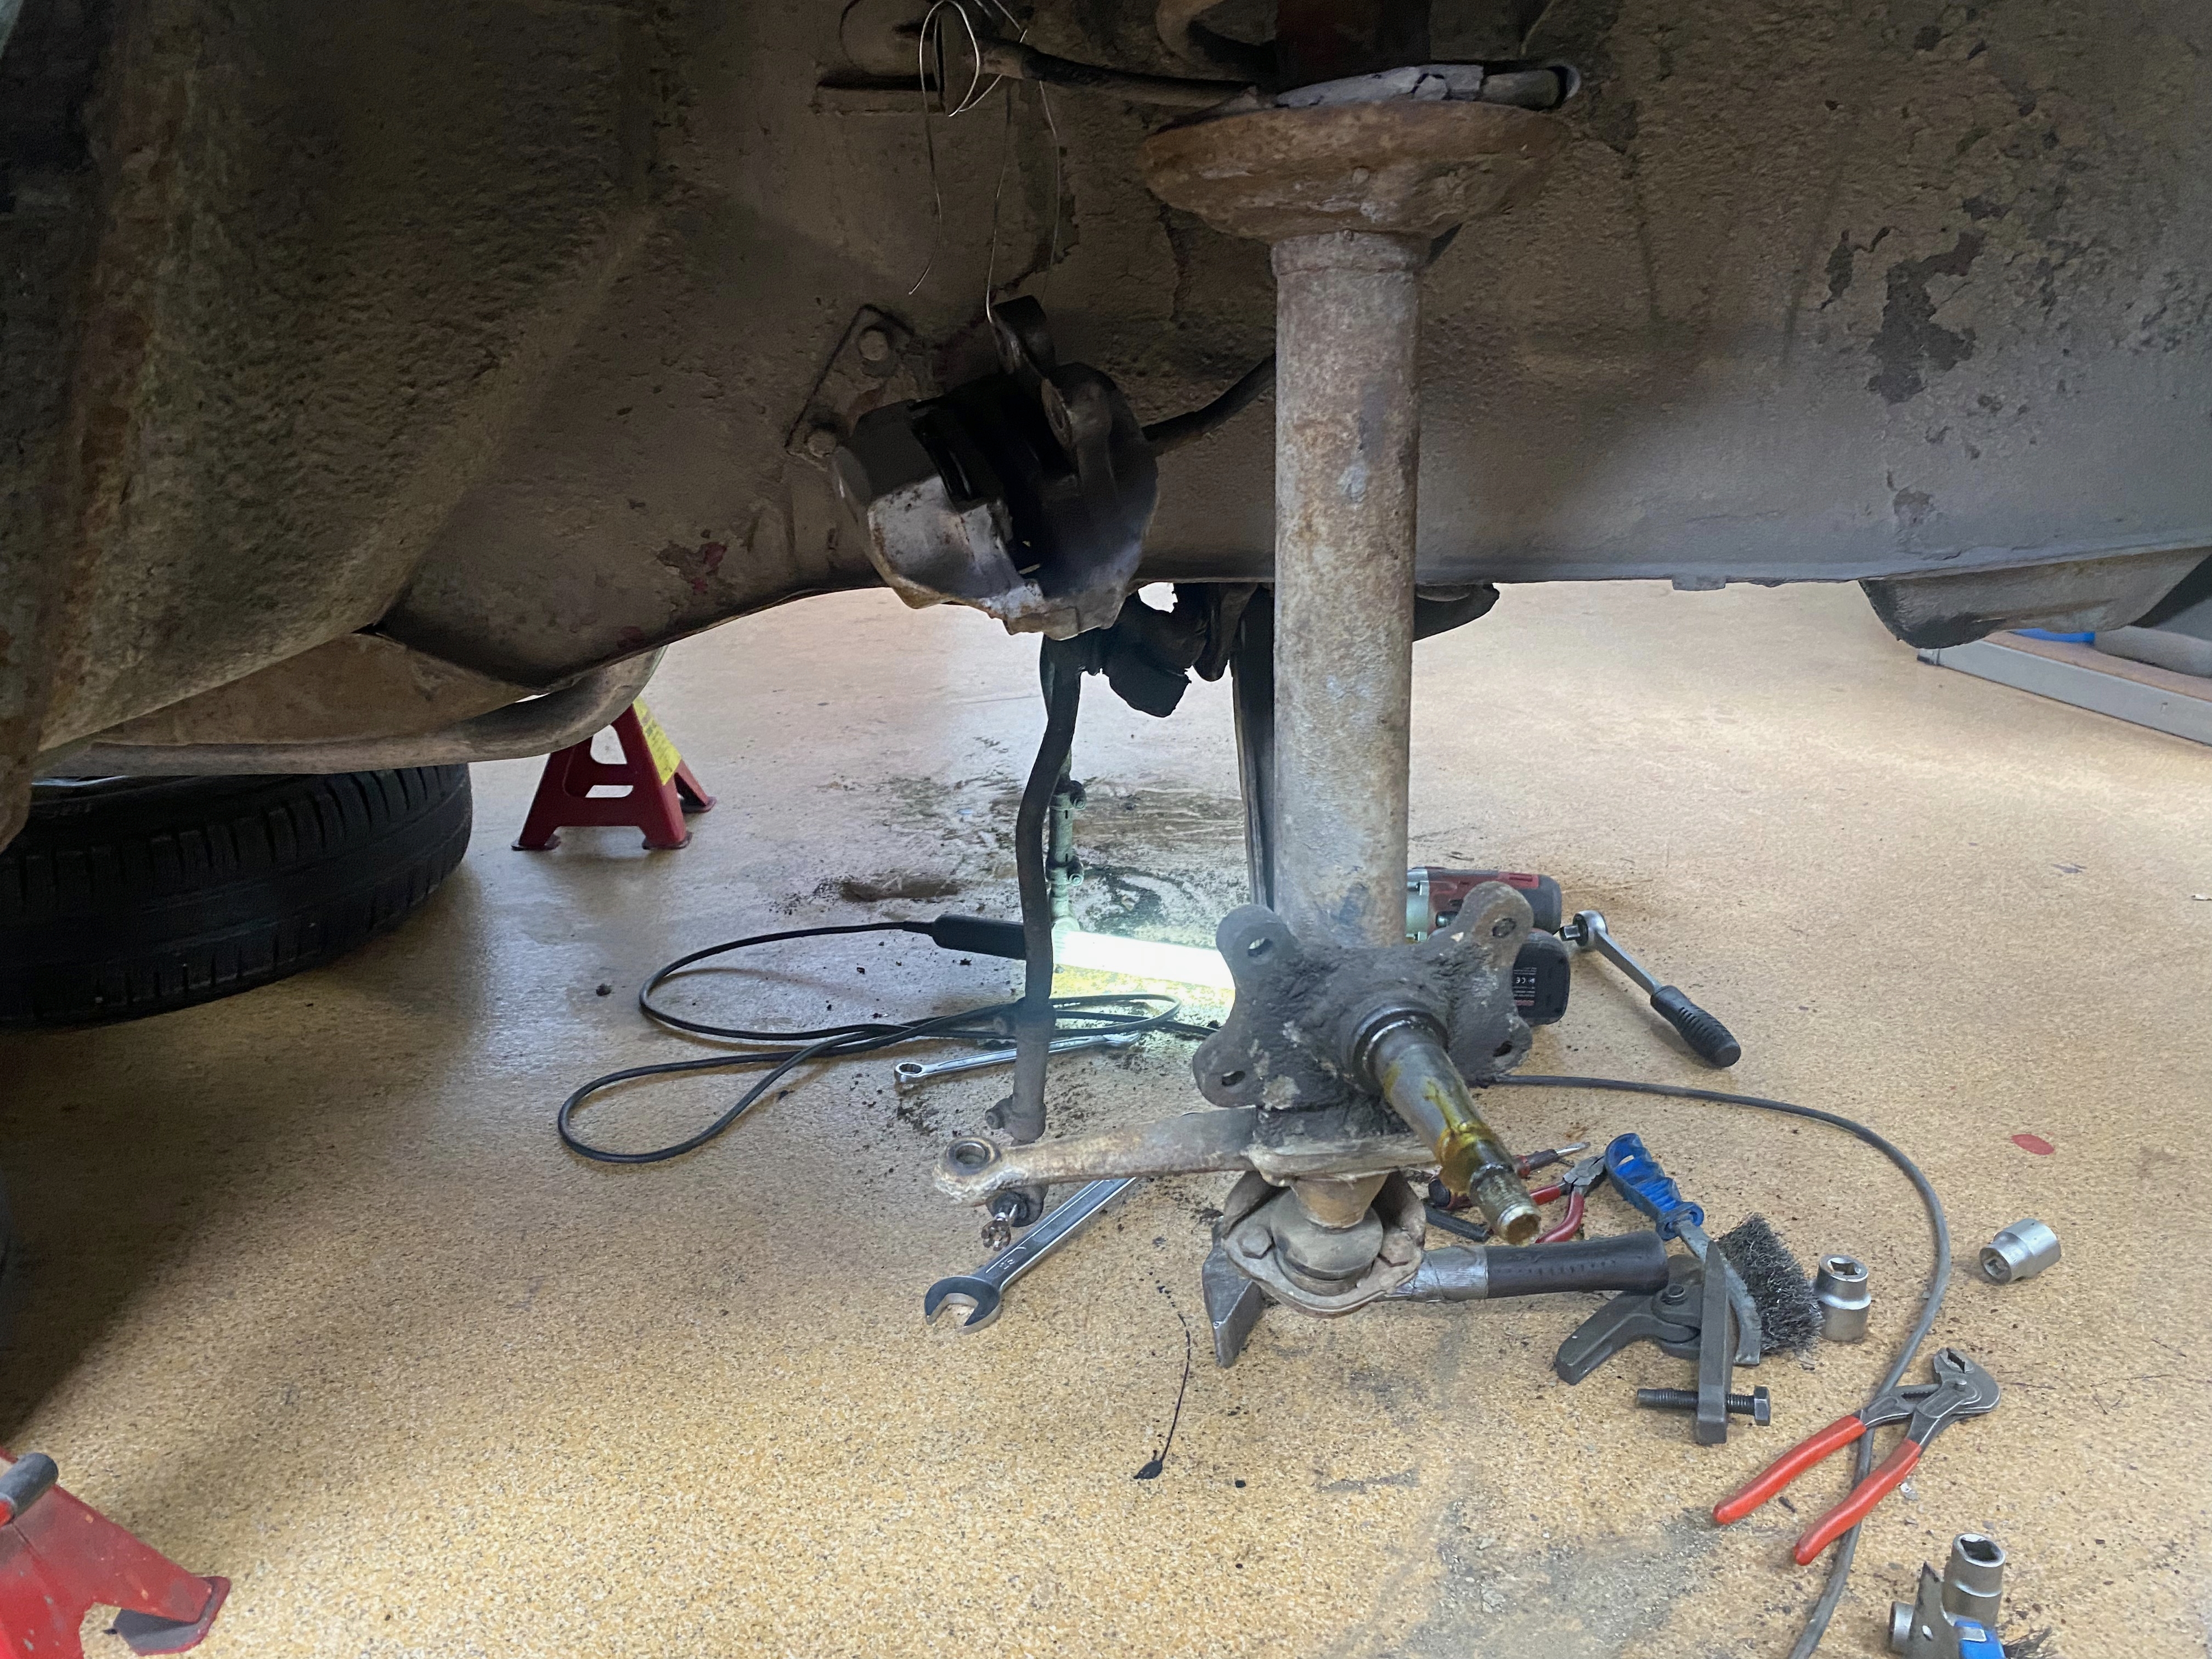
2023-05 Started dismantling the front suspension in order to replace the bushes
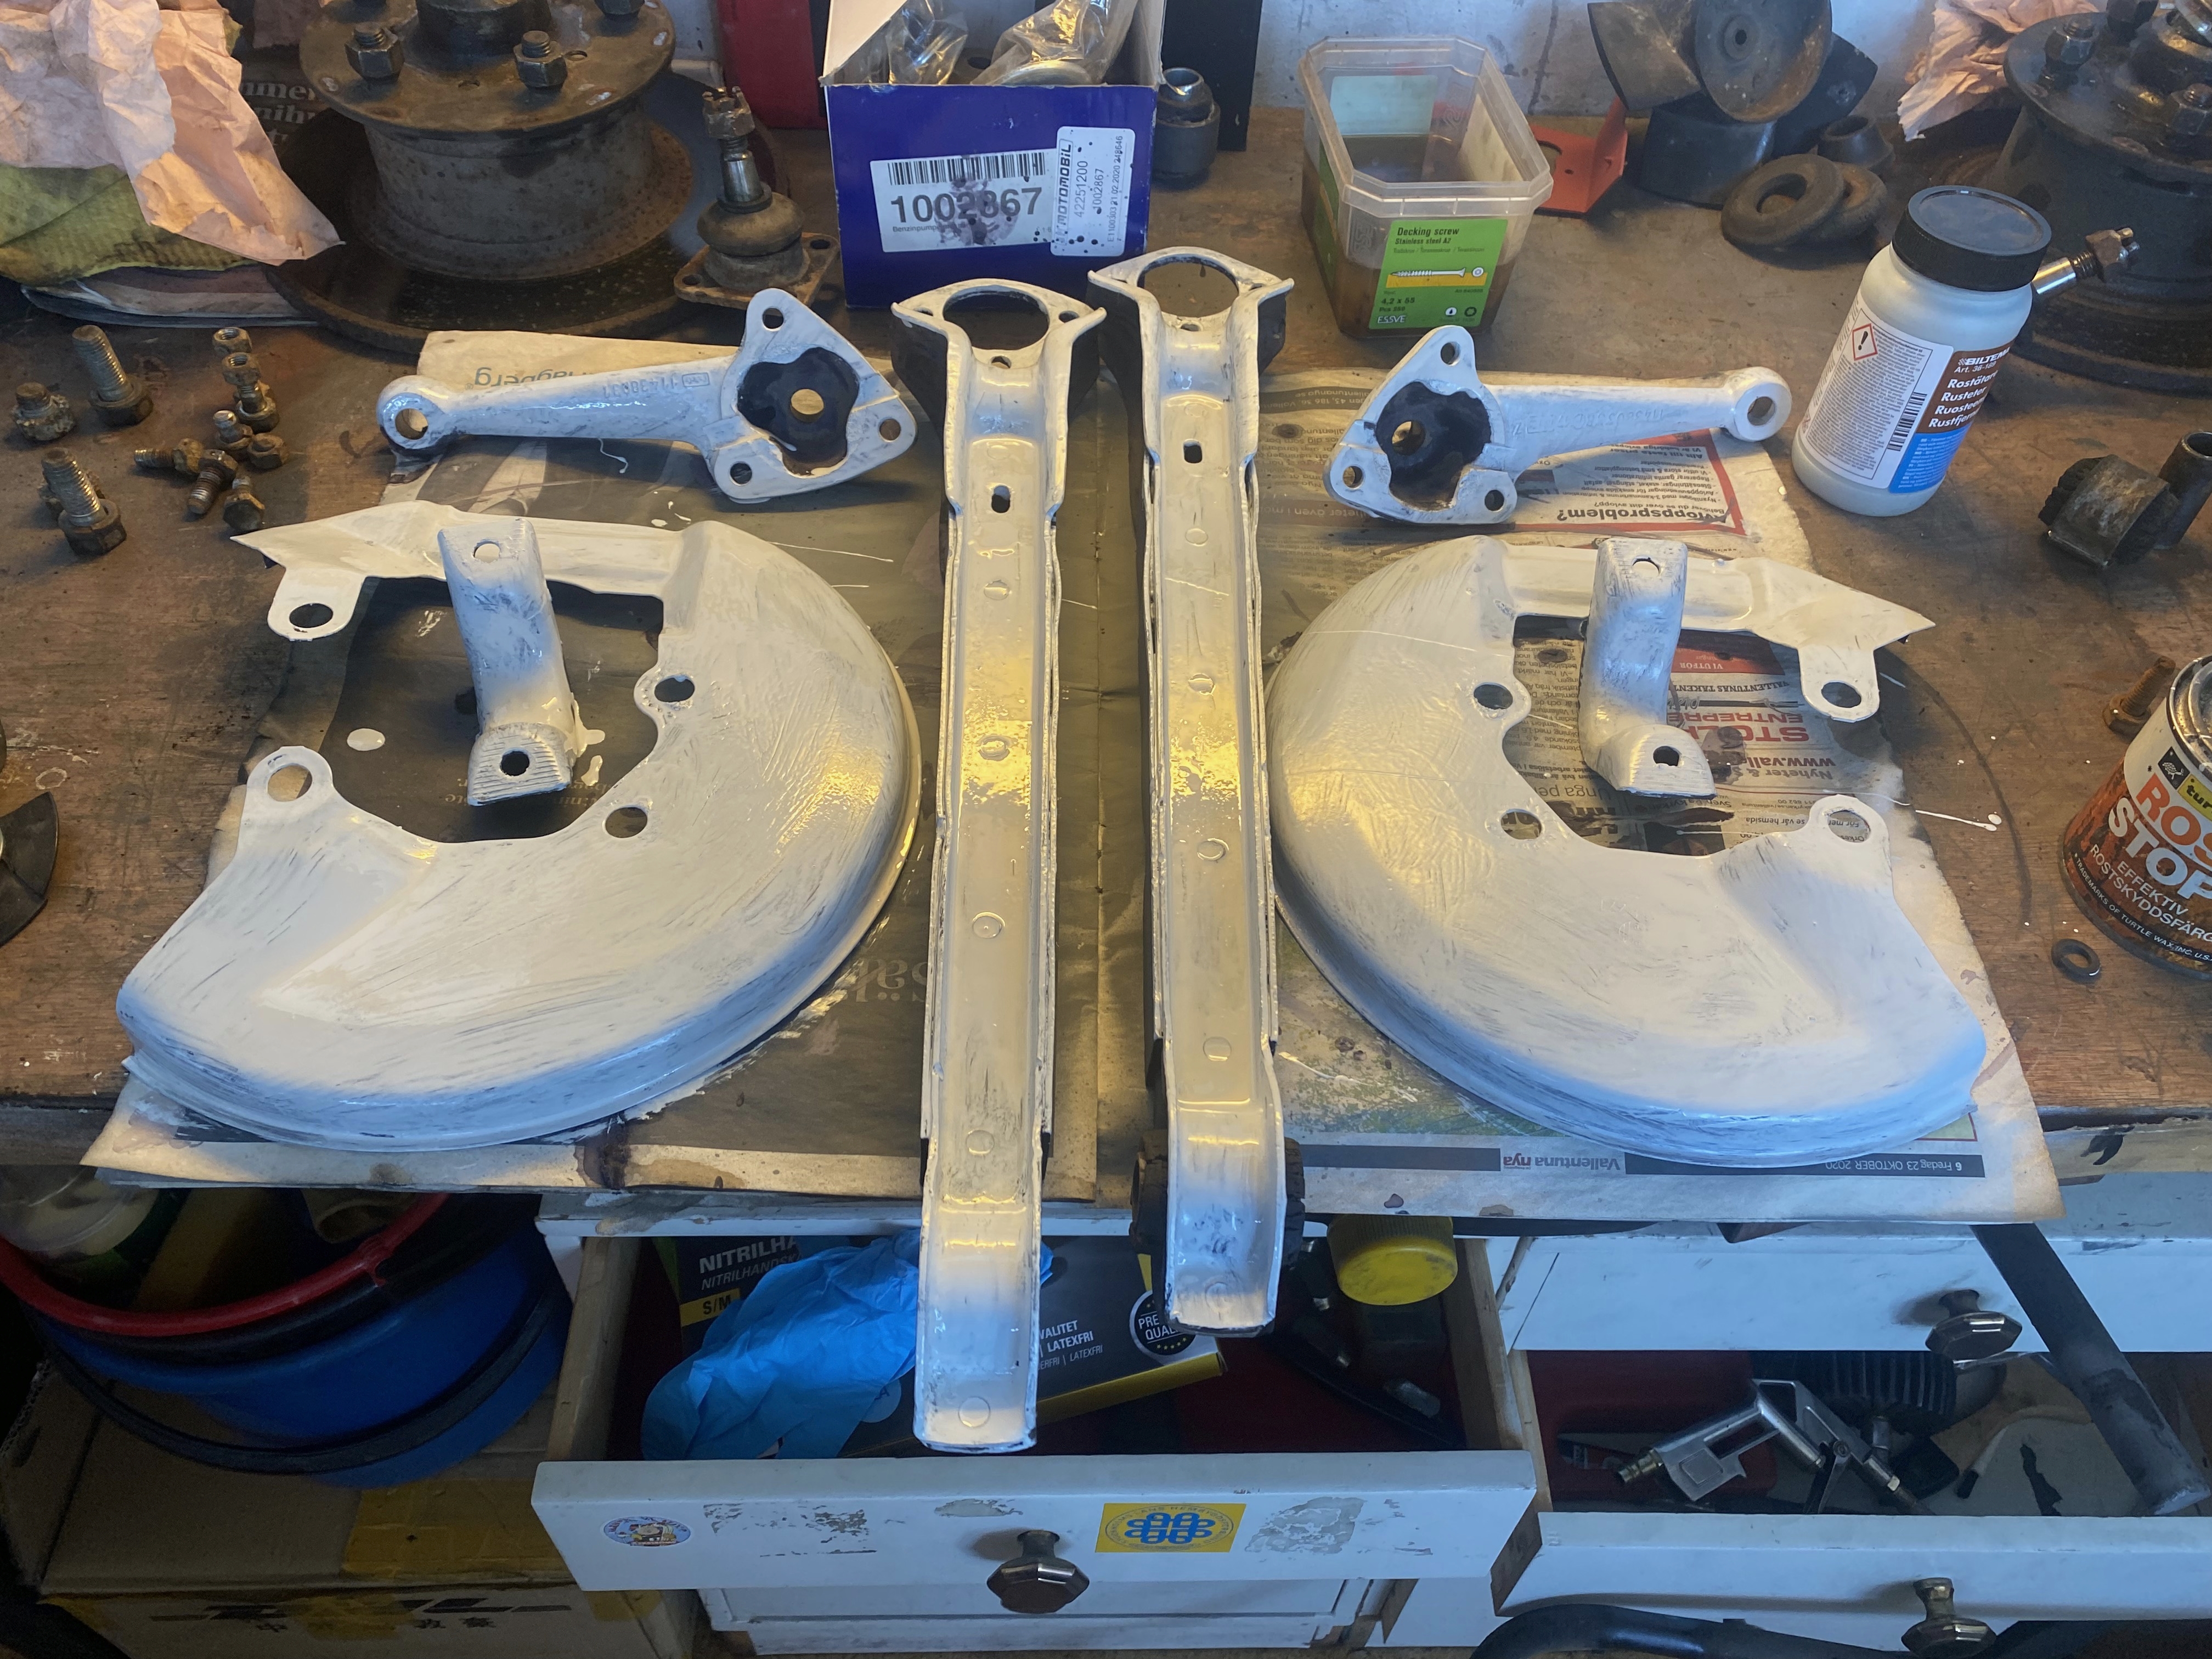
2023-05 Front suspension parts sand blasted and painted with rust protective paint
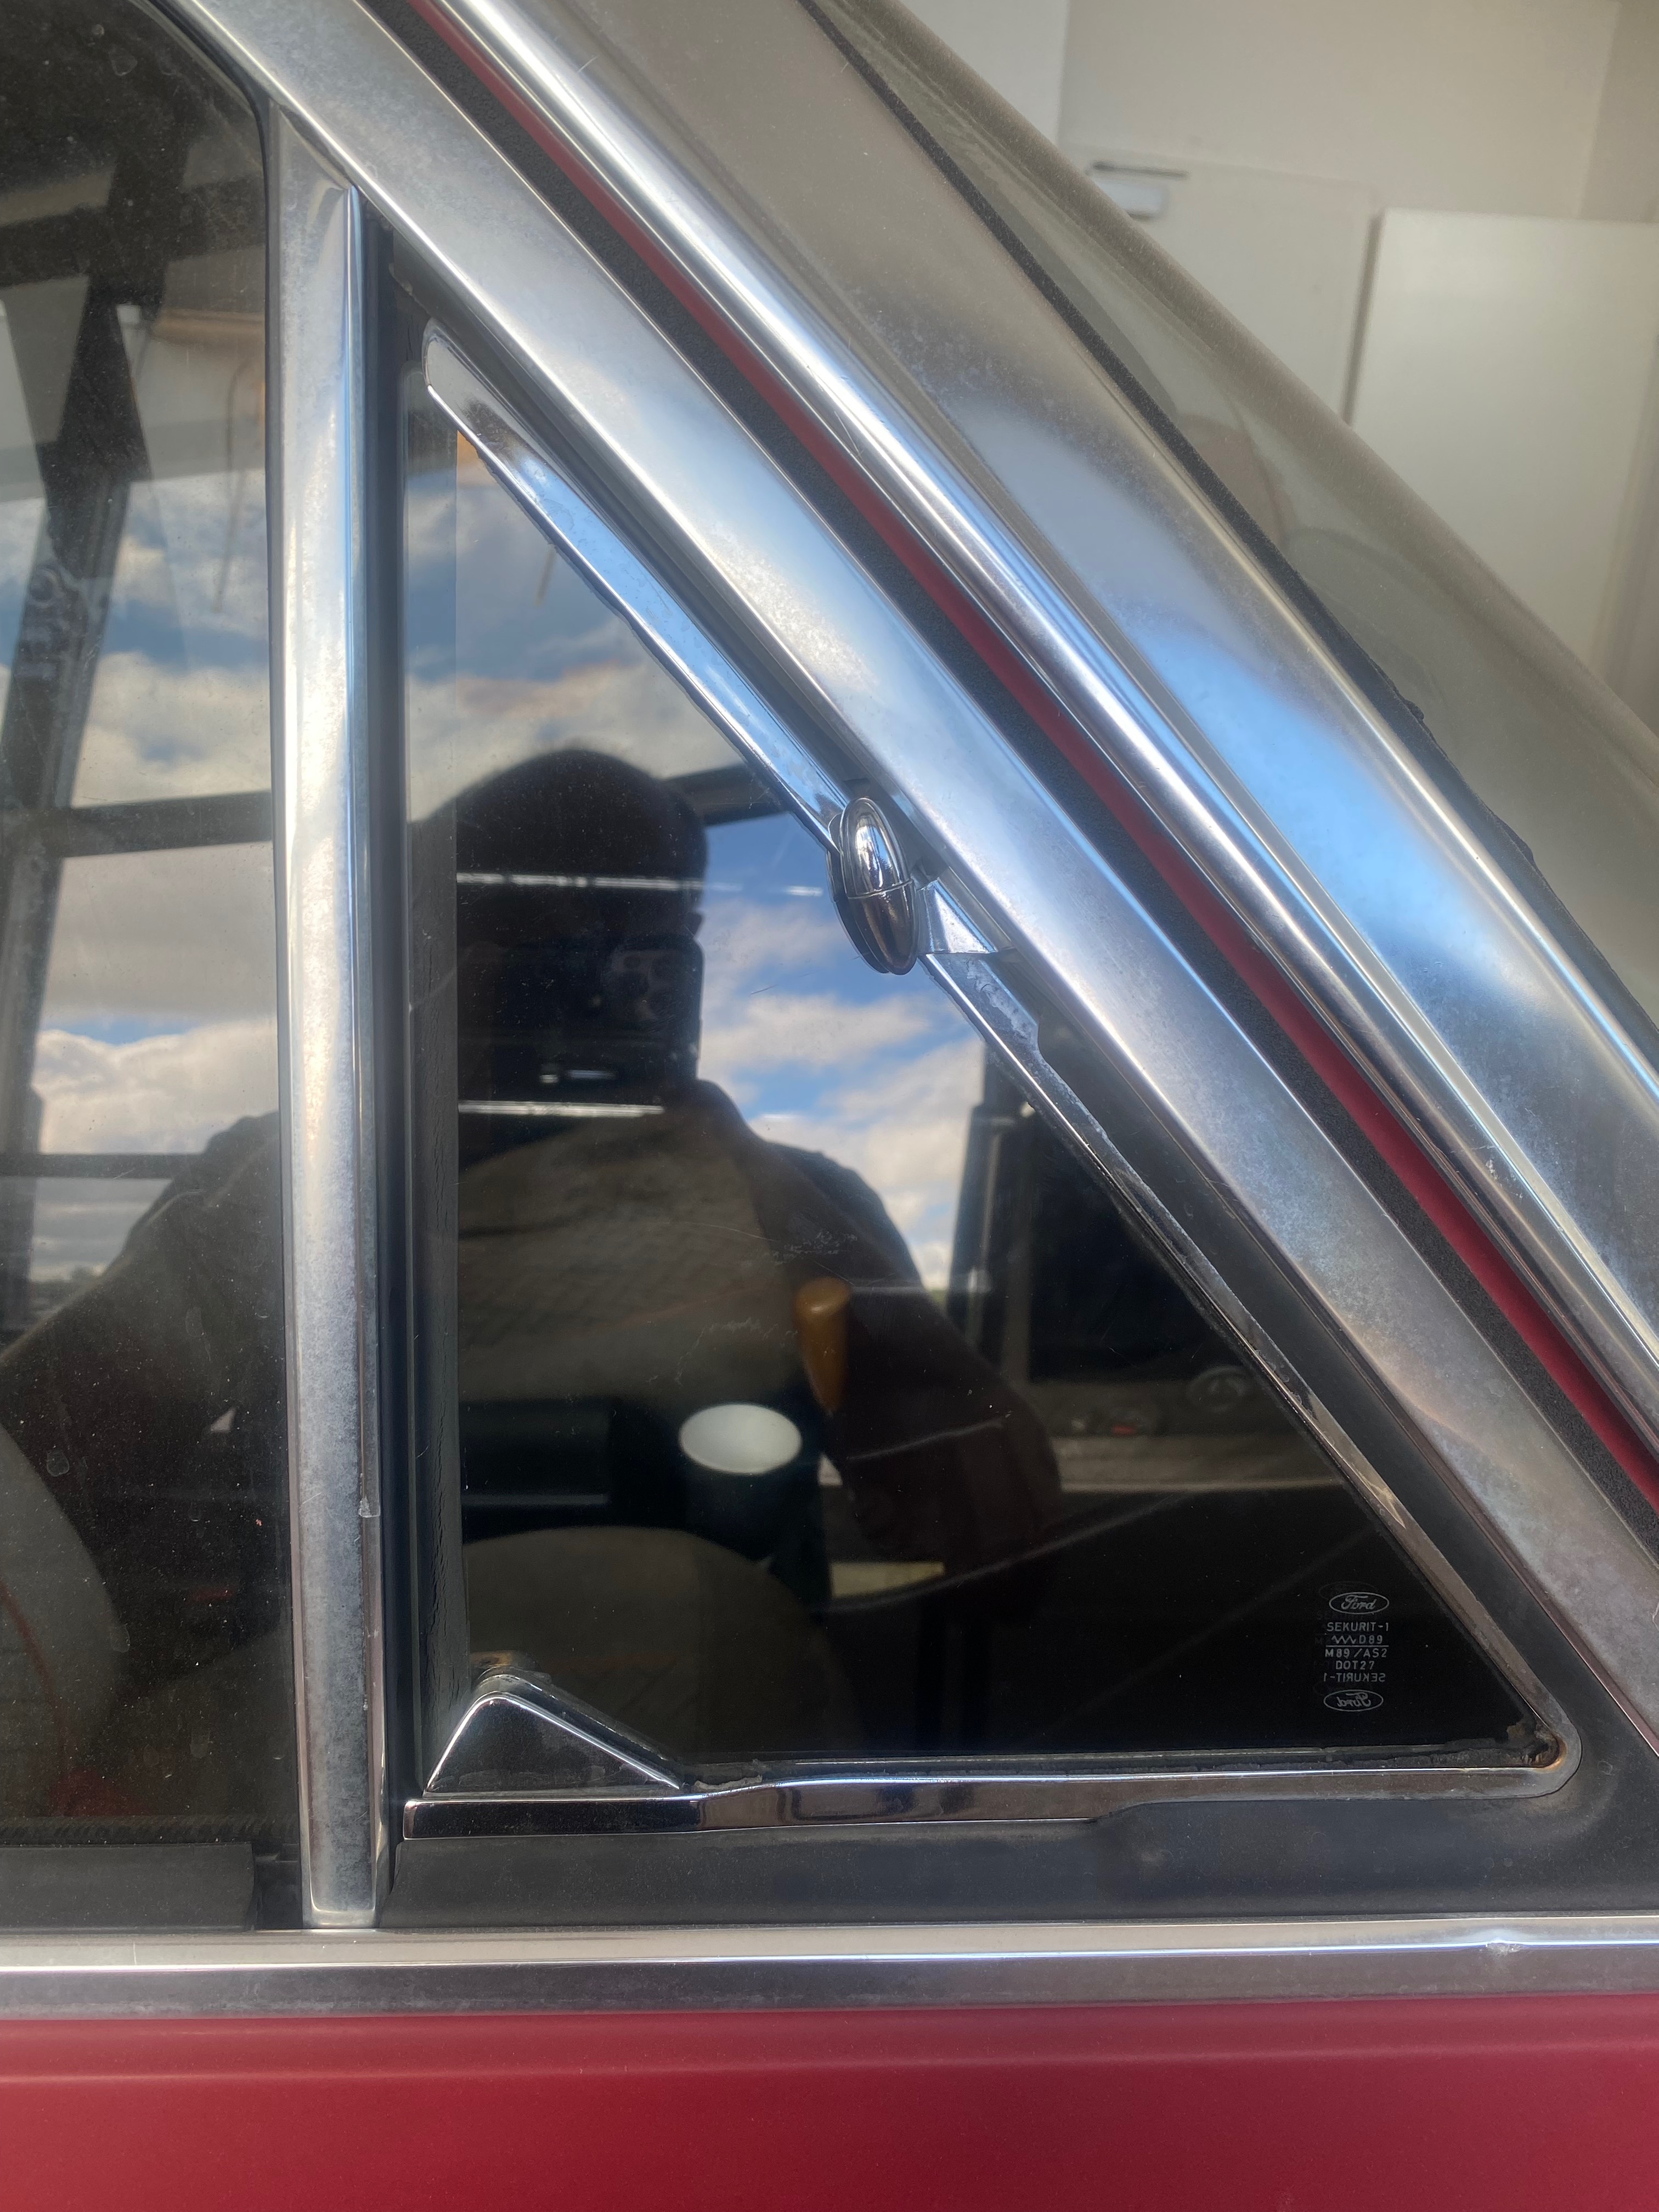
2023-08 Replacement window came from Motomobil in Germany
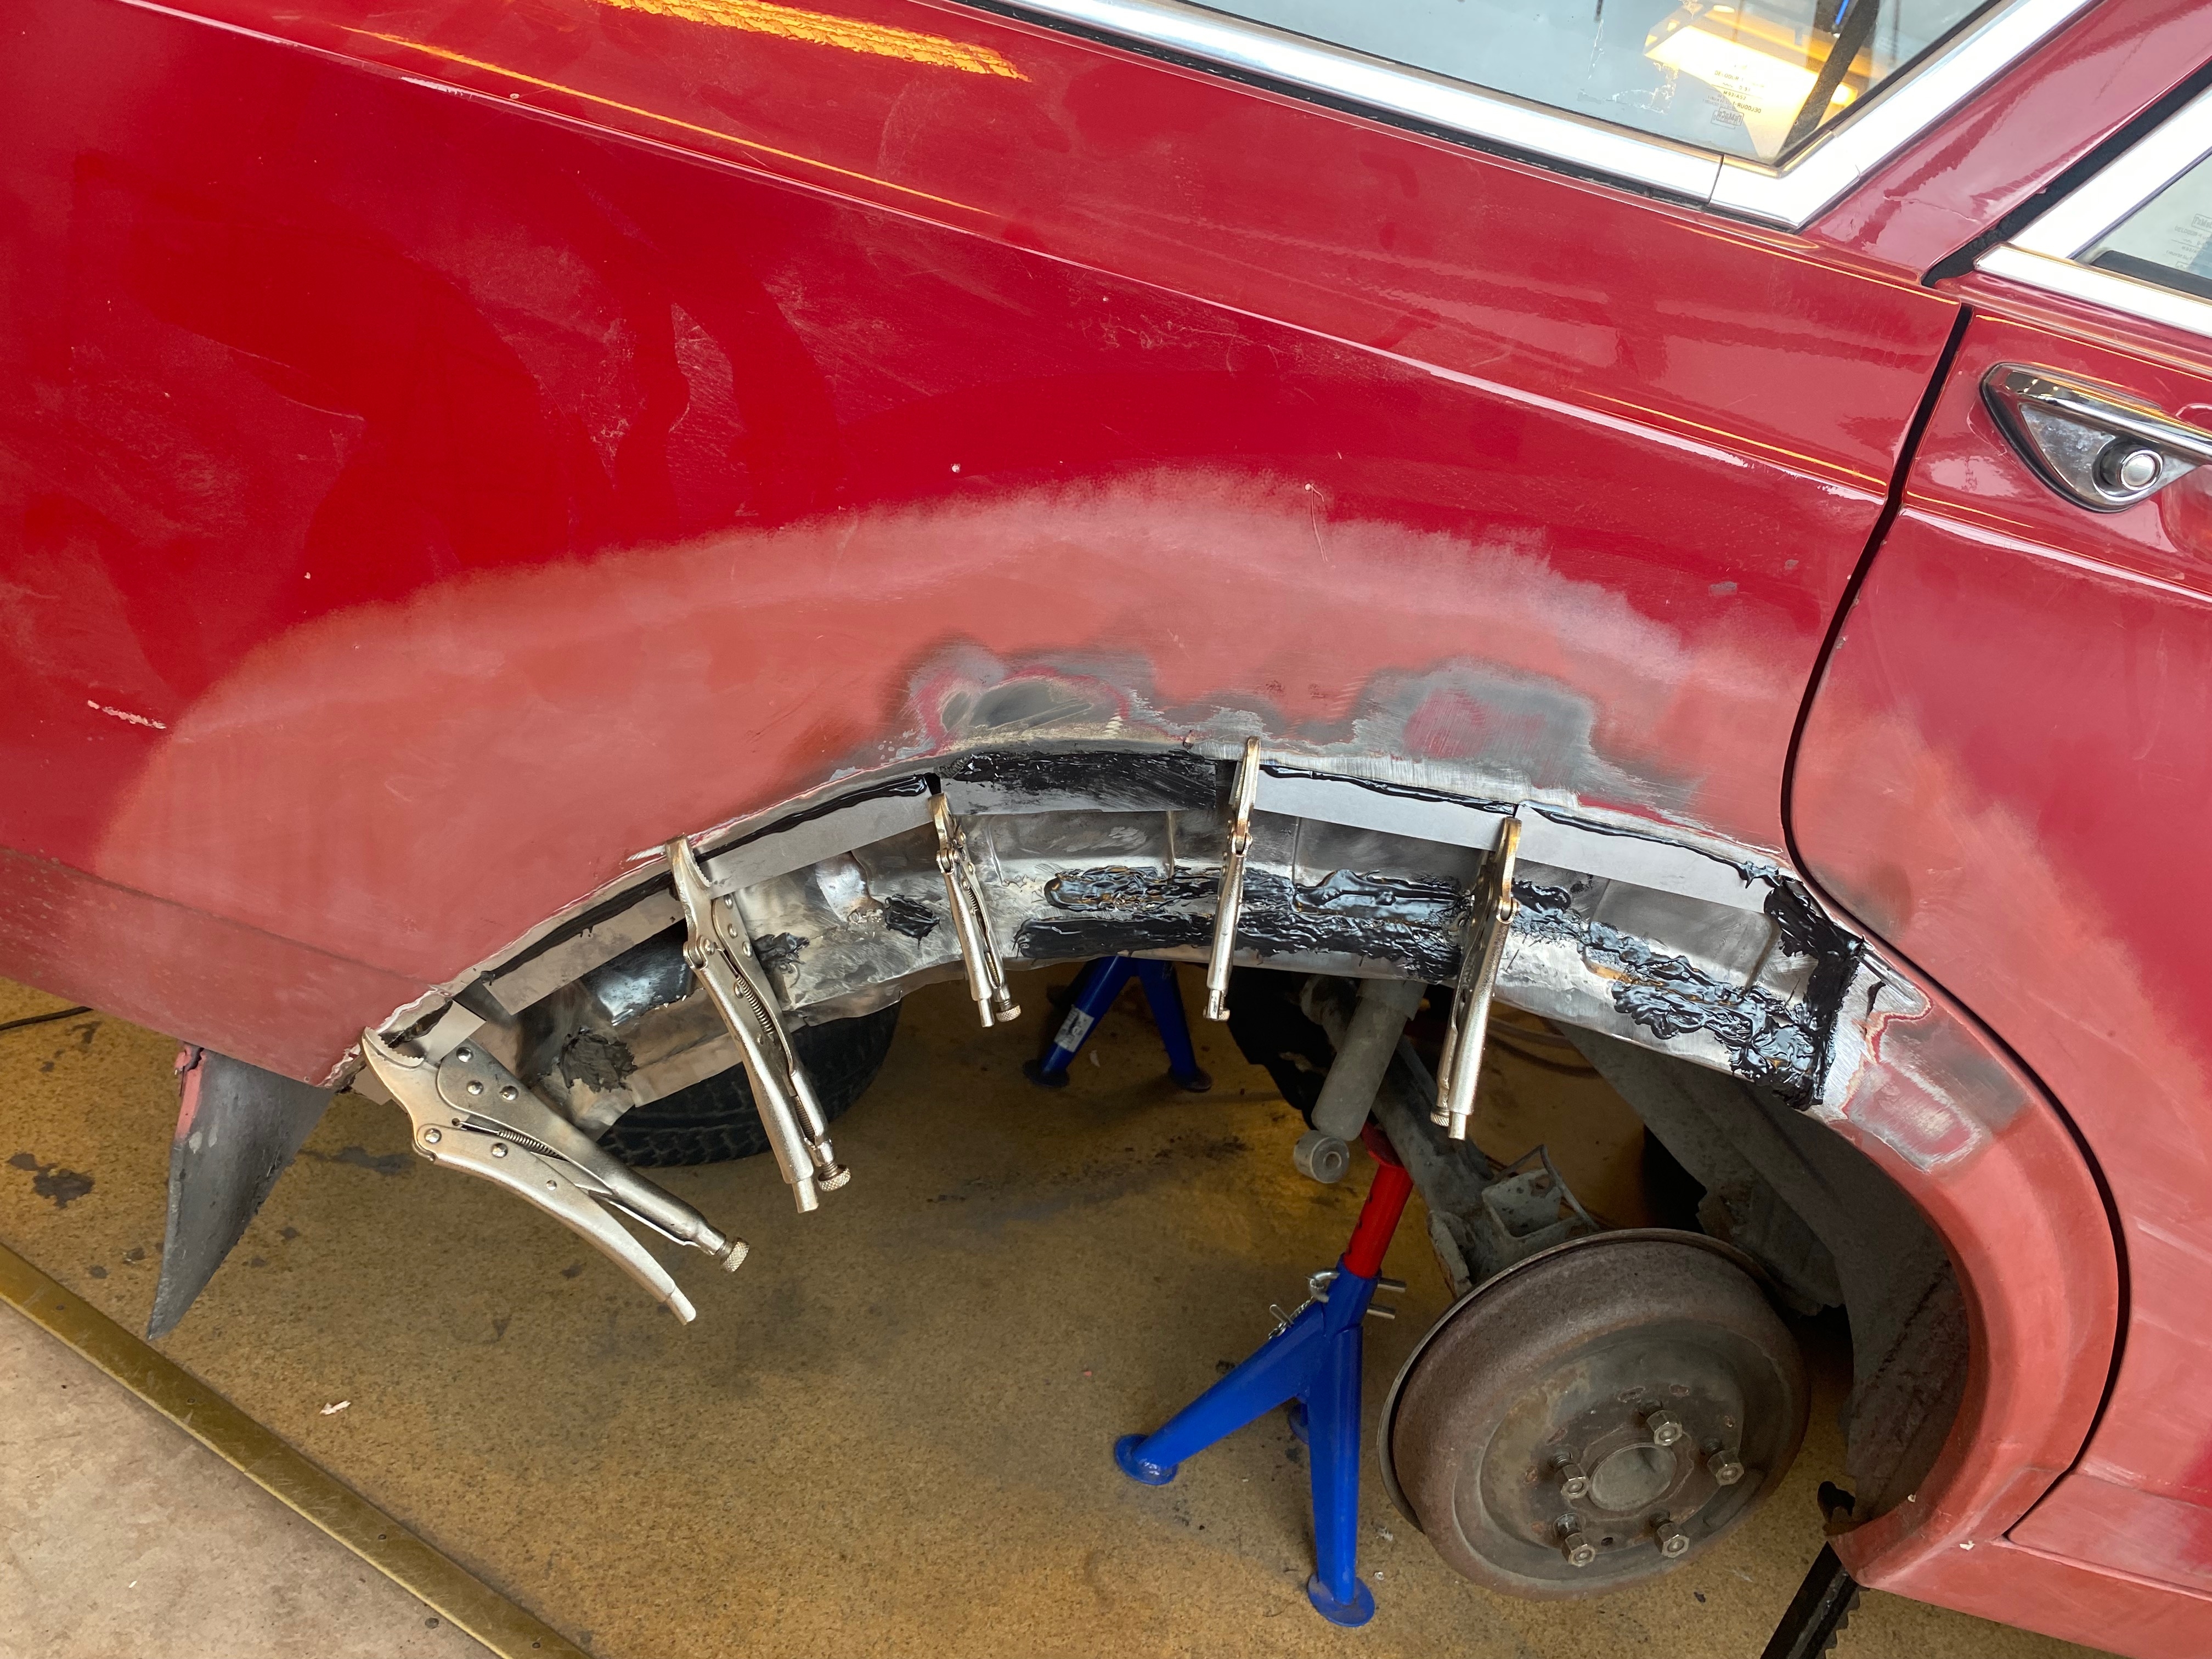
2023-08 Starting the glueing process for the rear wheel arches
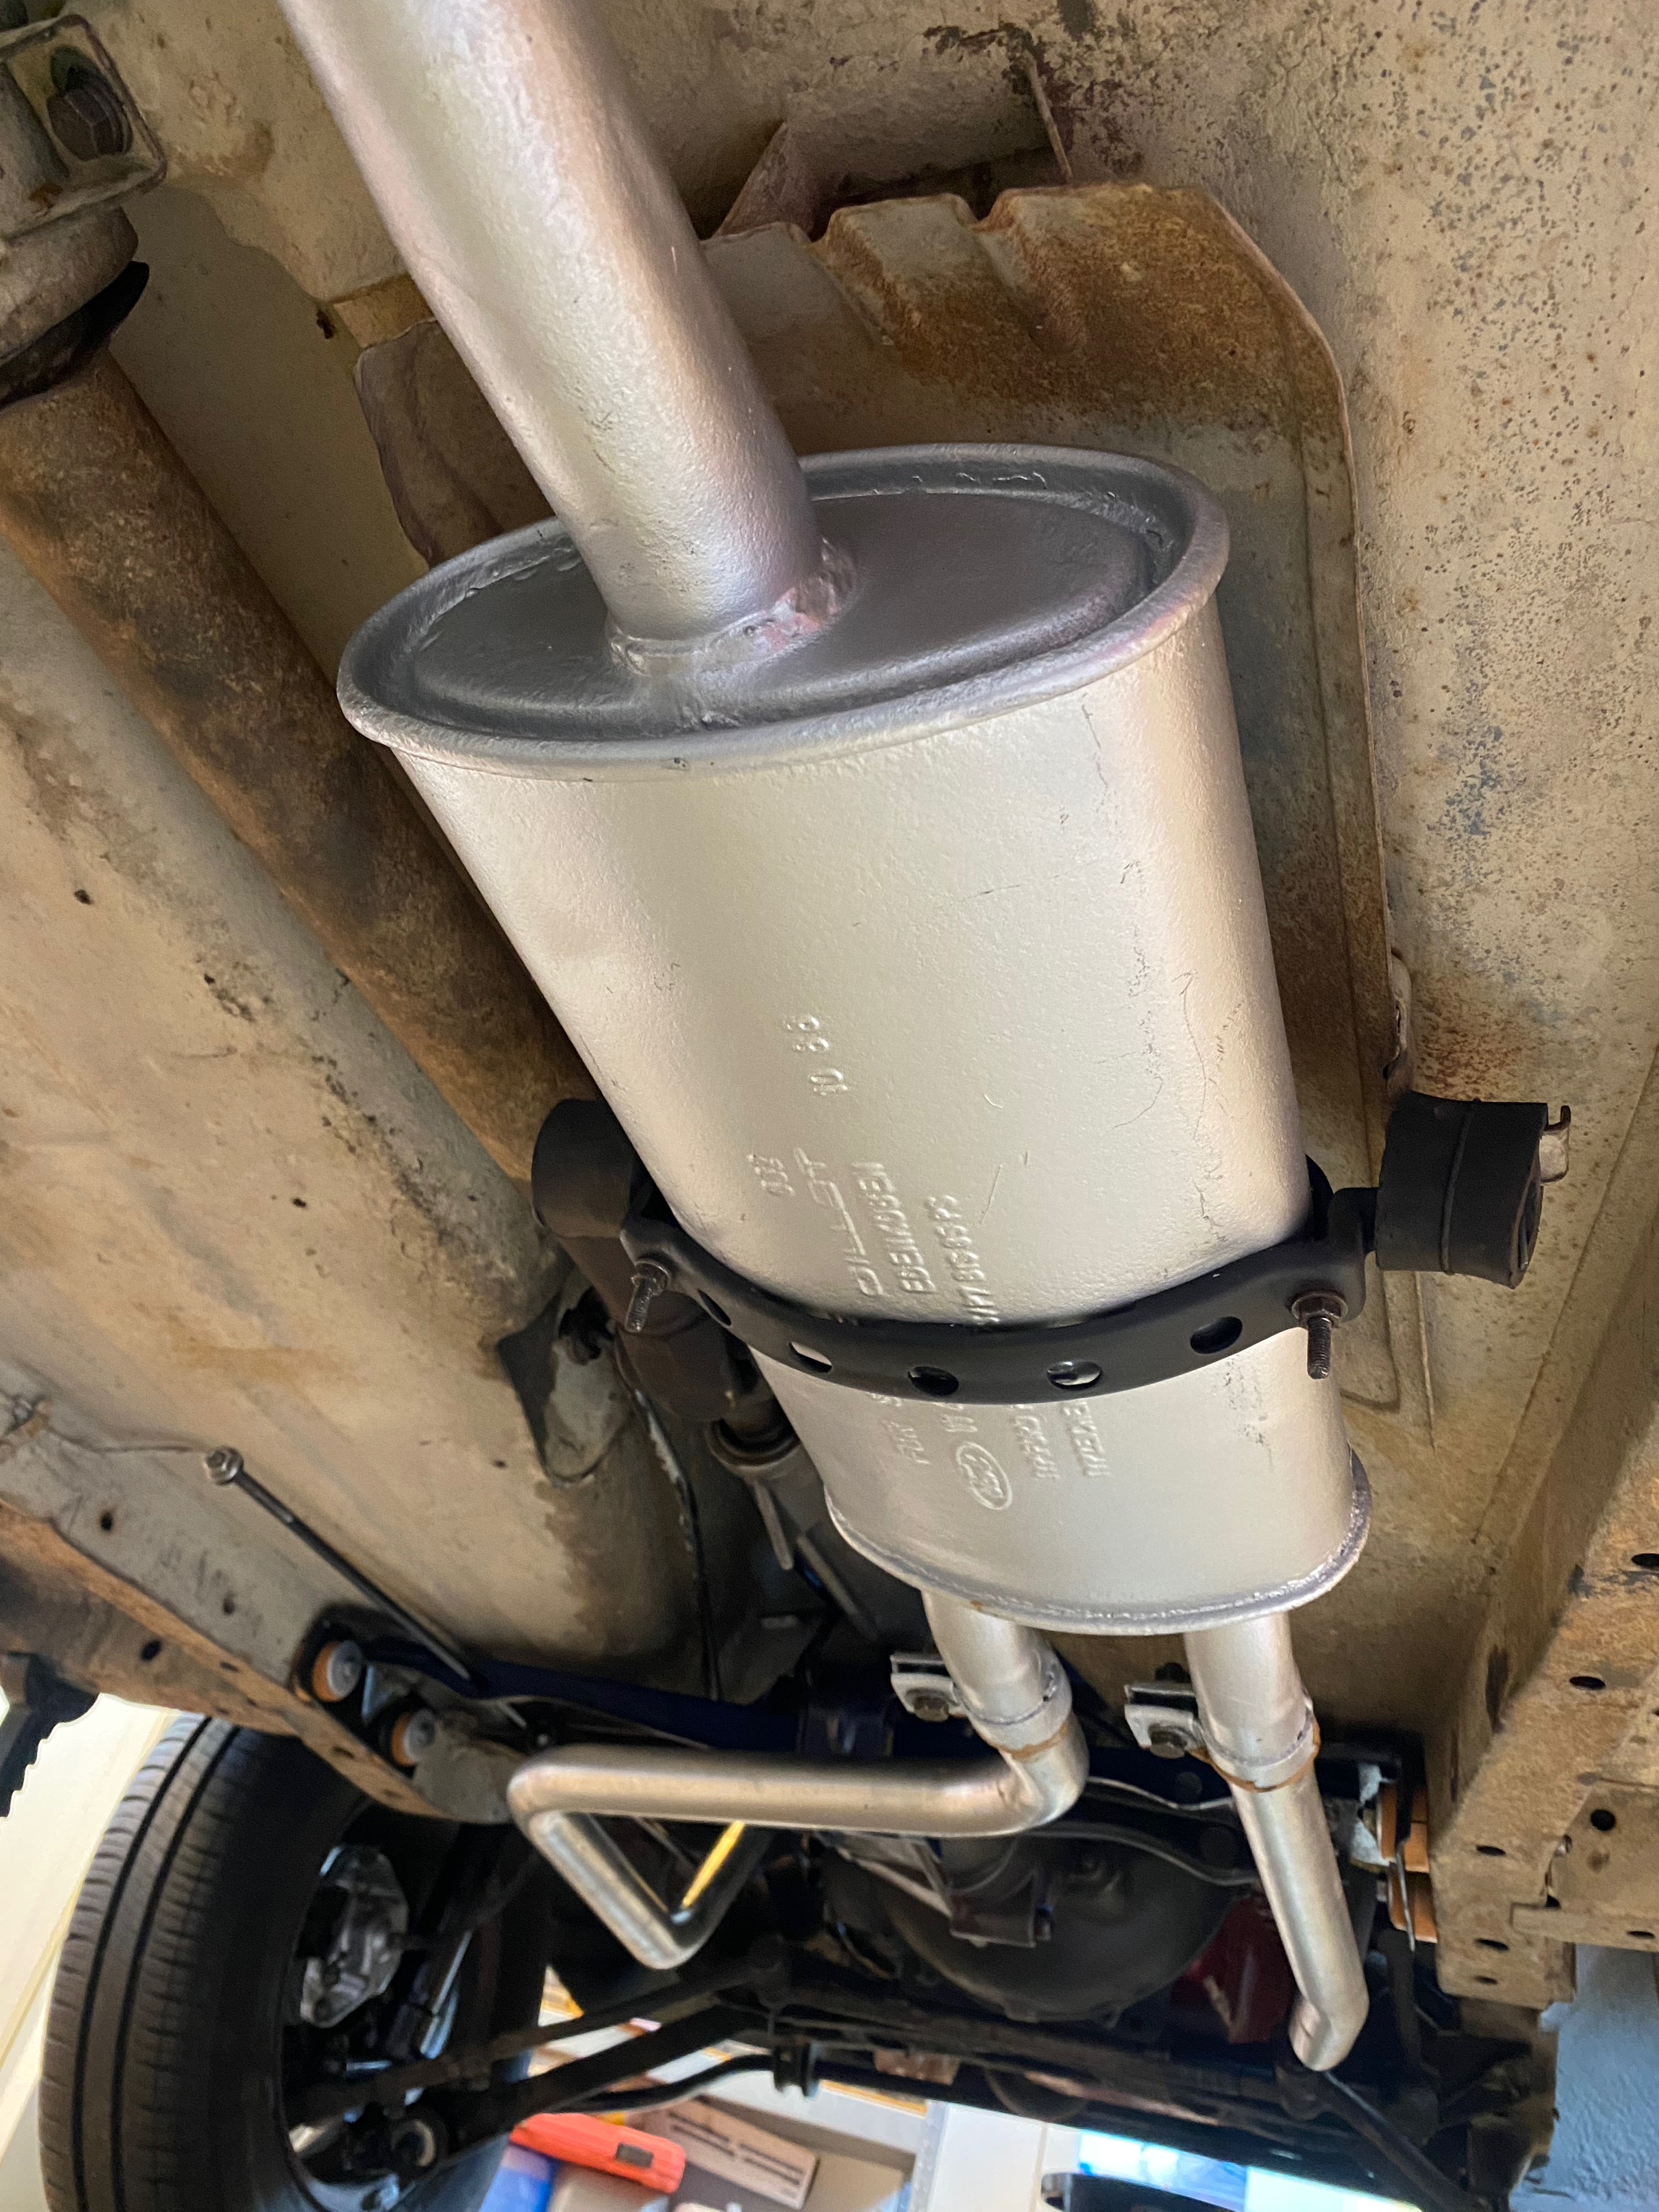
2023-10 New Clutch, gearbox and silencer system mounted
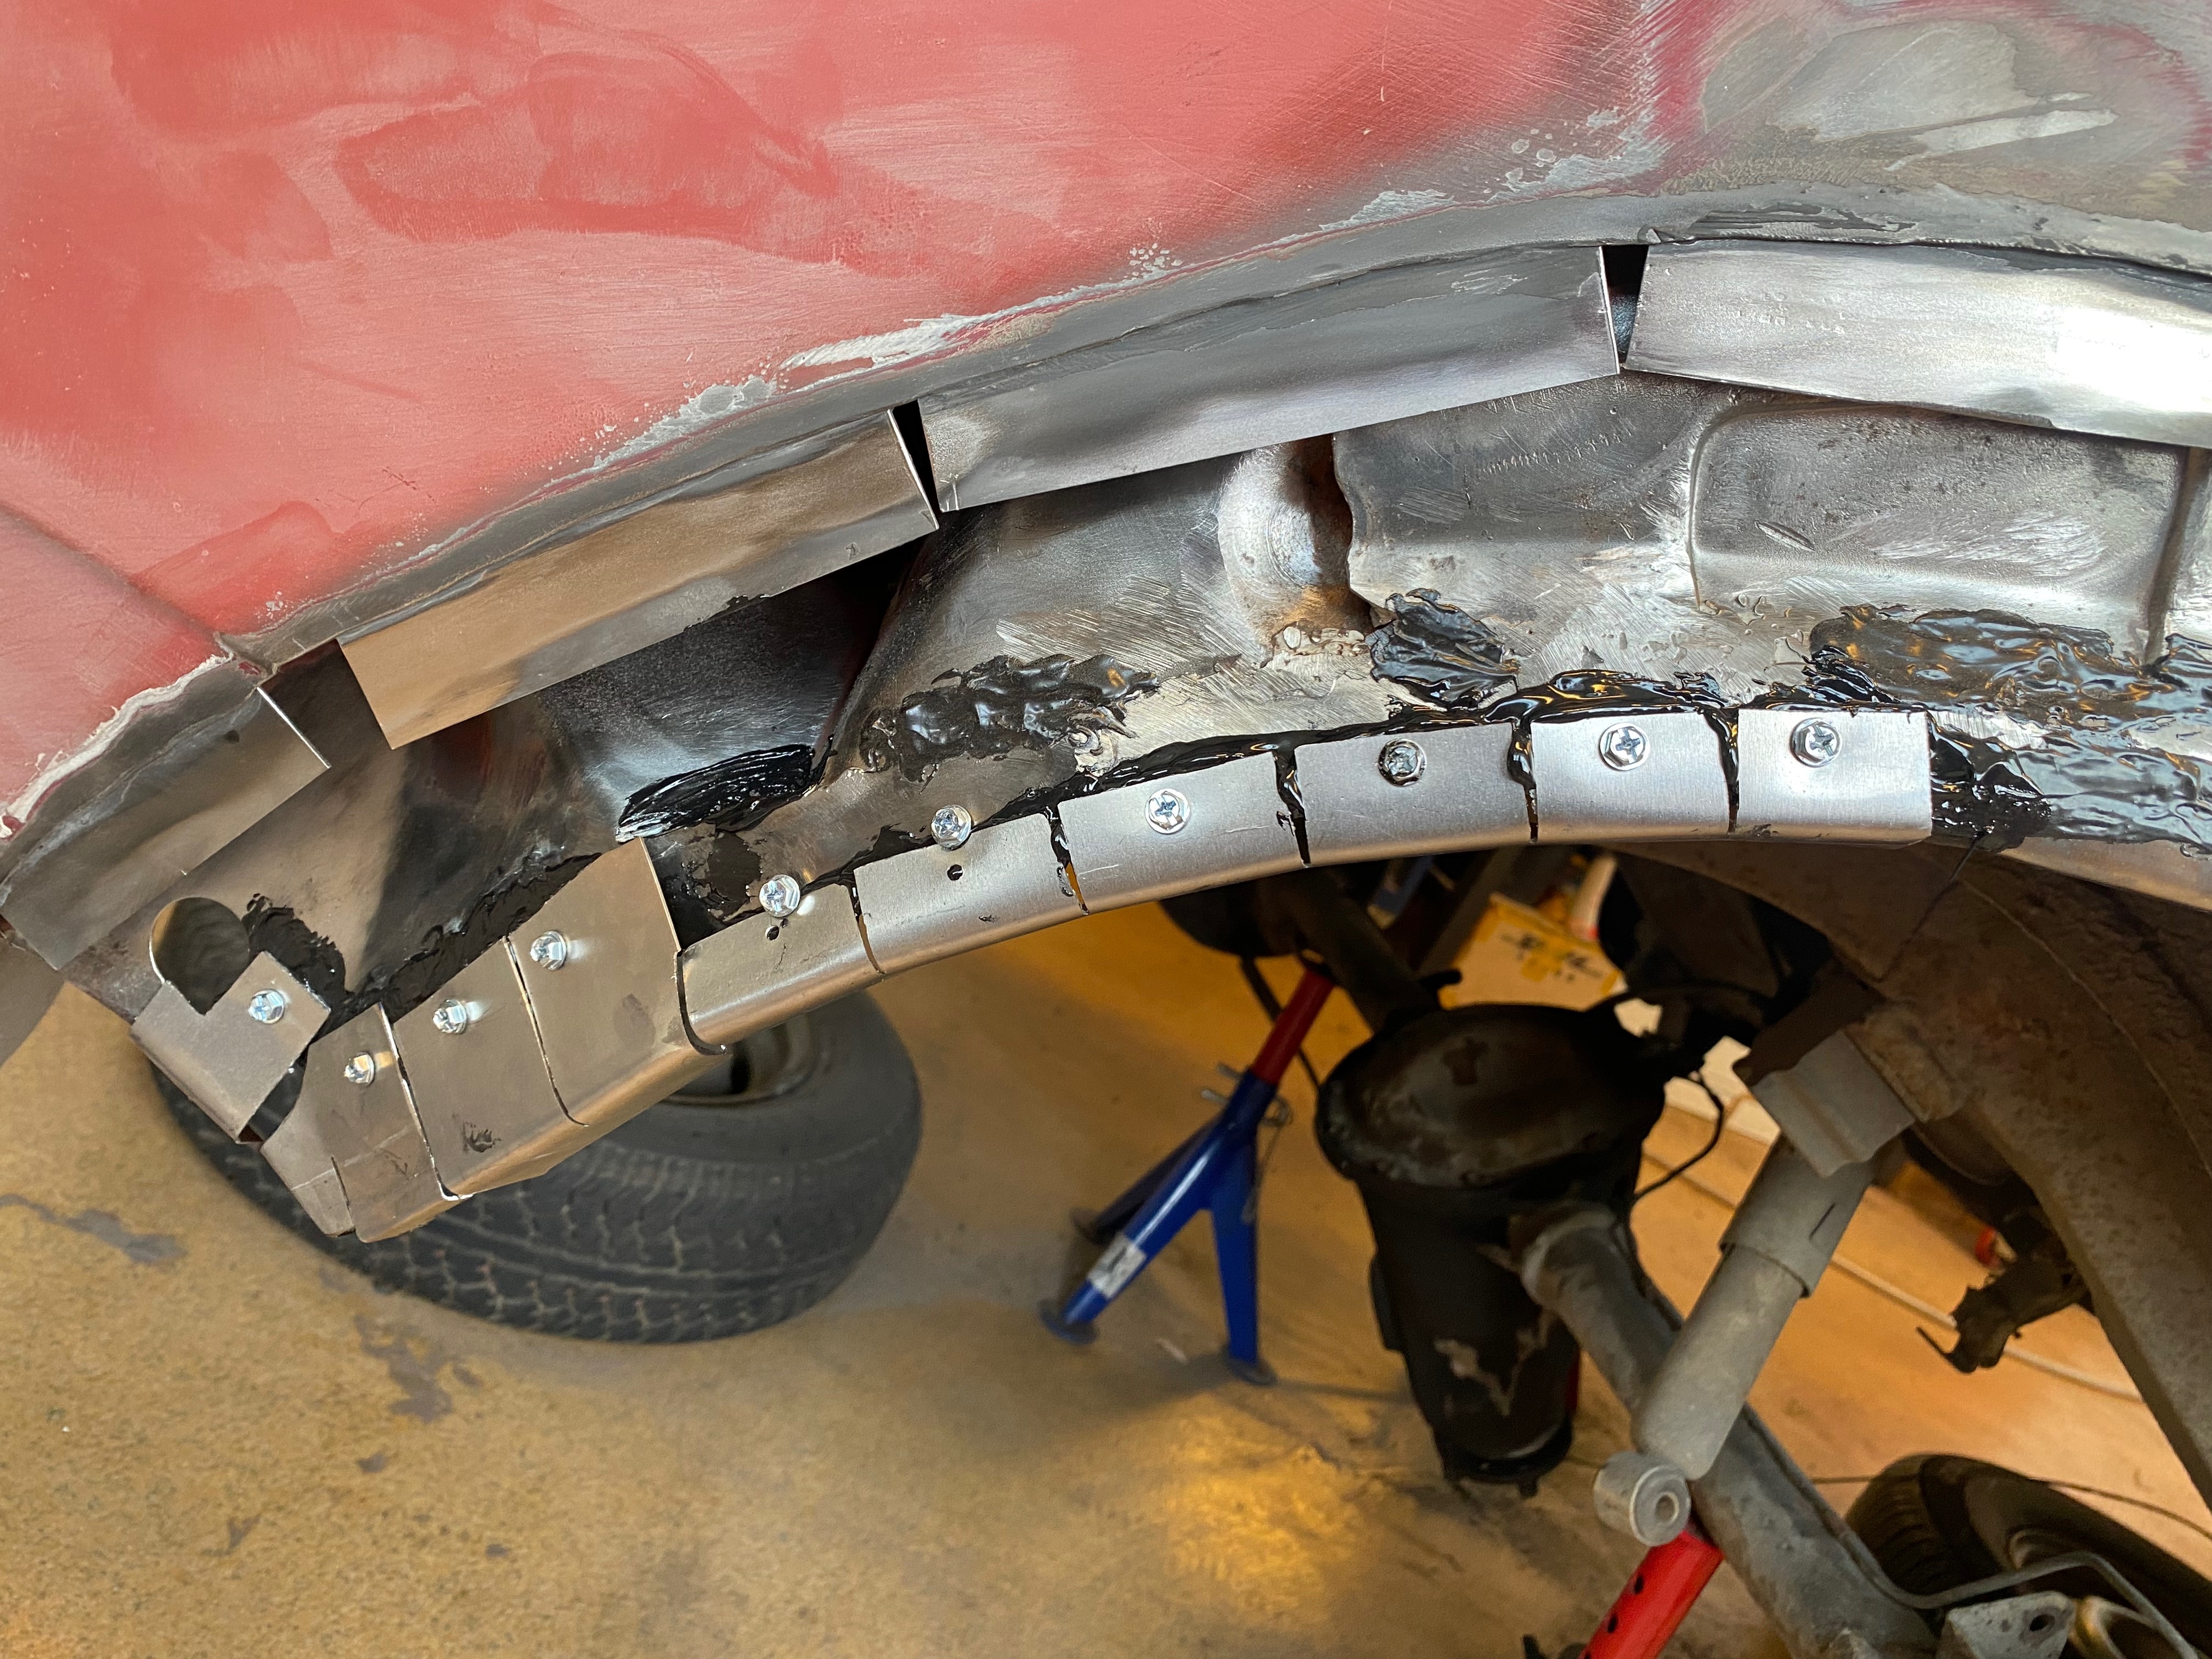
2023-10 The inner wheel arch glued and secured with screws
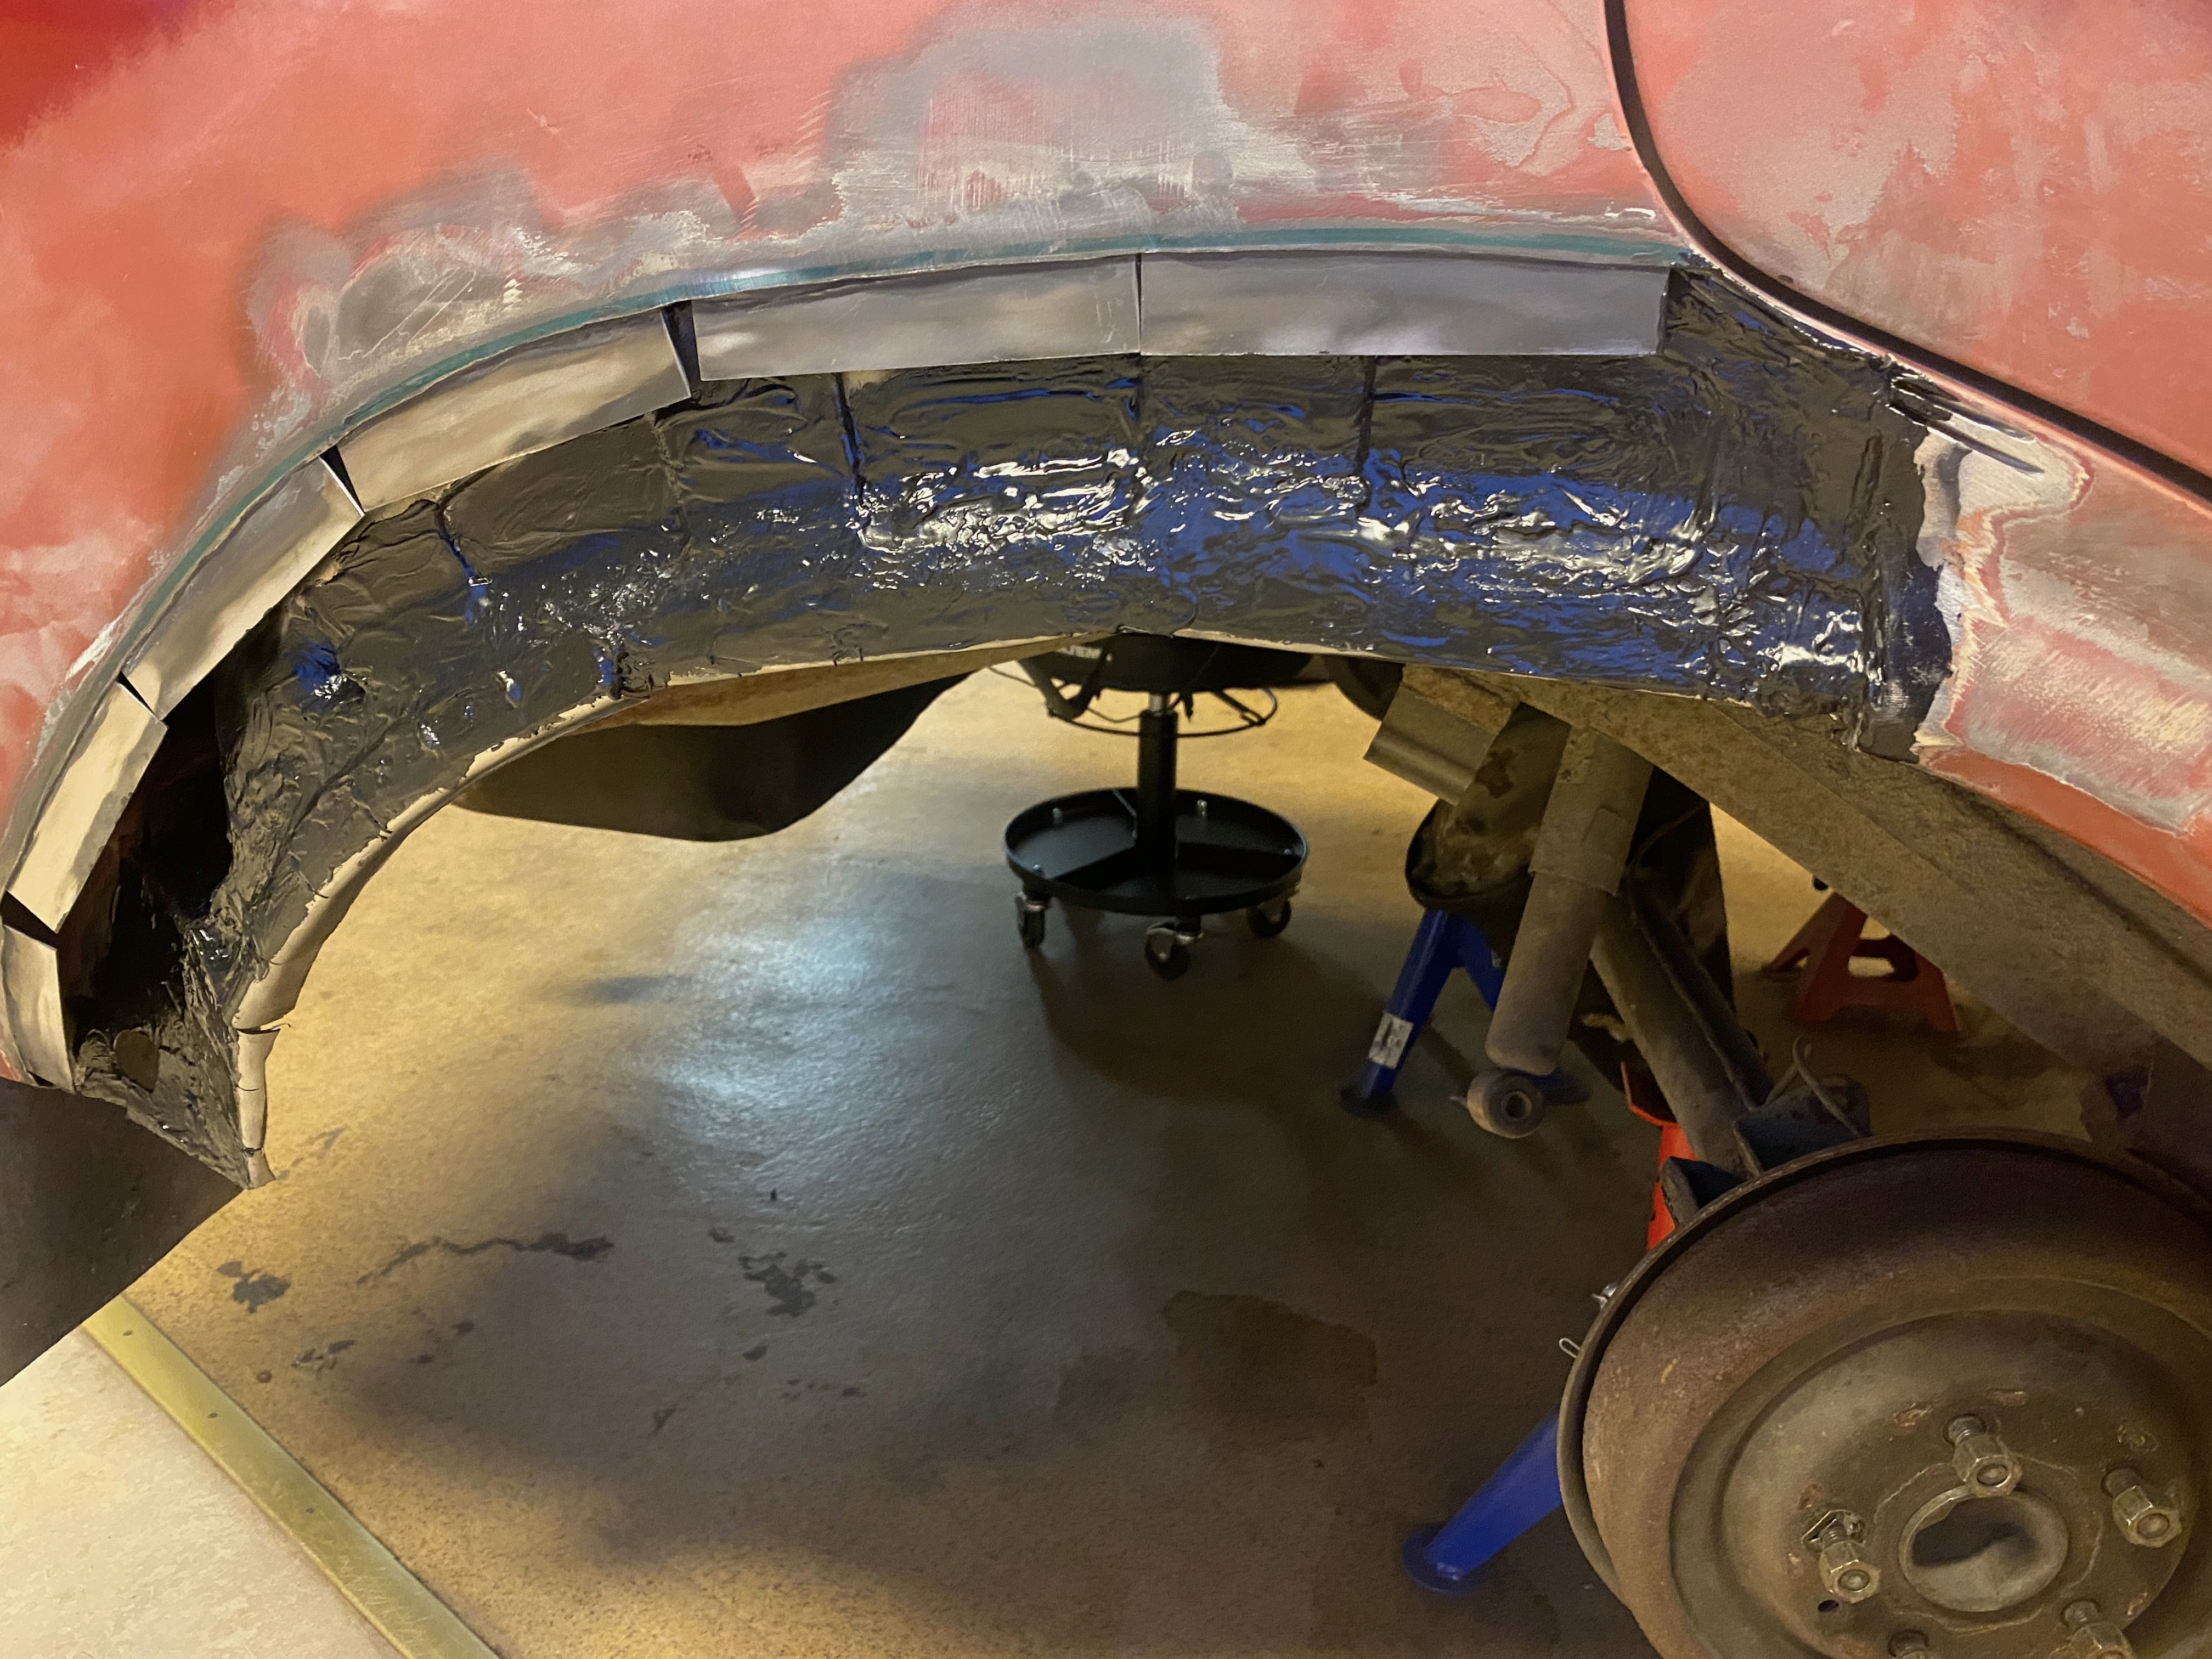
2023-10 Using old glue to rust protect the inner wing before glueing the rear wheel arch
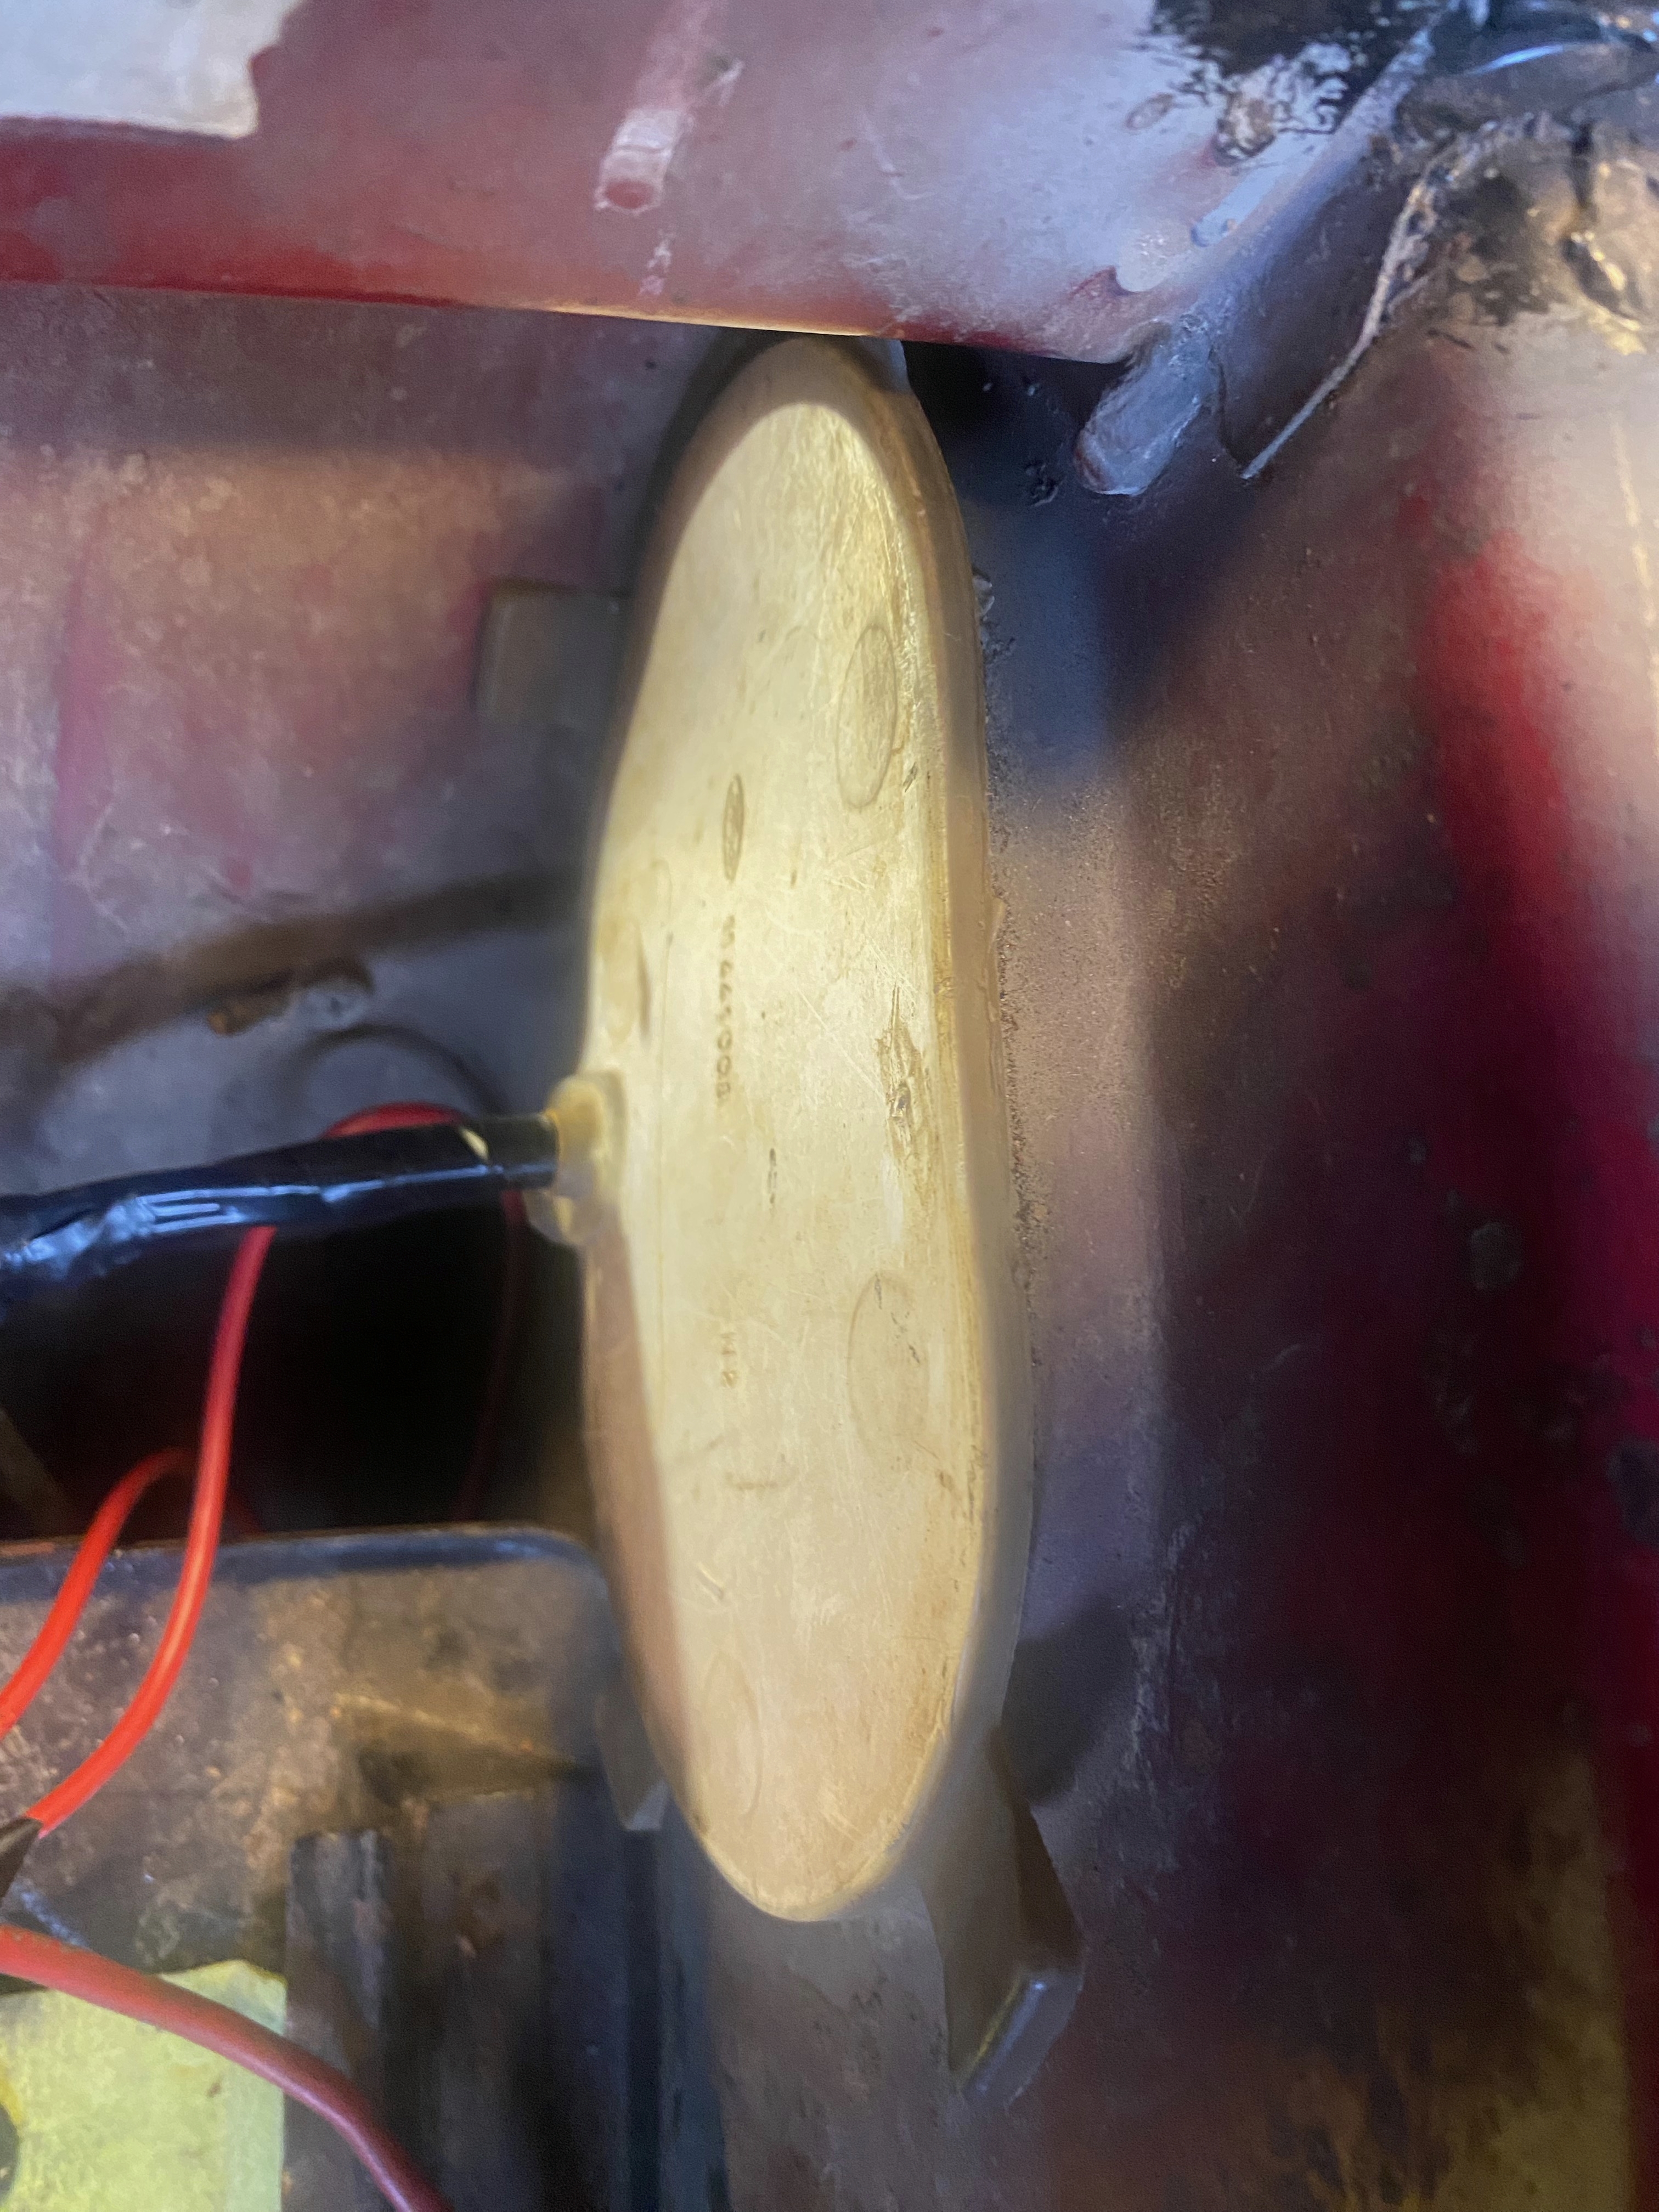
2023-10 Inner protection for the headlight pot in place for the first time
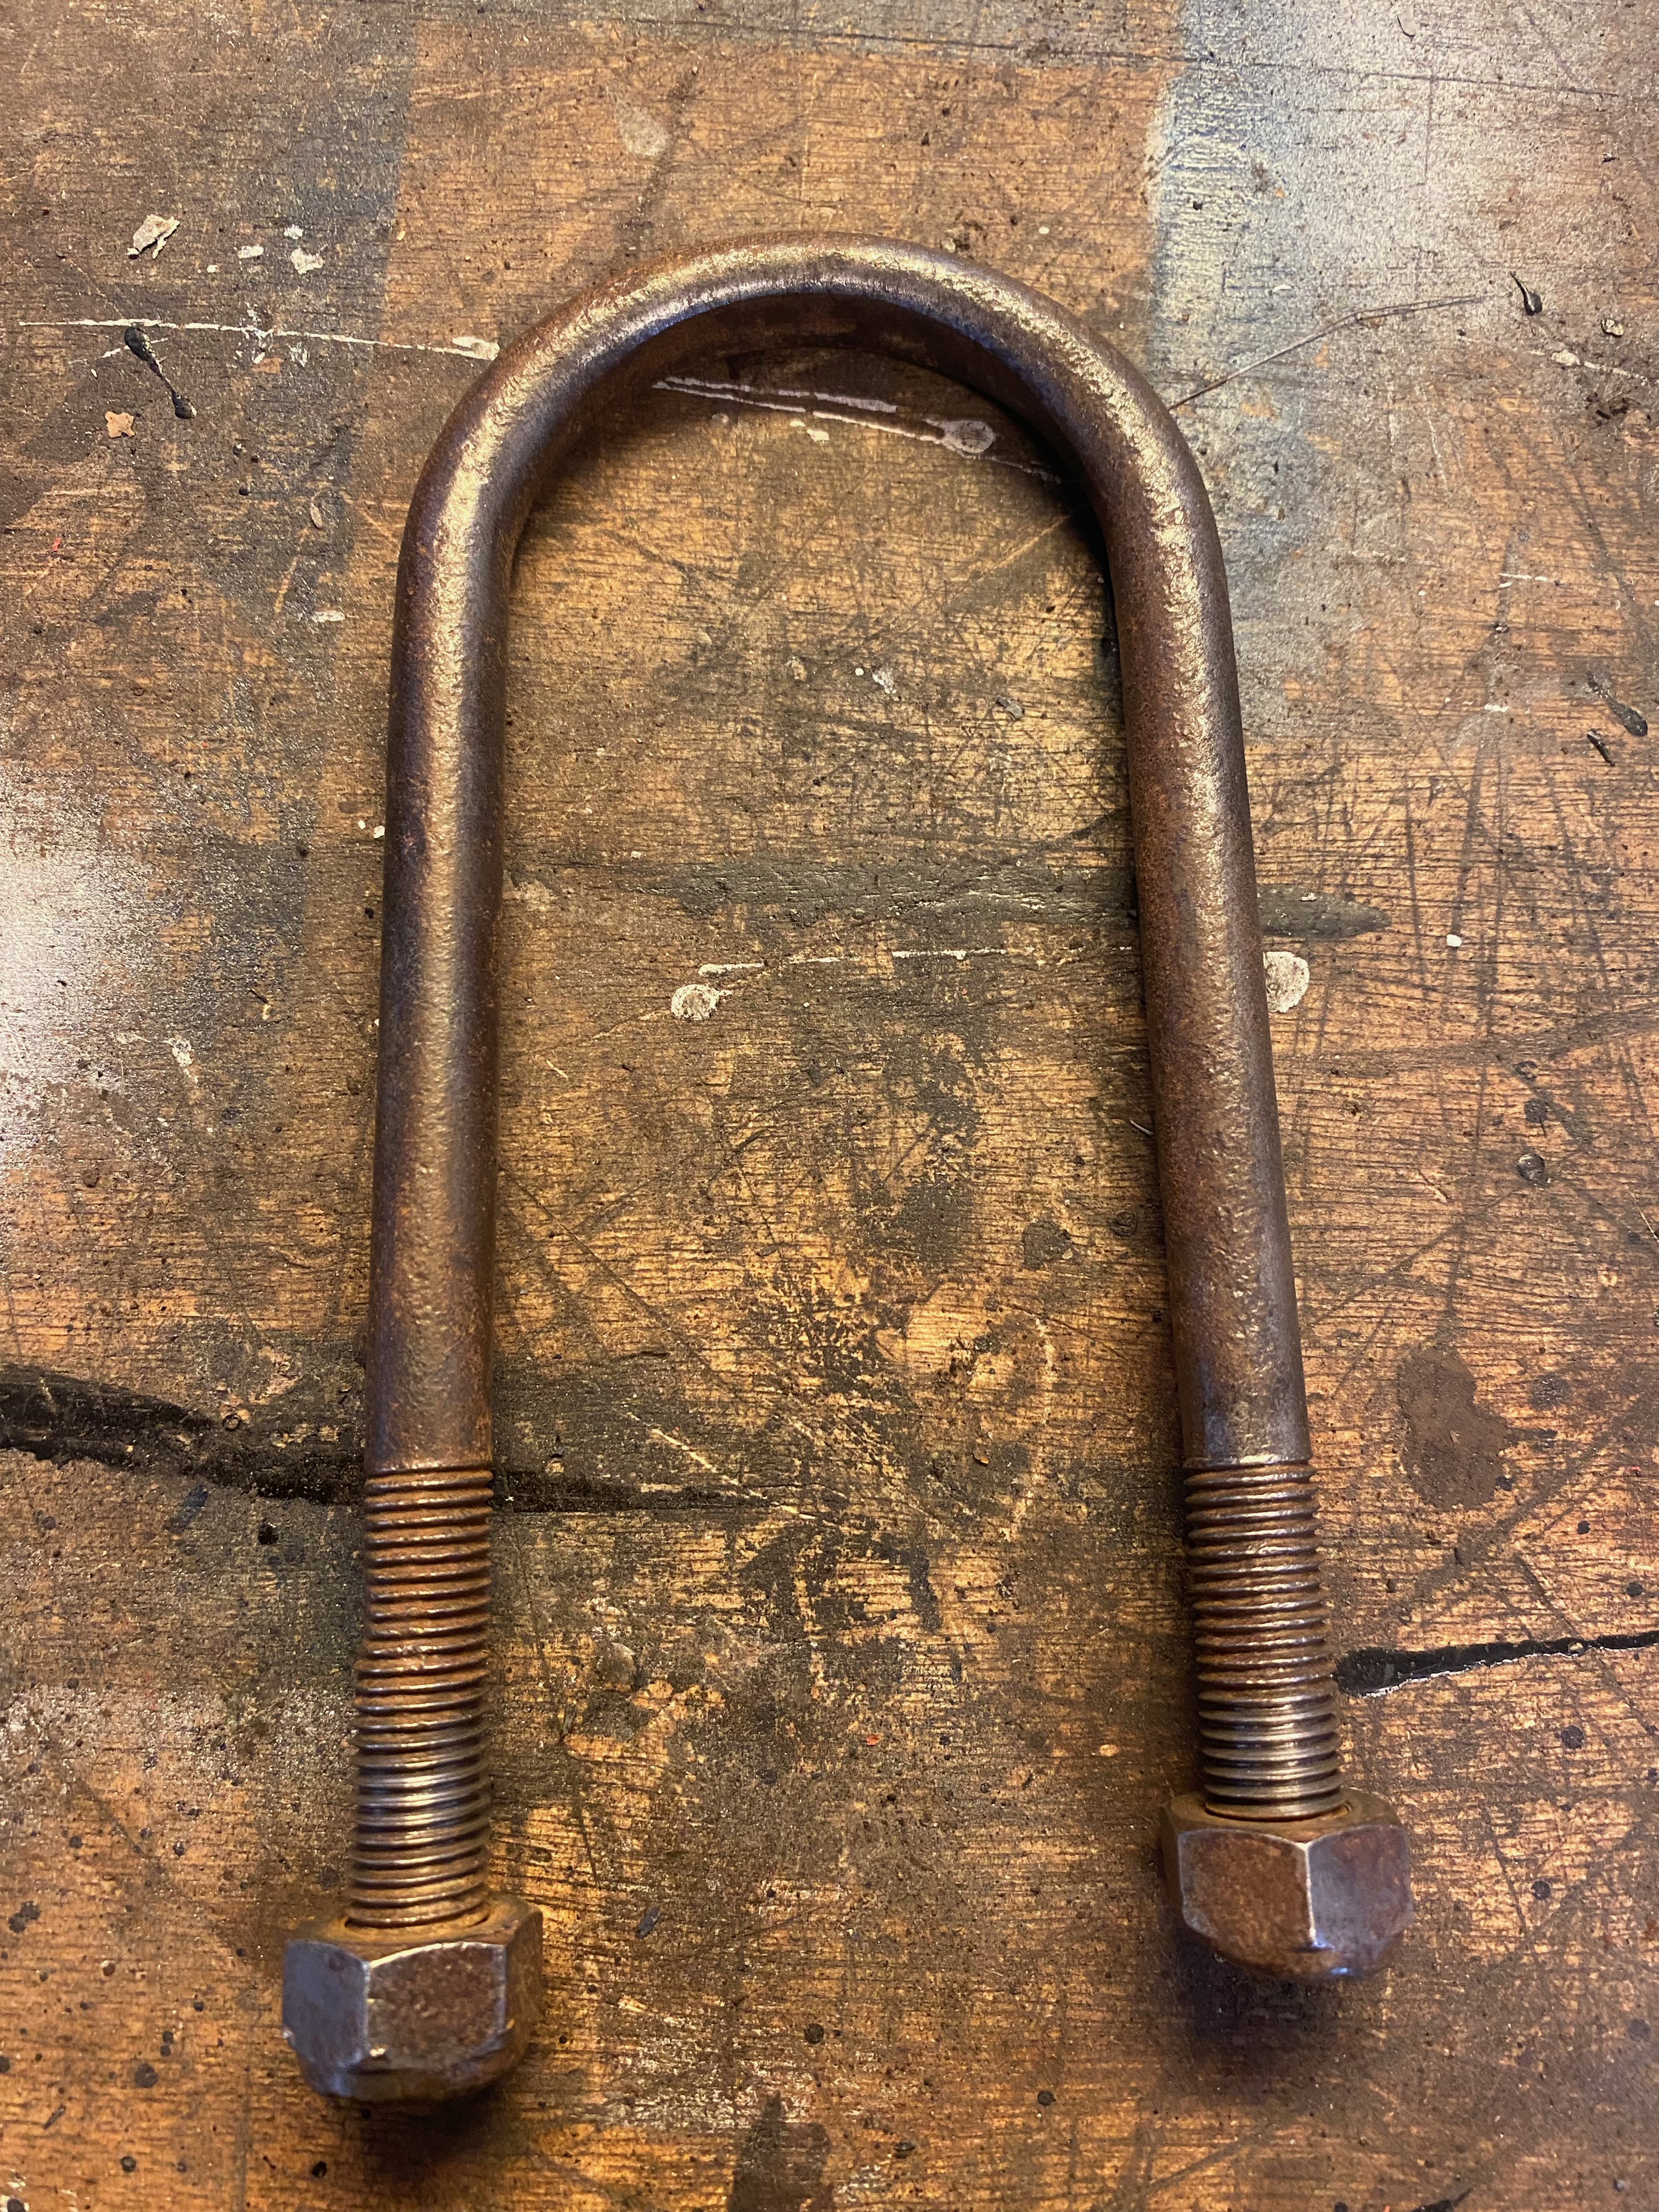
2023-11 U-bolts to short for the springs with a new blade fitted
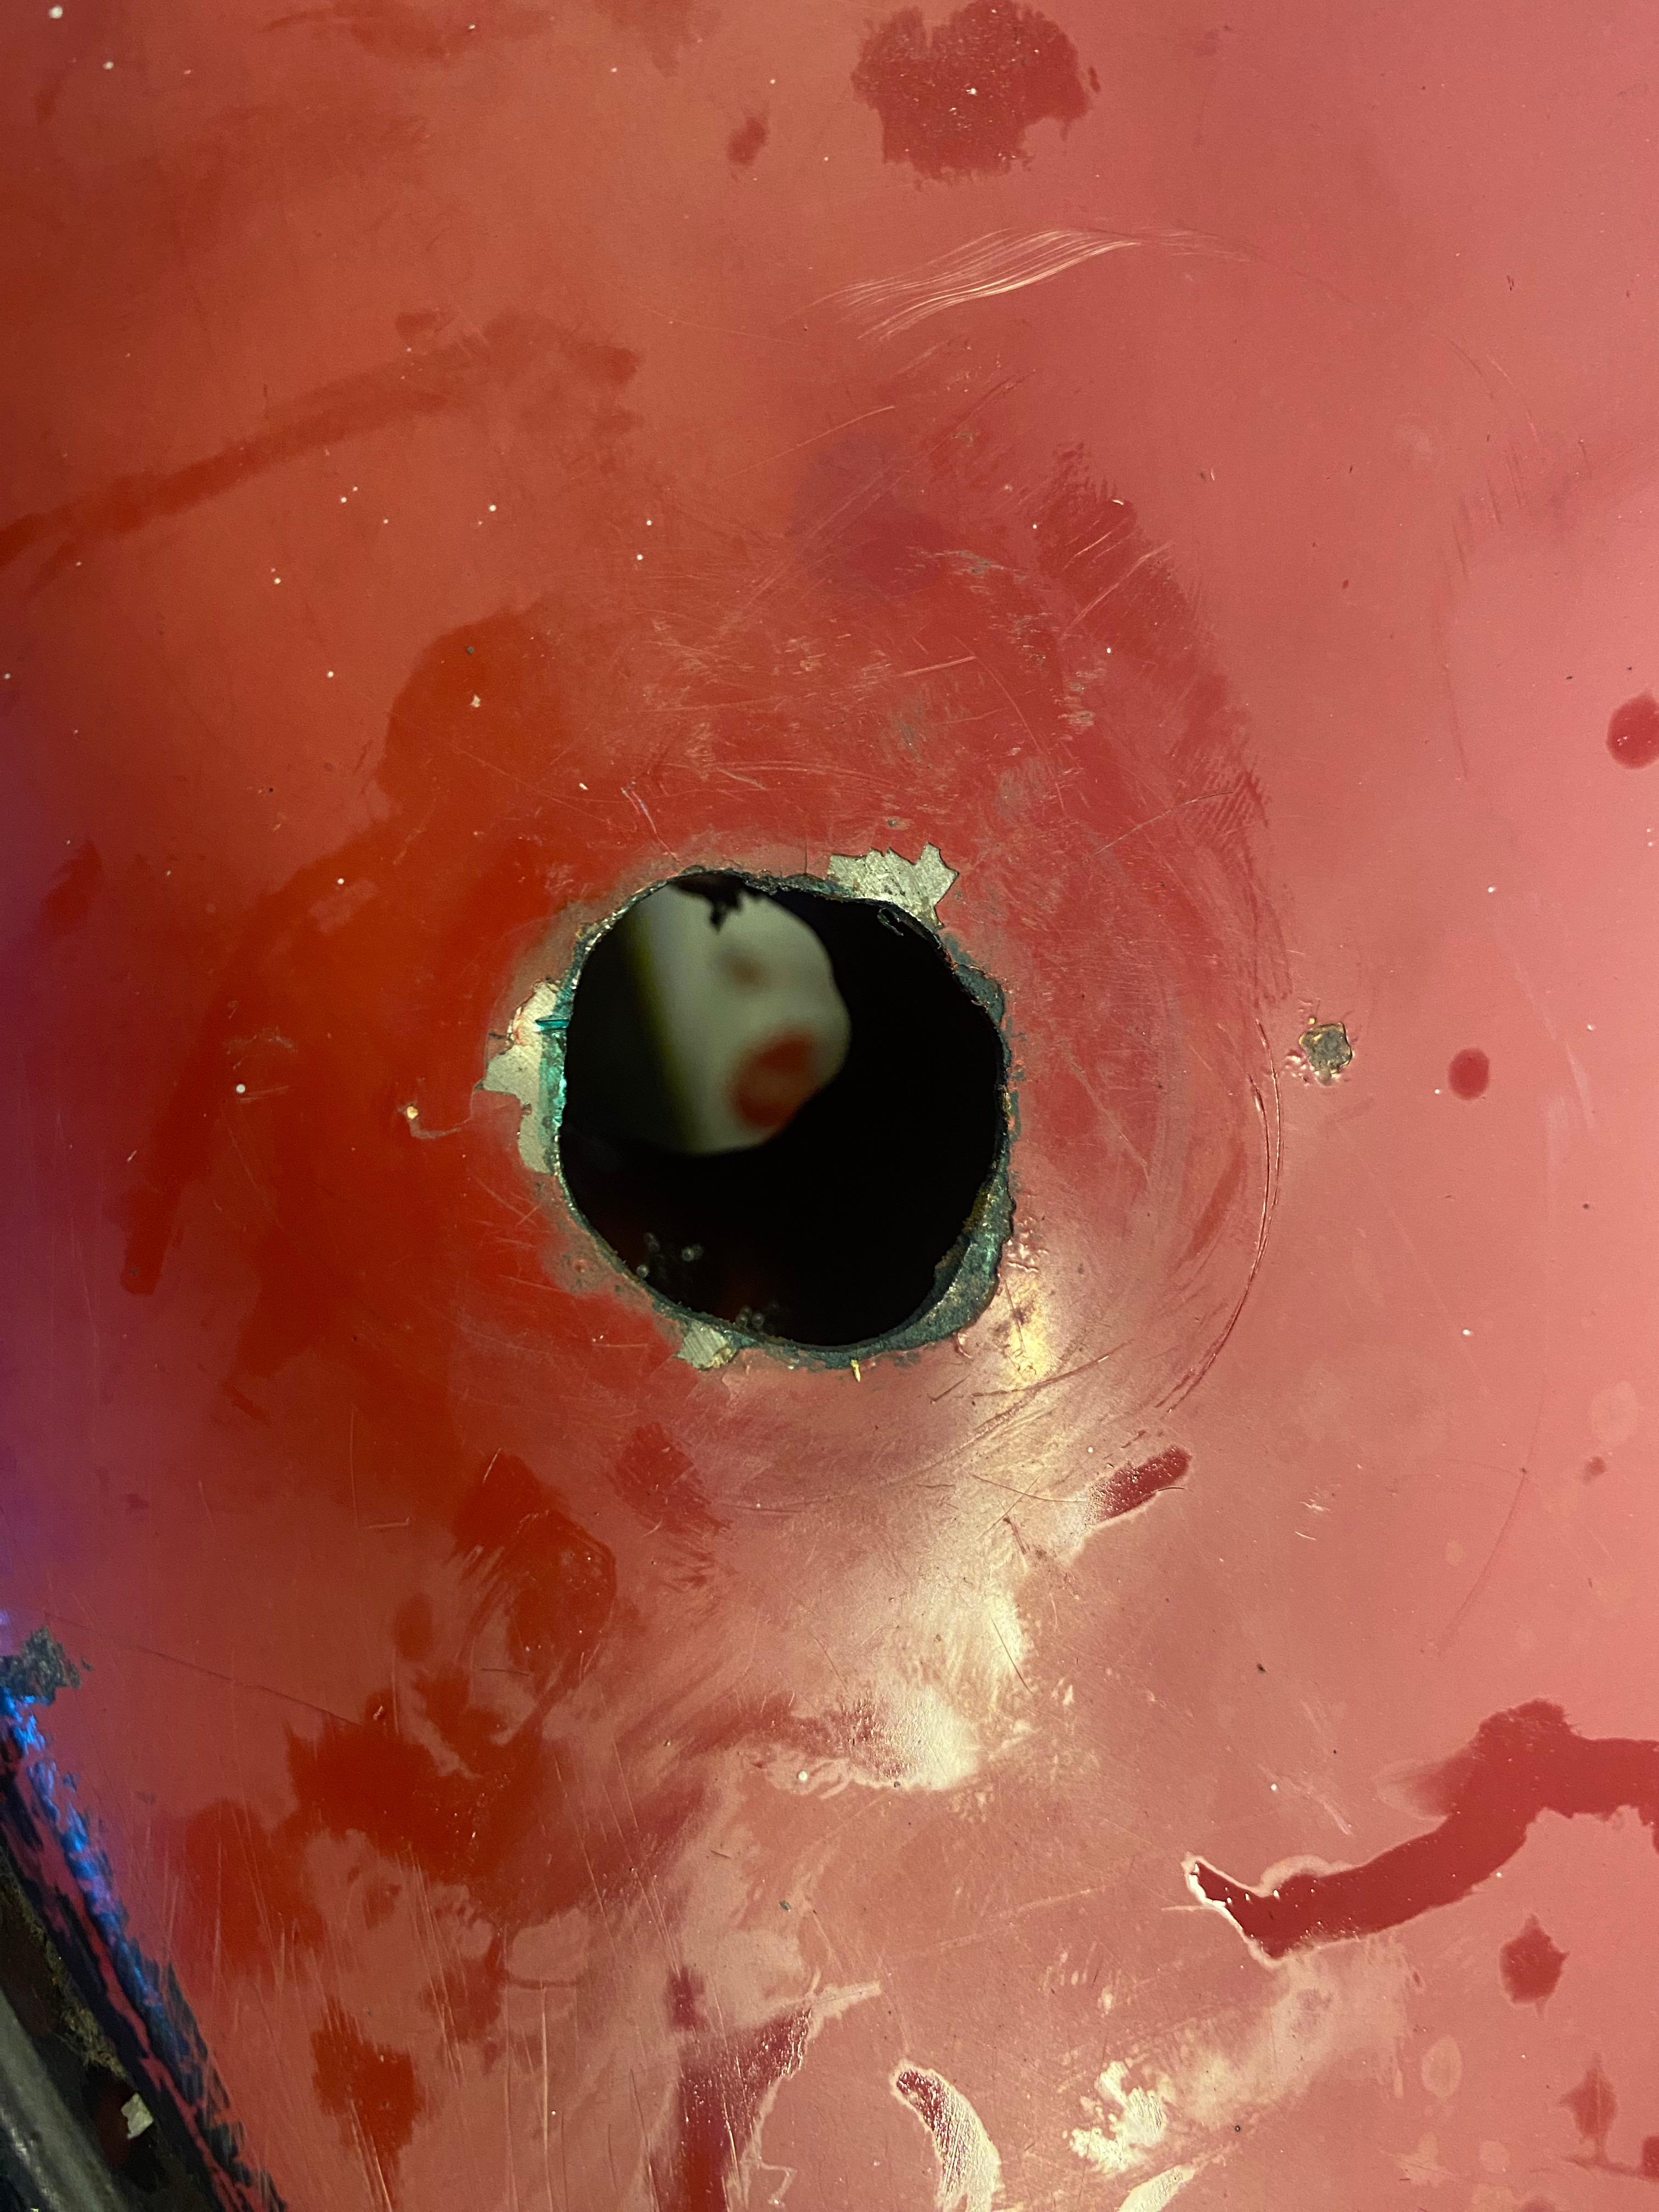
2023-11 The antenna hole on the plate in front of the window
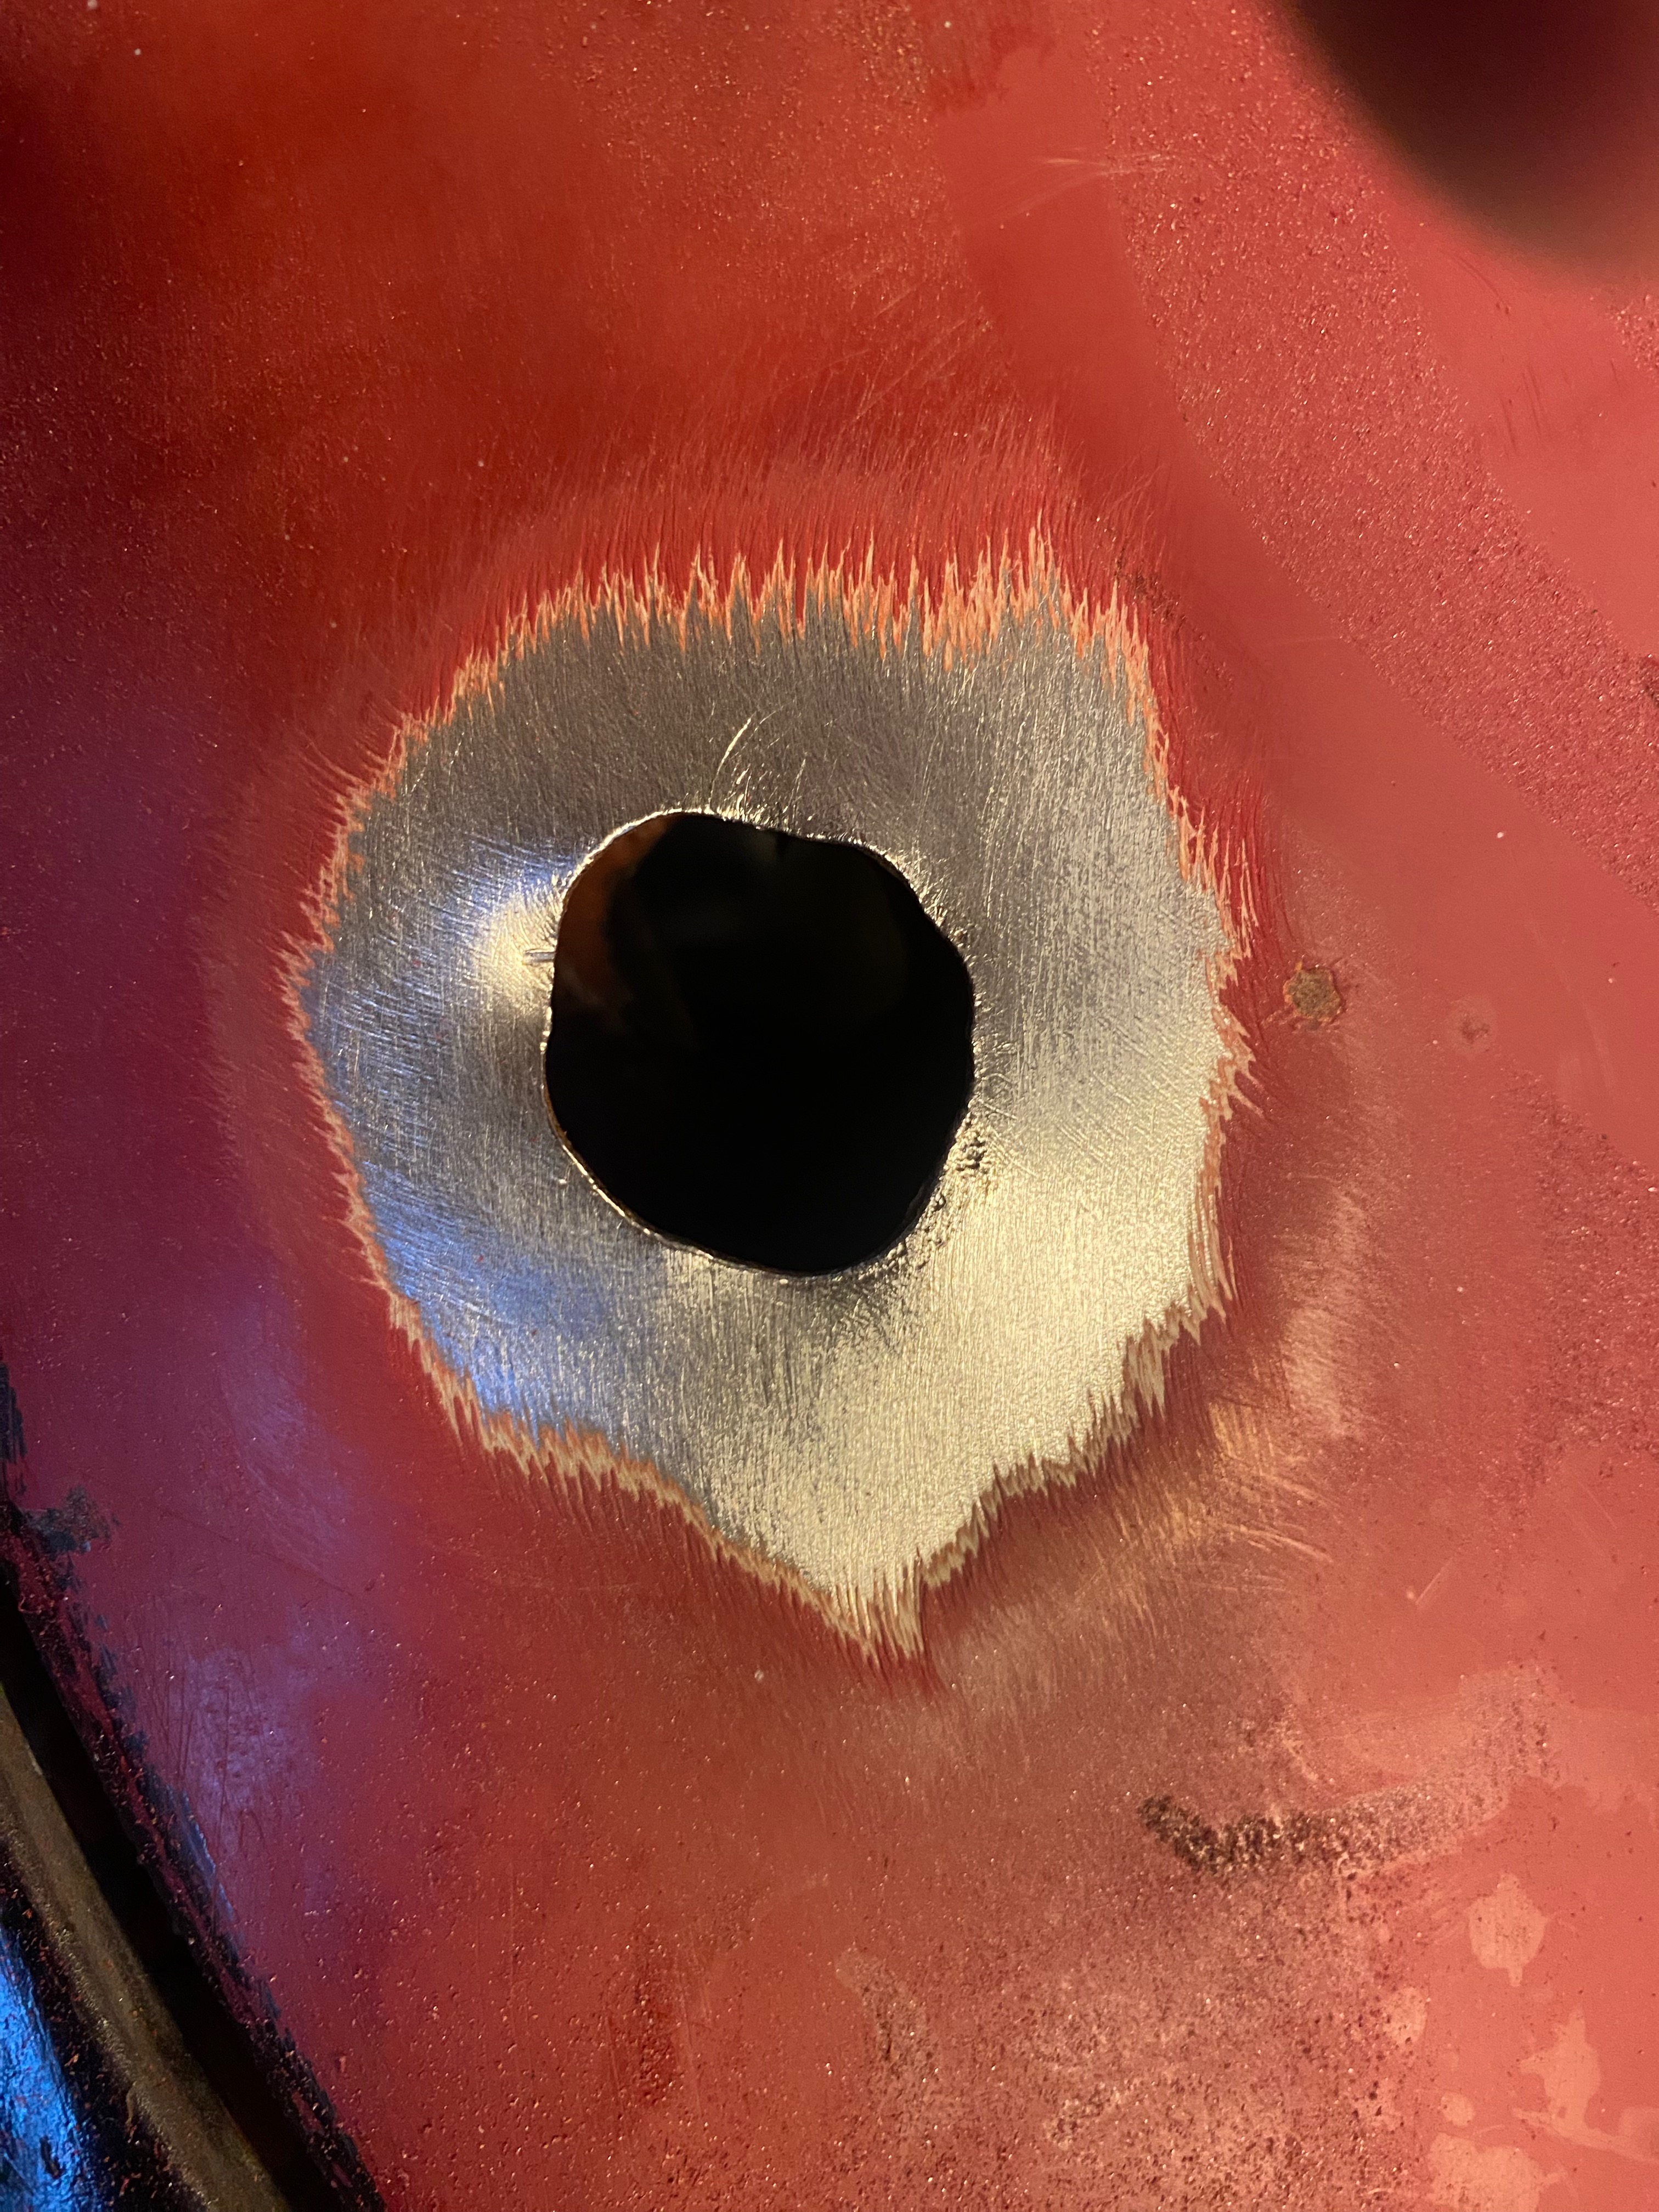
2023-11 The Hole cleaned around the edges to allow welding
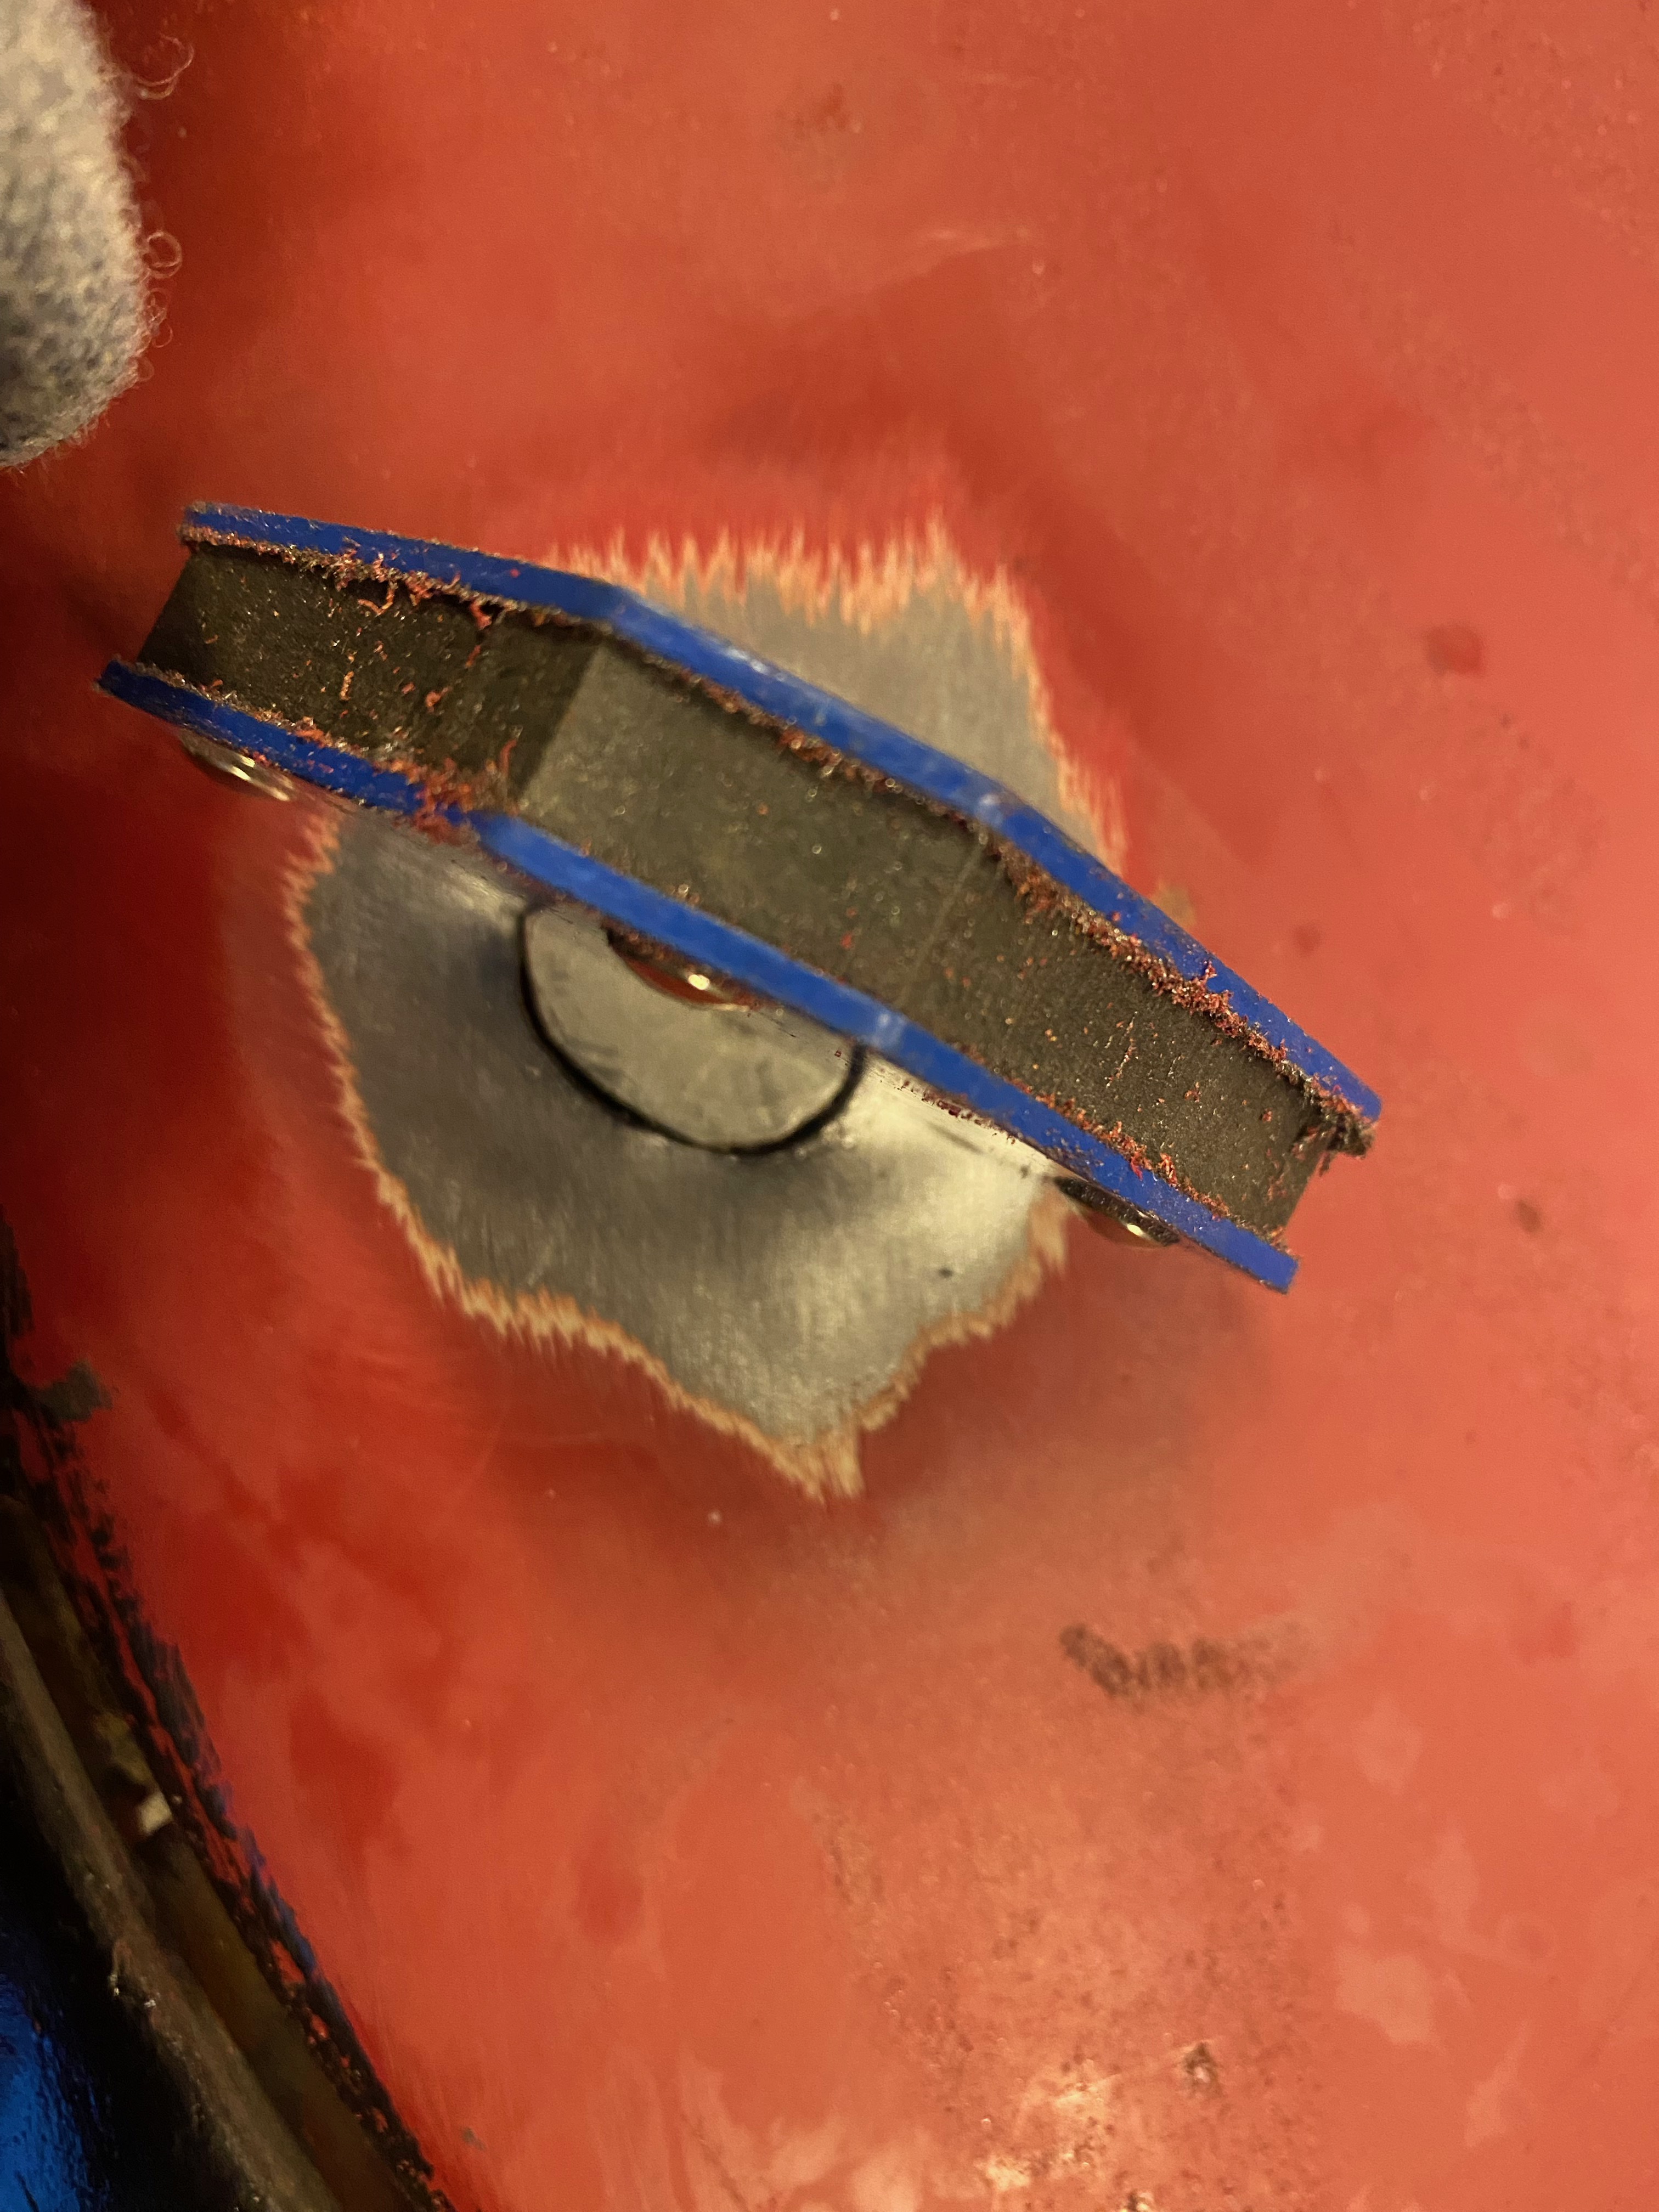
2023-11 New plate cut out and a magnet to keep it in place, ready for the first weld
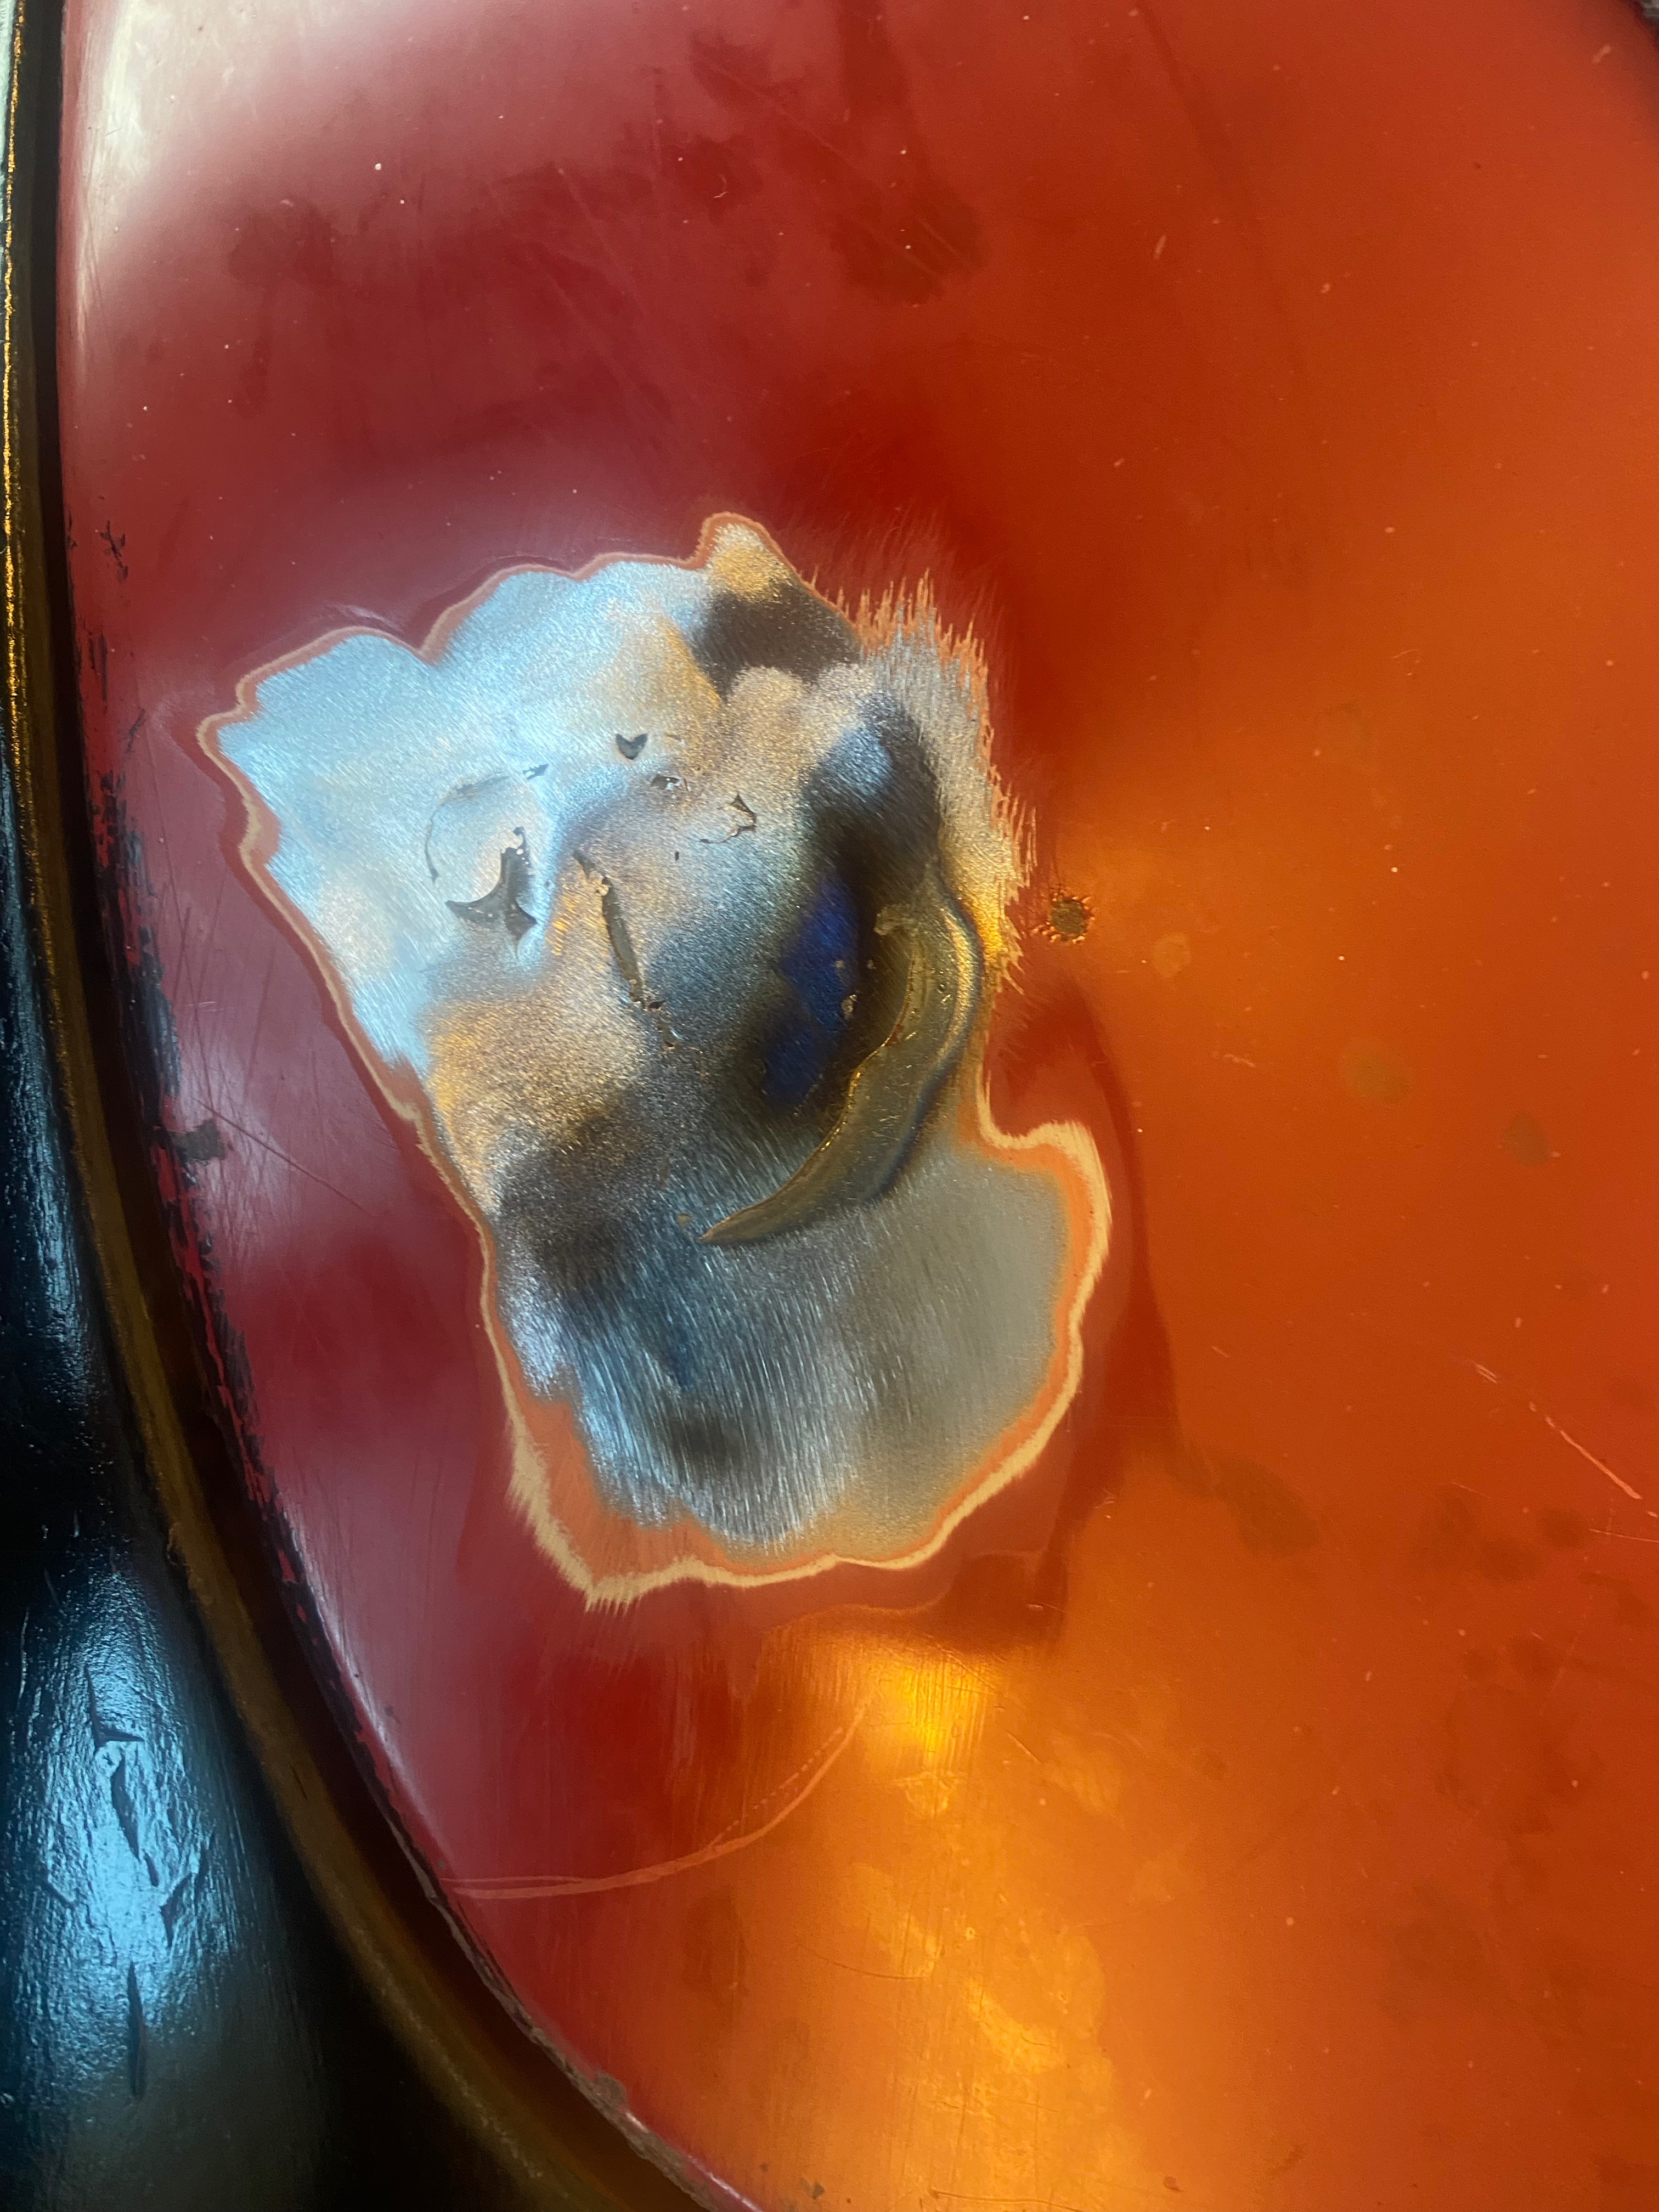
2023-11 Welded and grinded
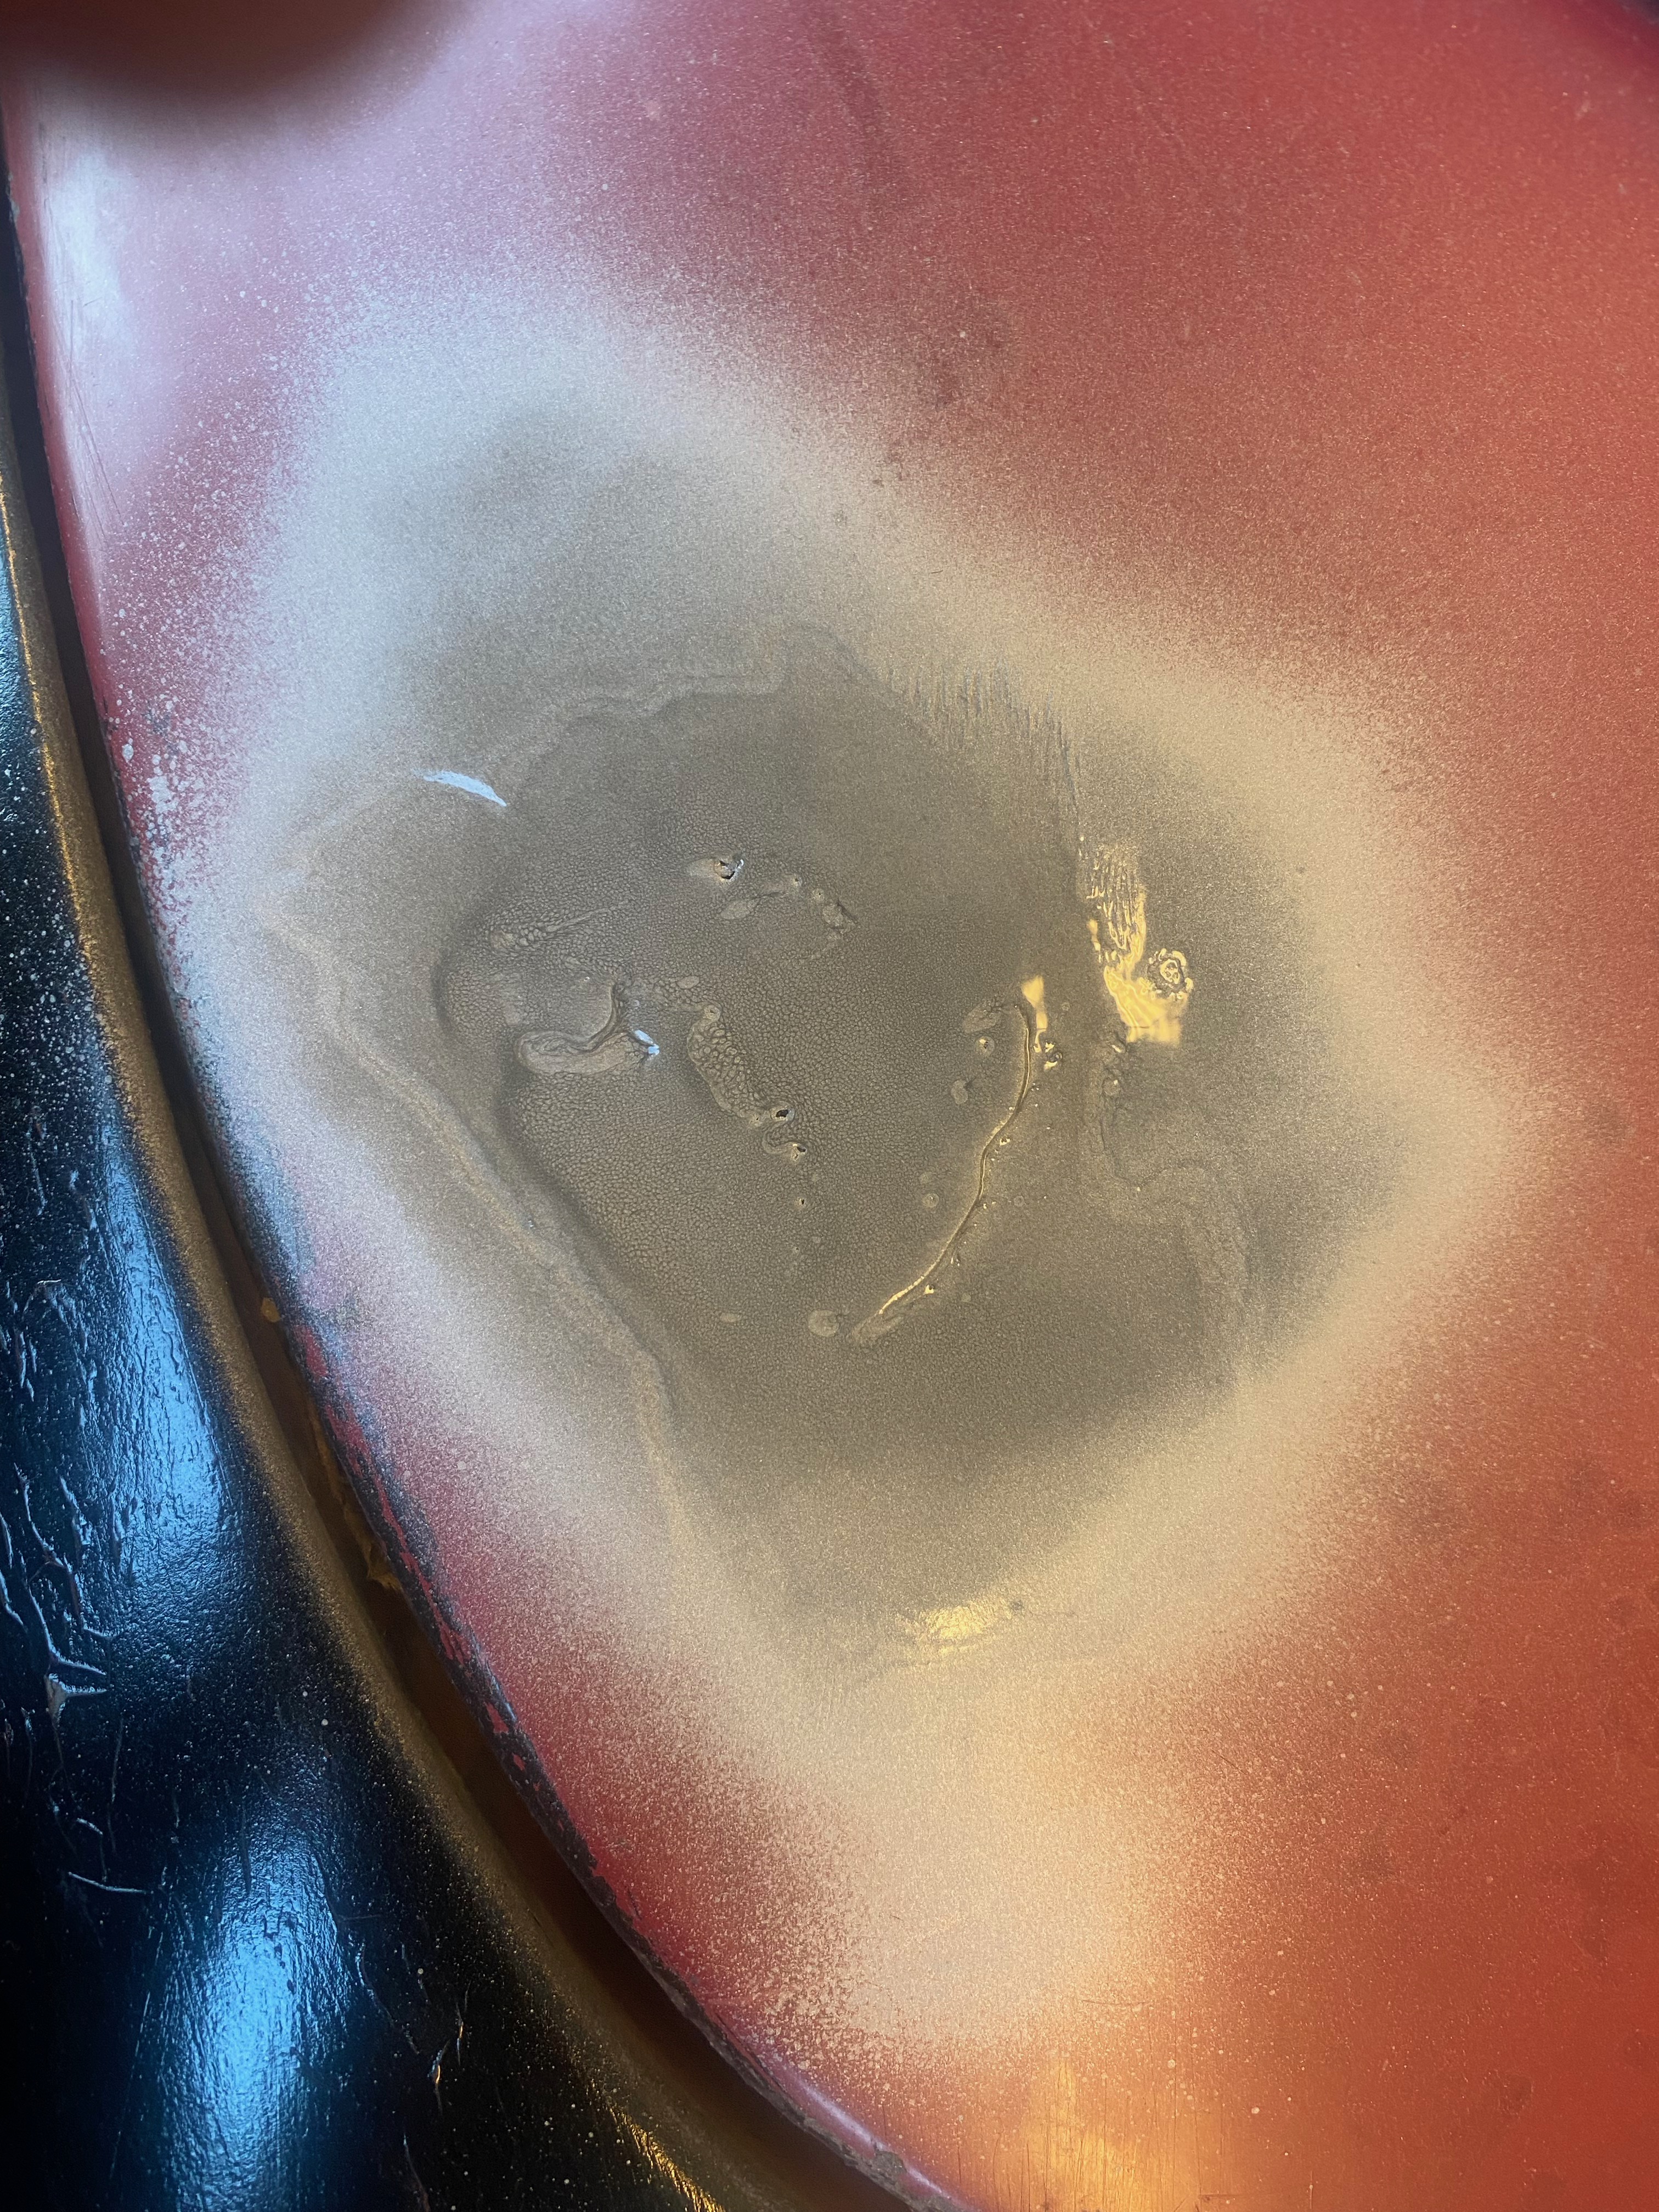
2023-11 Protective paint to keep it rust free until the paint job
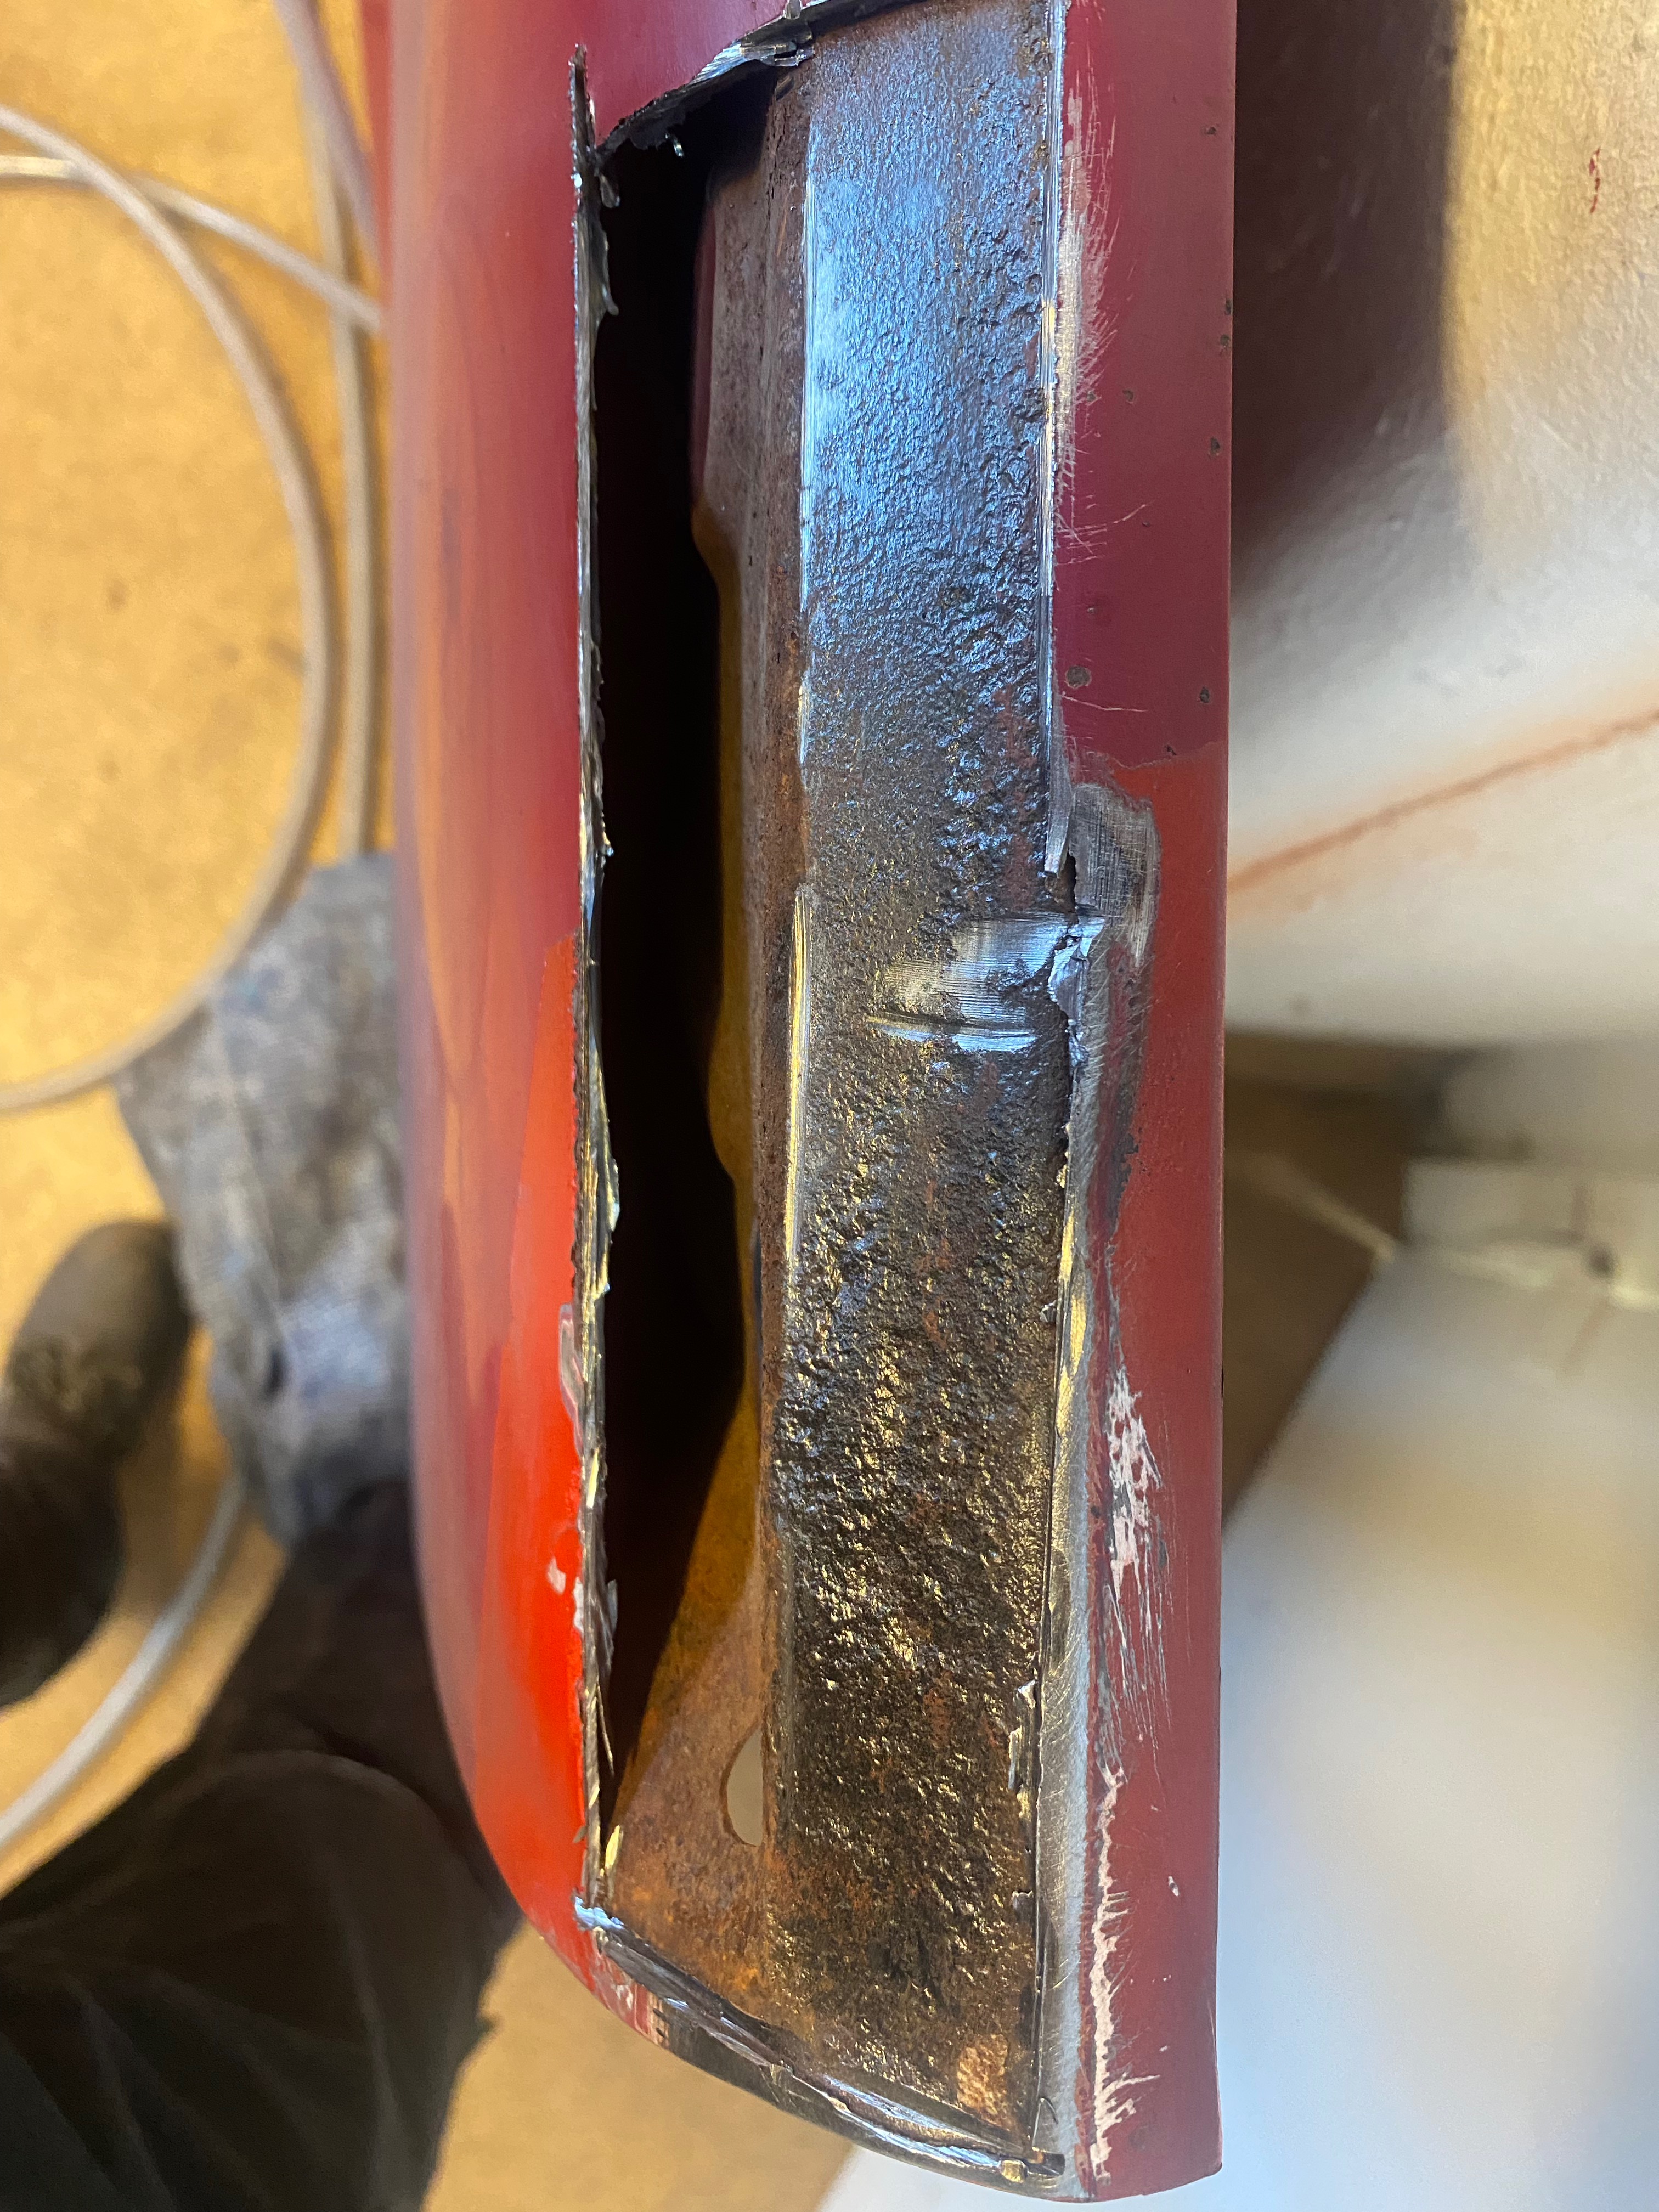
2023-11 The rusty part of the front of the hood cut out revealing surface rust to be treated with linseed oil
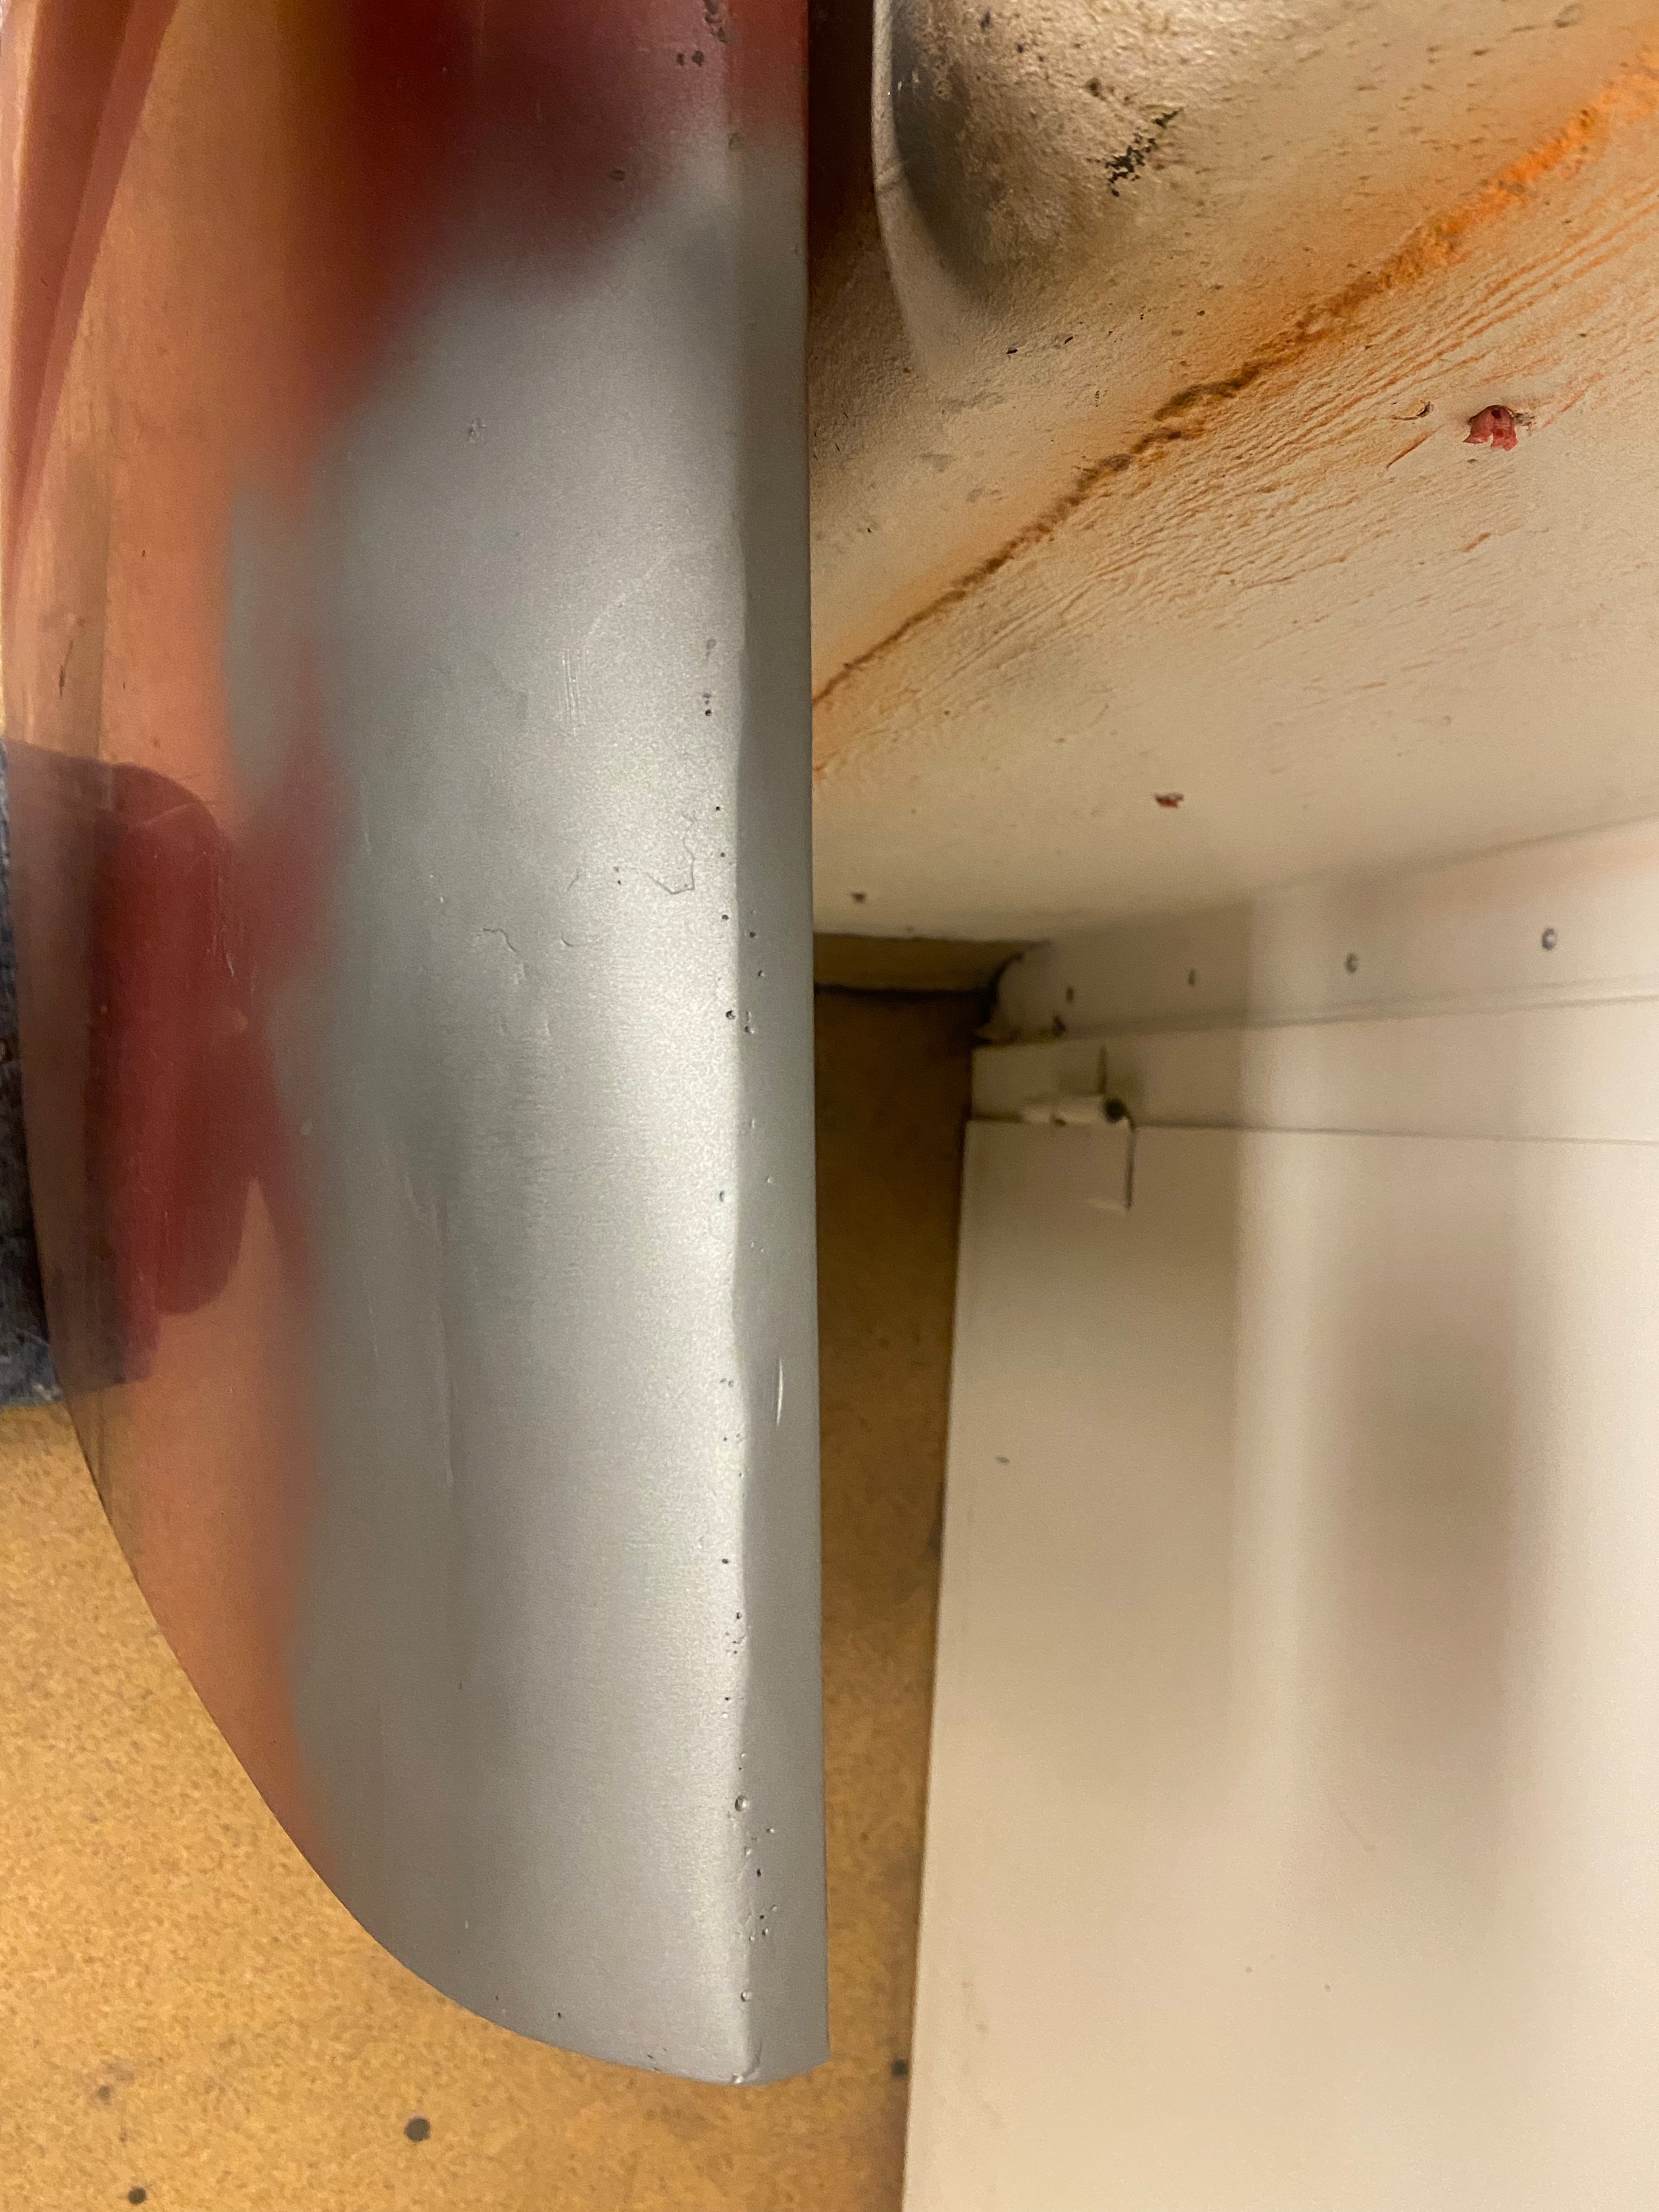
2023-11 Hood front welded, grinded and painted
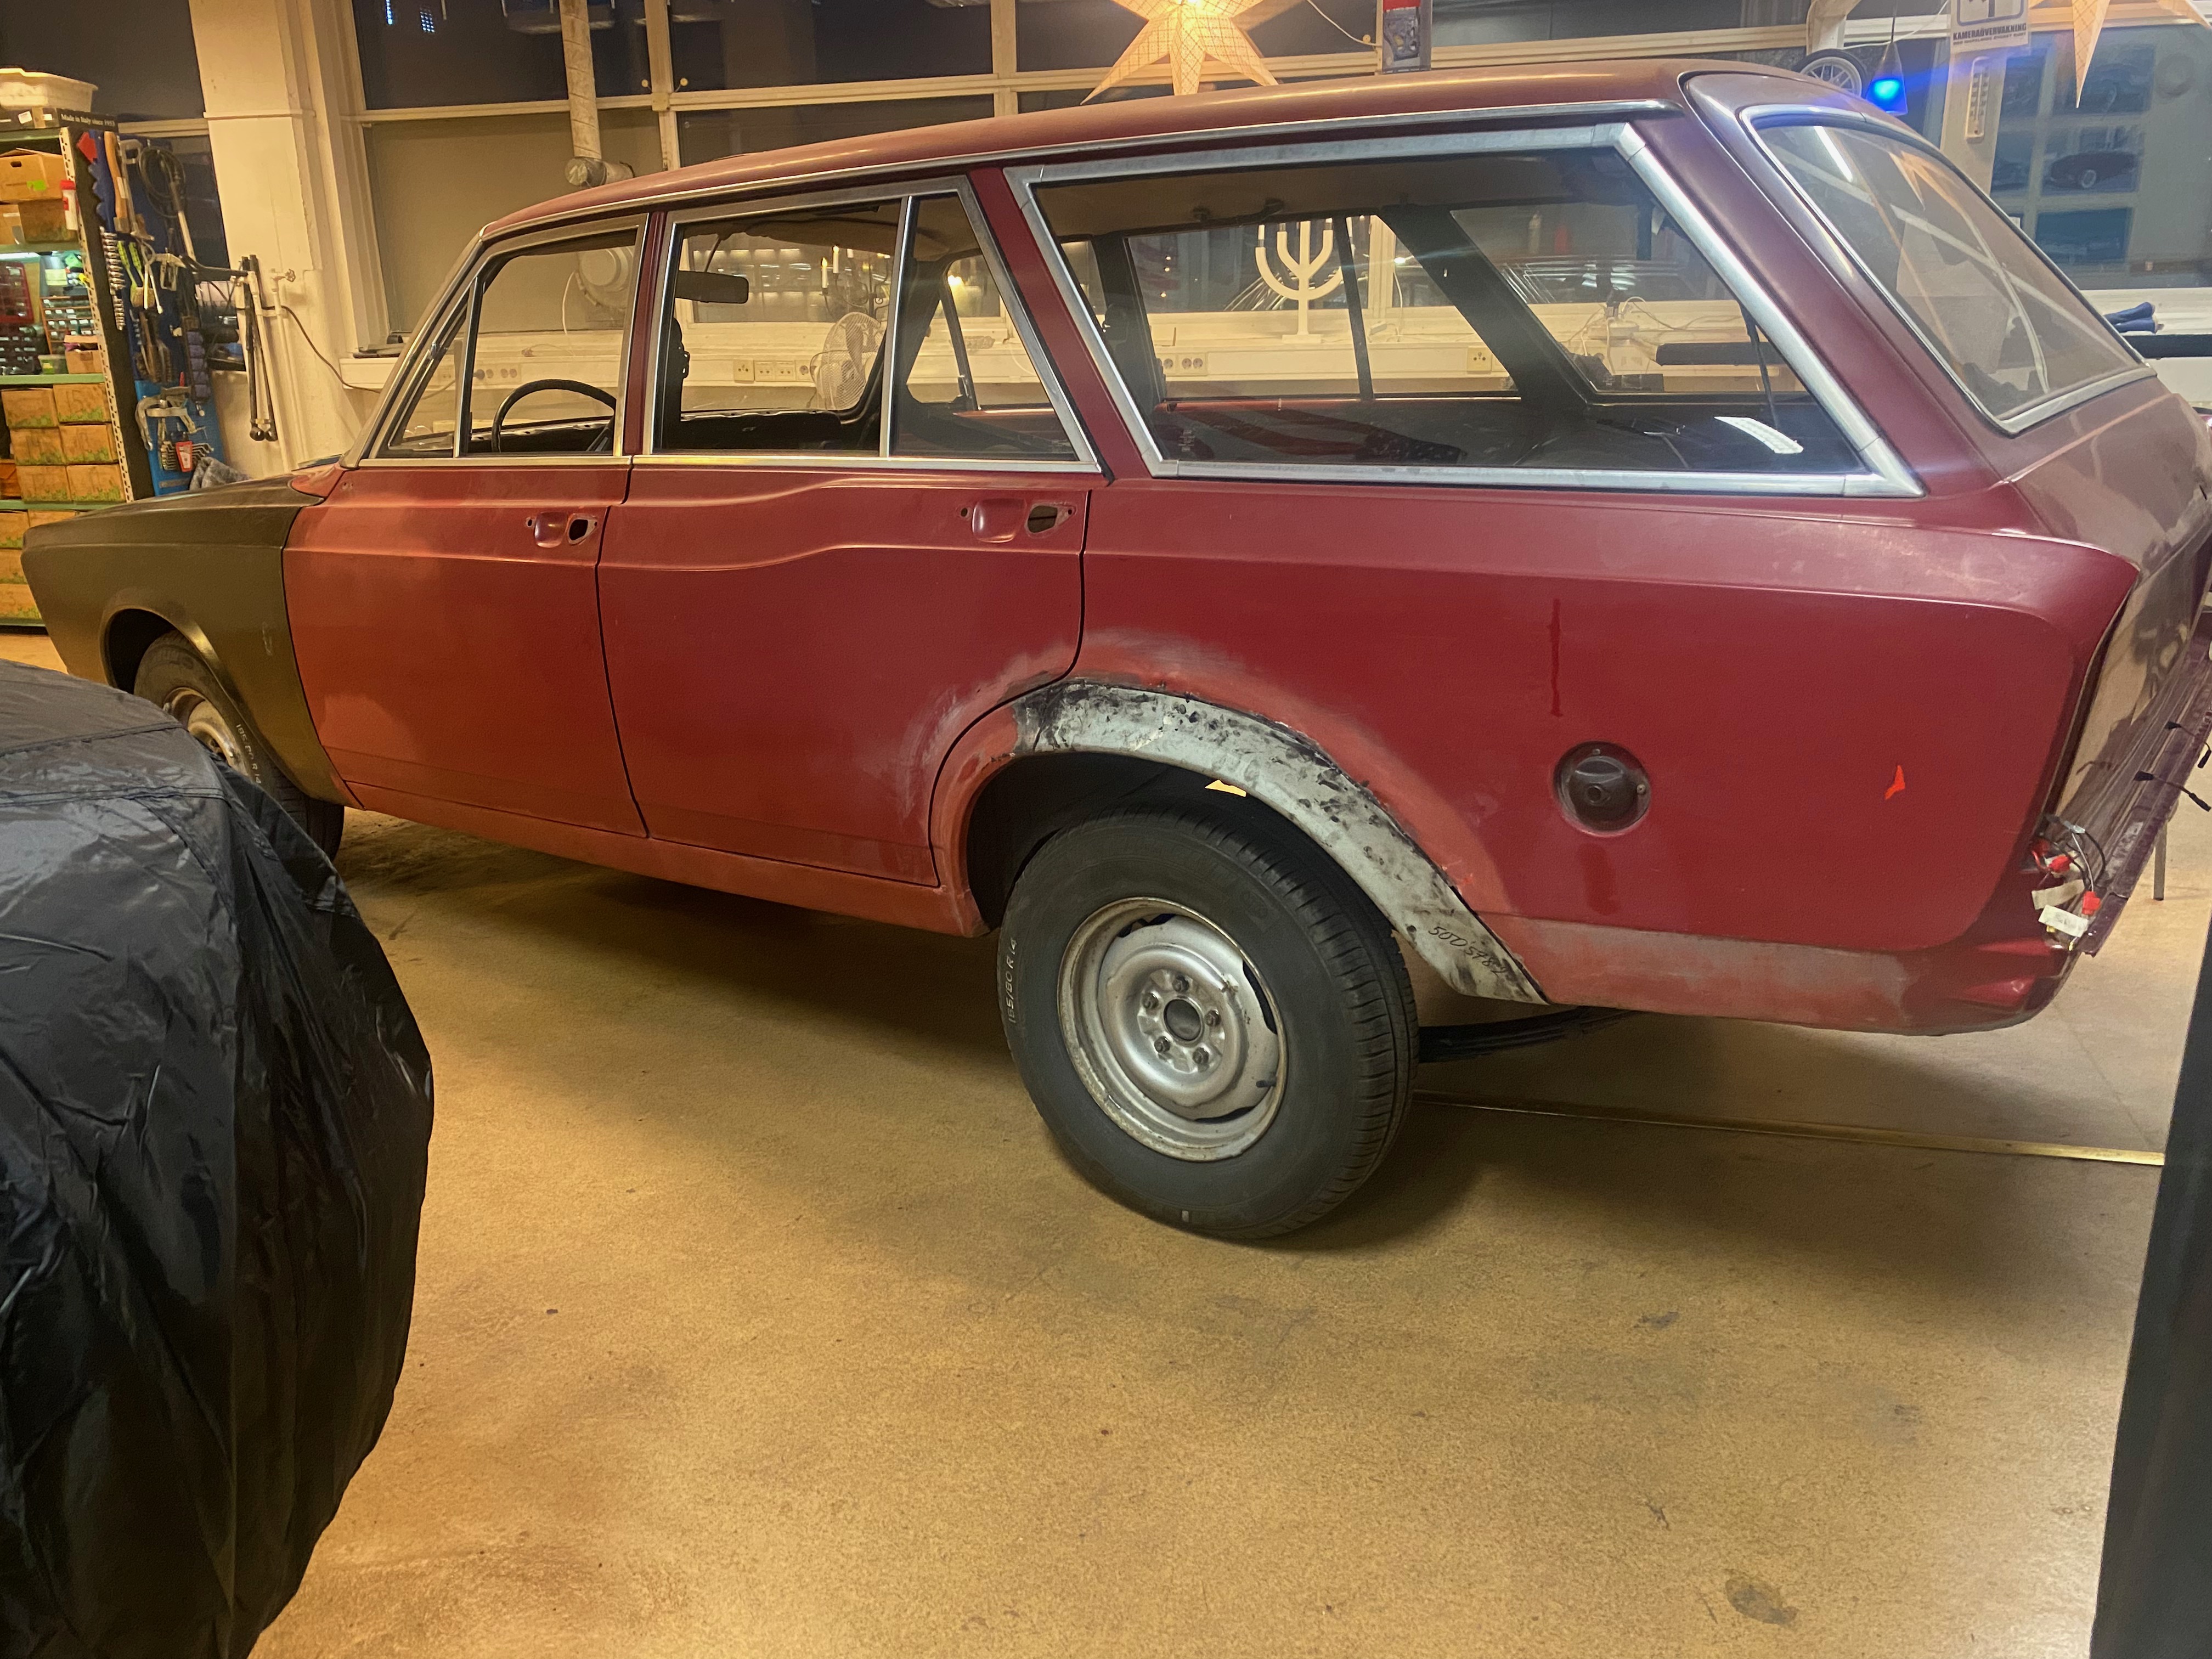
2023-11 Maybe just a little too high at the rear with the restored springs
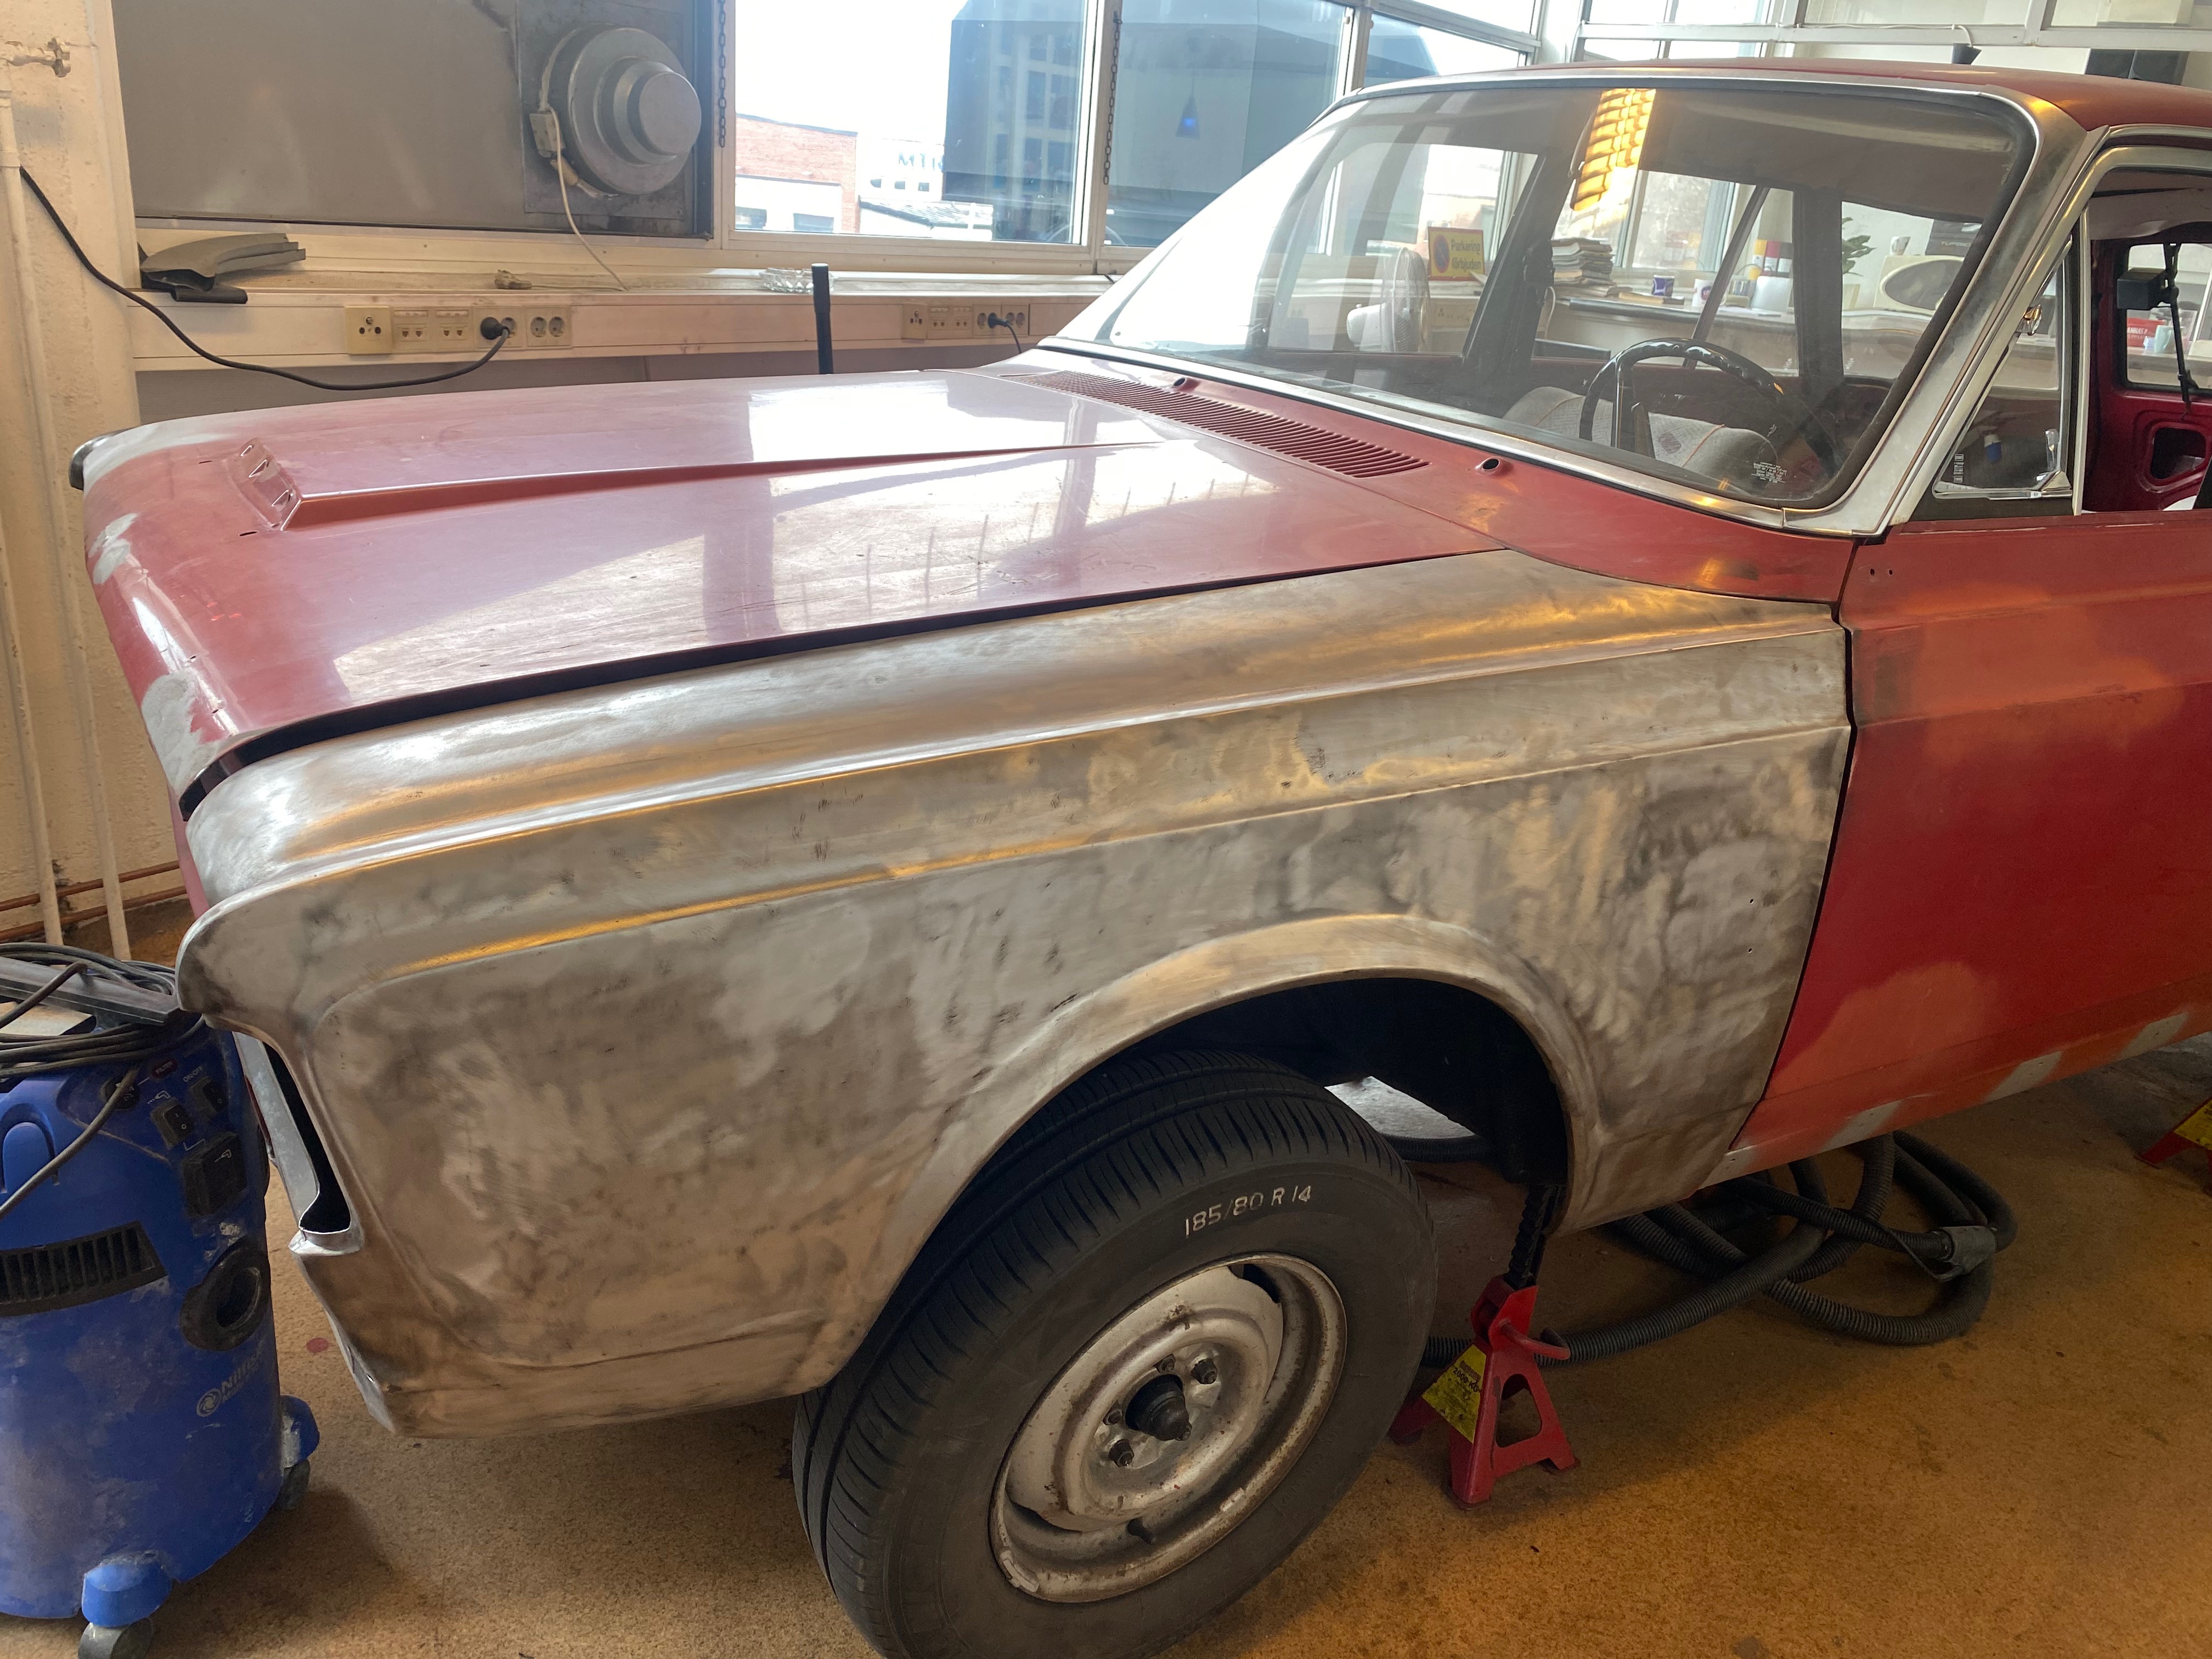
2024-04 Front fender paint free
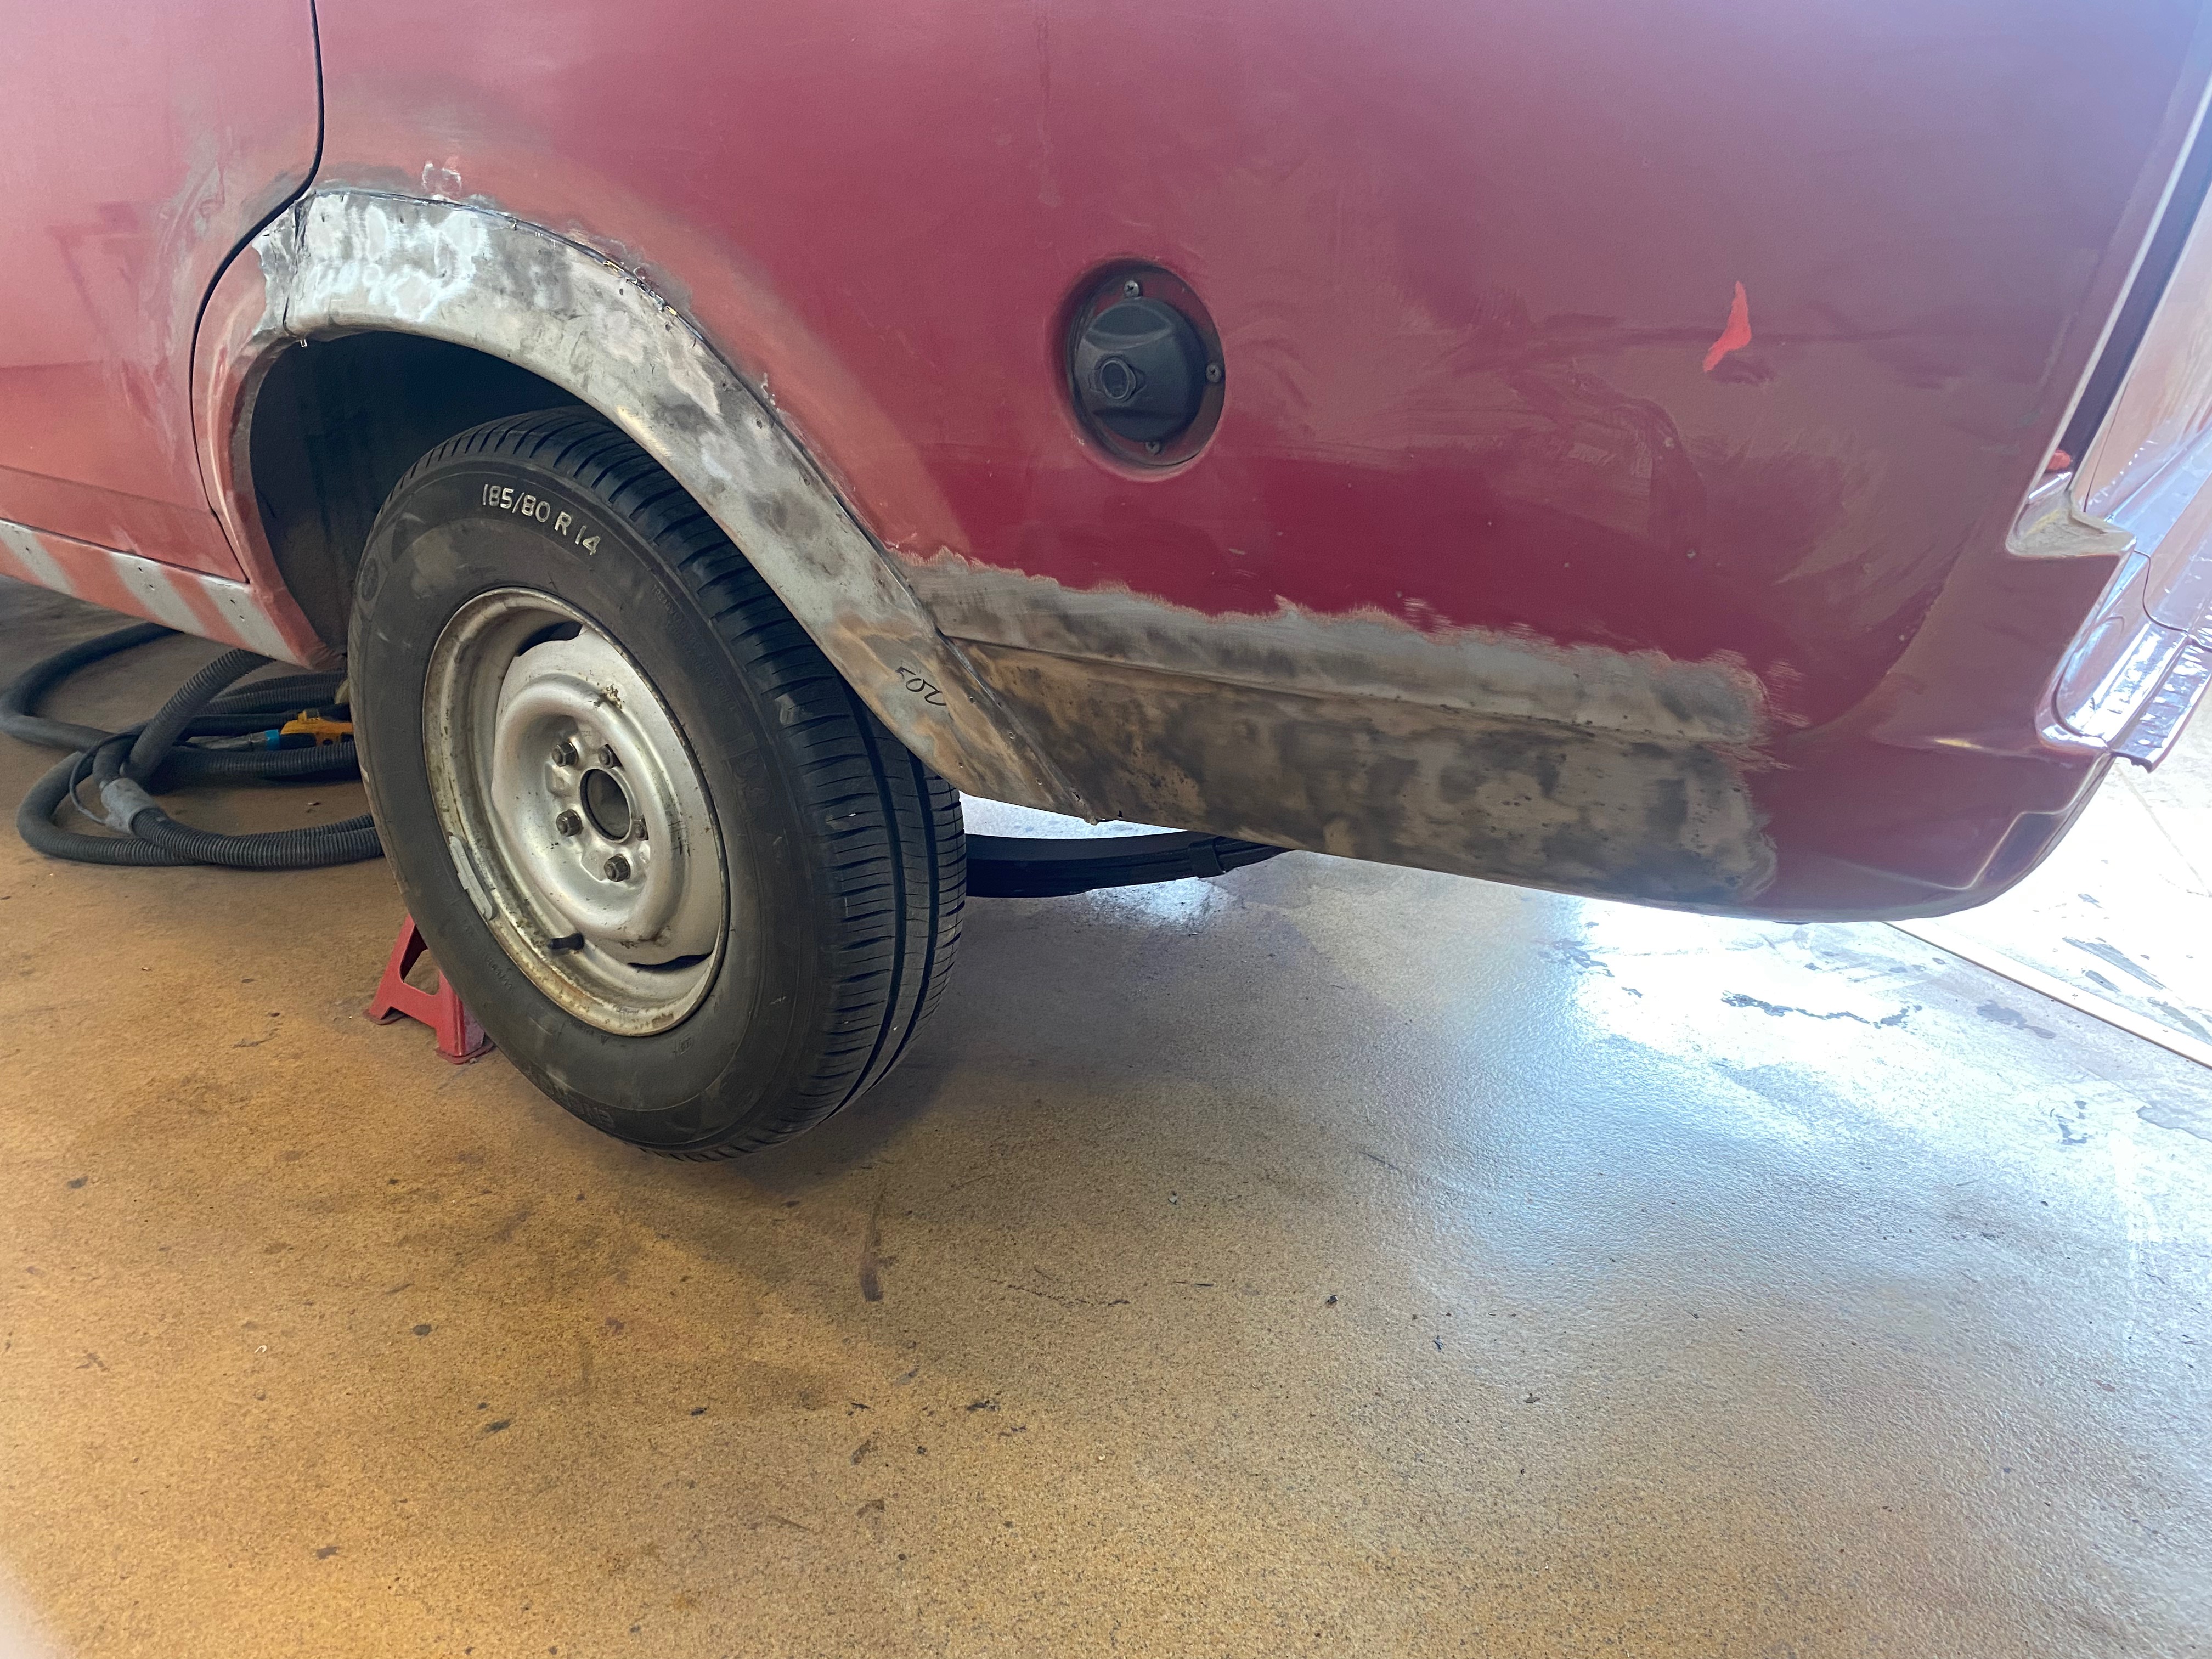
2024-04 Rear side grinded
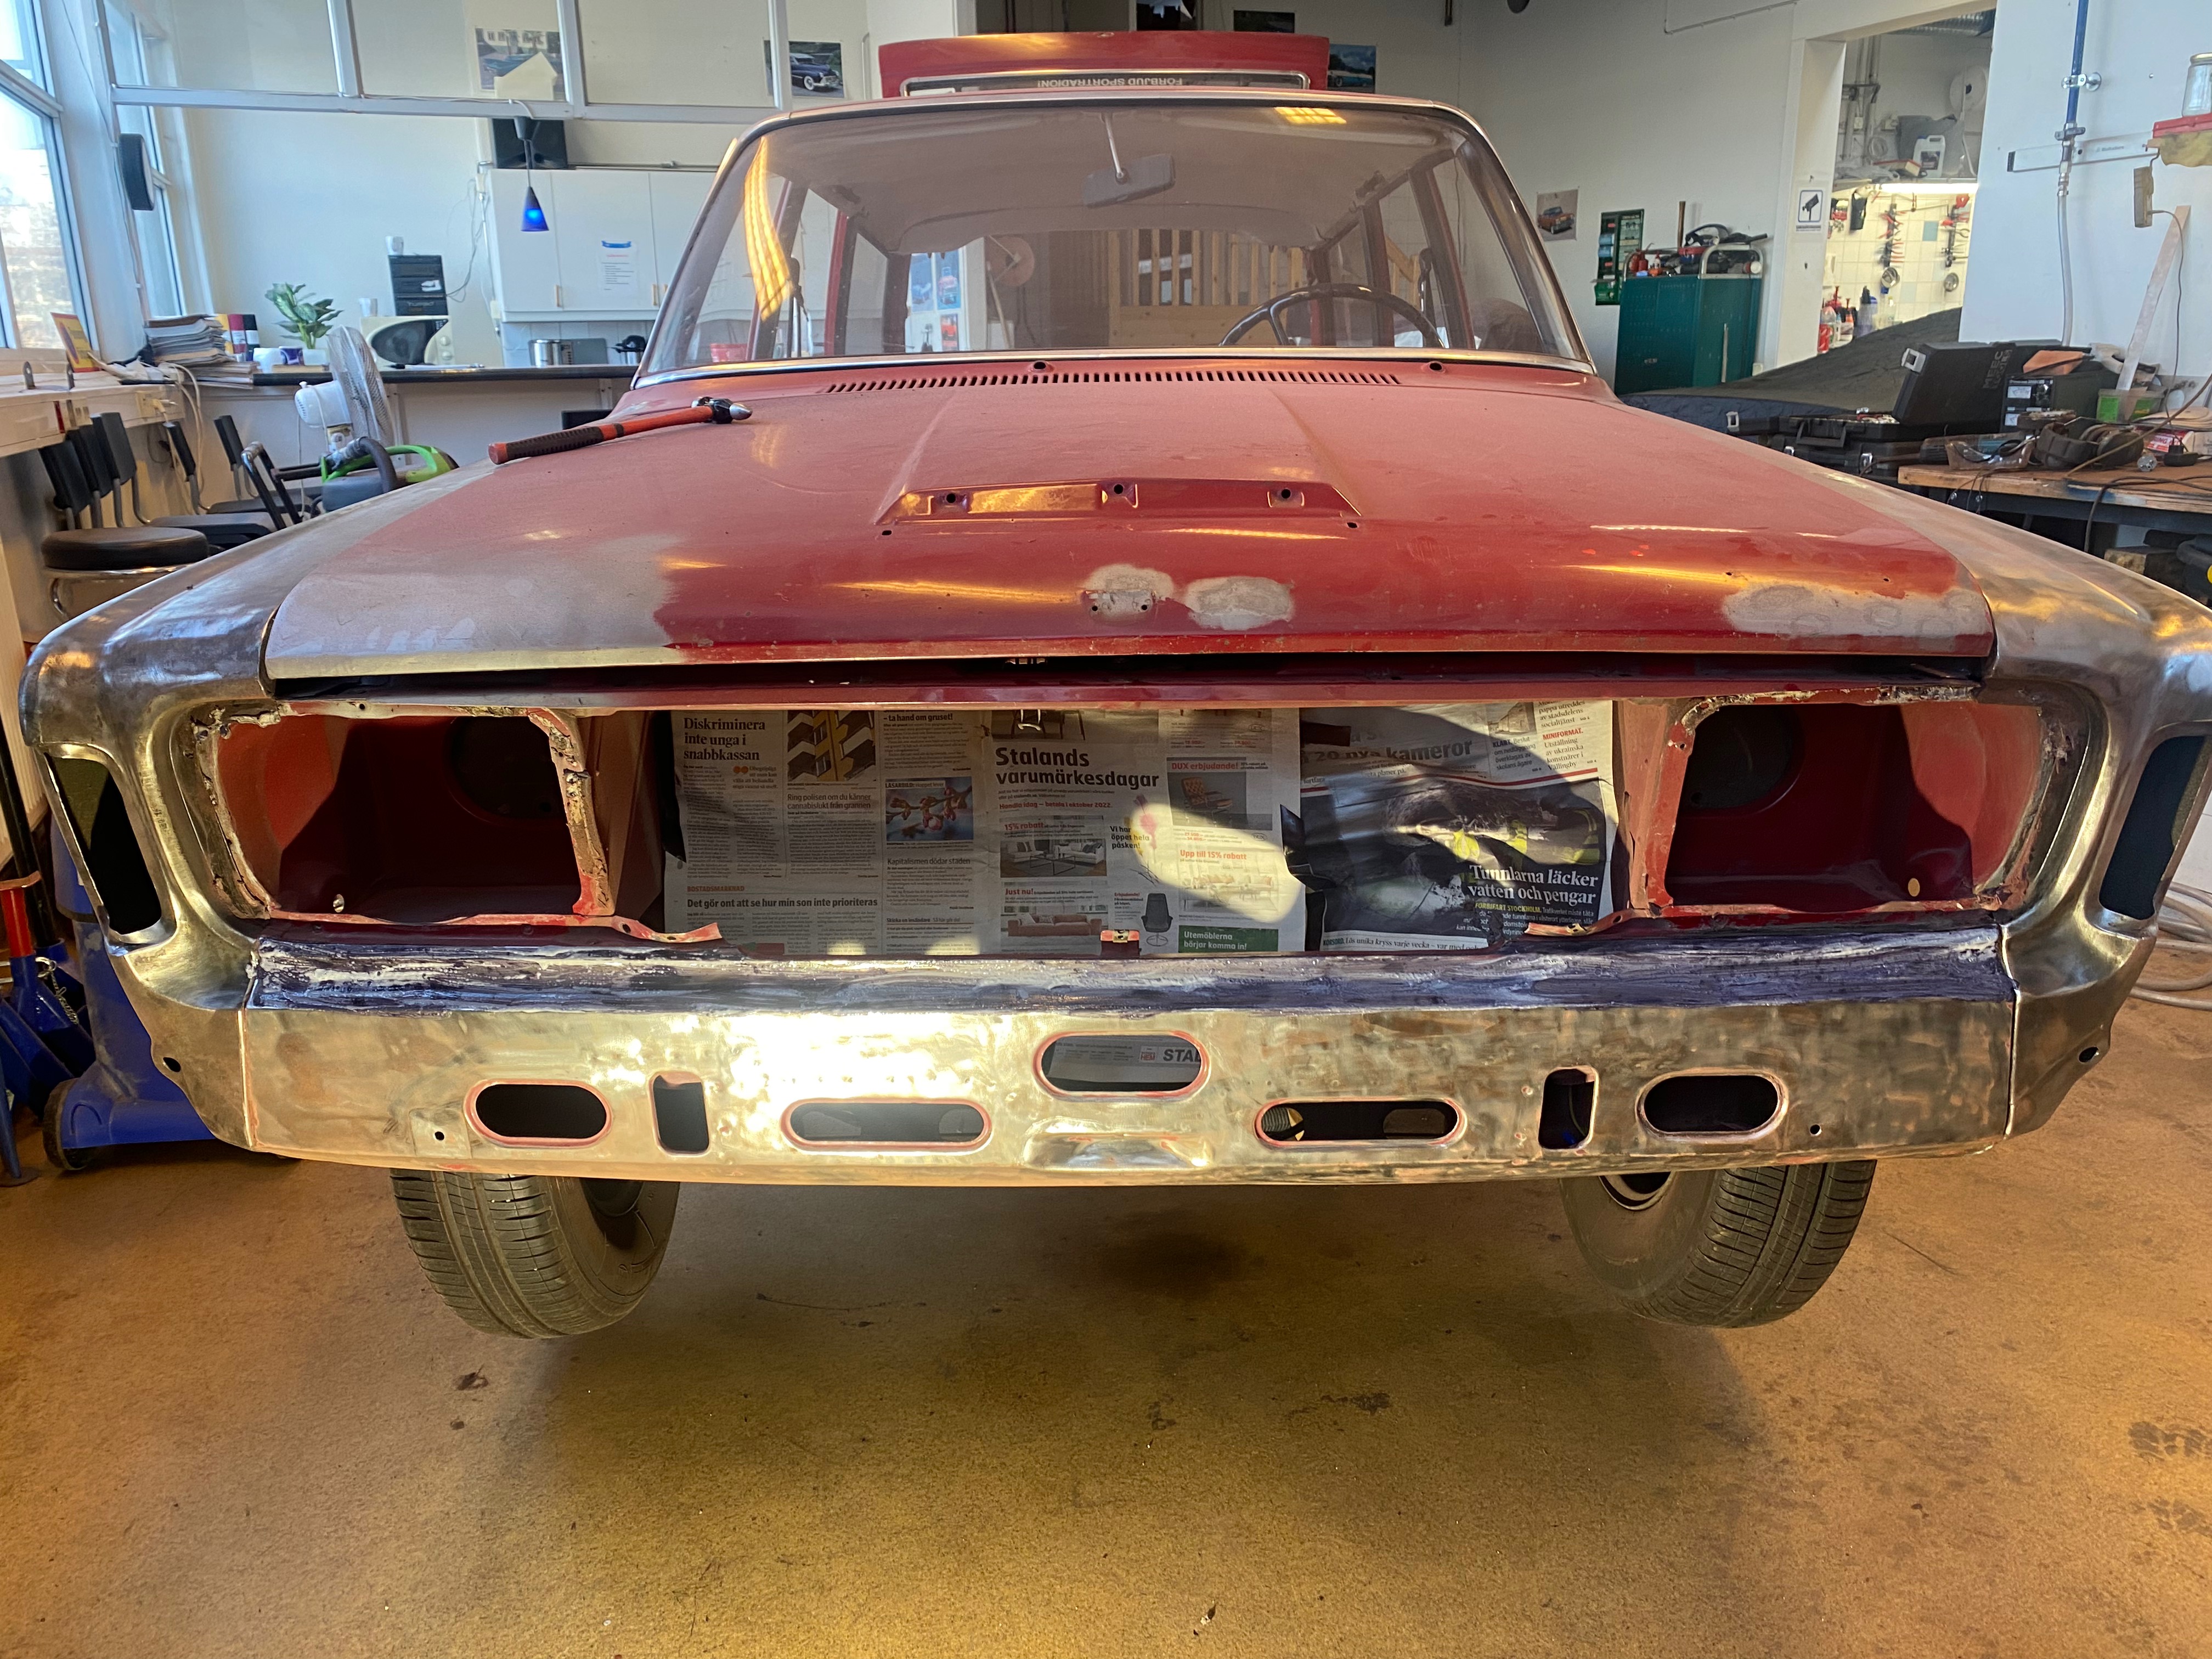
2024-04 Front grinded paint free
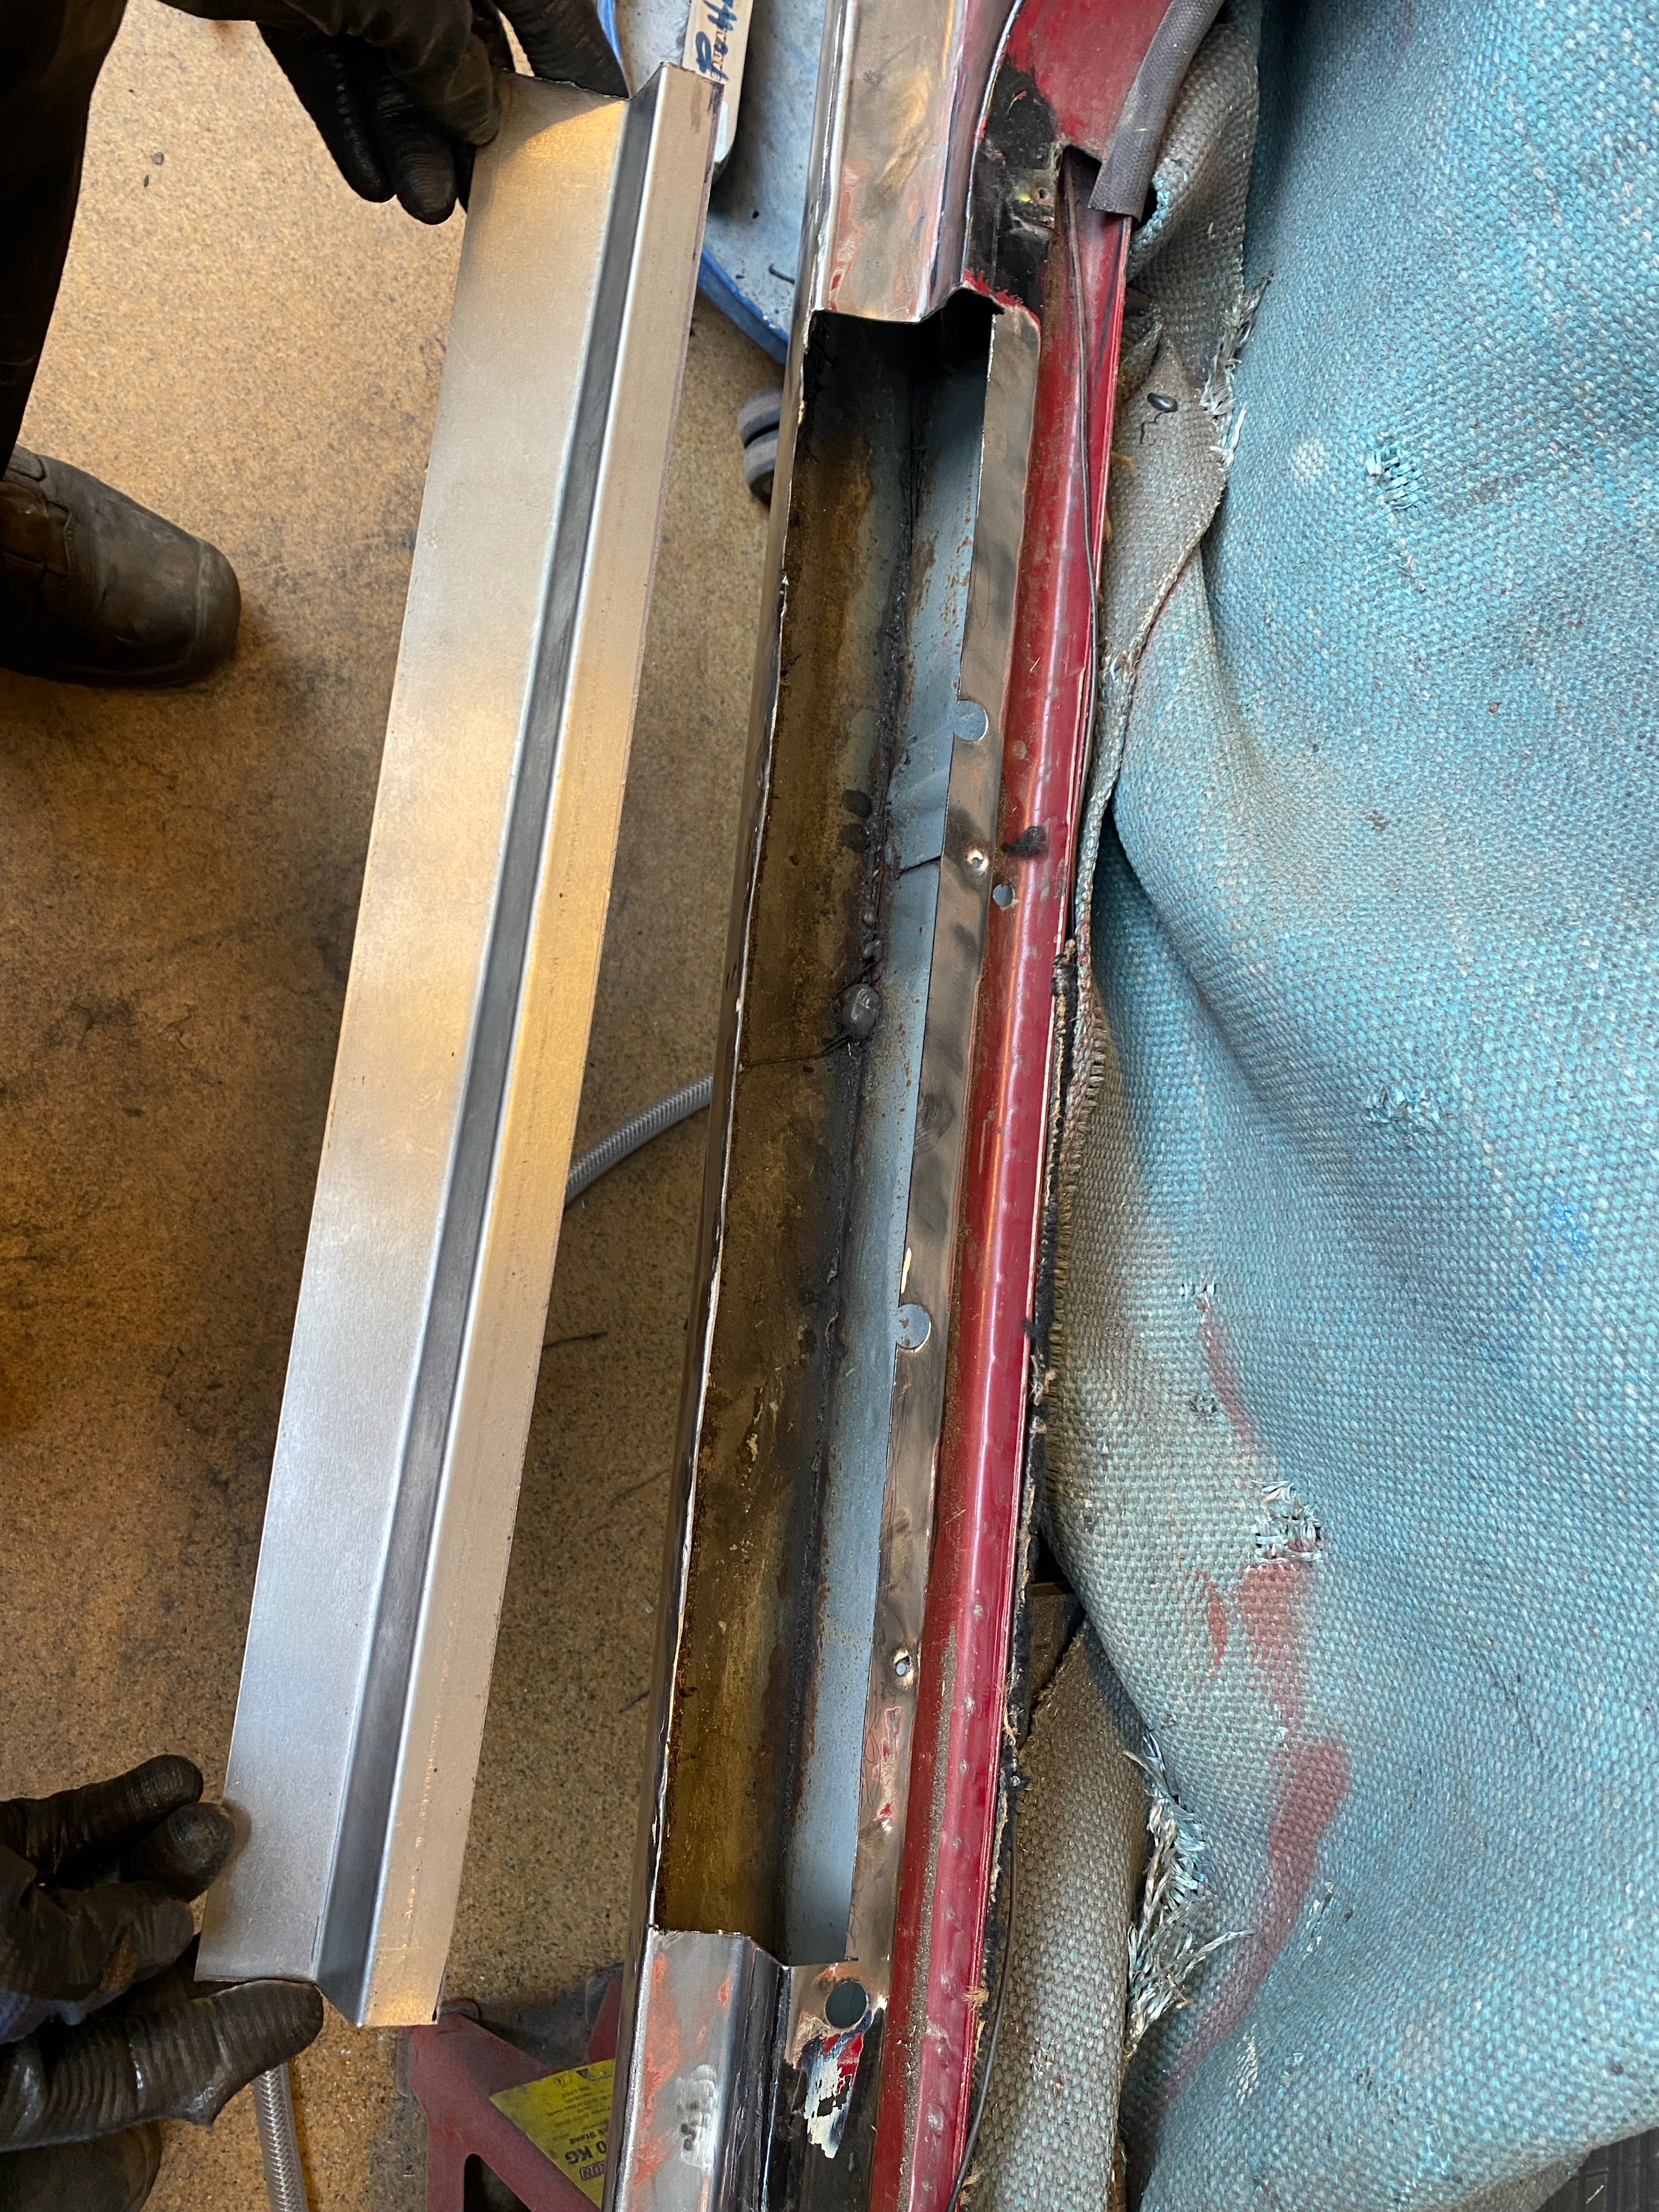
2024-04 Replacing part of the sill that was weak
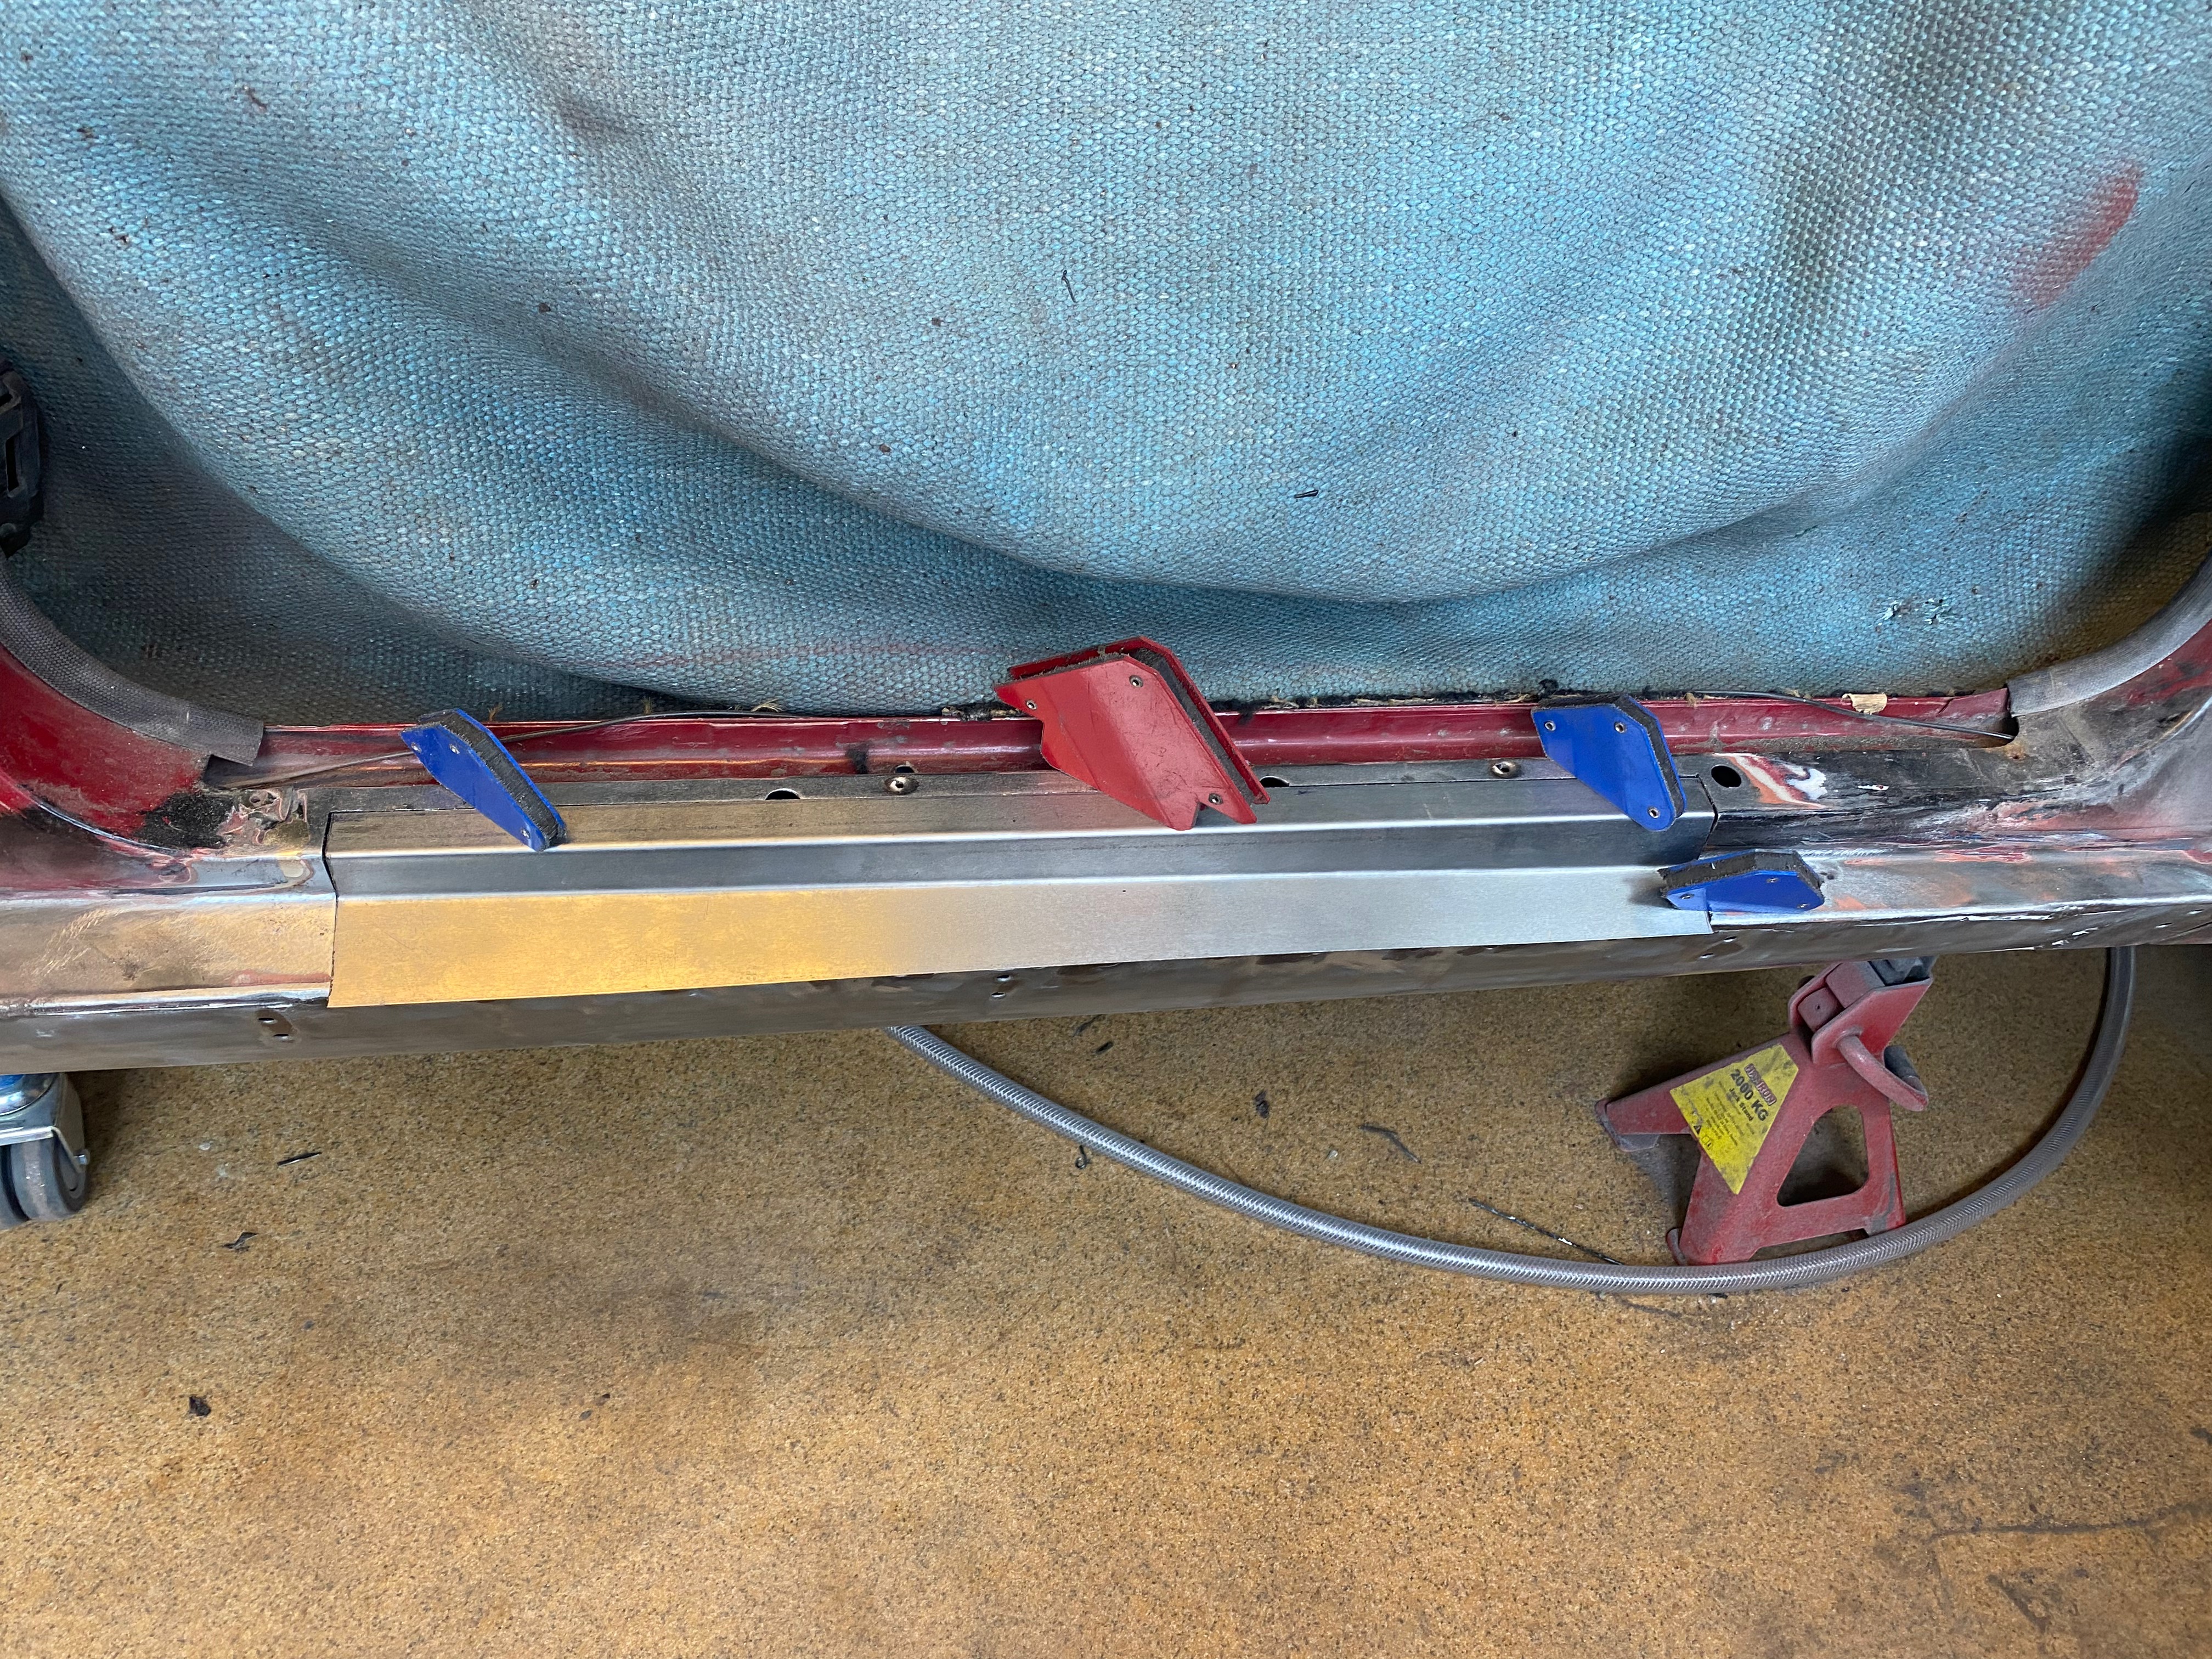
2024-04 Ready to weld it in
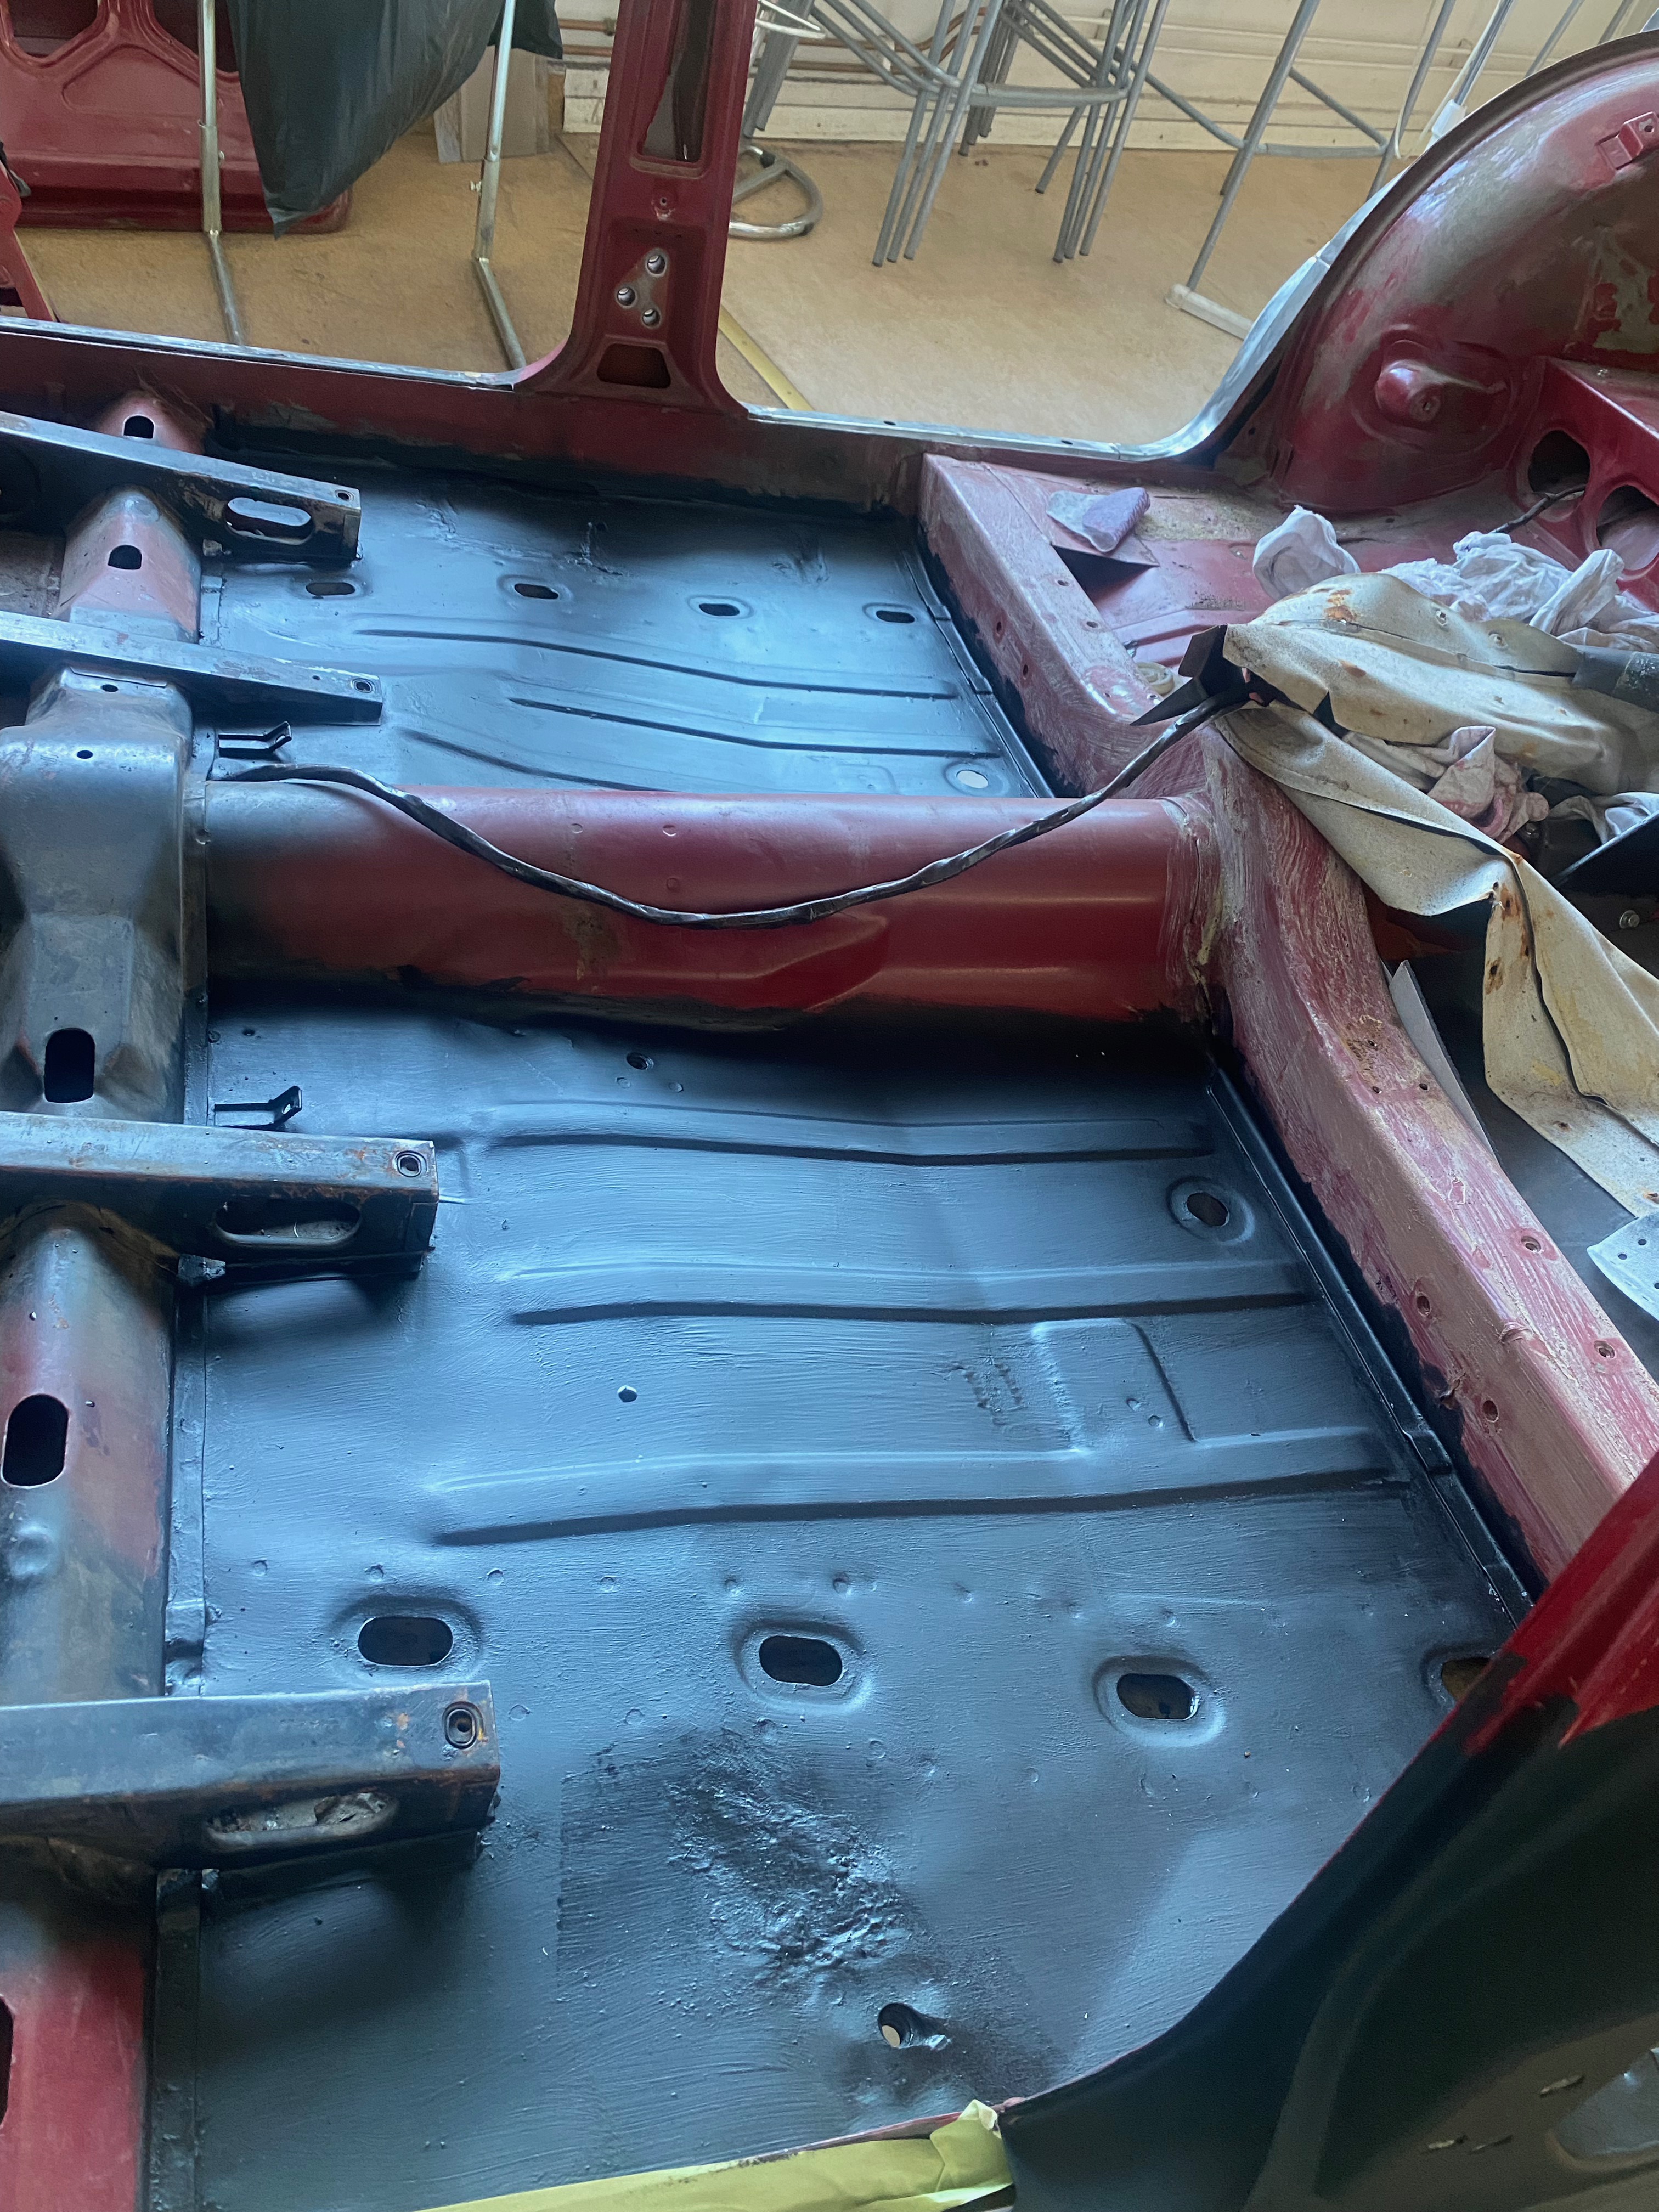
2024-06 Floor grinded and covered with epoxy paint
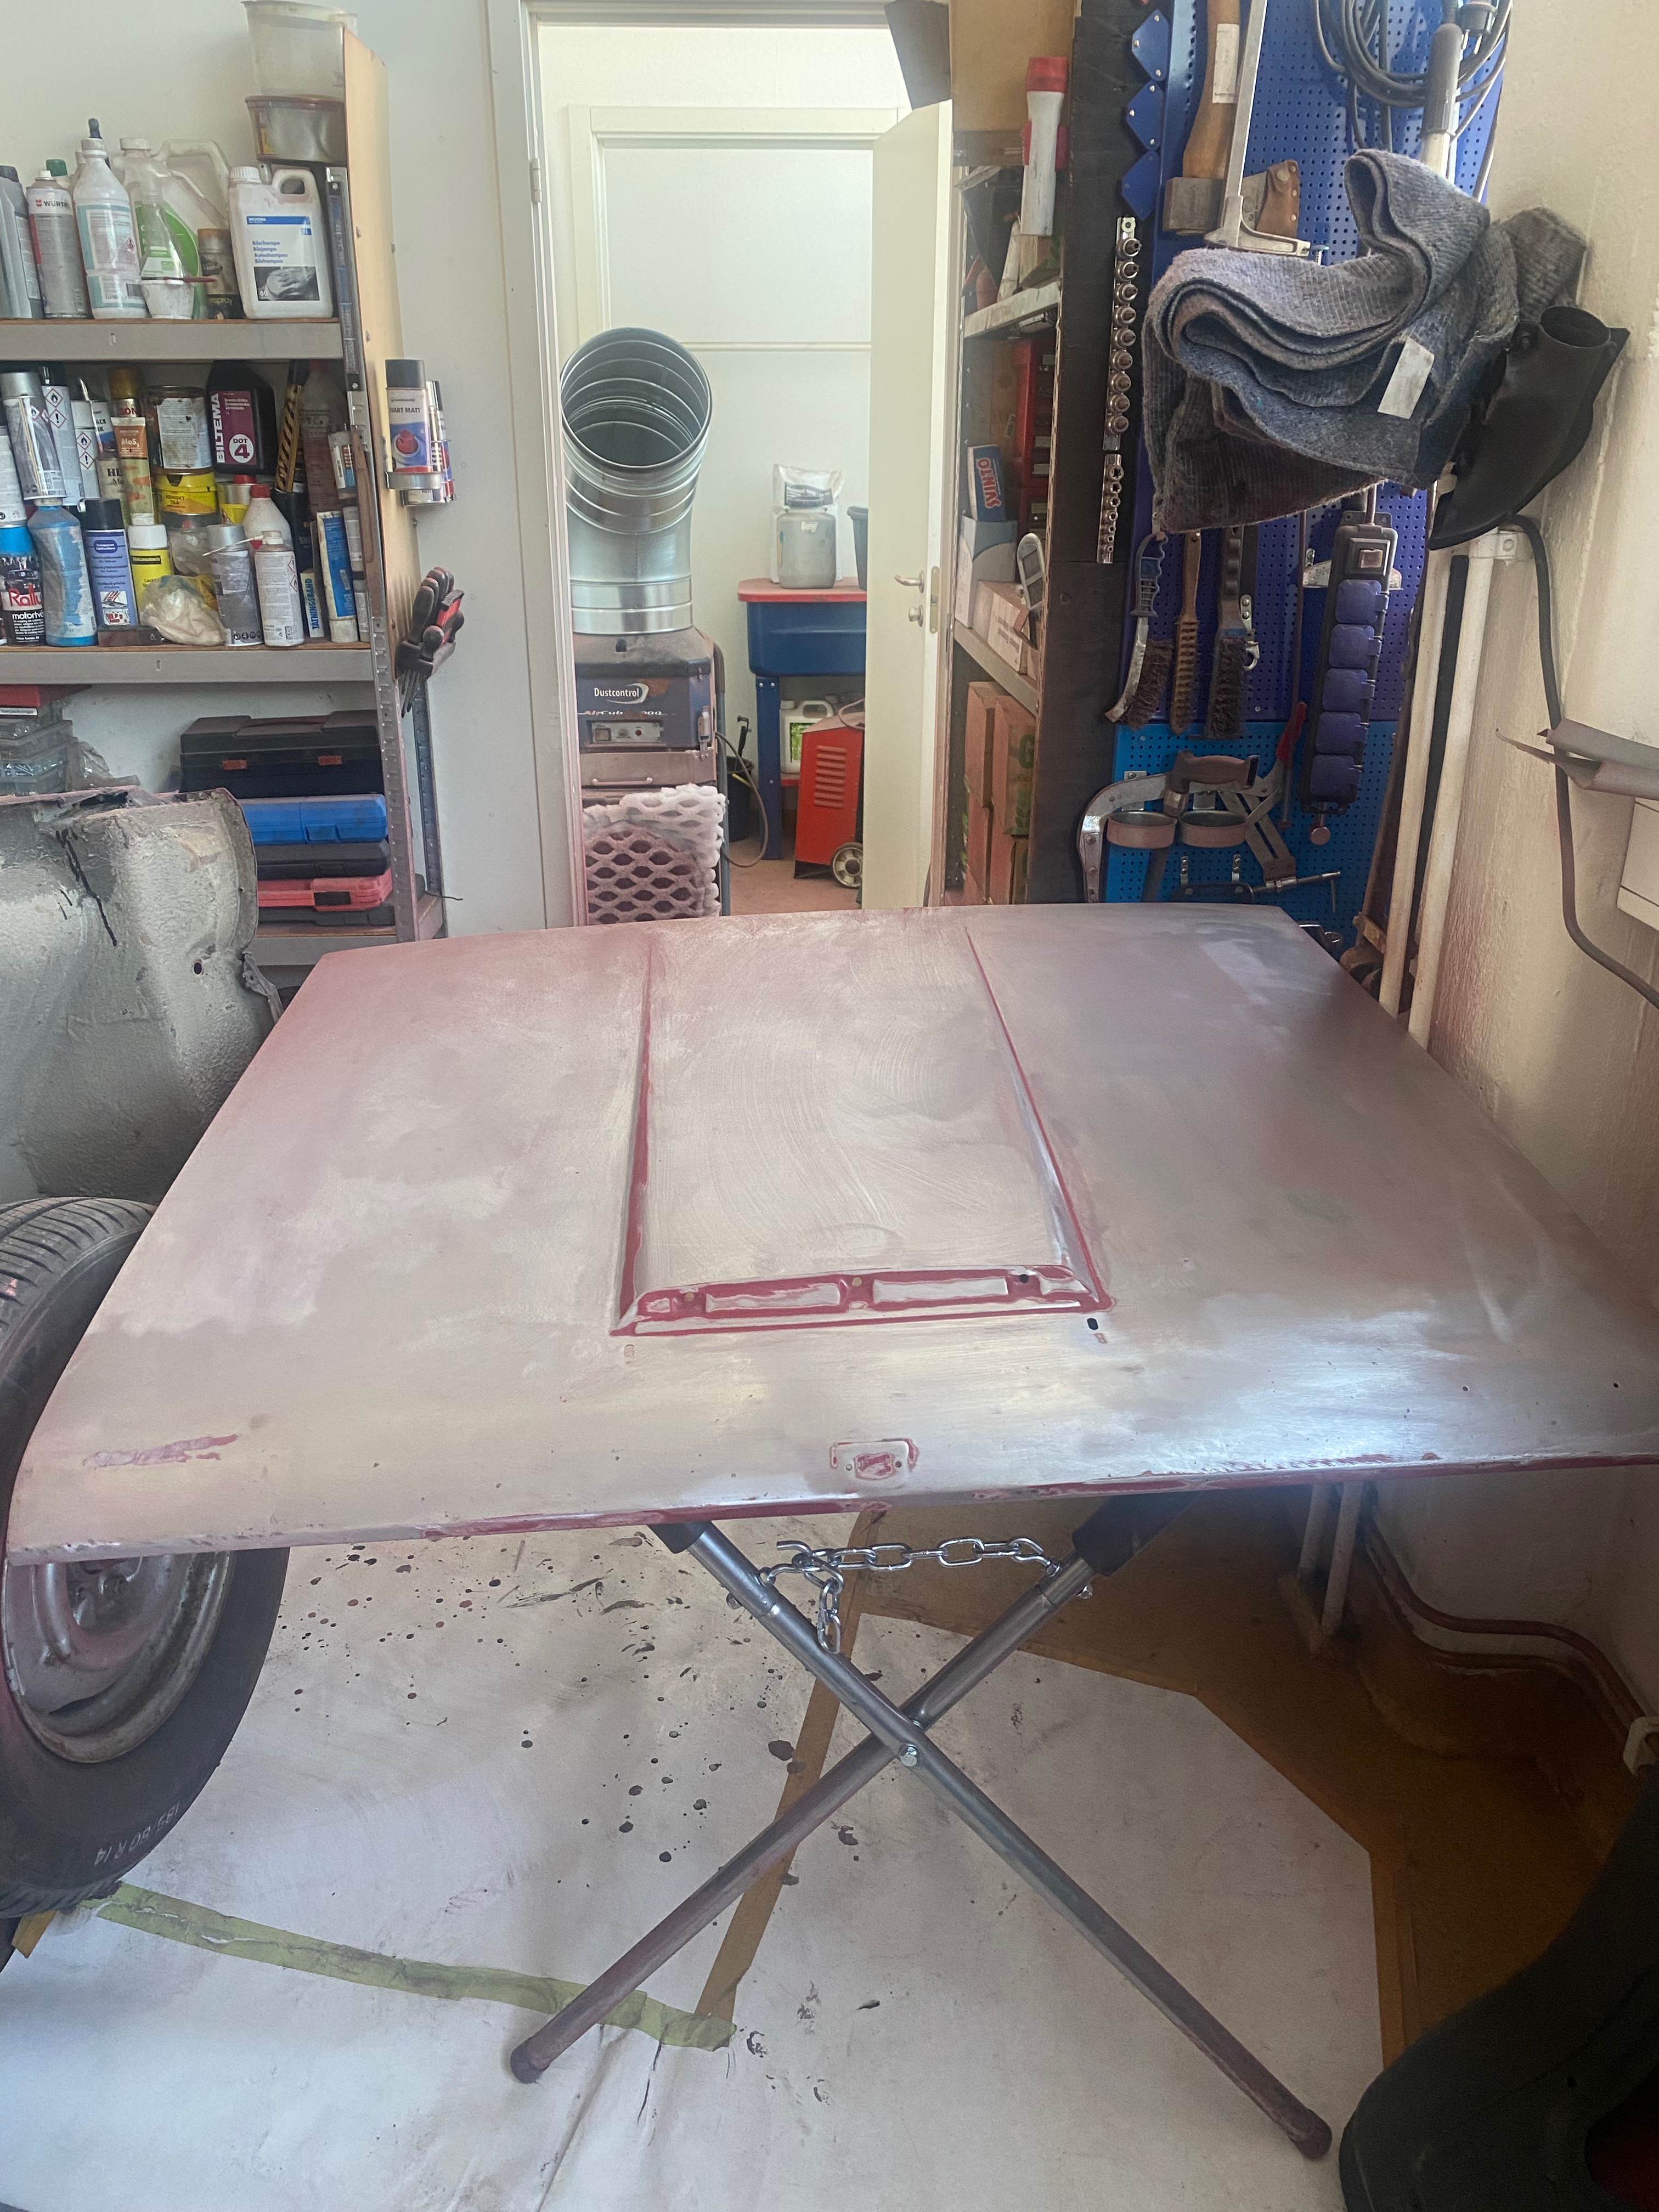
2024-08 Hood grinded paint free
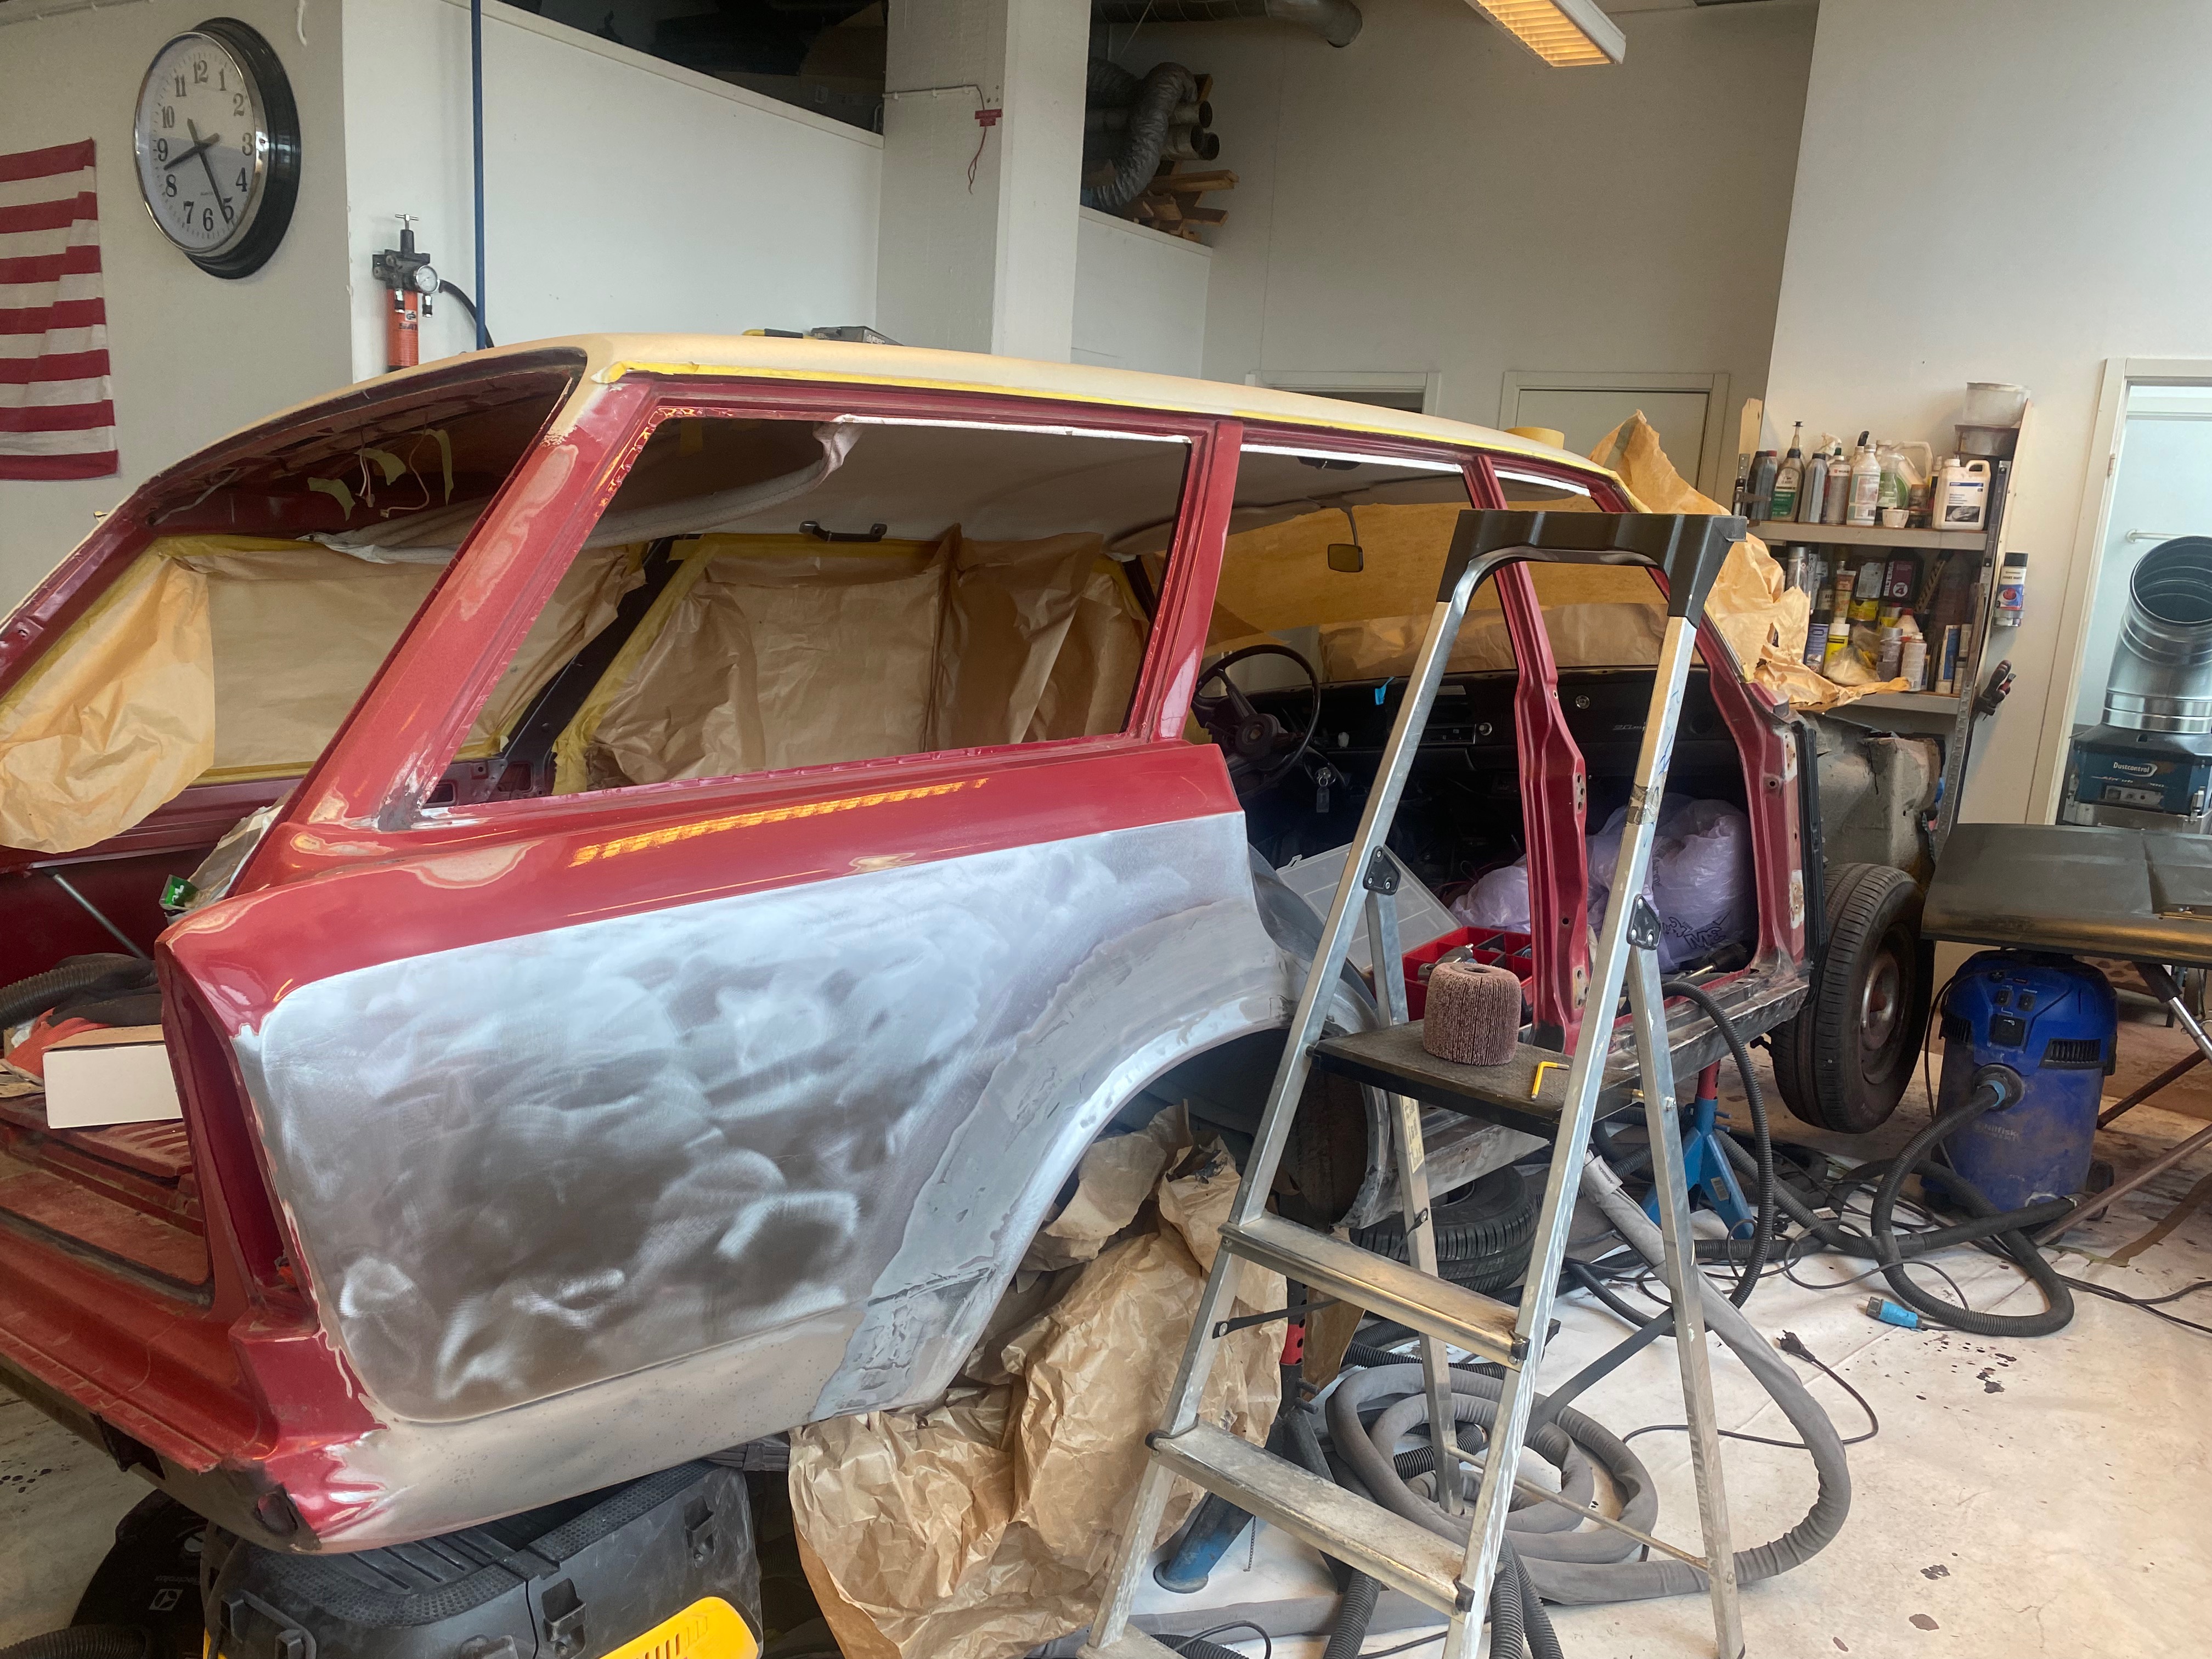
2024-08 Side grinded paint free
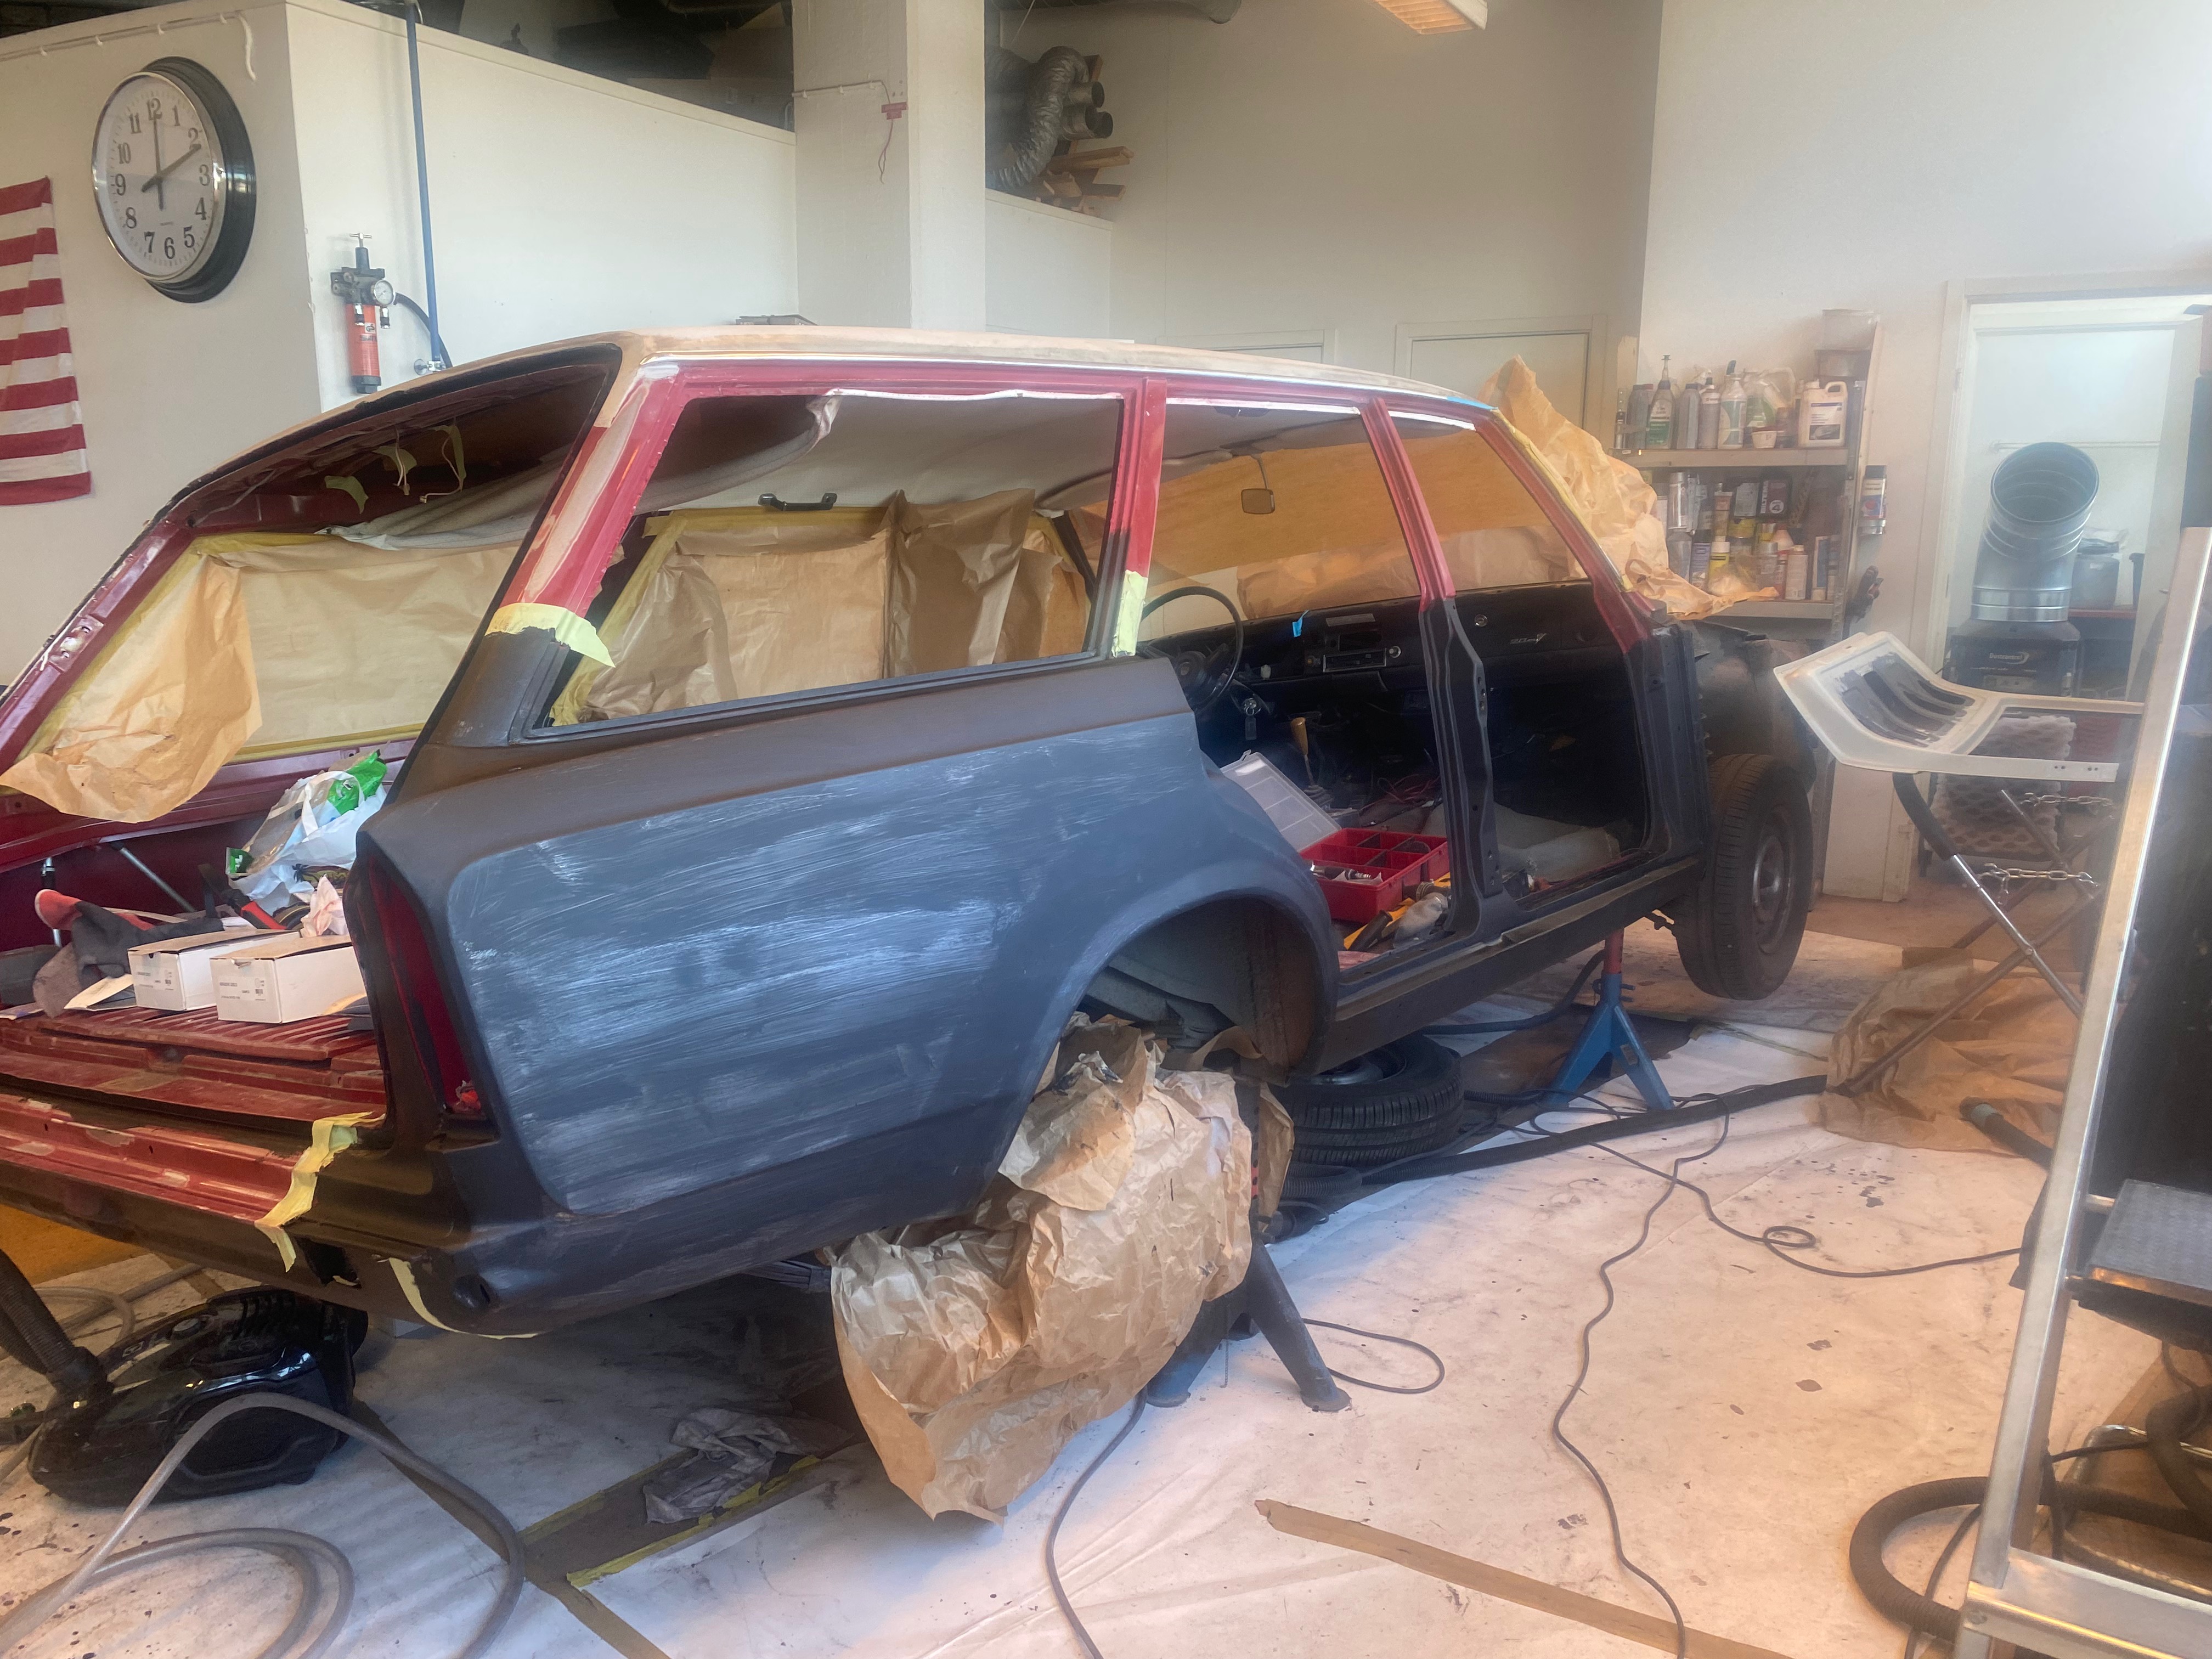
2024-08 Side painted with epoxy primer
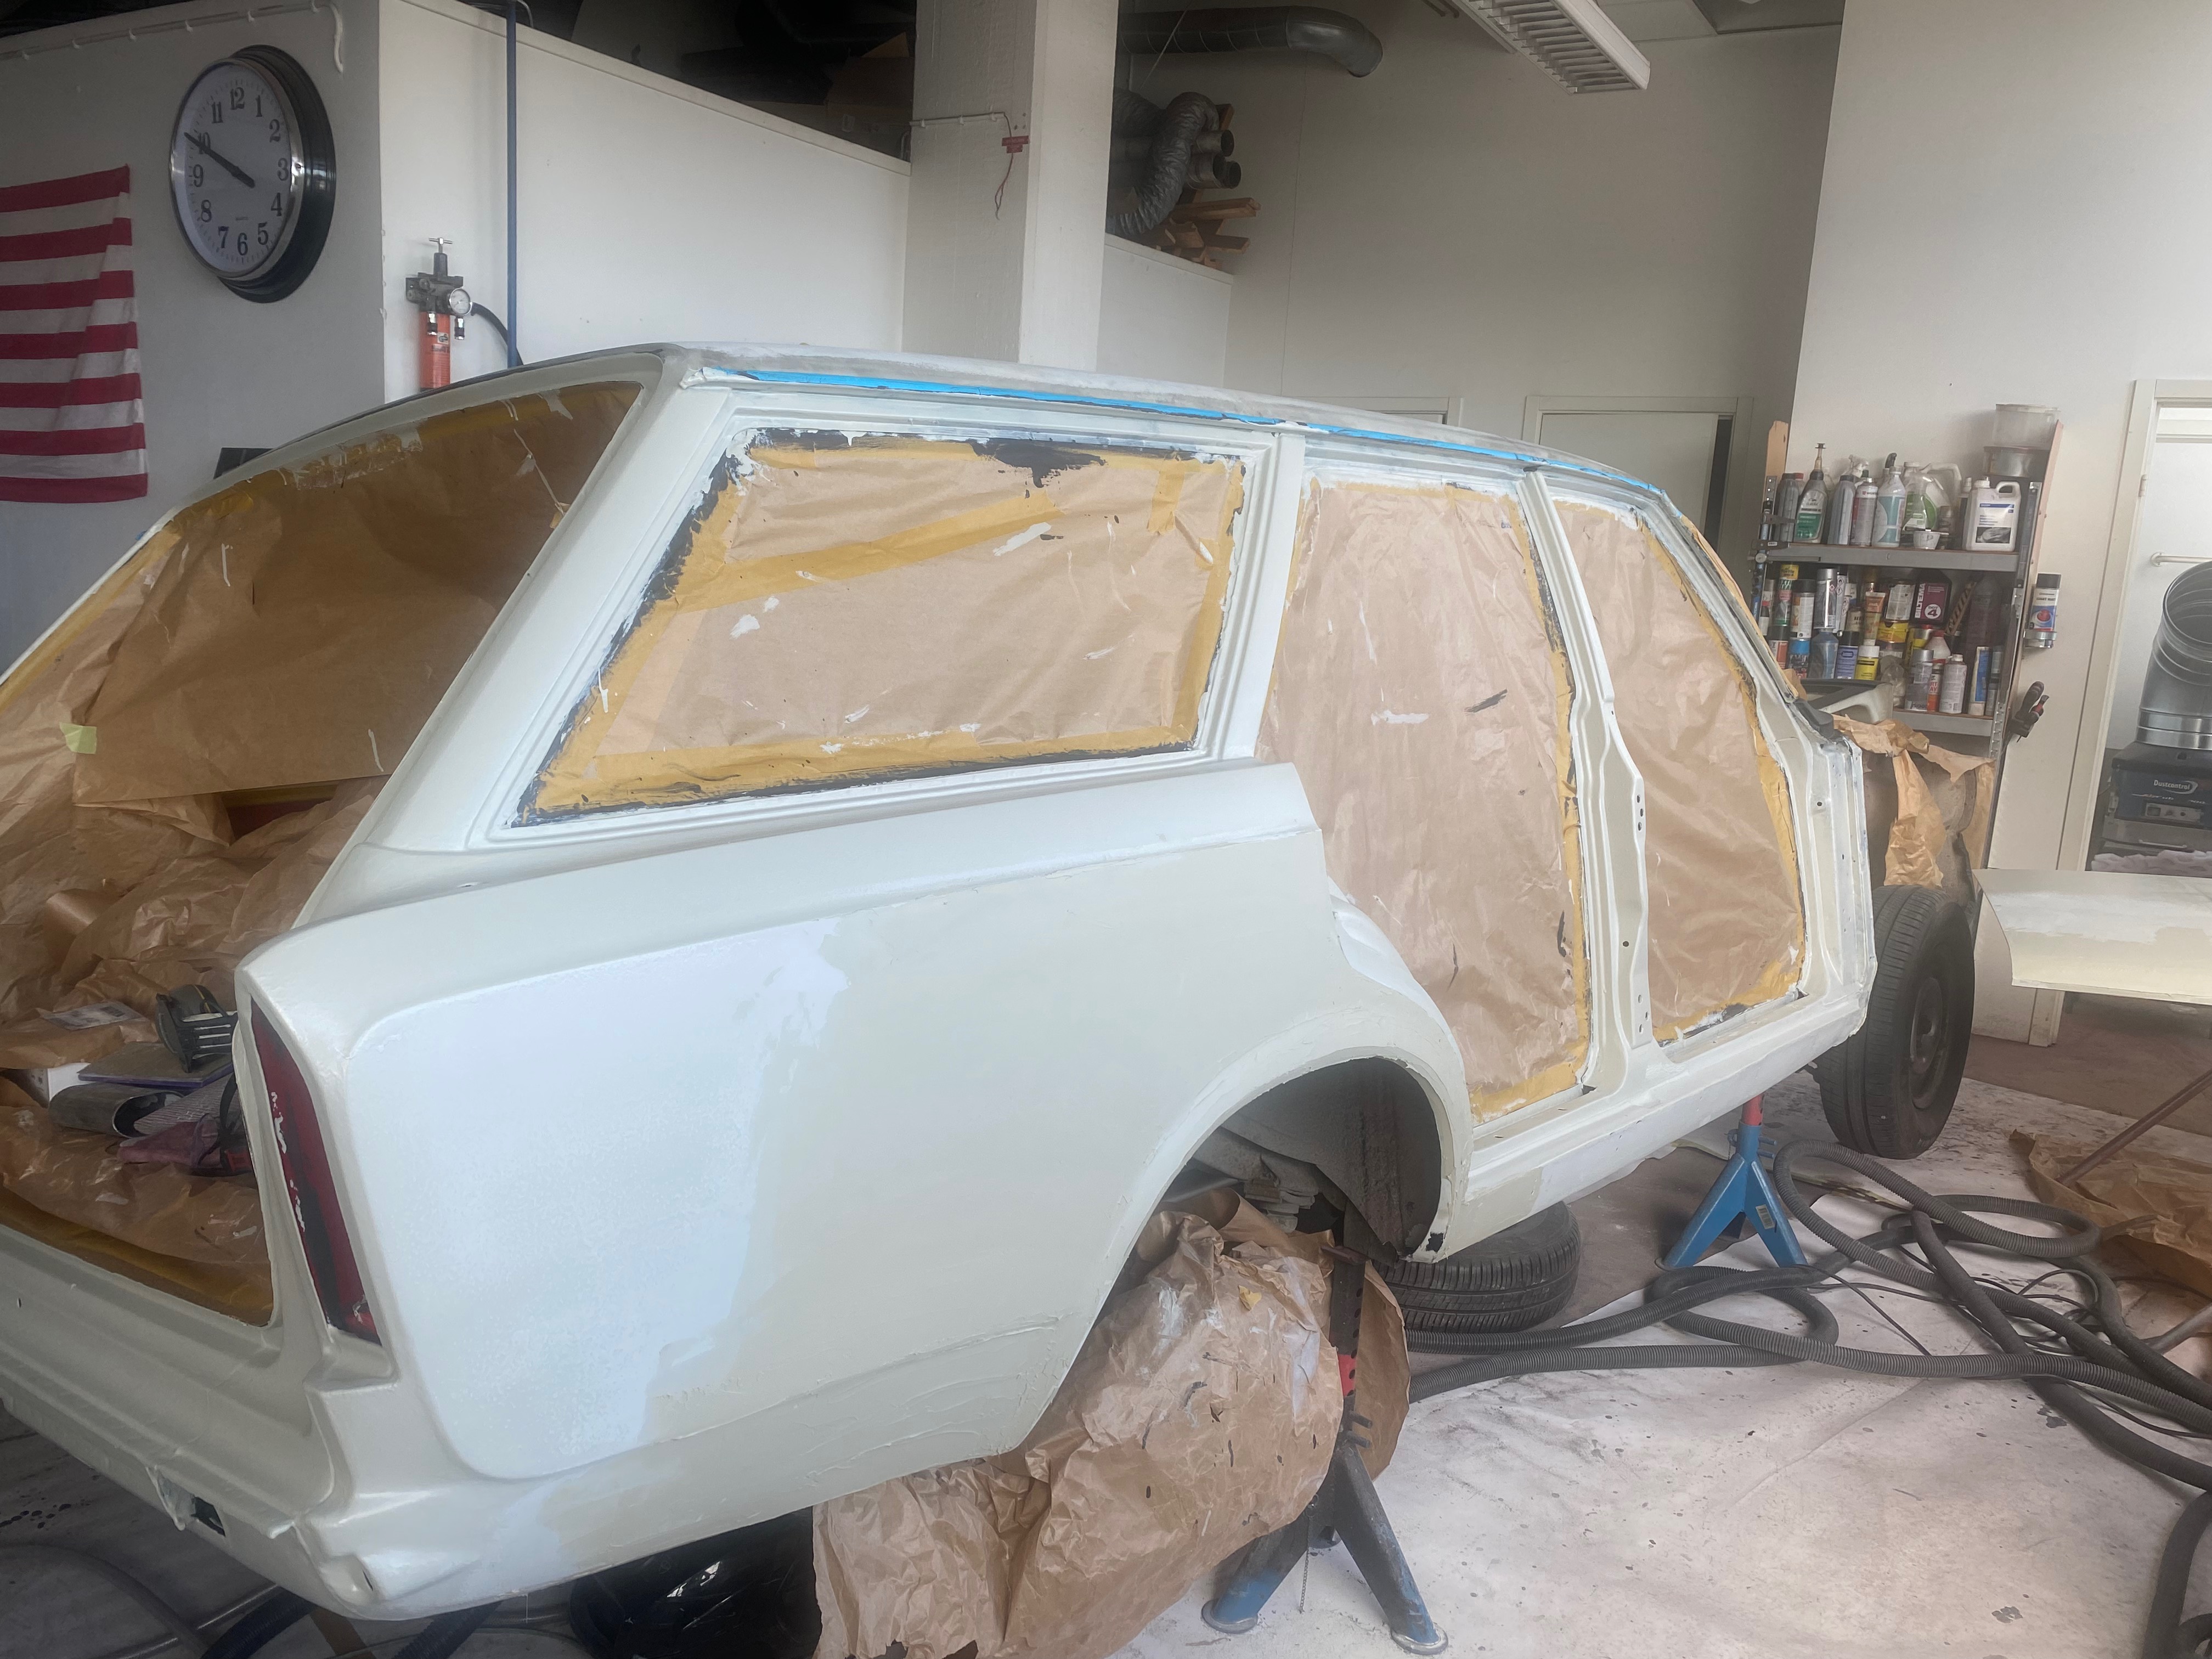
2024-08 Side painted with grinding primer
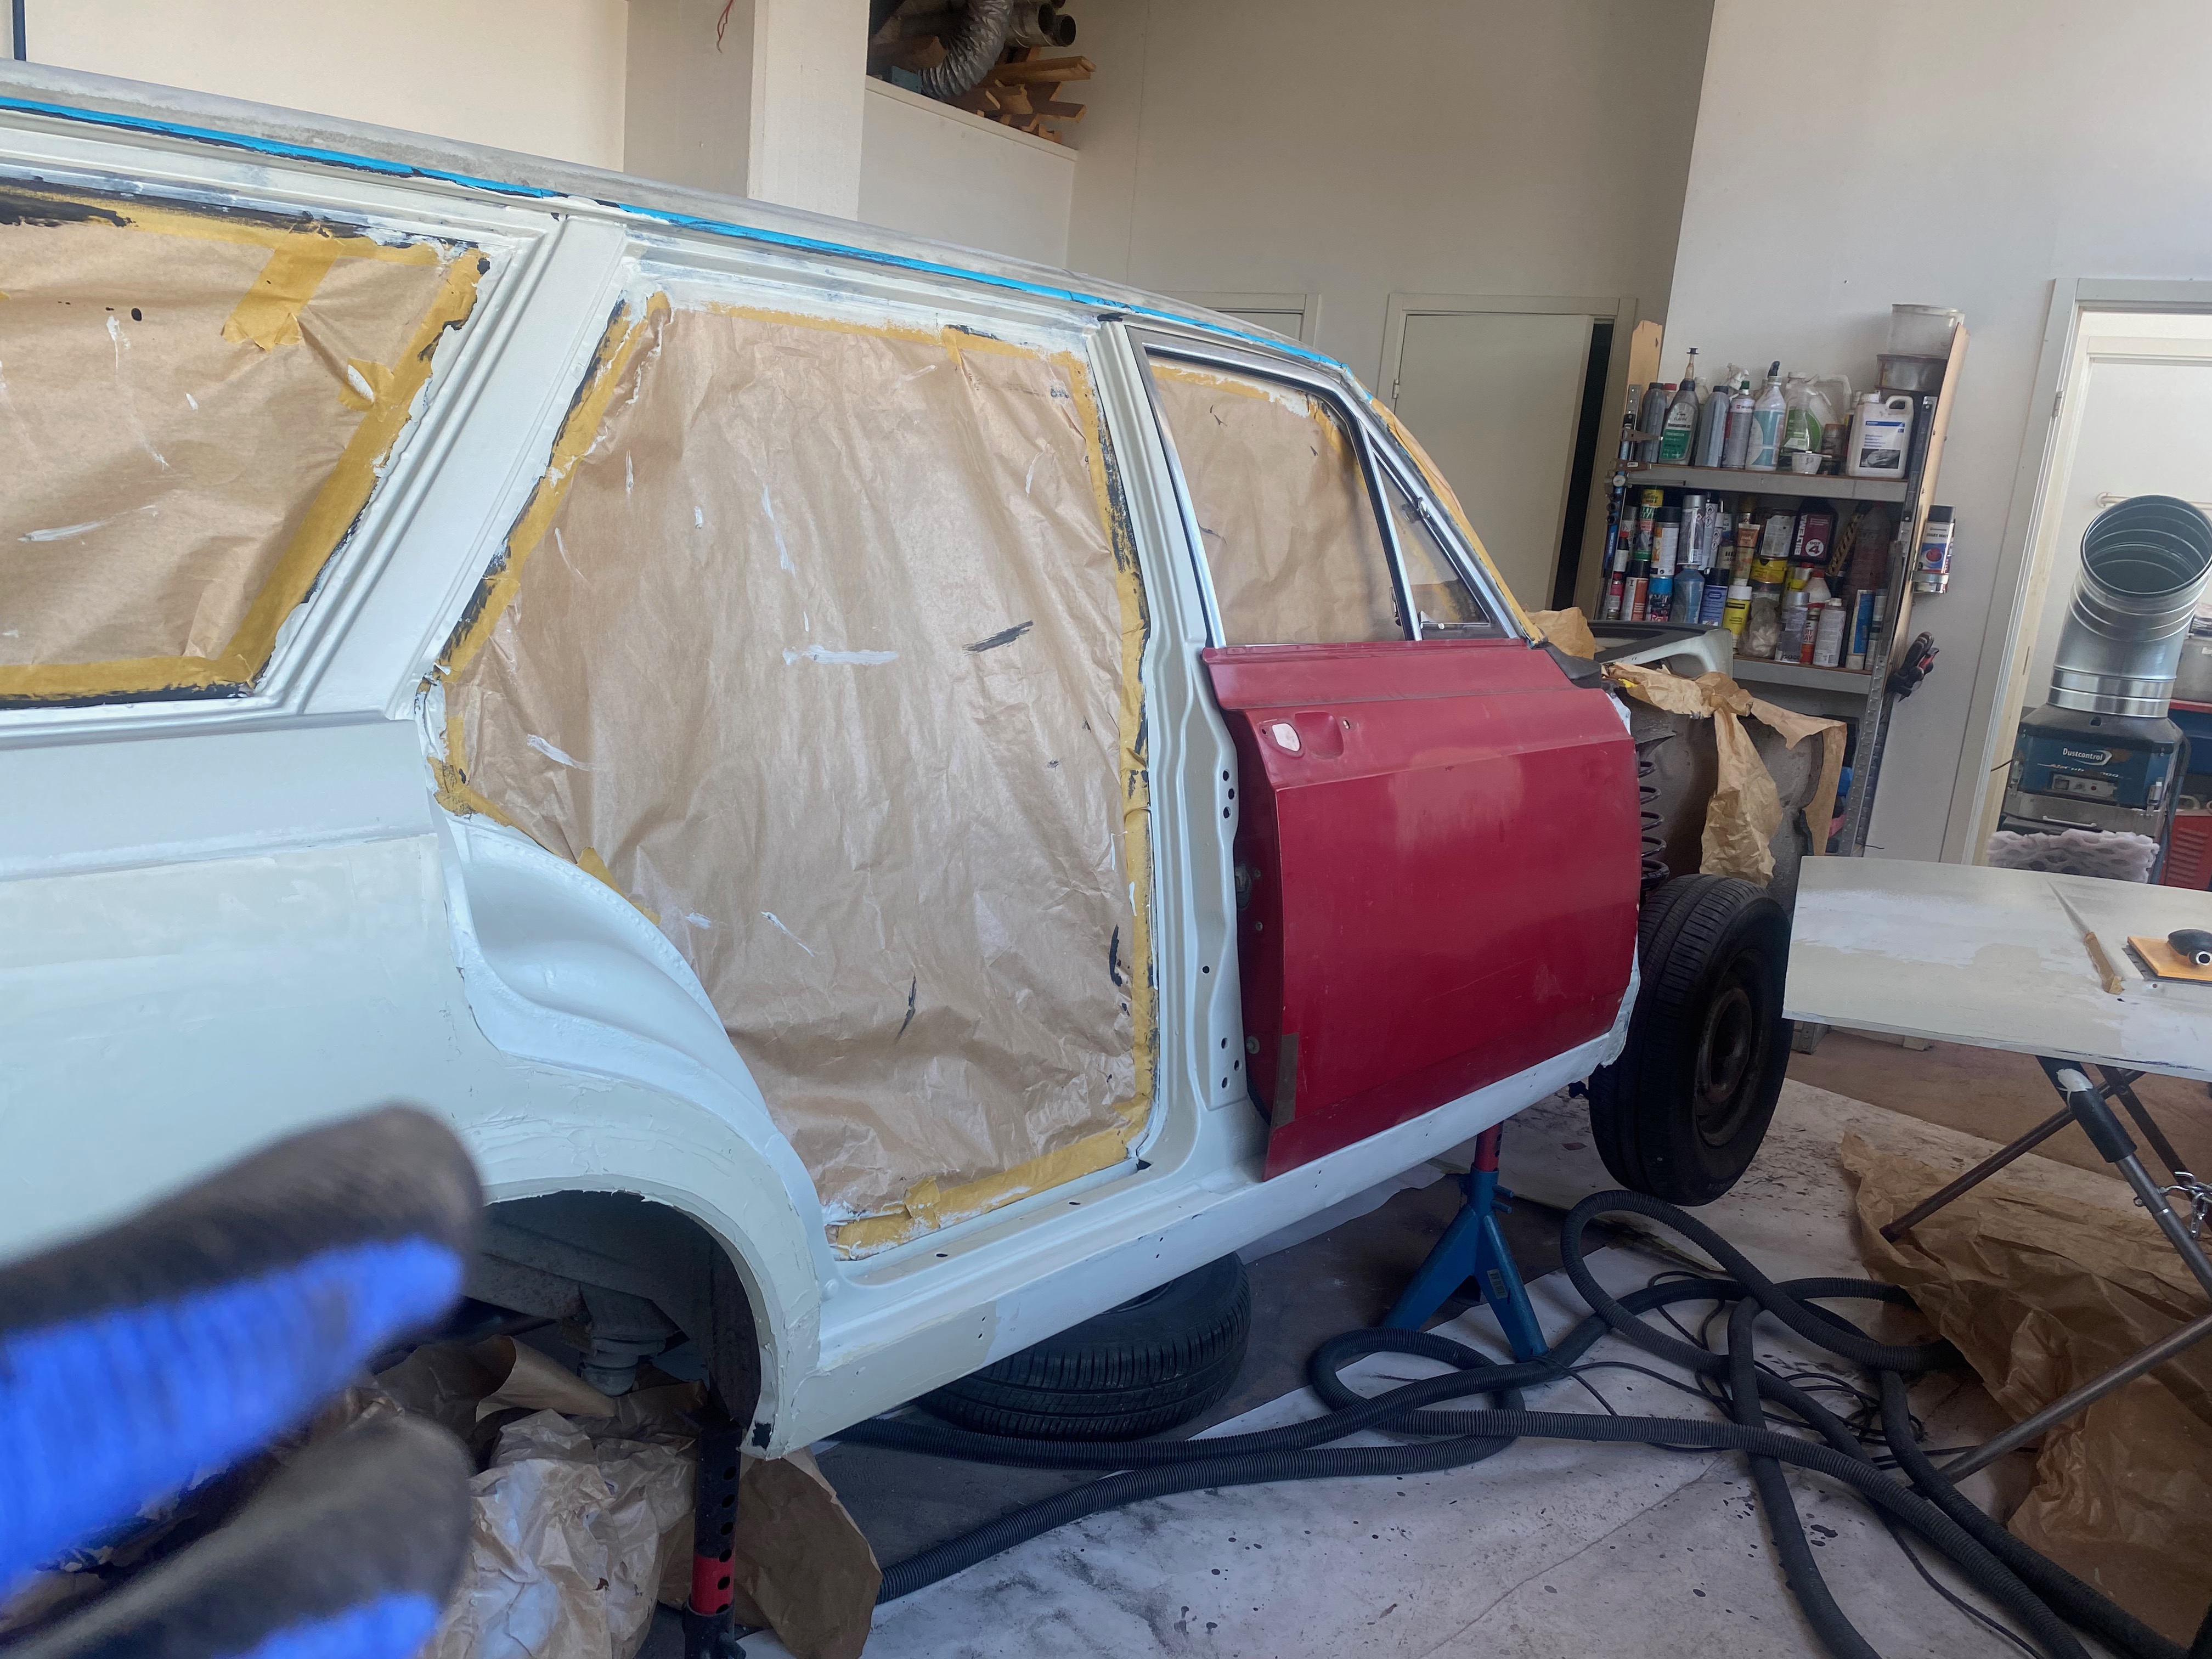
2024-08 The sill alignment assessed with the door
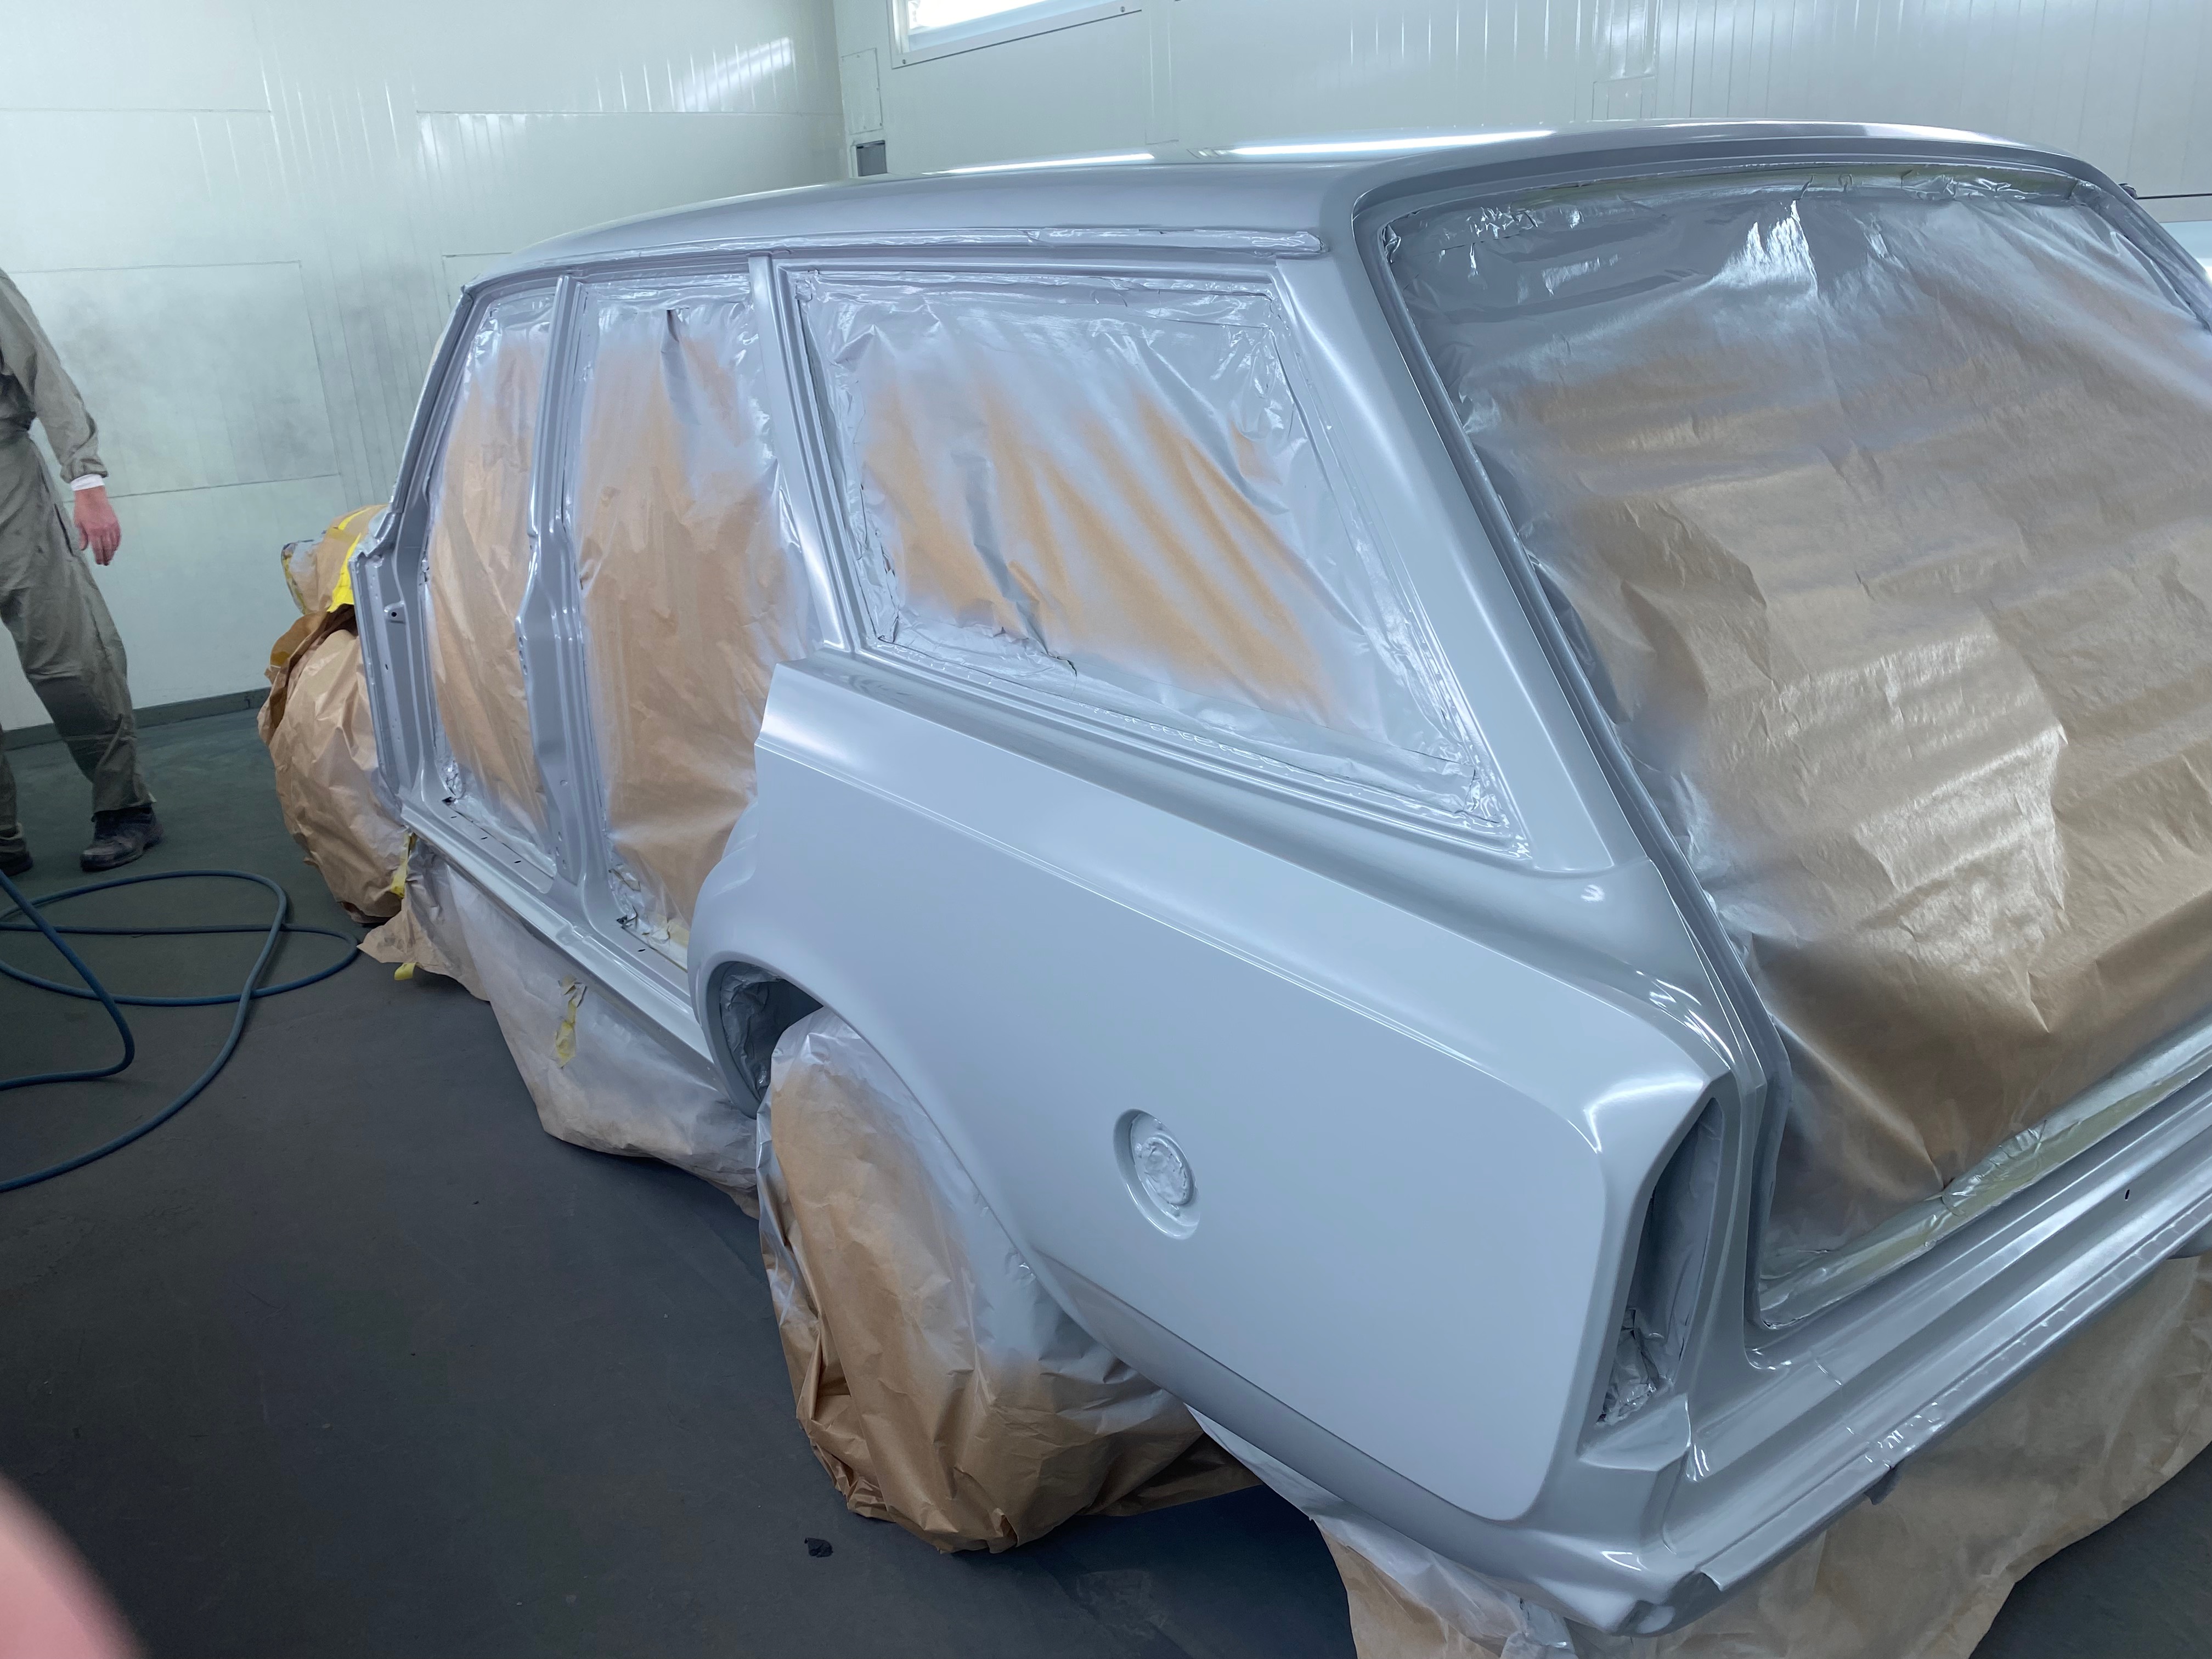
2024-10 The sill alignment assessed with the door
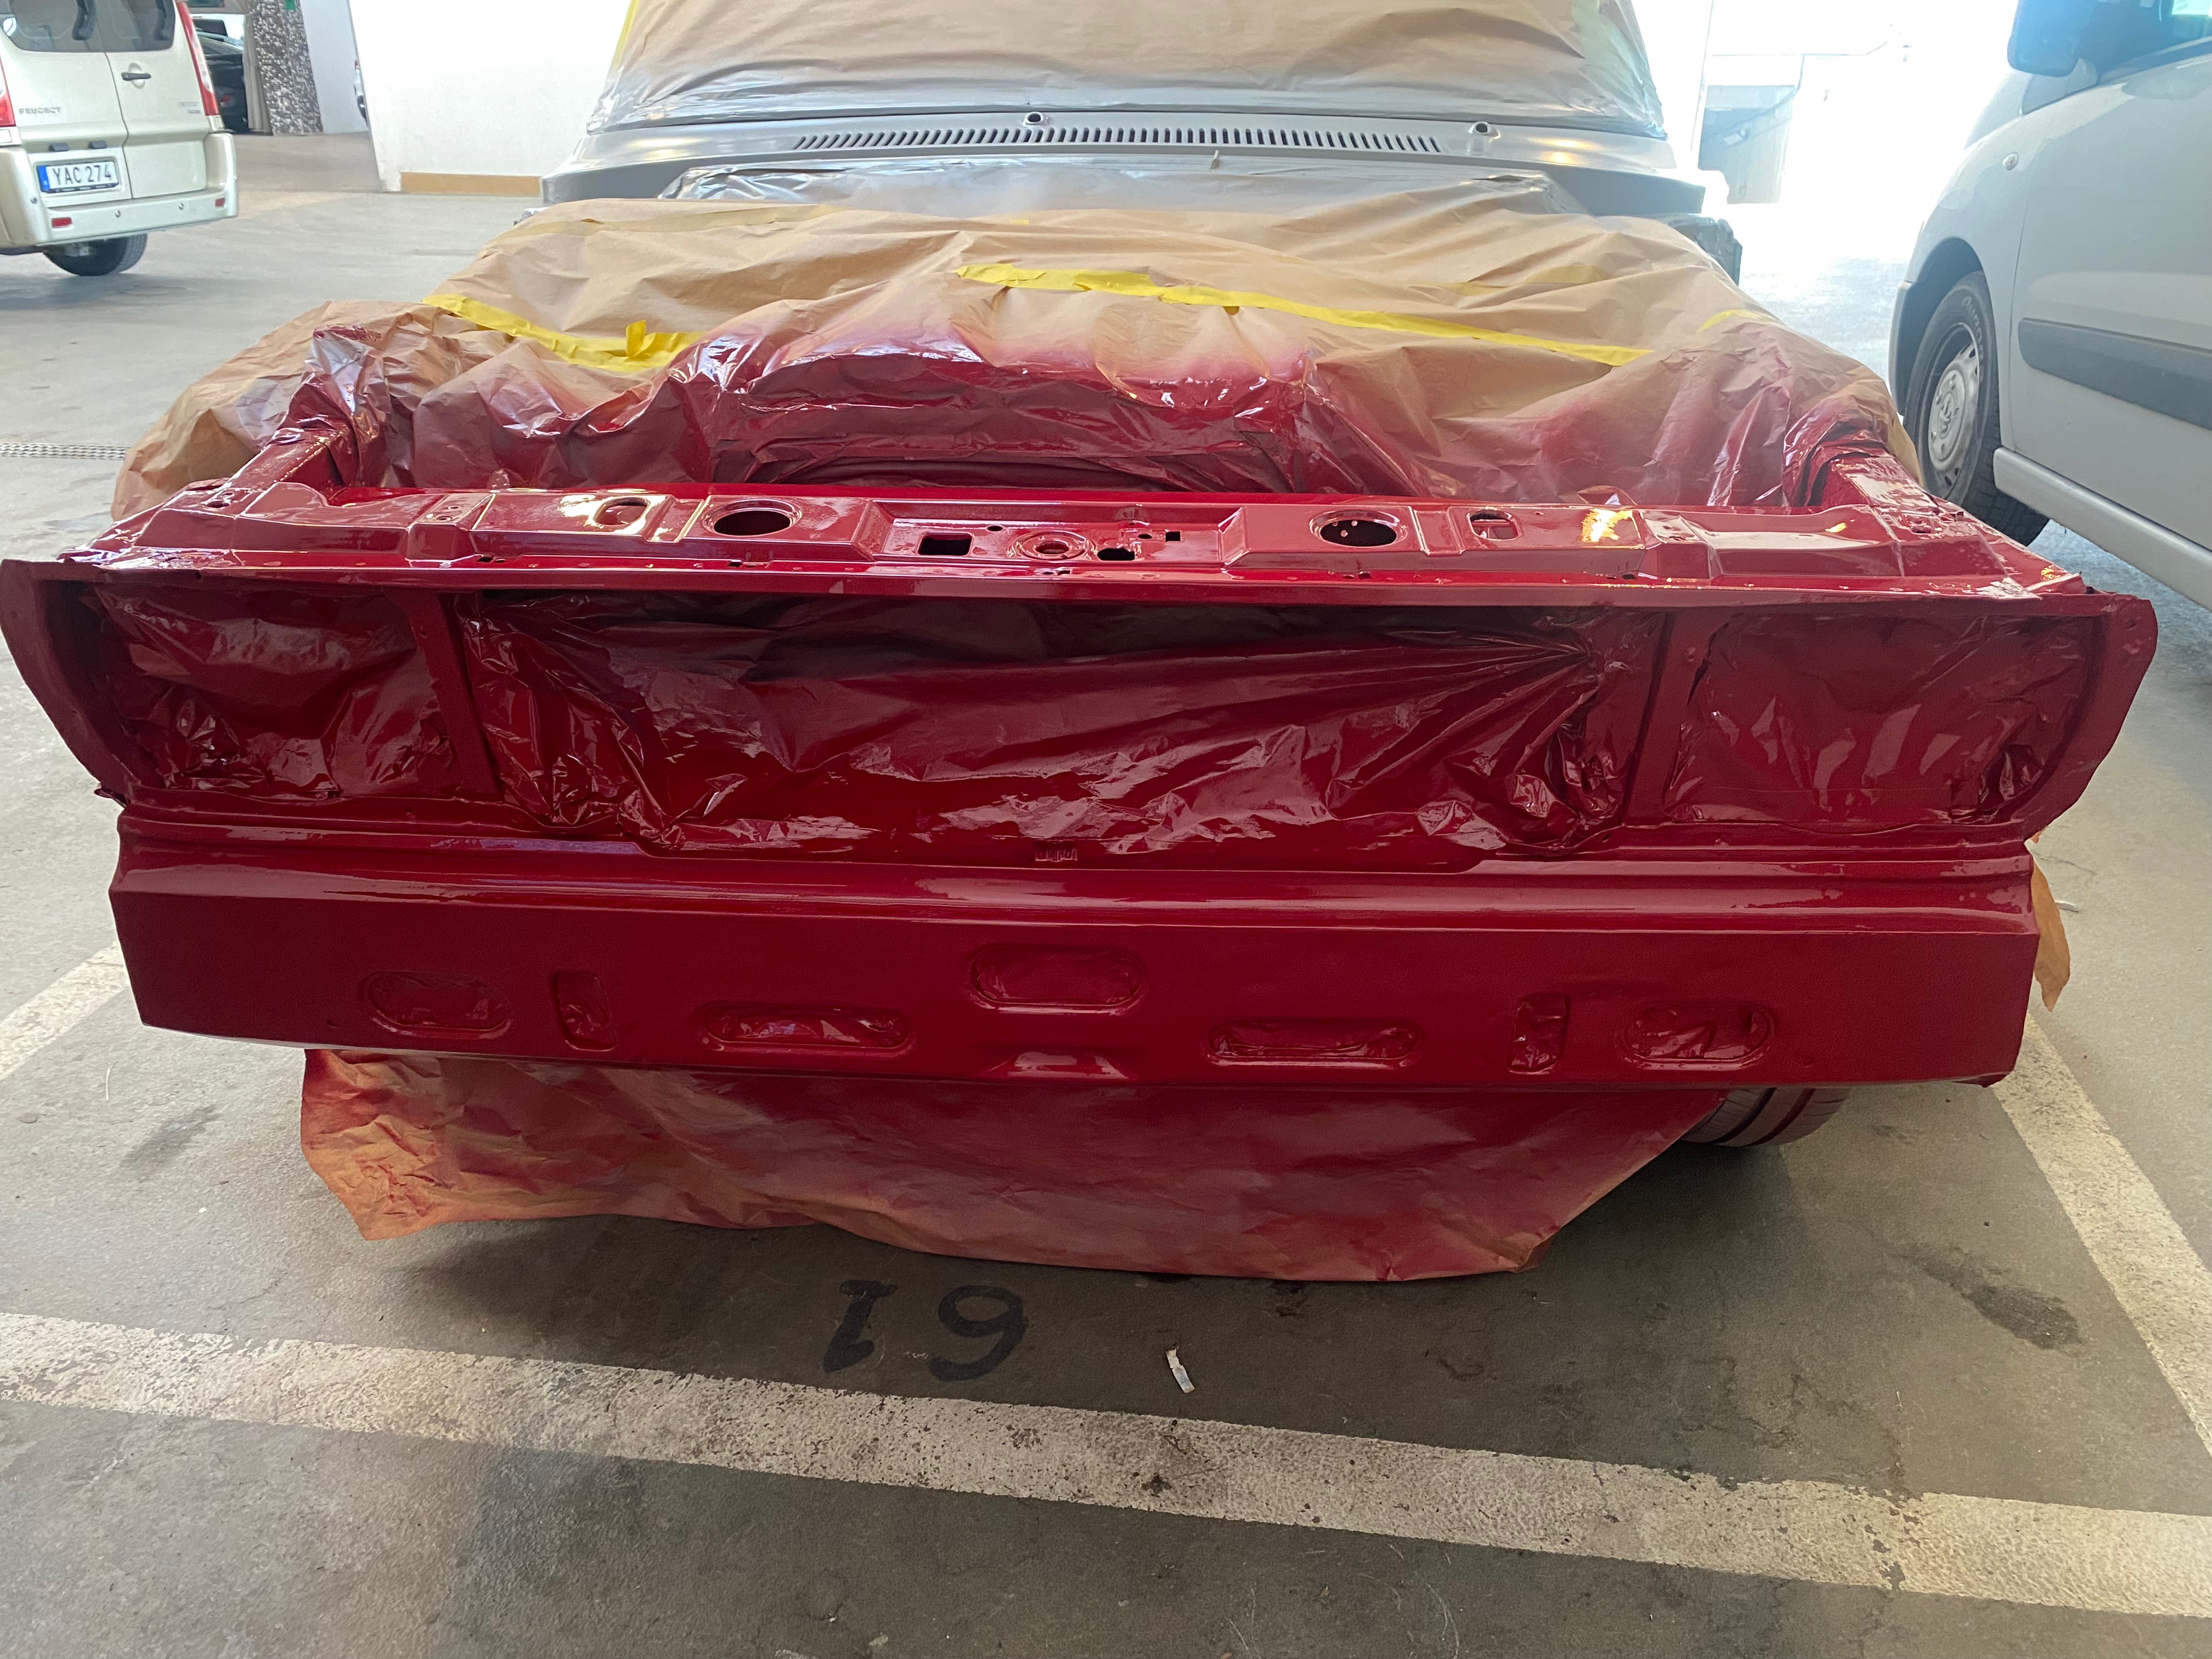
2024-10 Front painted red
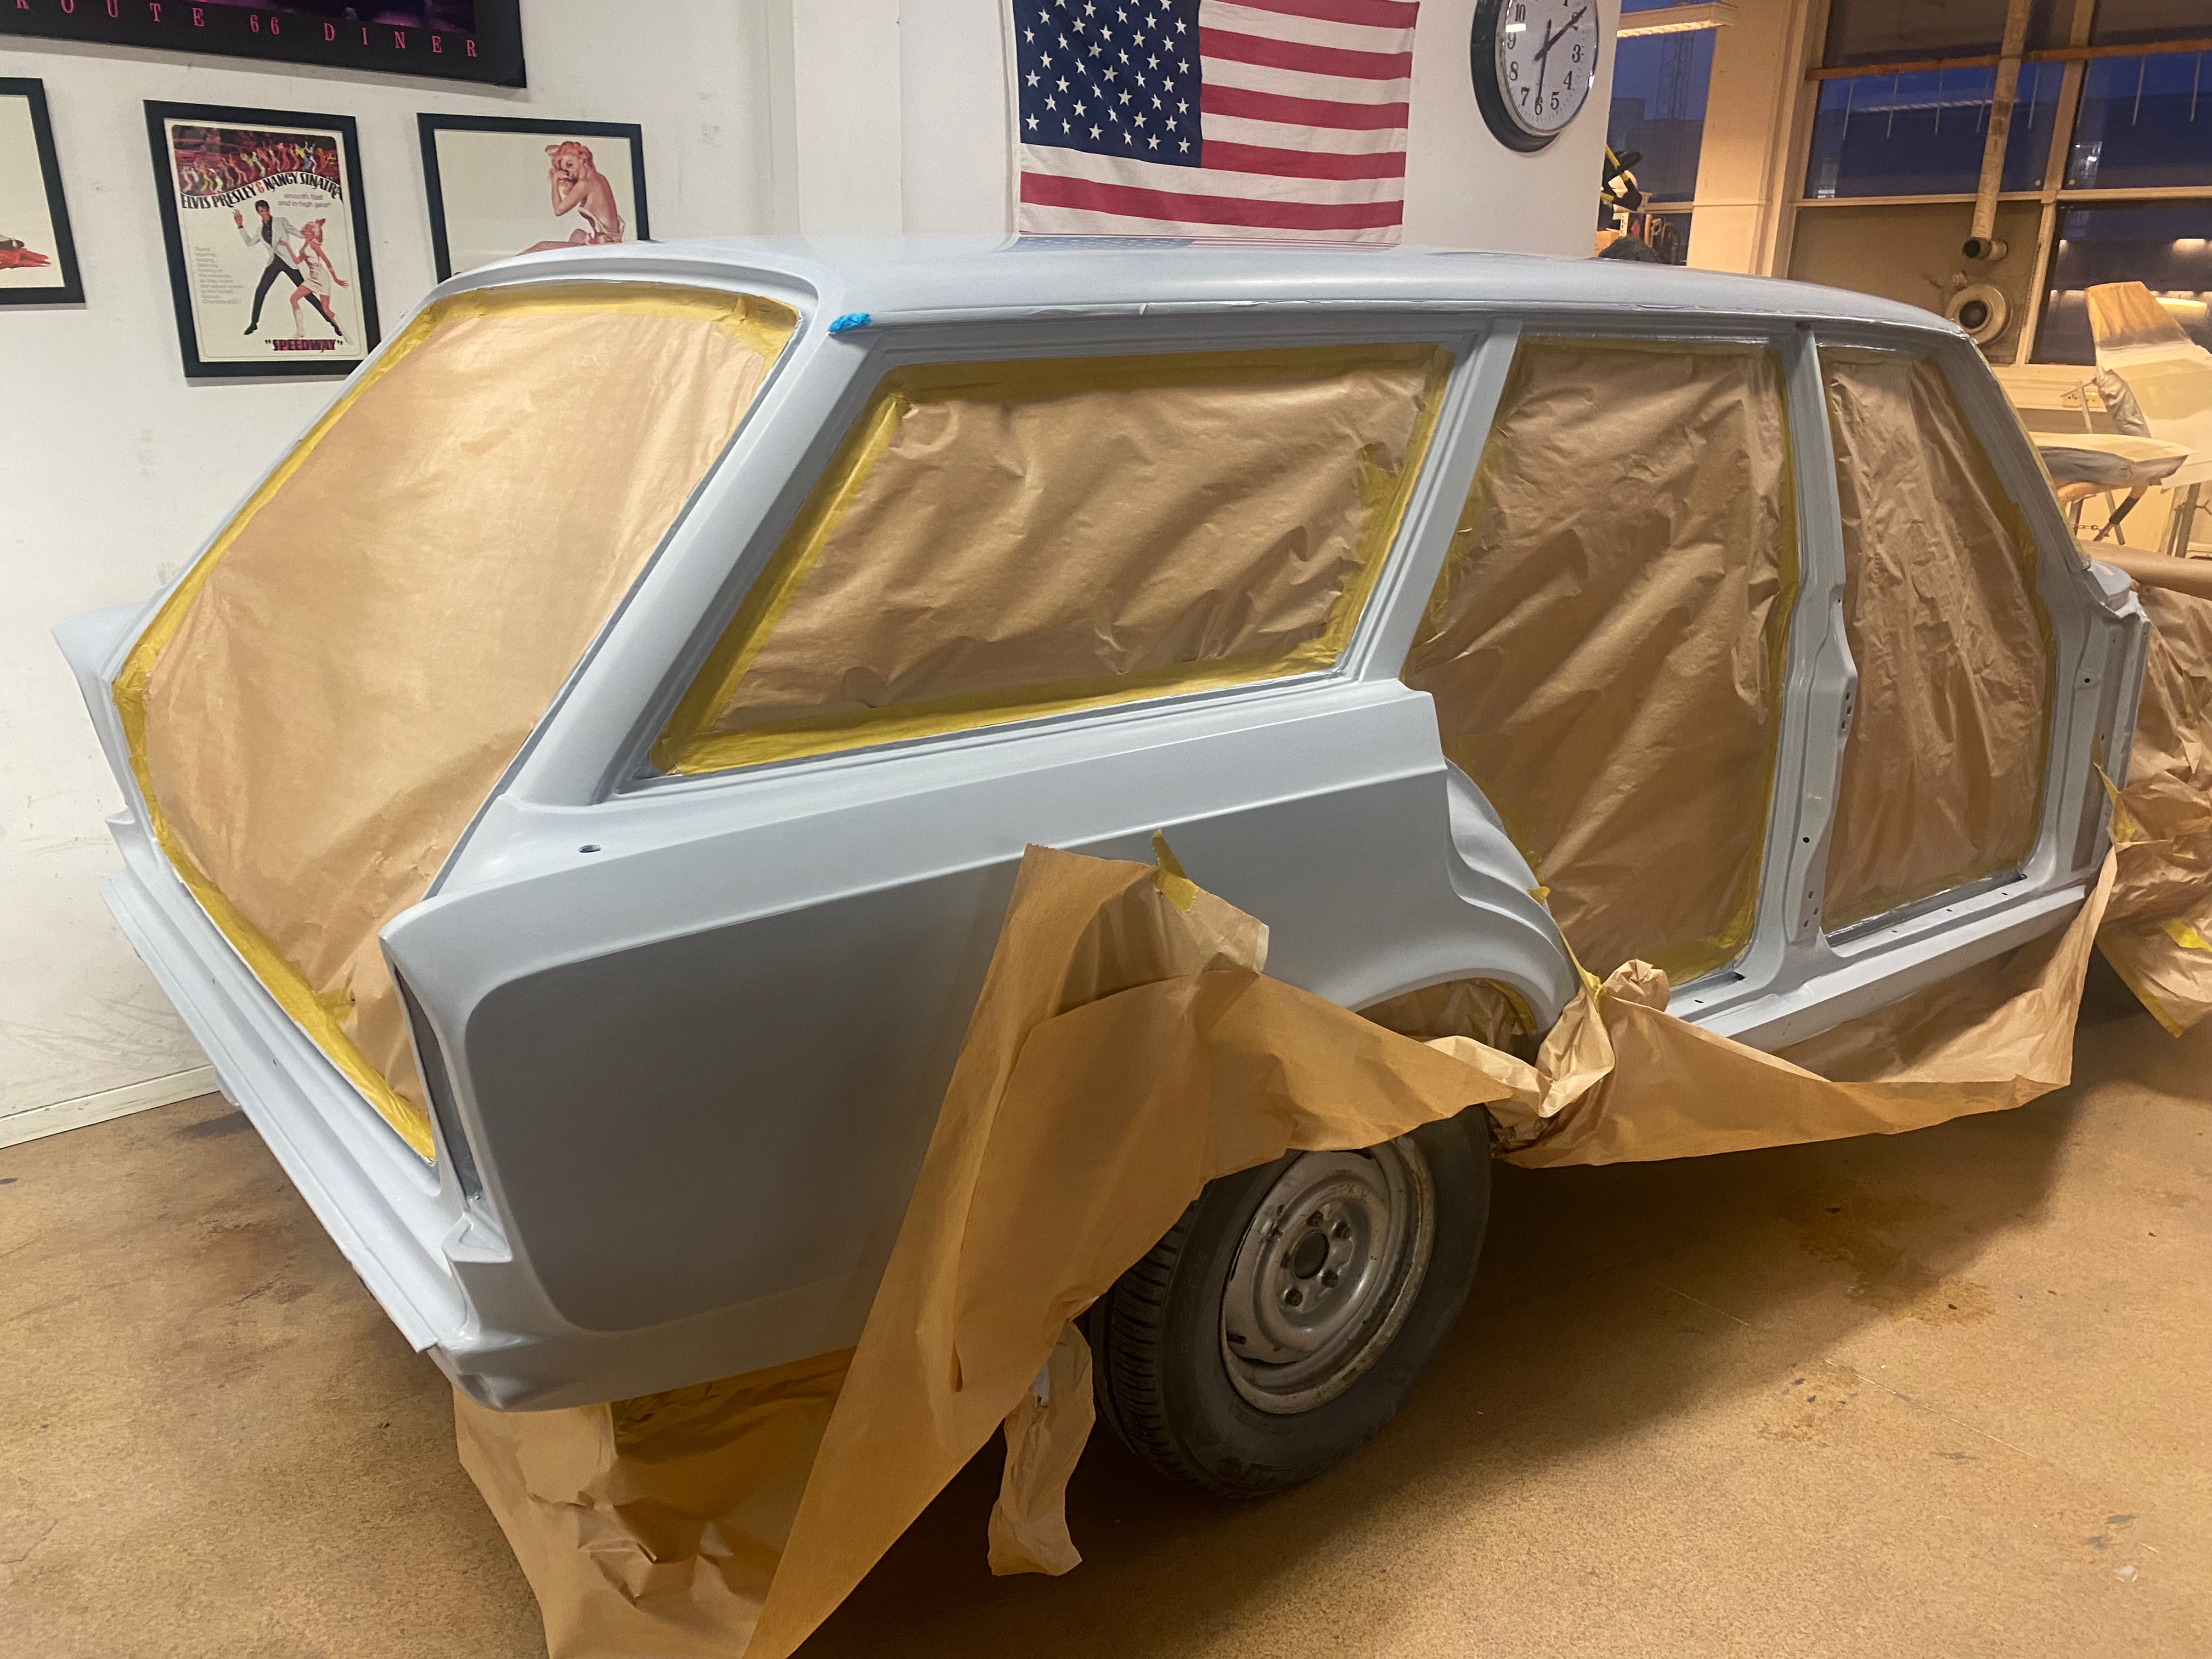
2024-10 Ready for paint
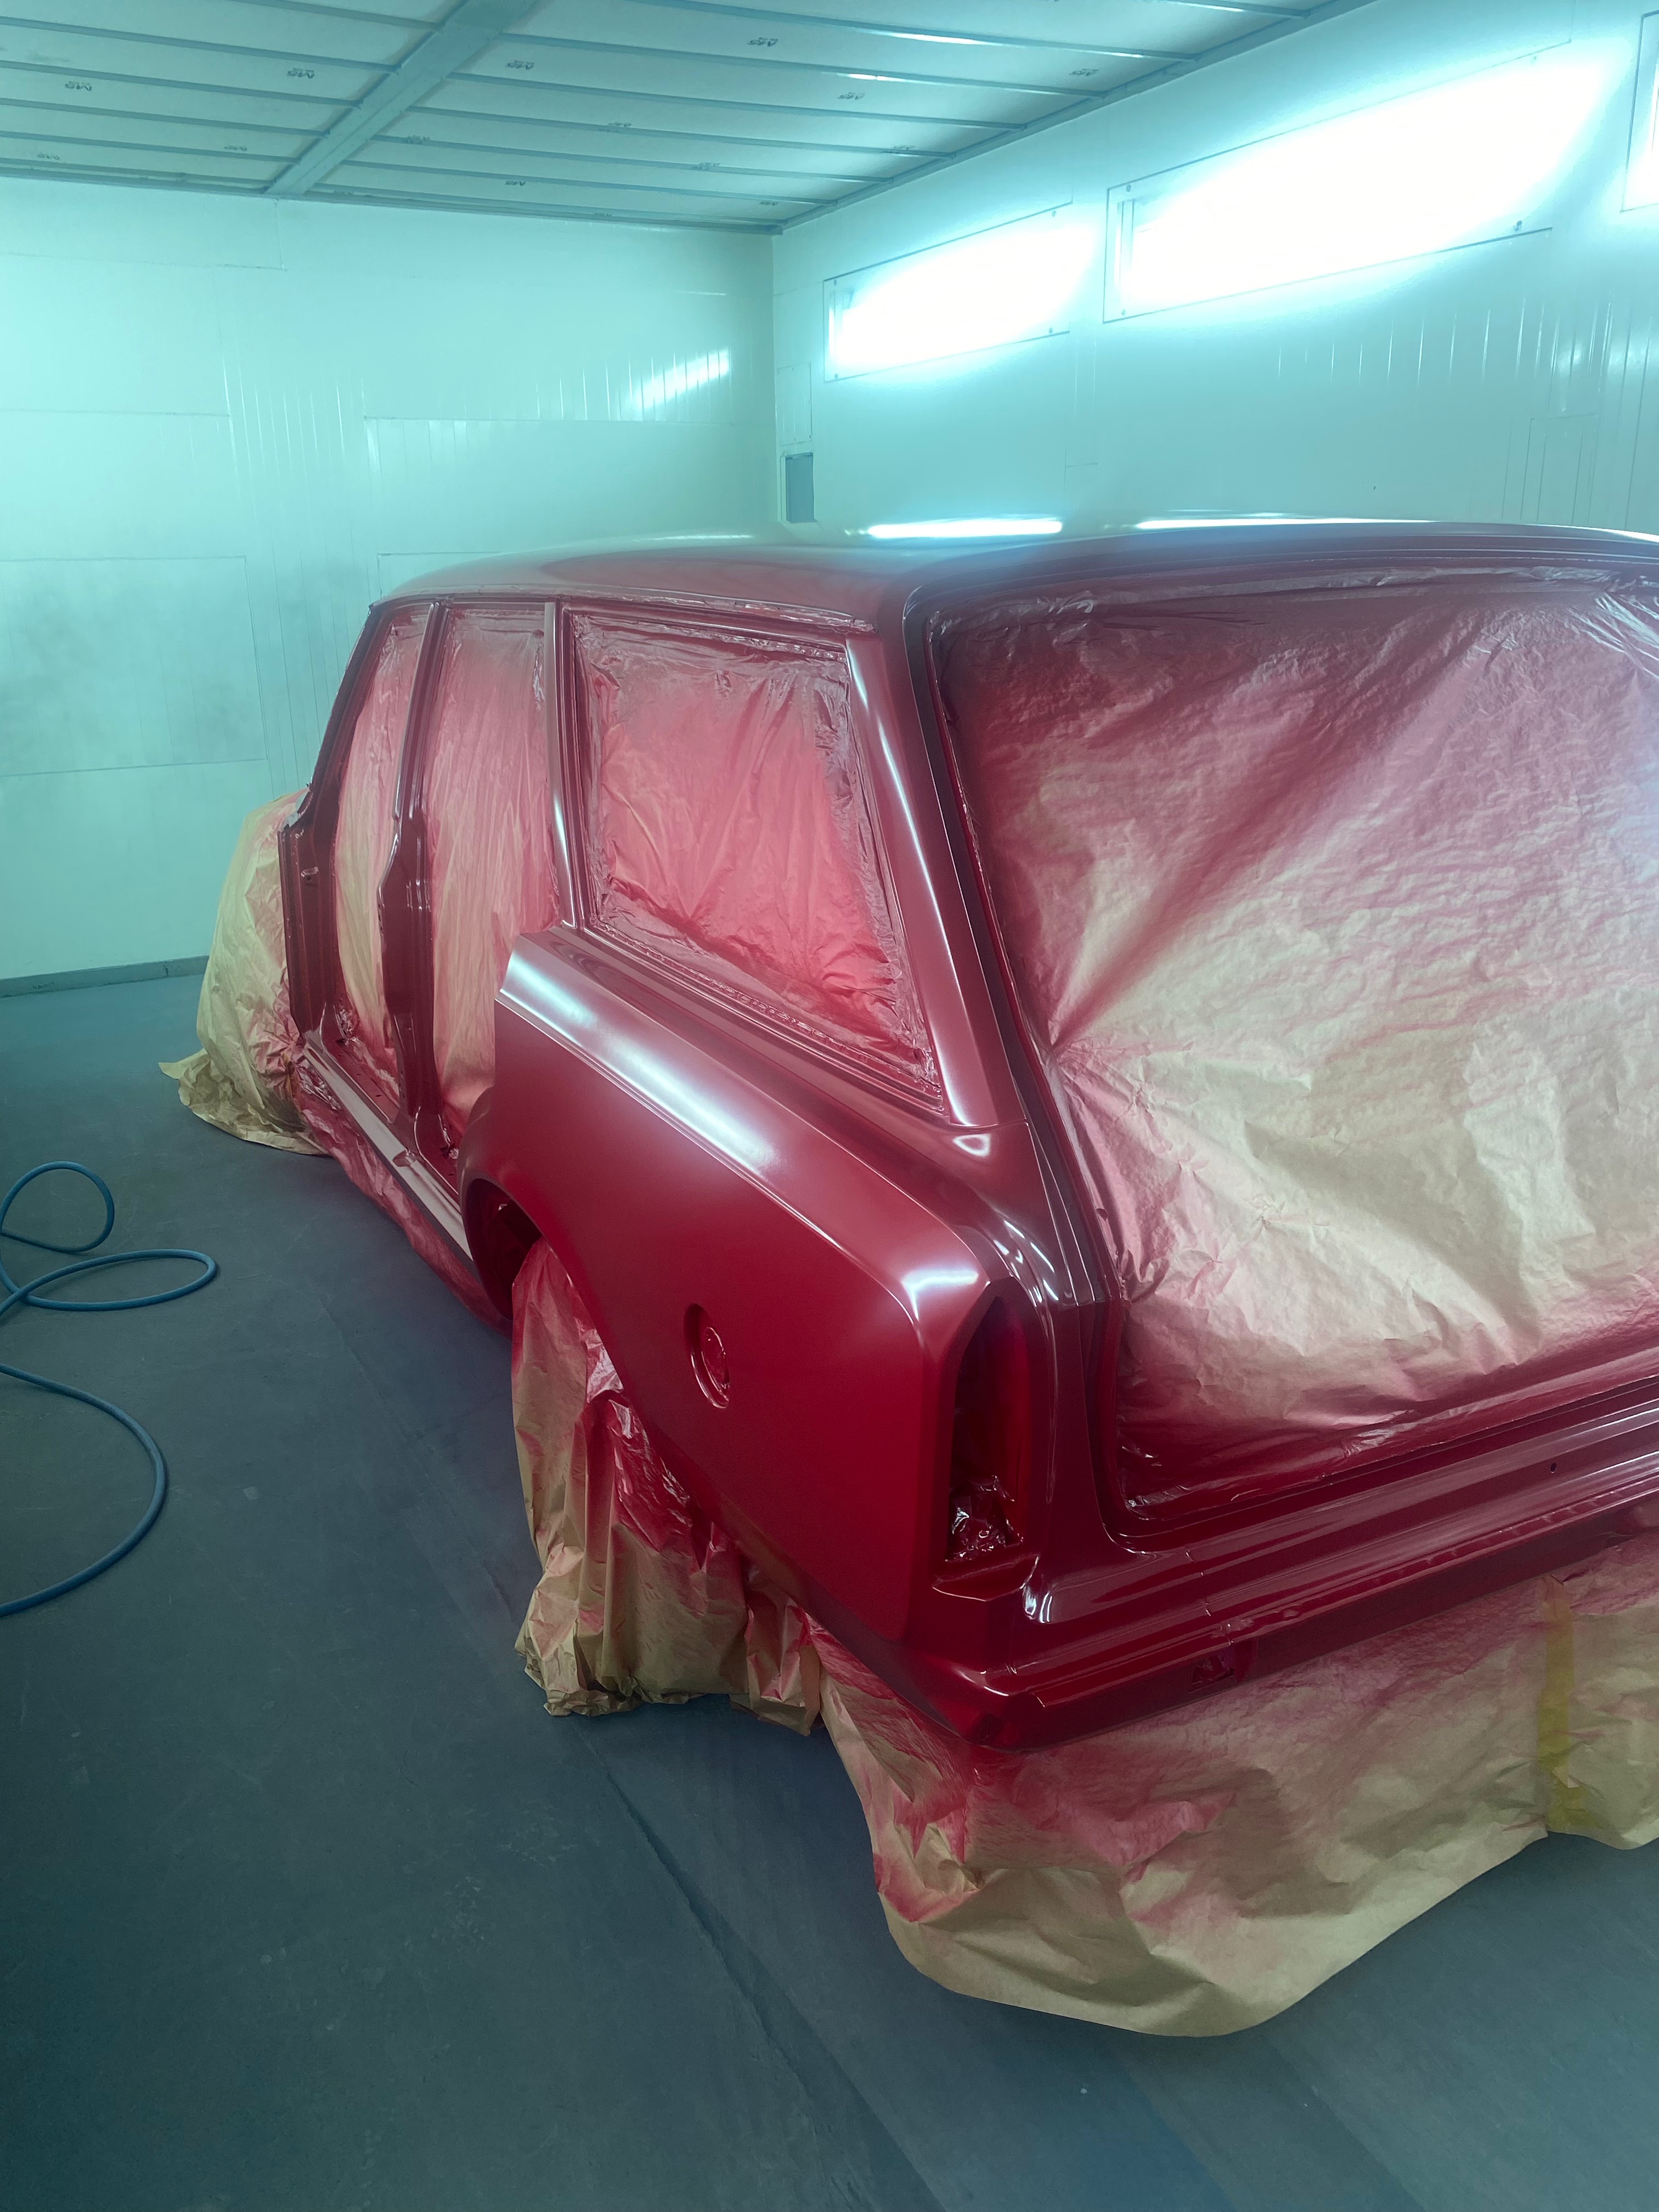
2024-10 Red and ready for the clearcoat
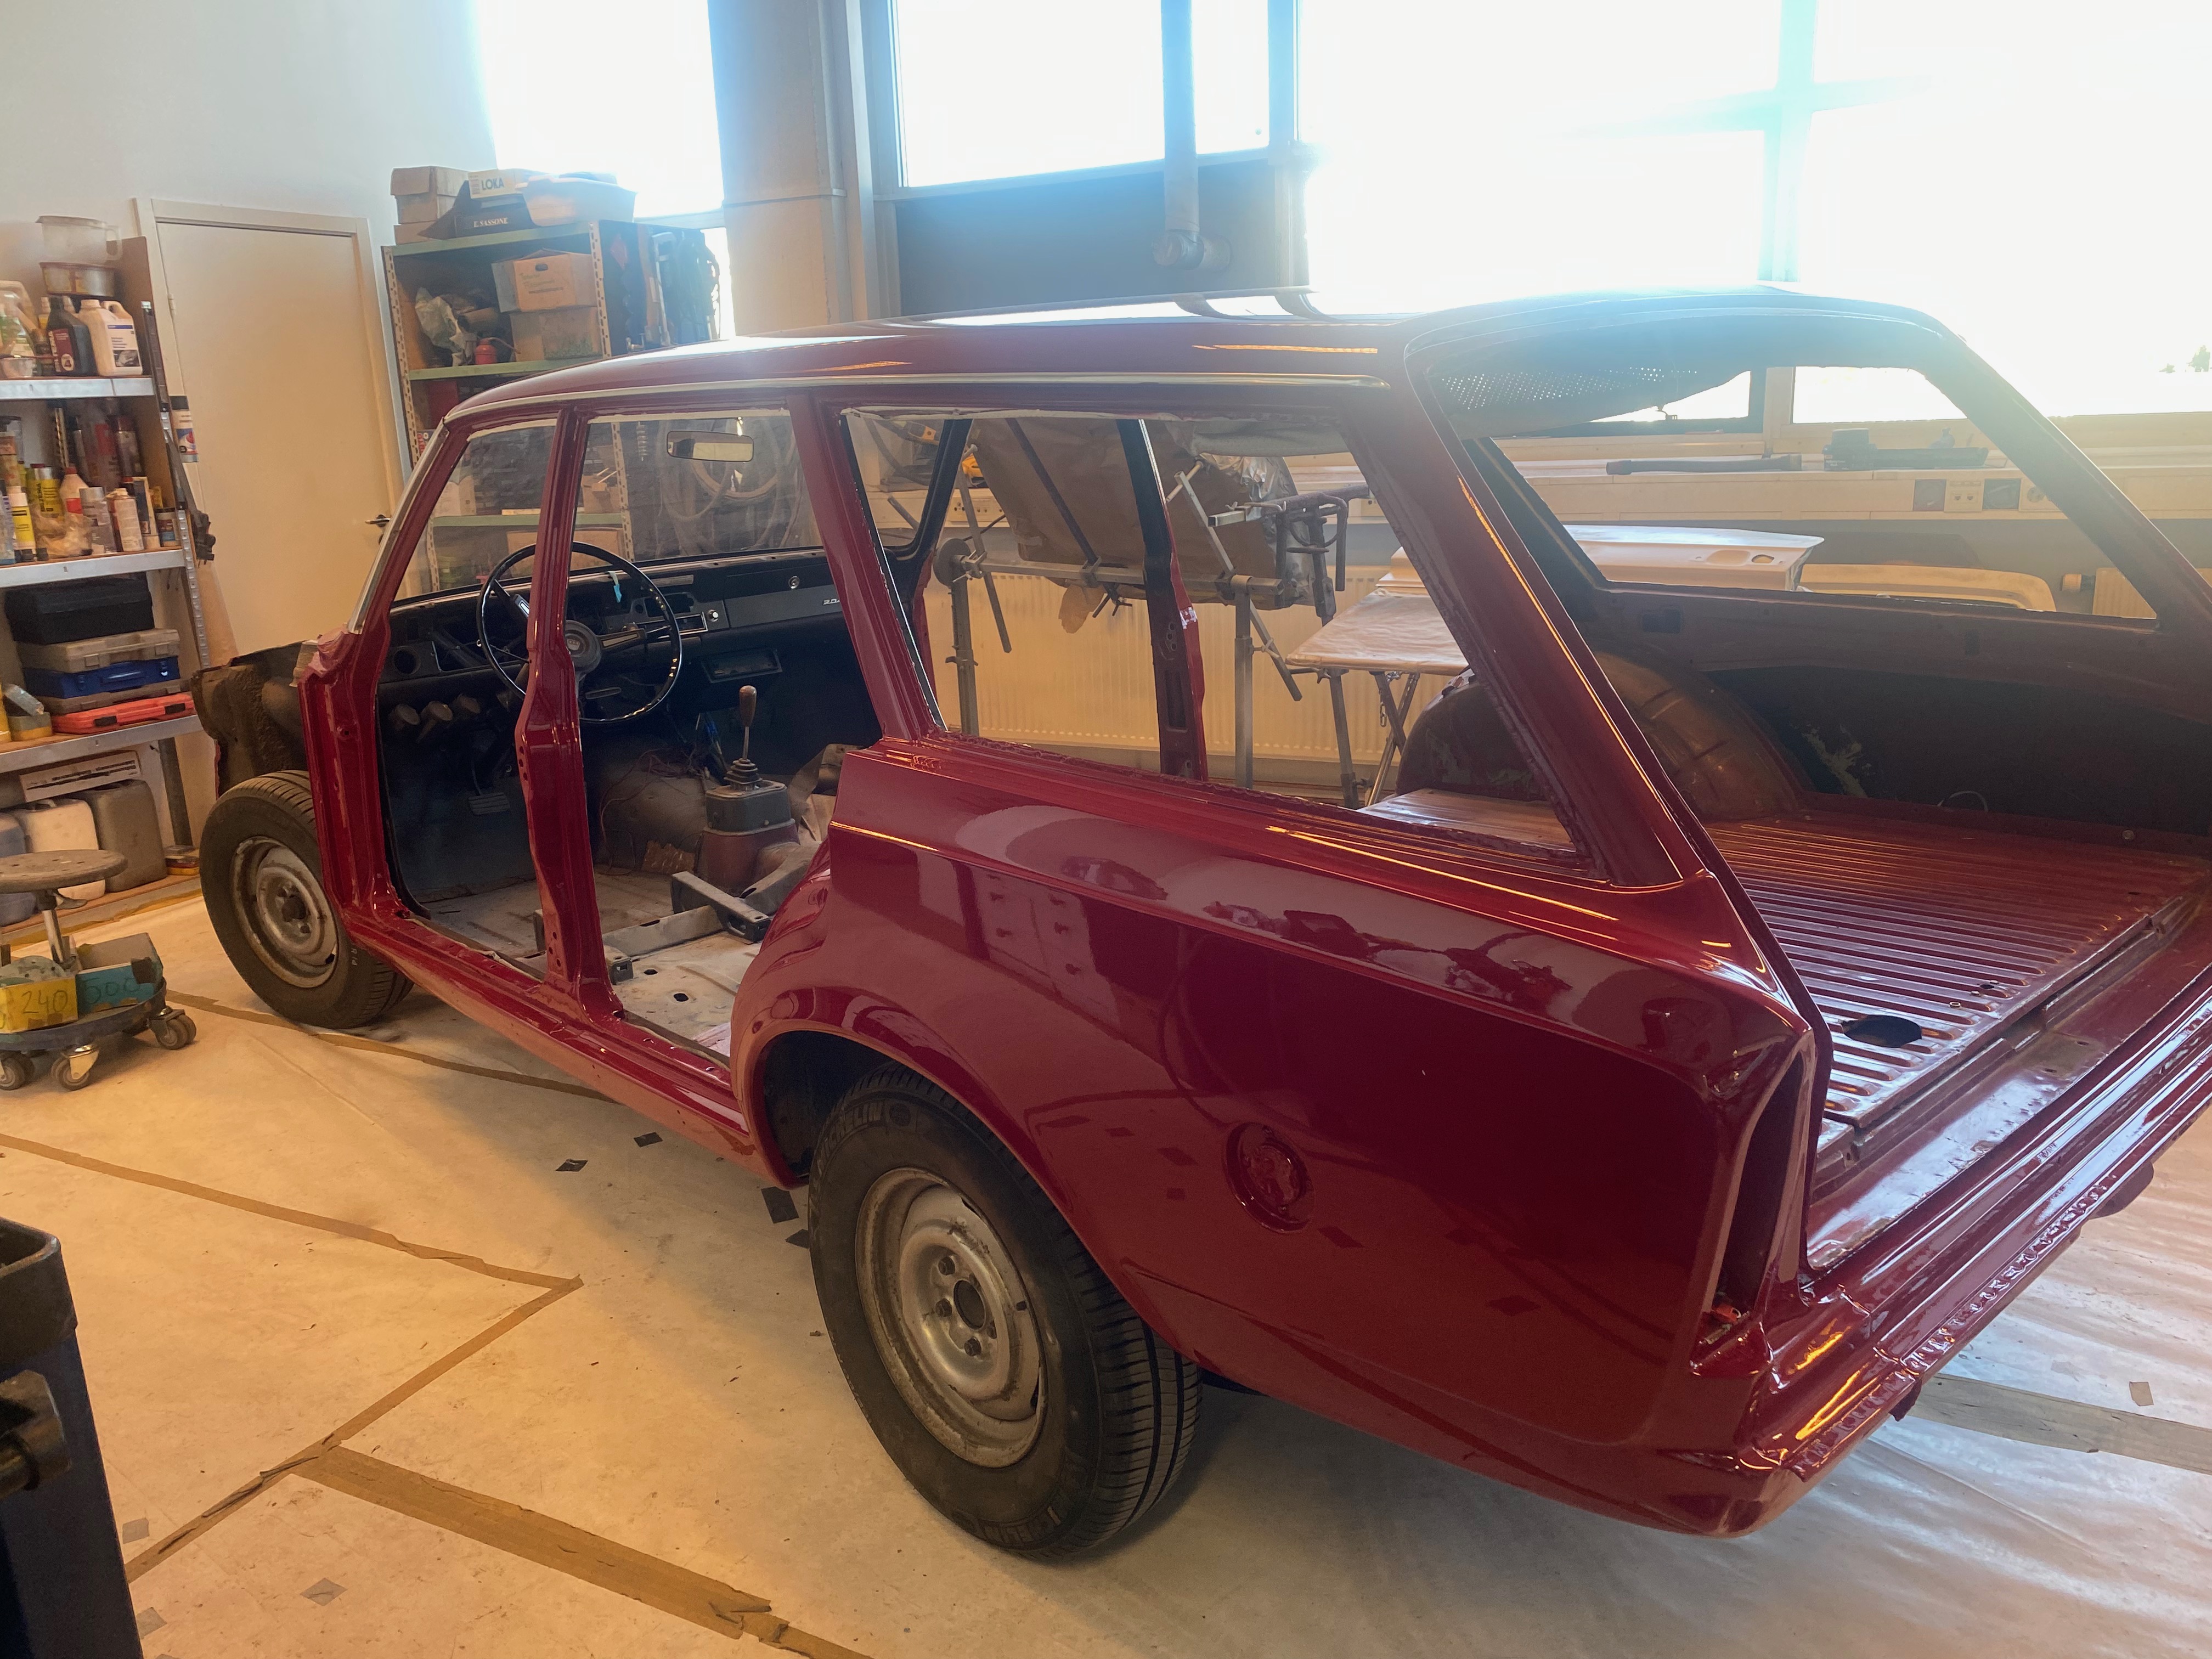
2024-10 Finally the chassies is painted ,looking nice!
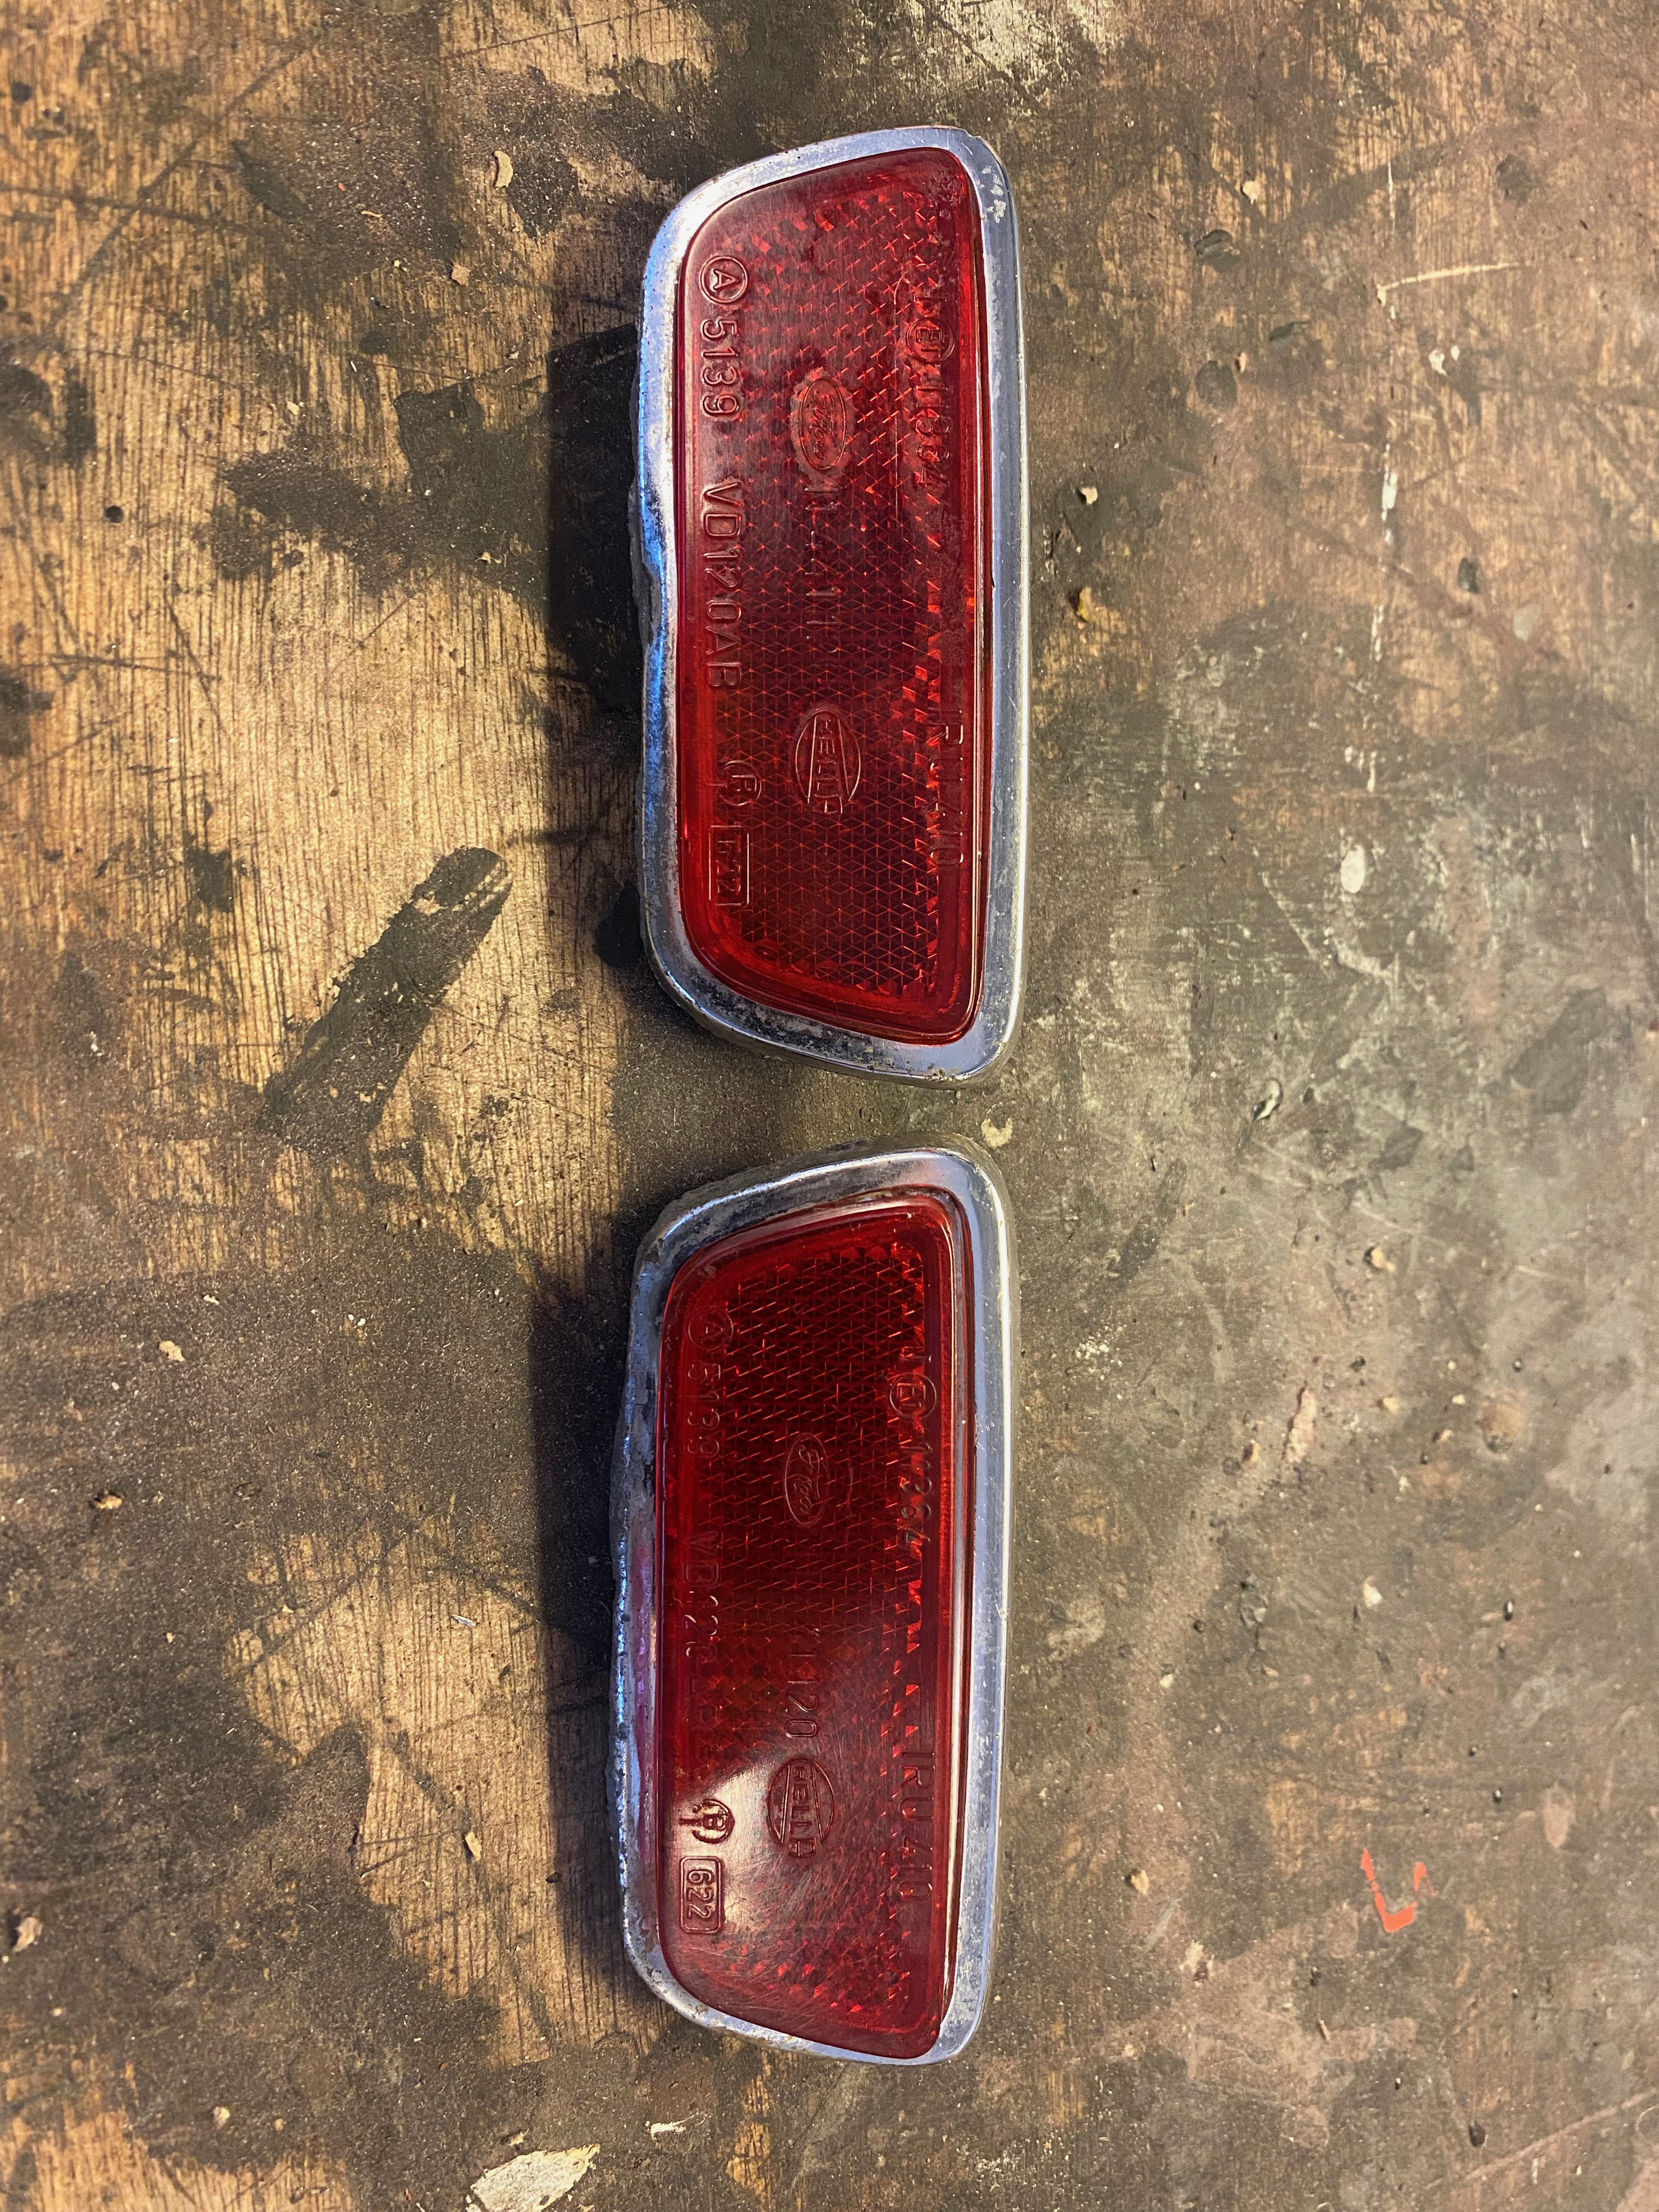
2024-12 Reflexes somewhat restored
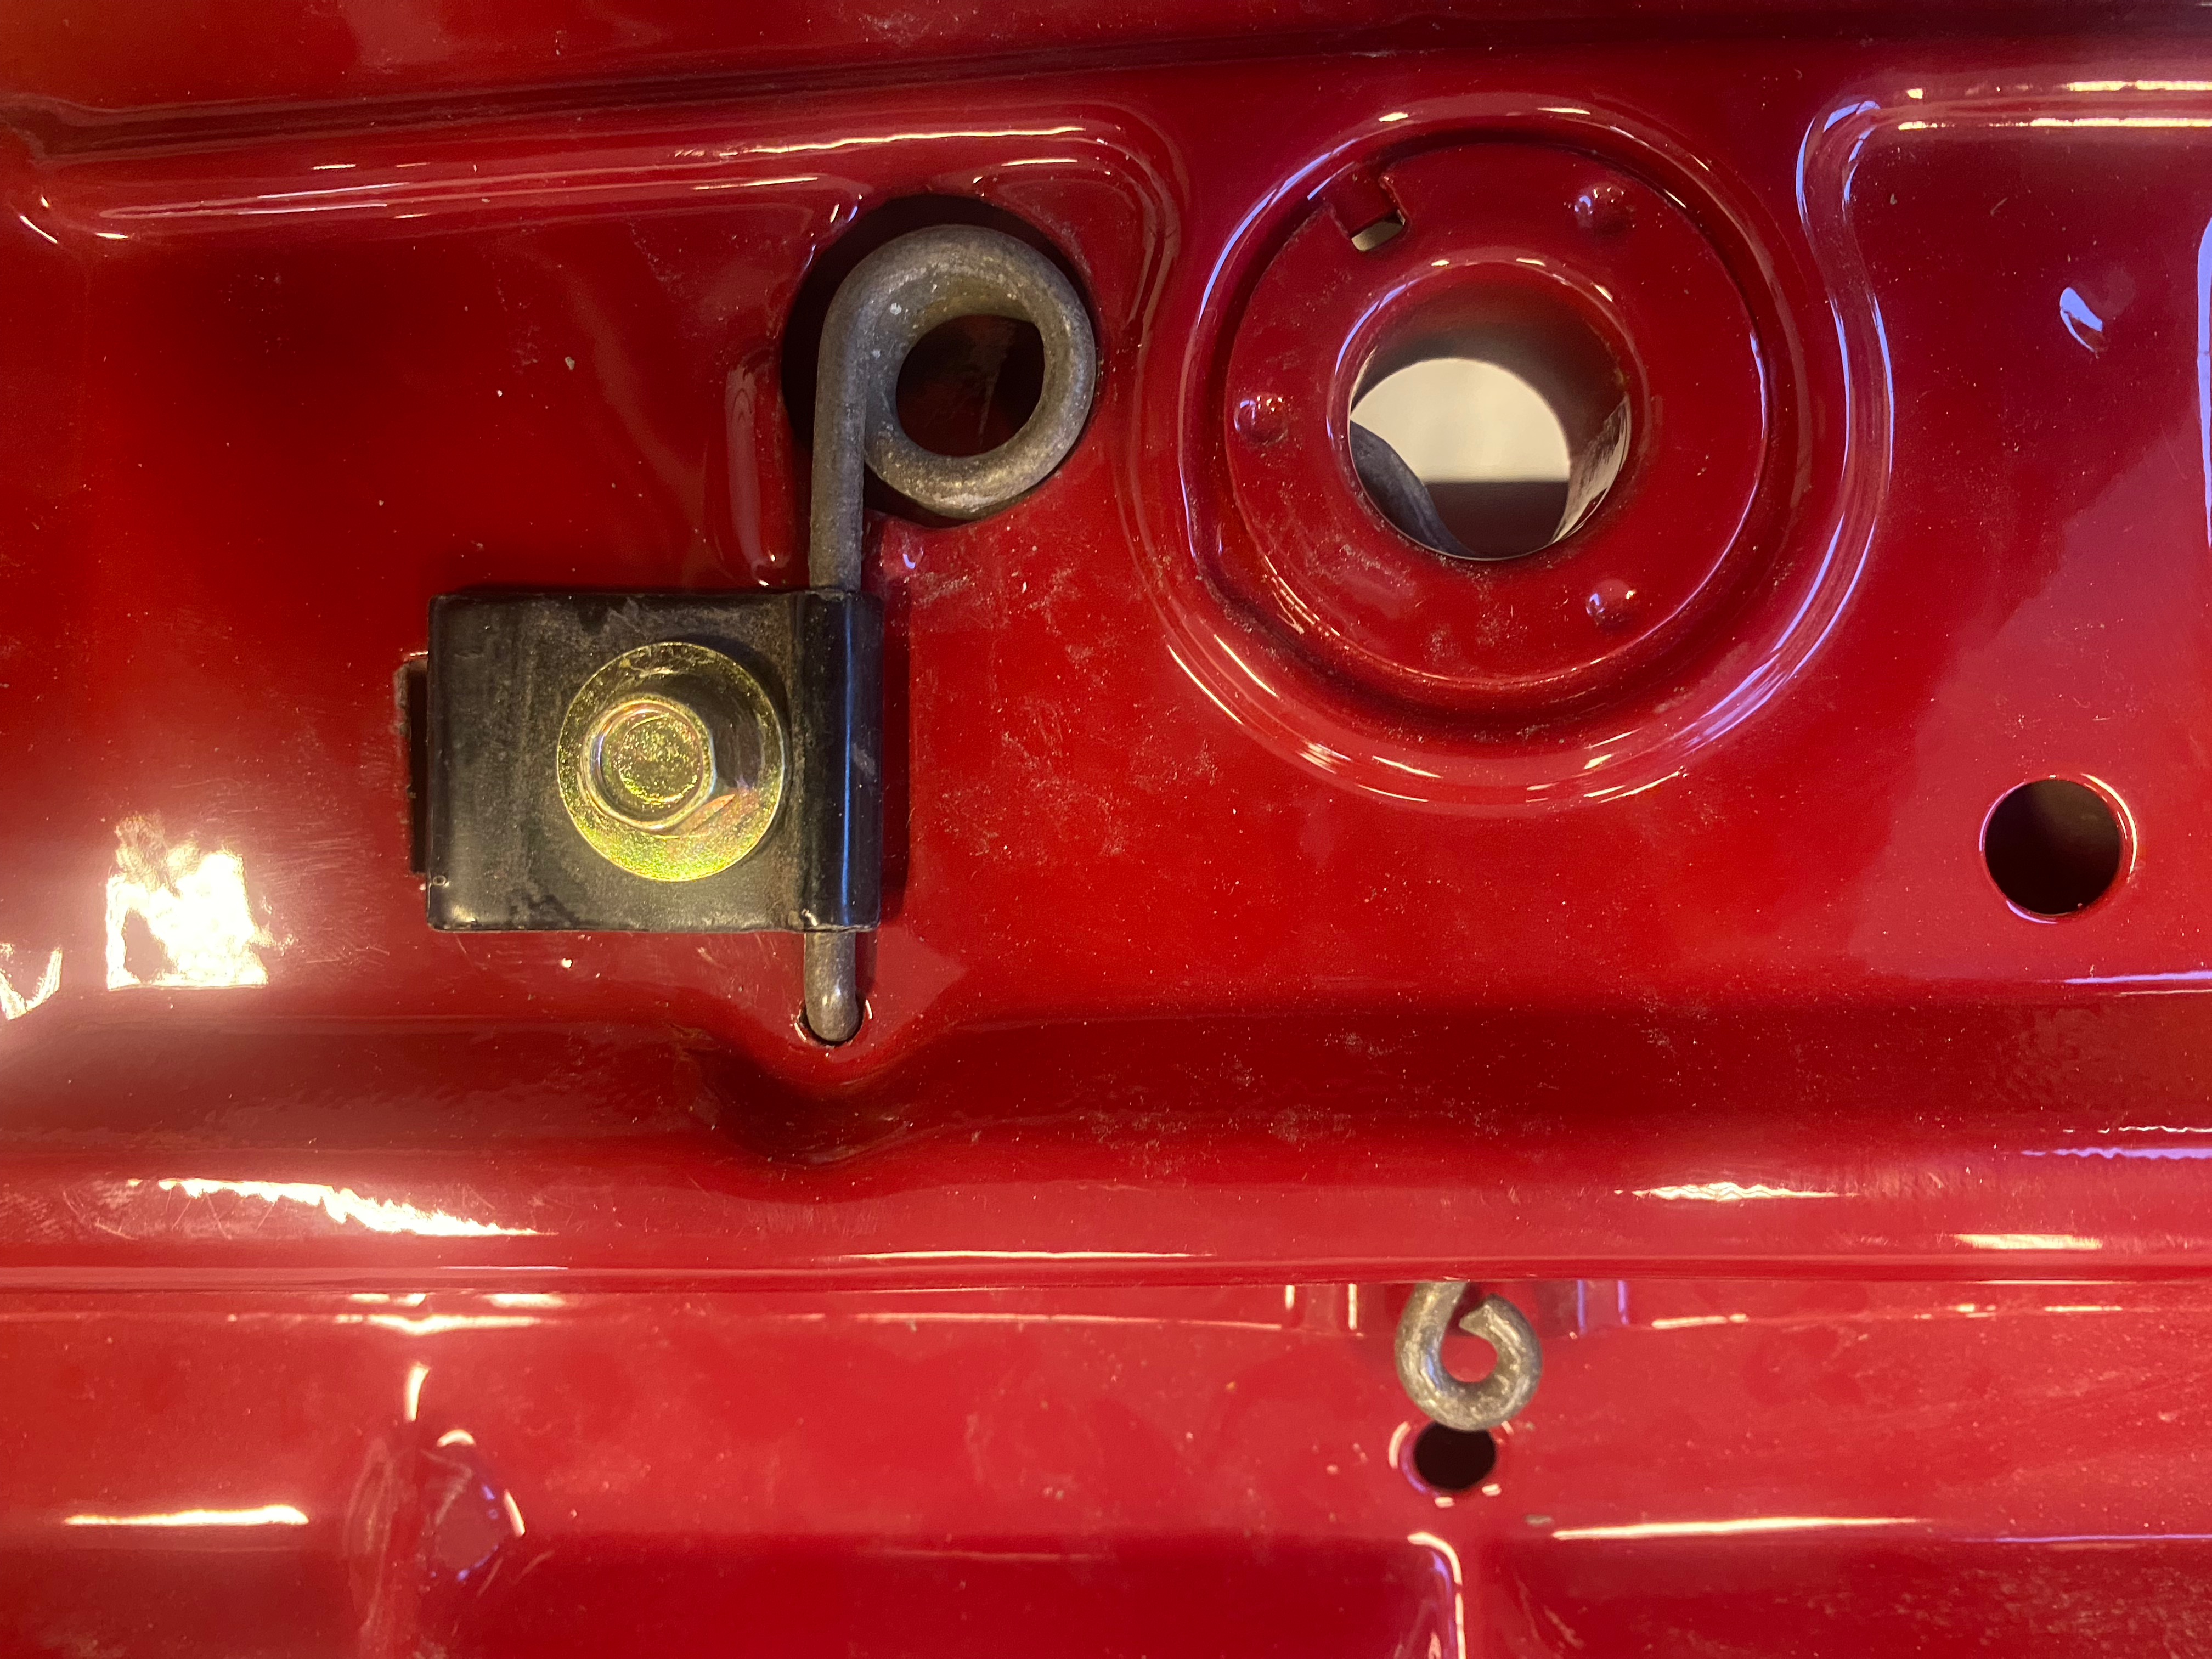
2025-01 Hood lock spring finally mounted
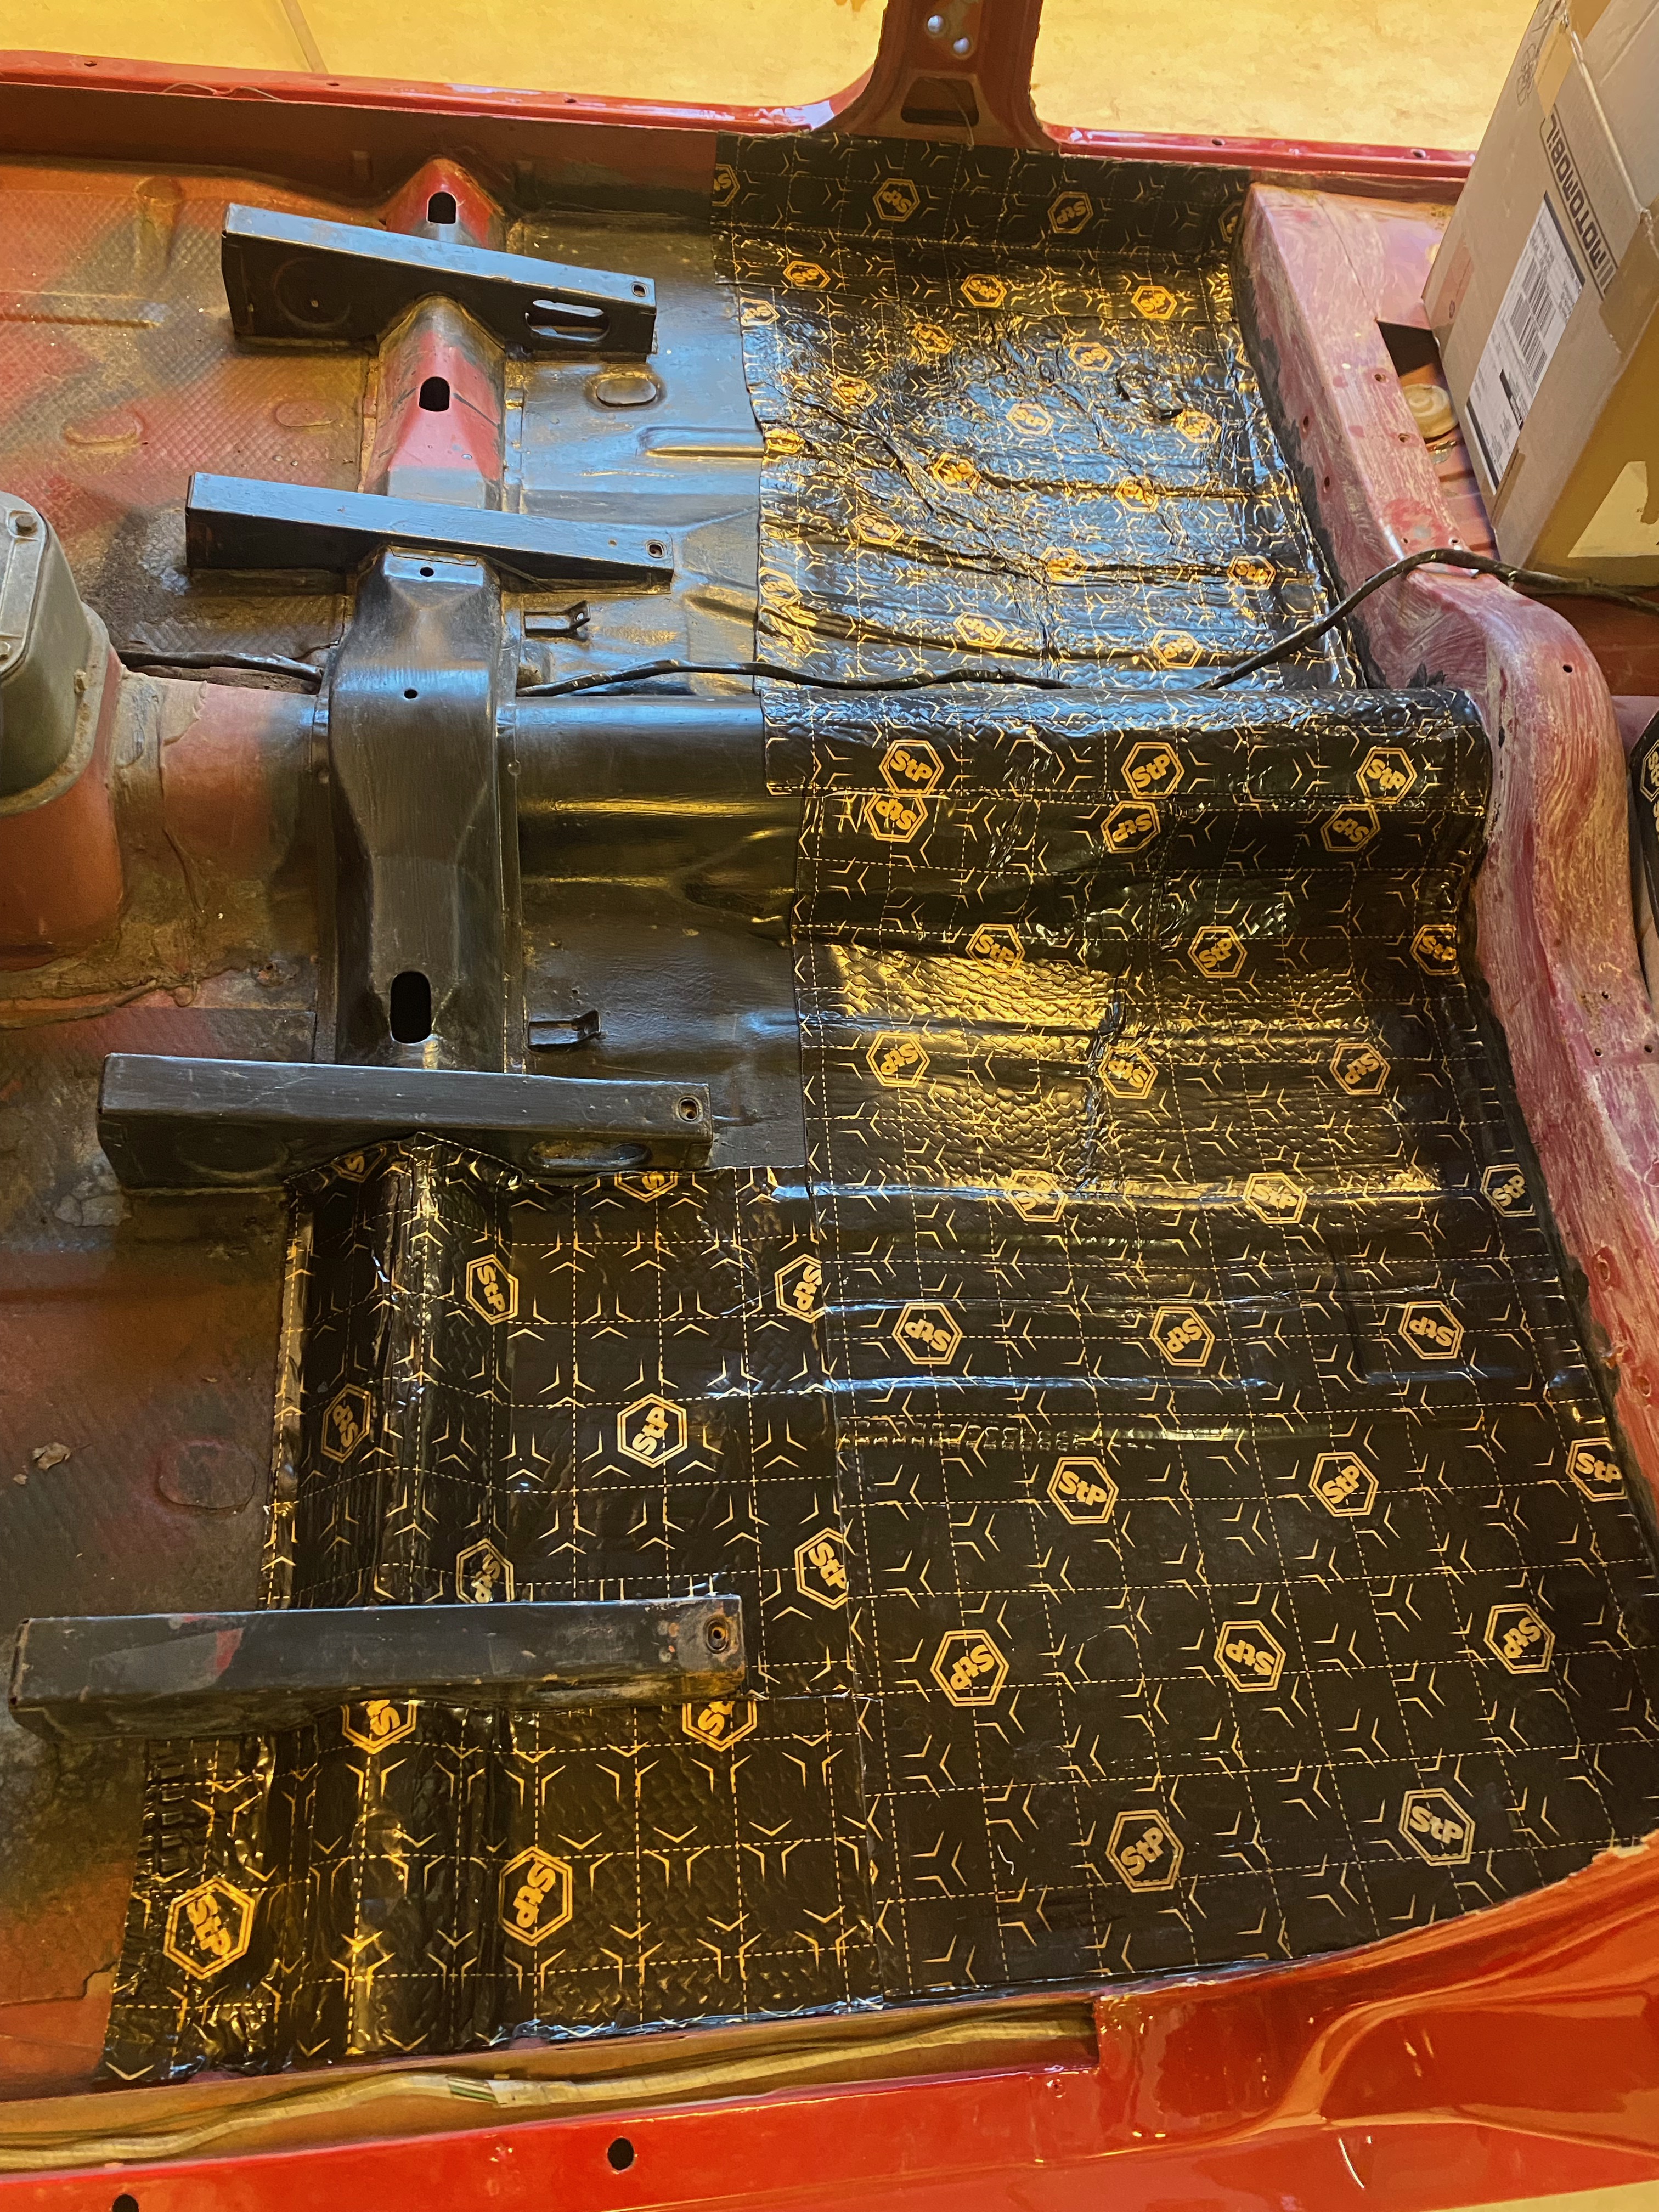
2025-01 Sound and vibration insulation
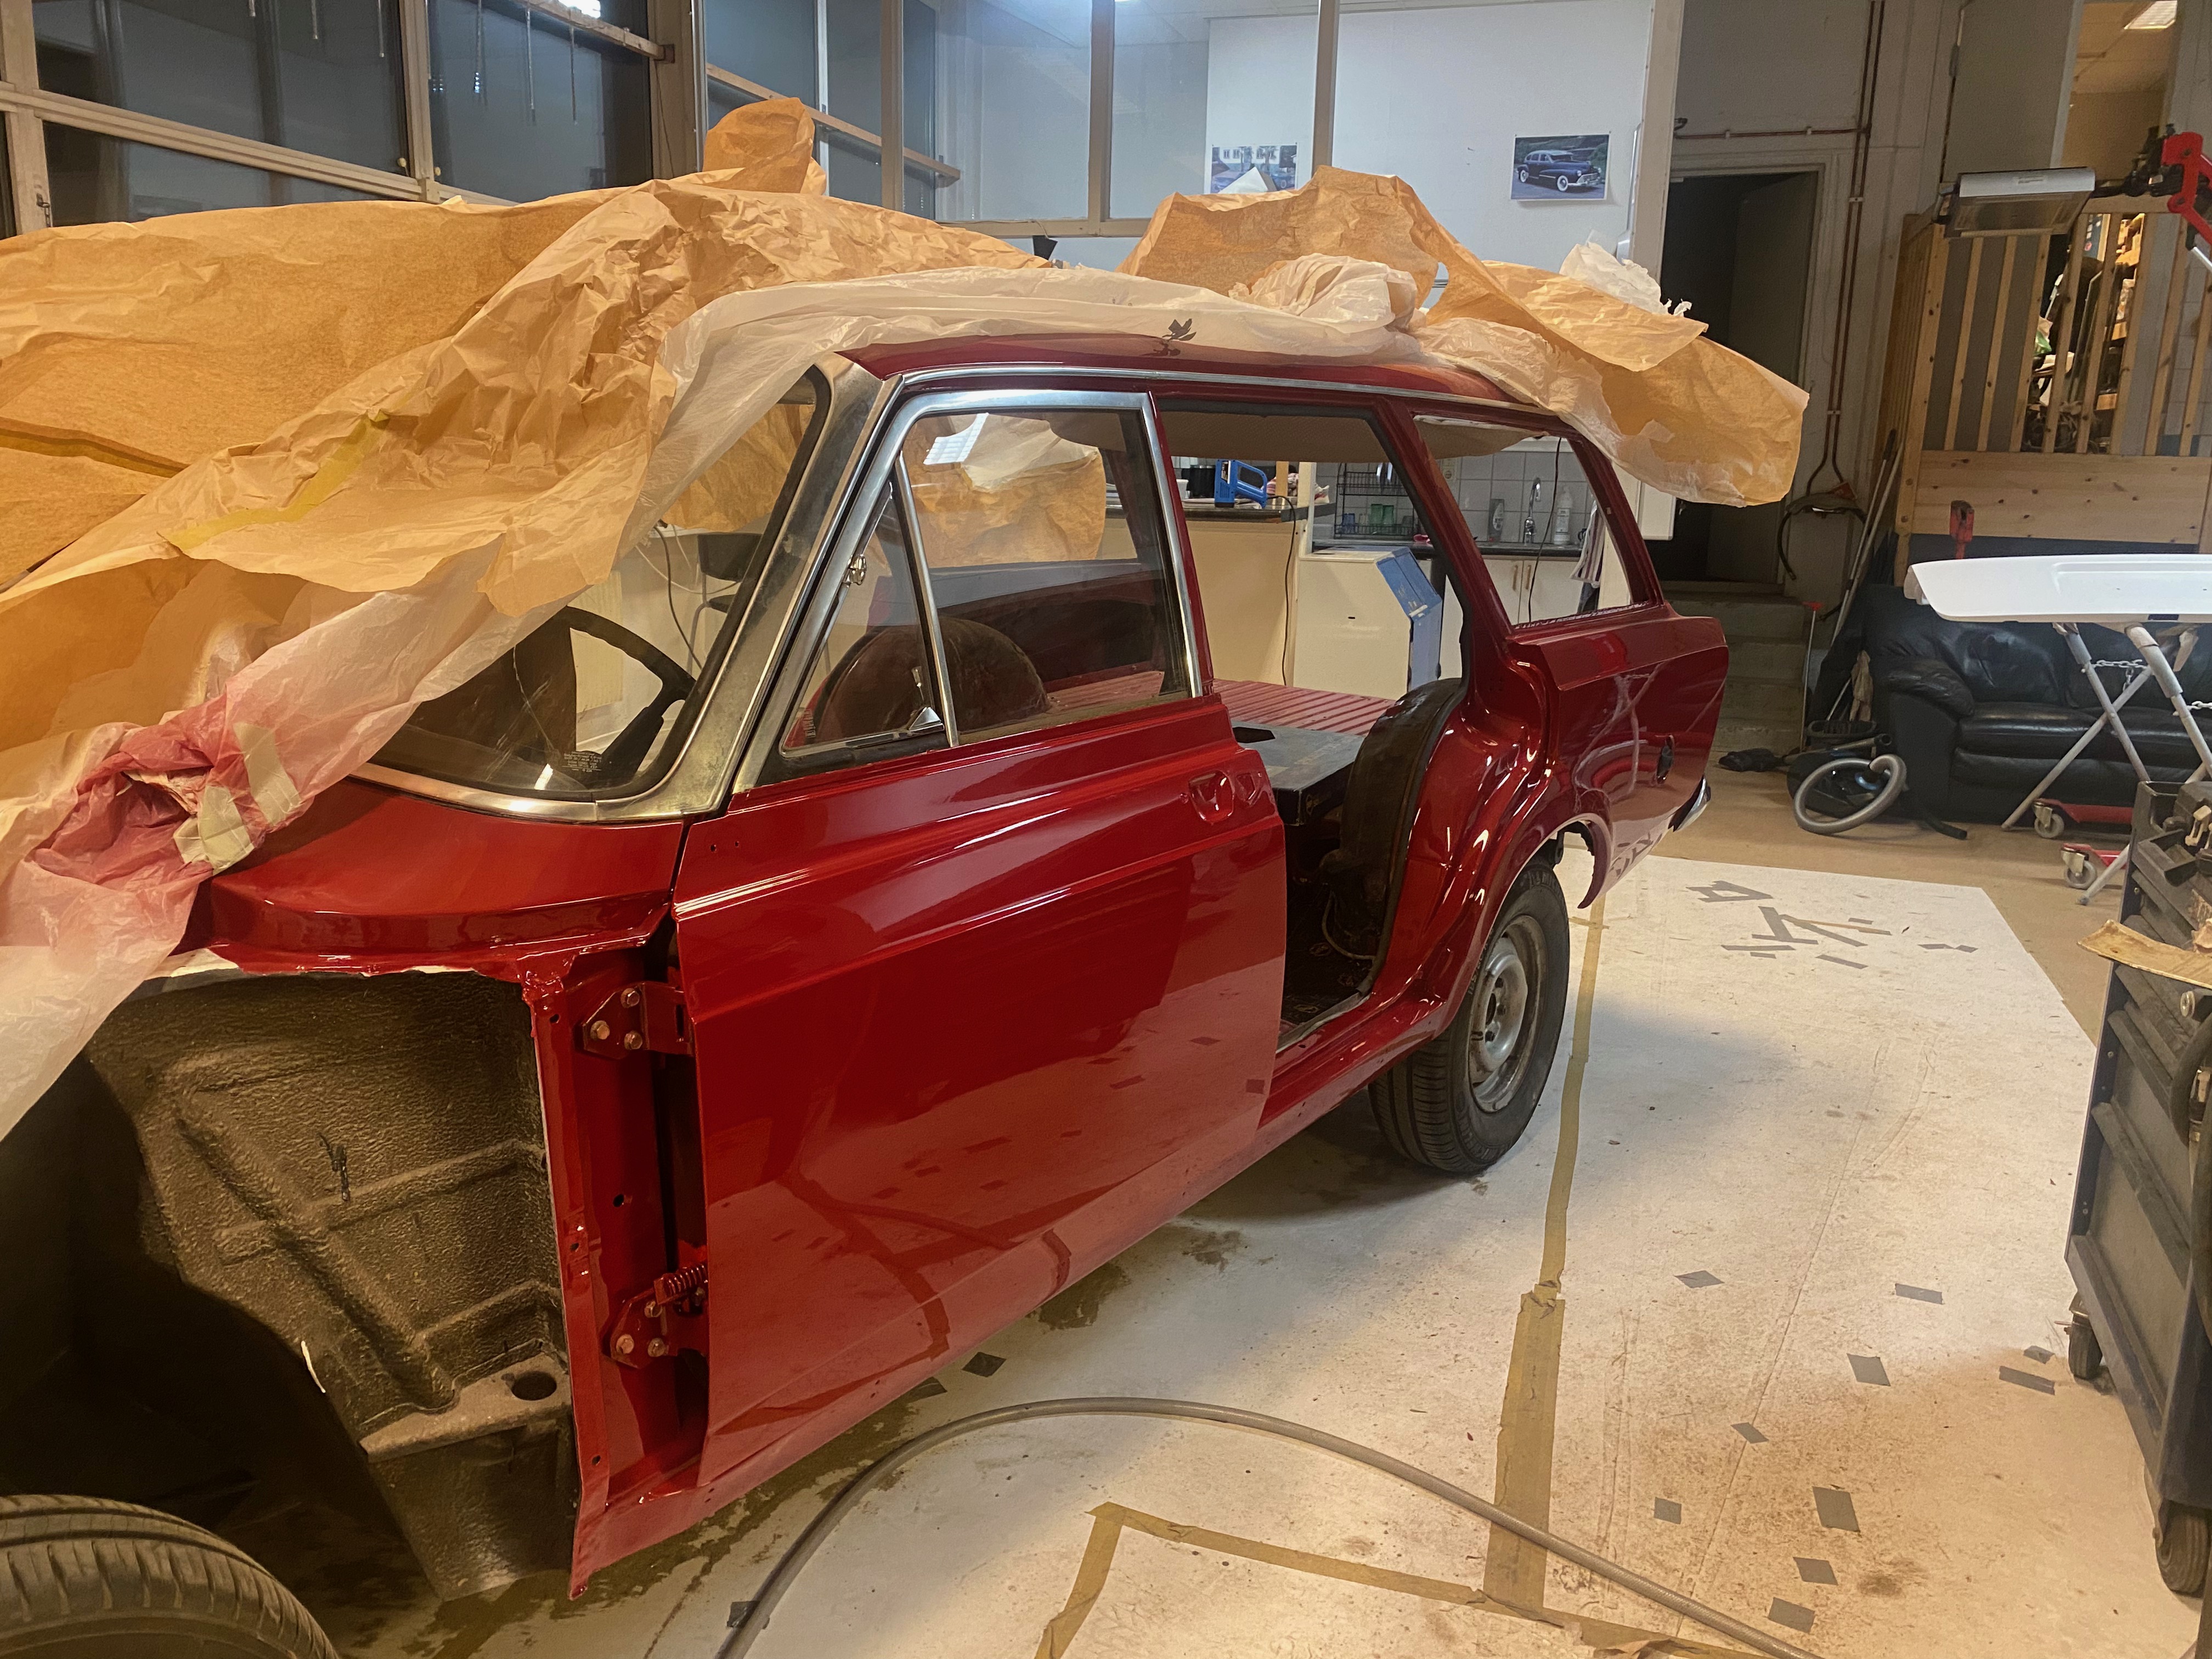
2025-01 Front doors mounted
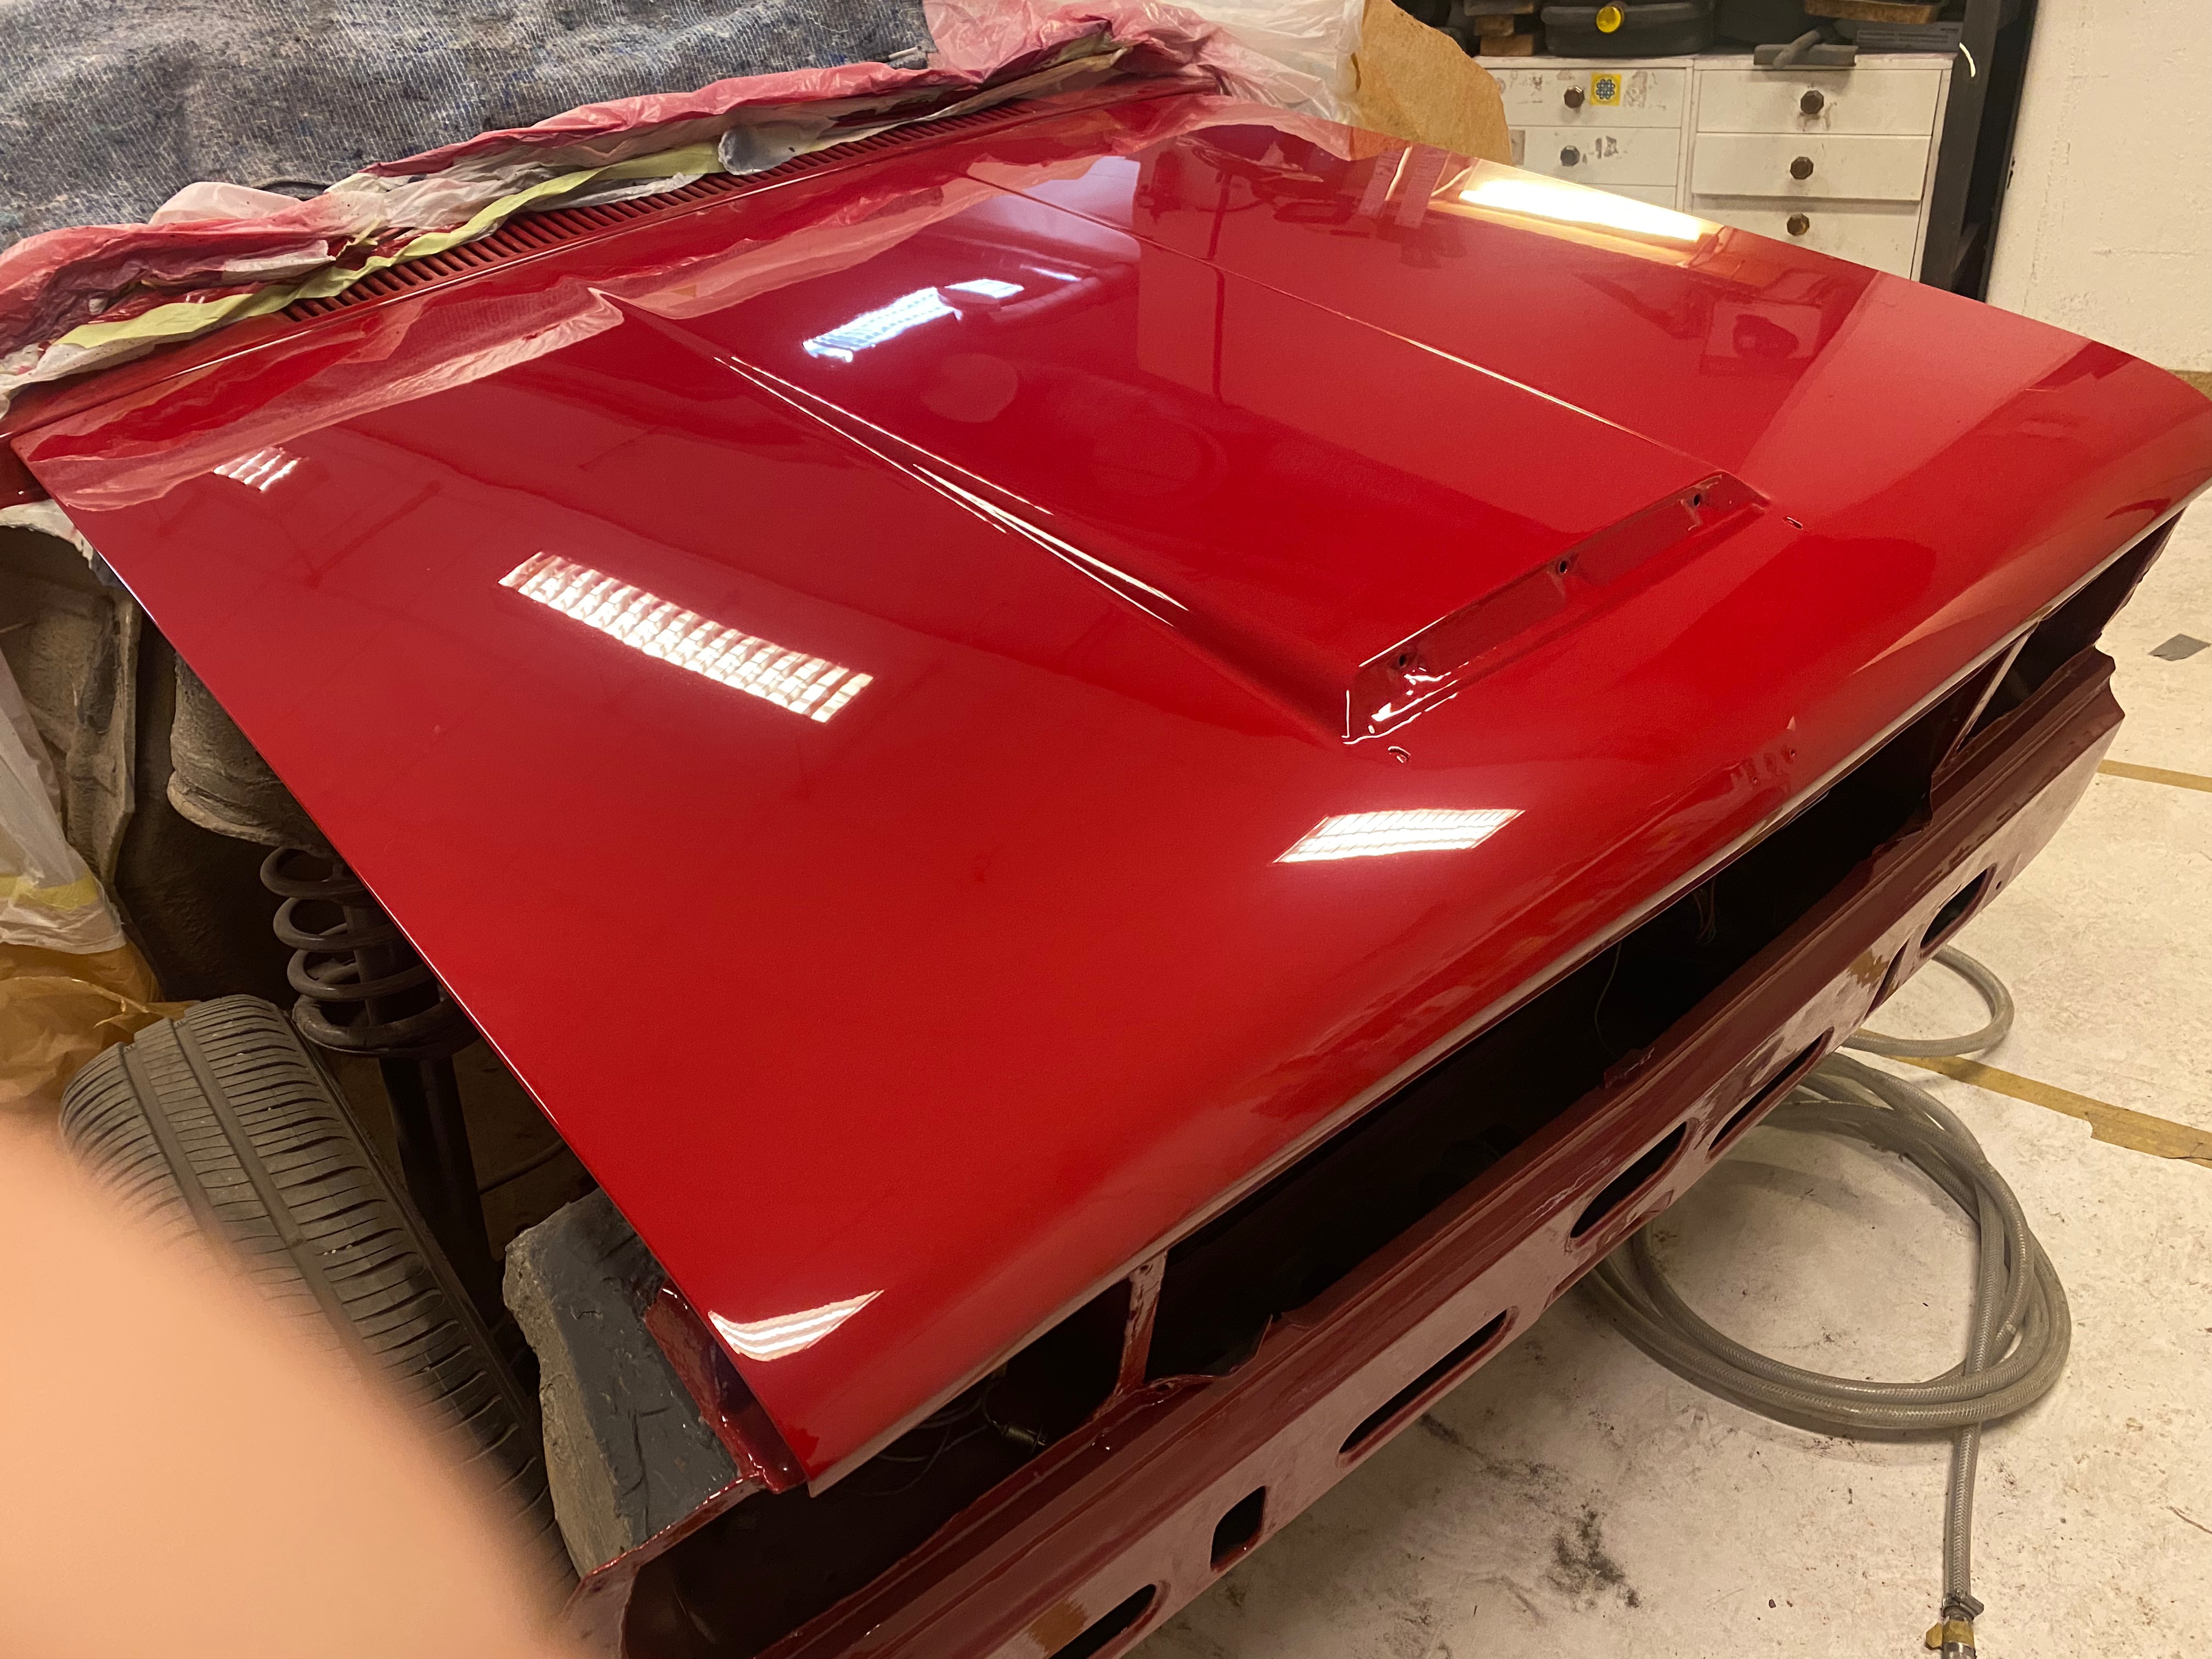
2025-01 Hood mounted
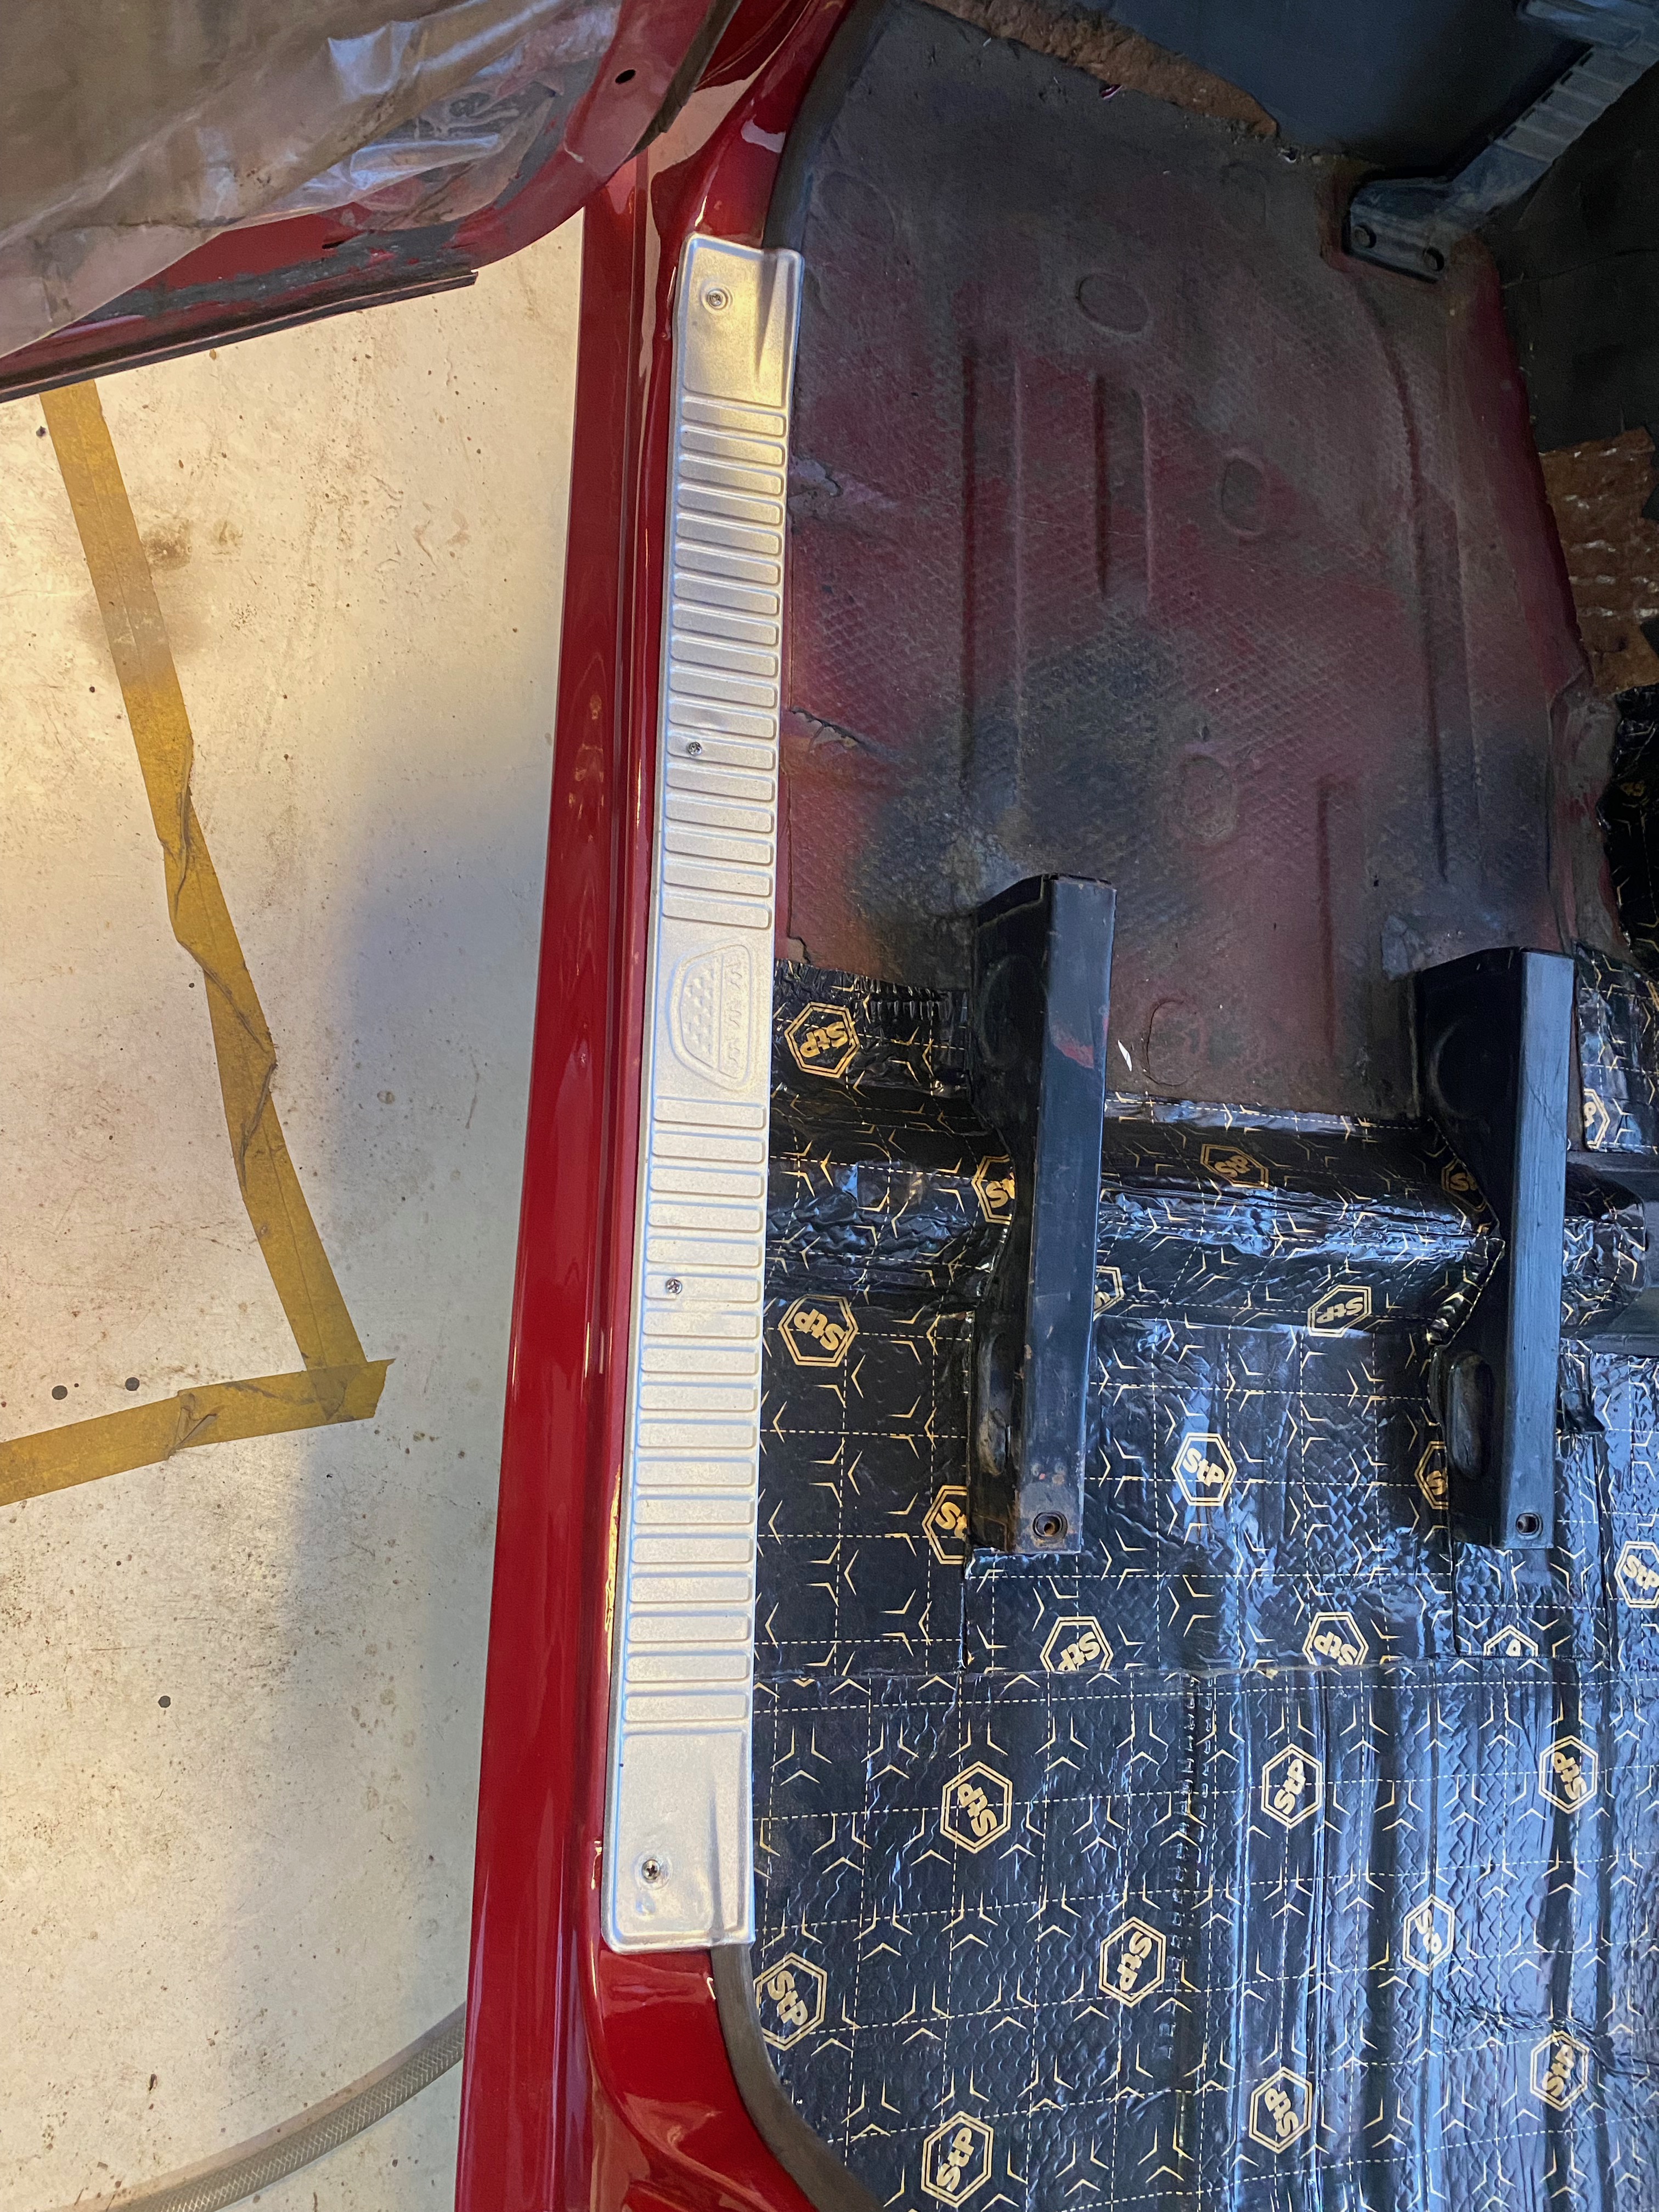
2025-01 Some more insulation
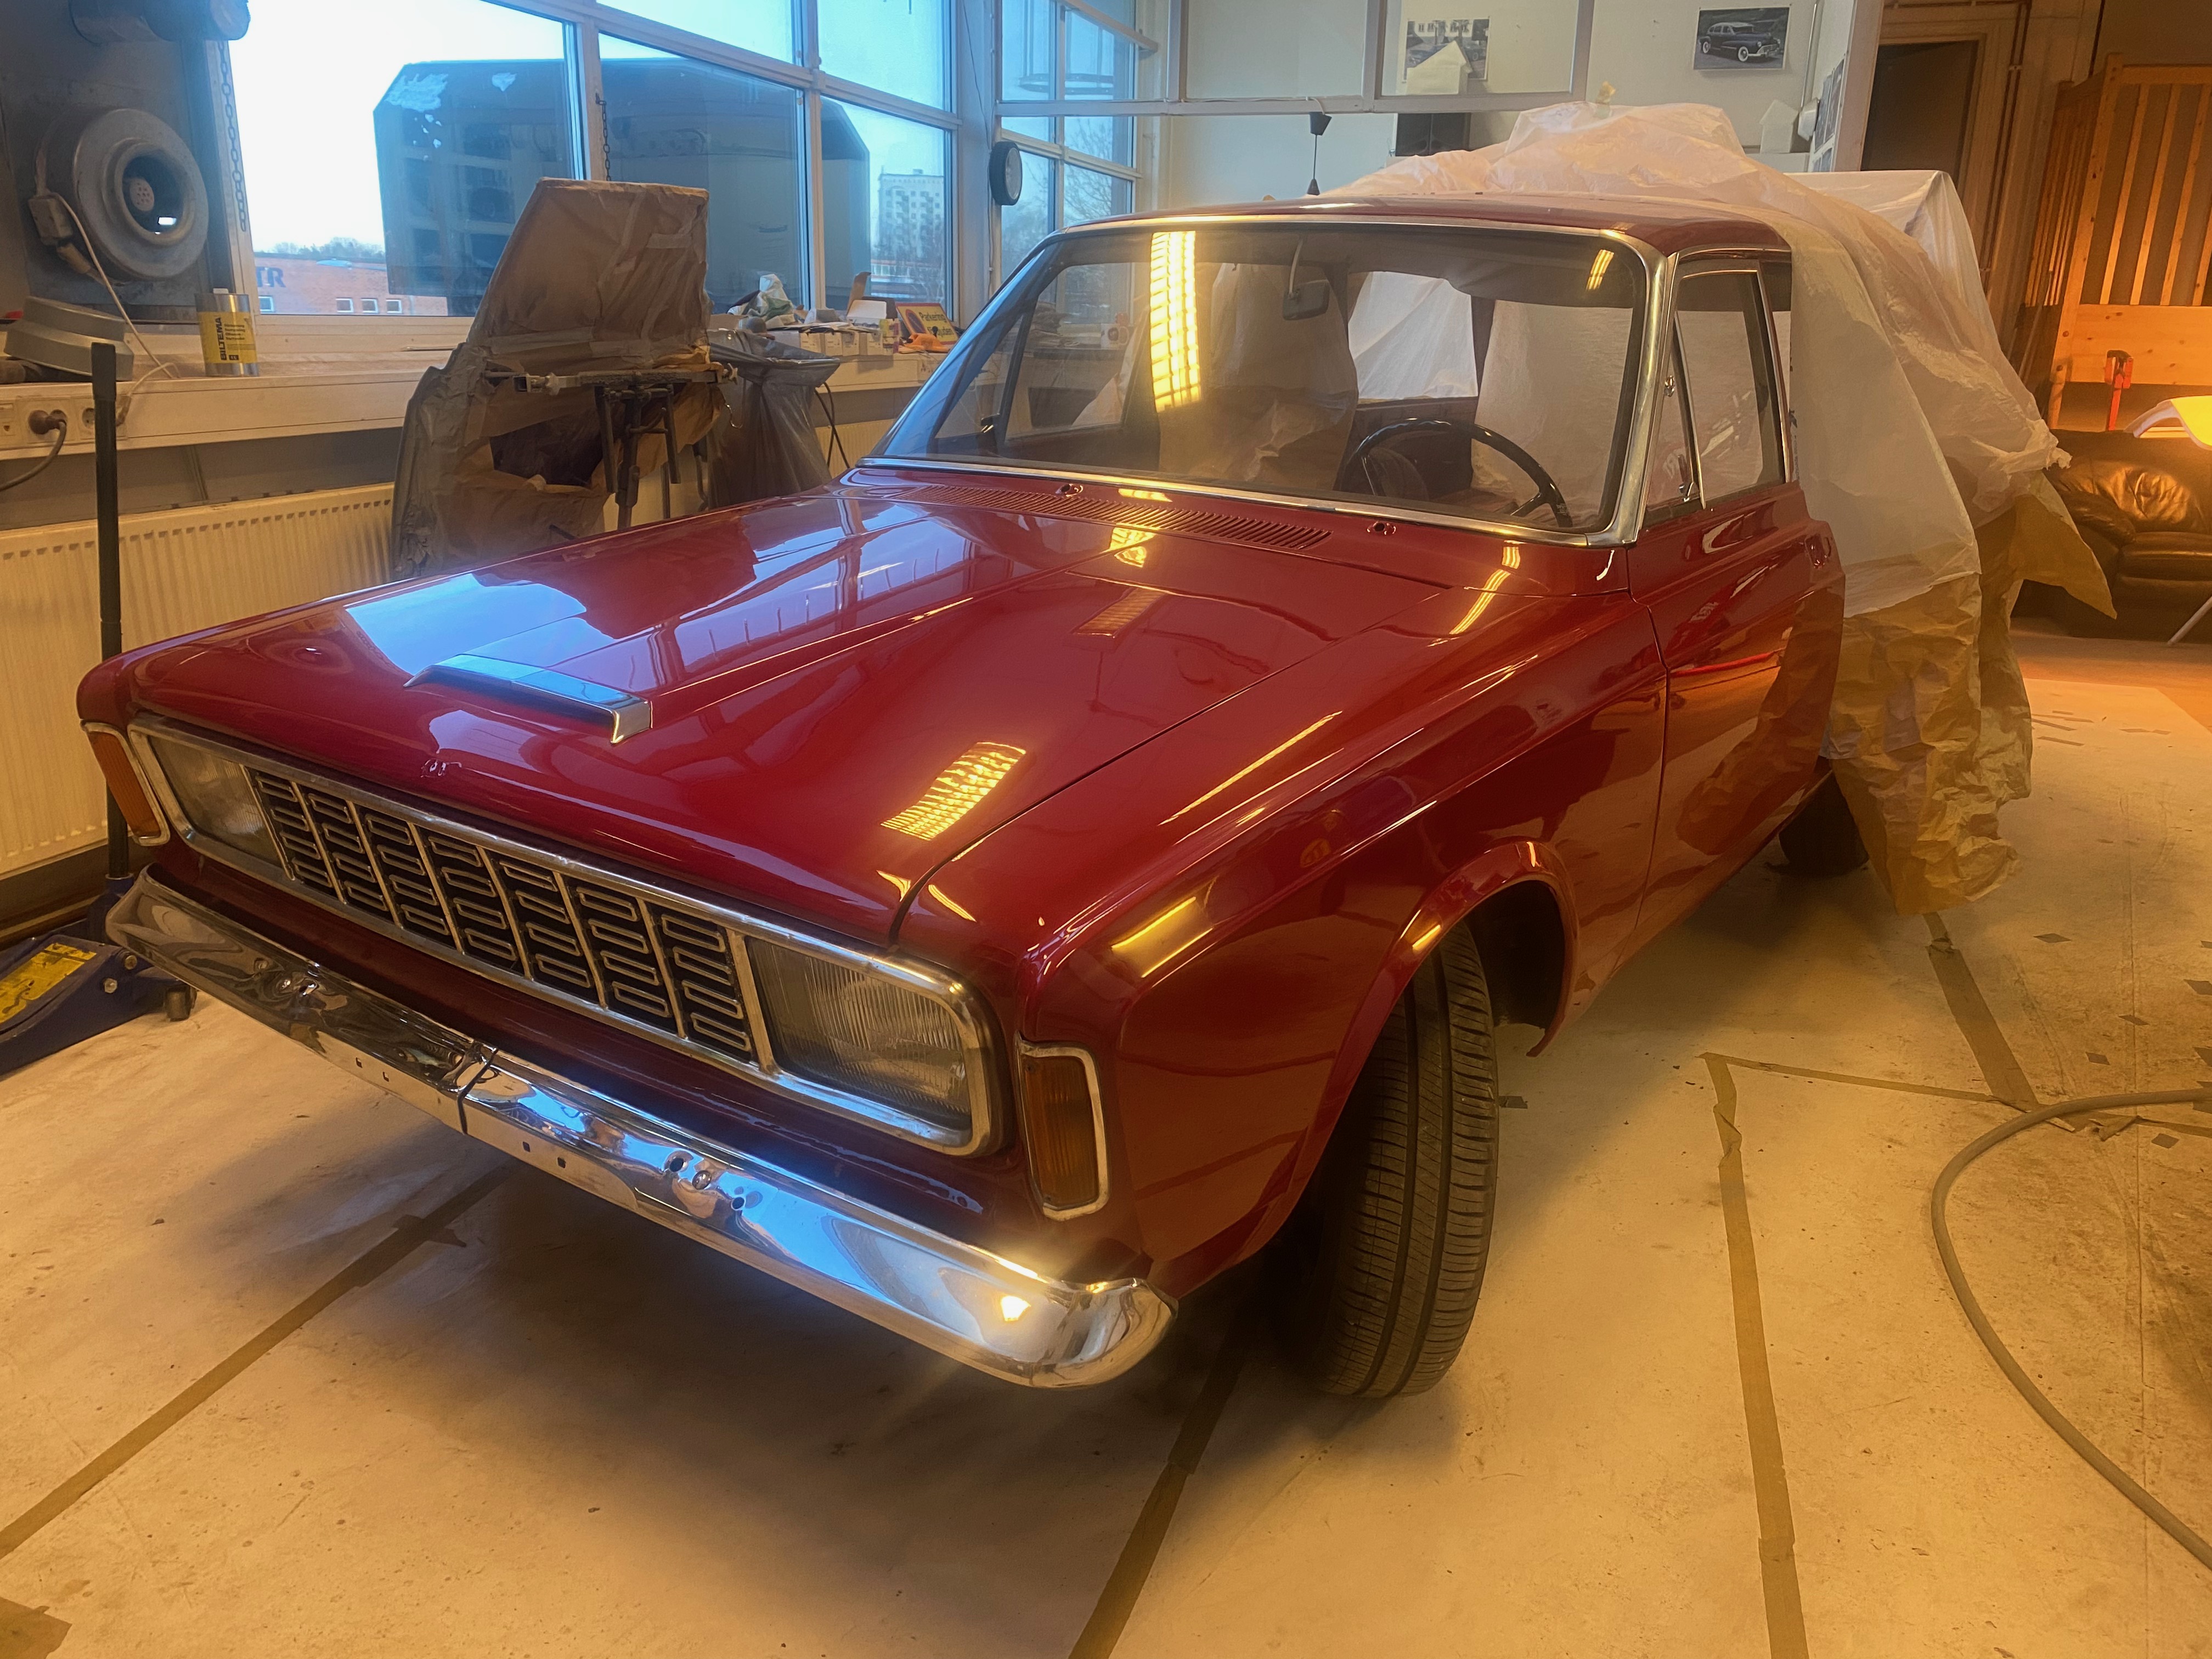
2025-01 Front with emblem and bumnper

2025-01 Emblems on front
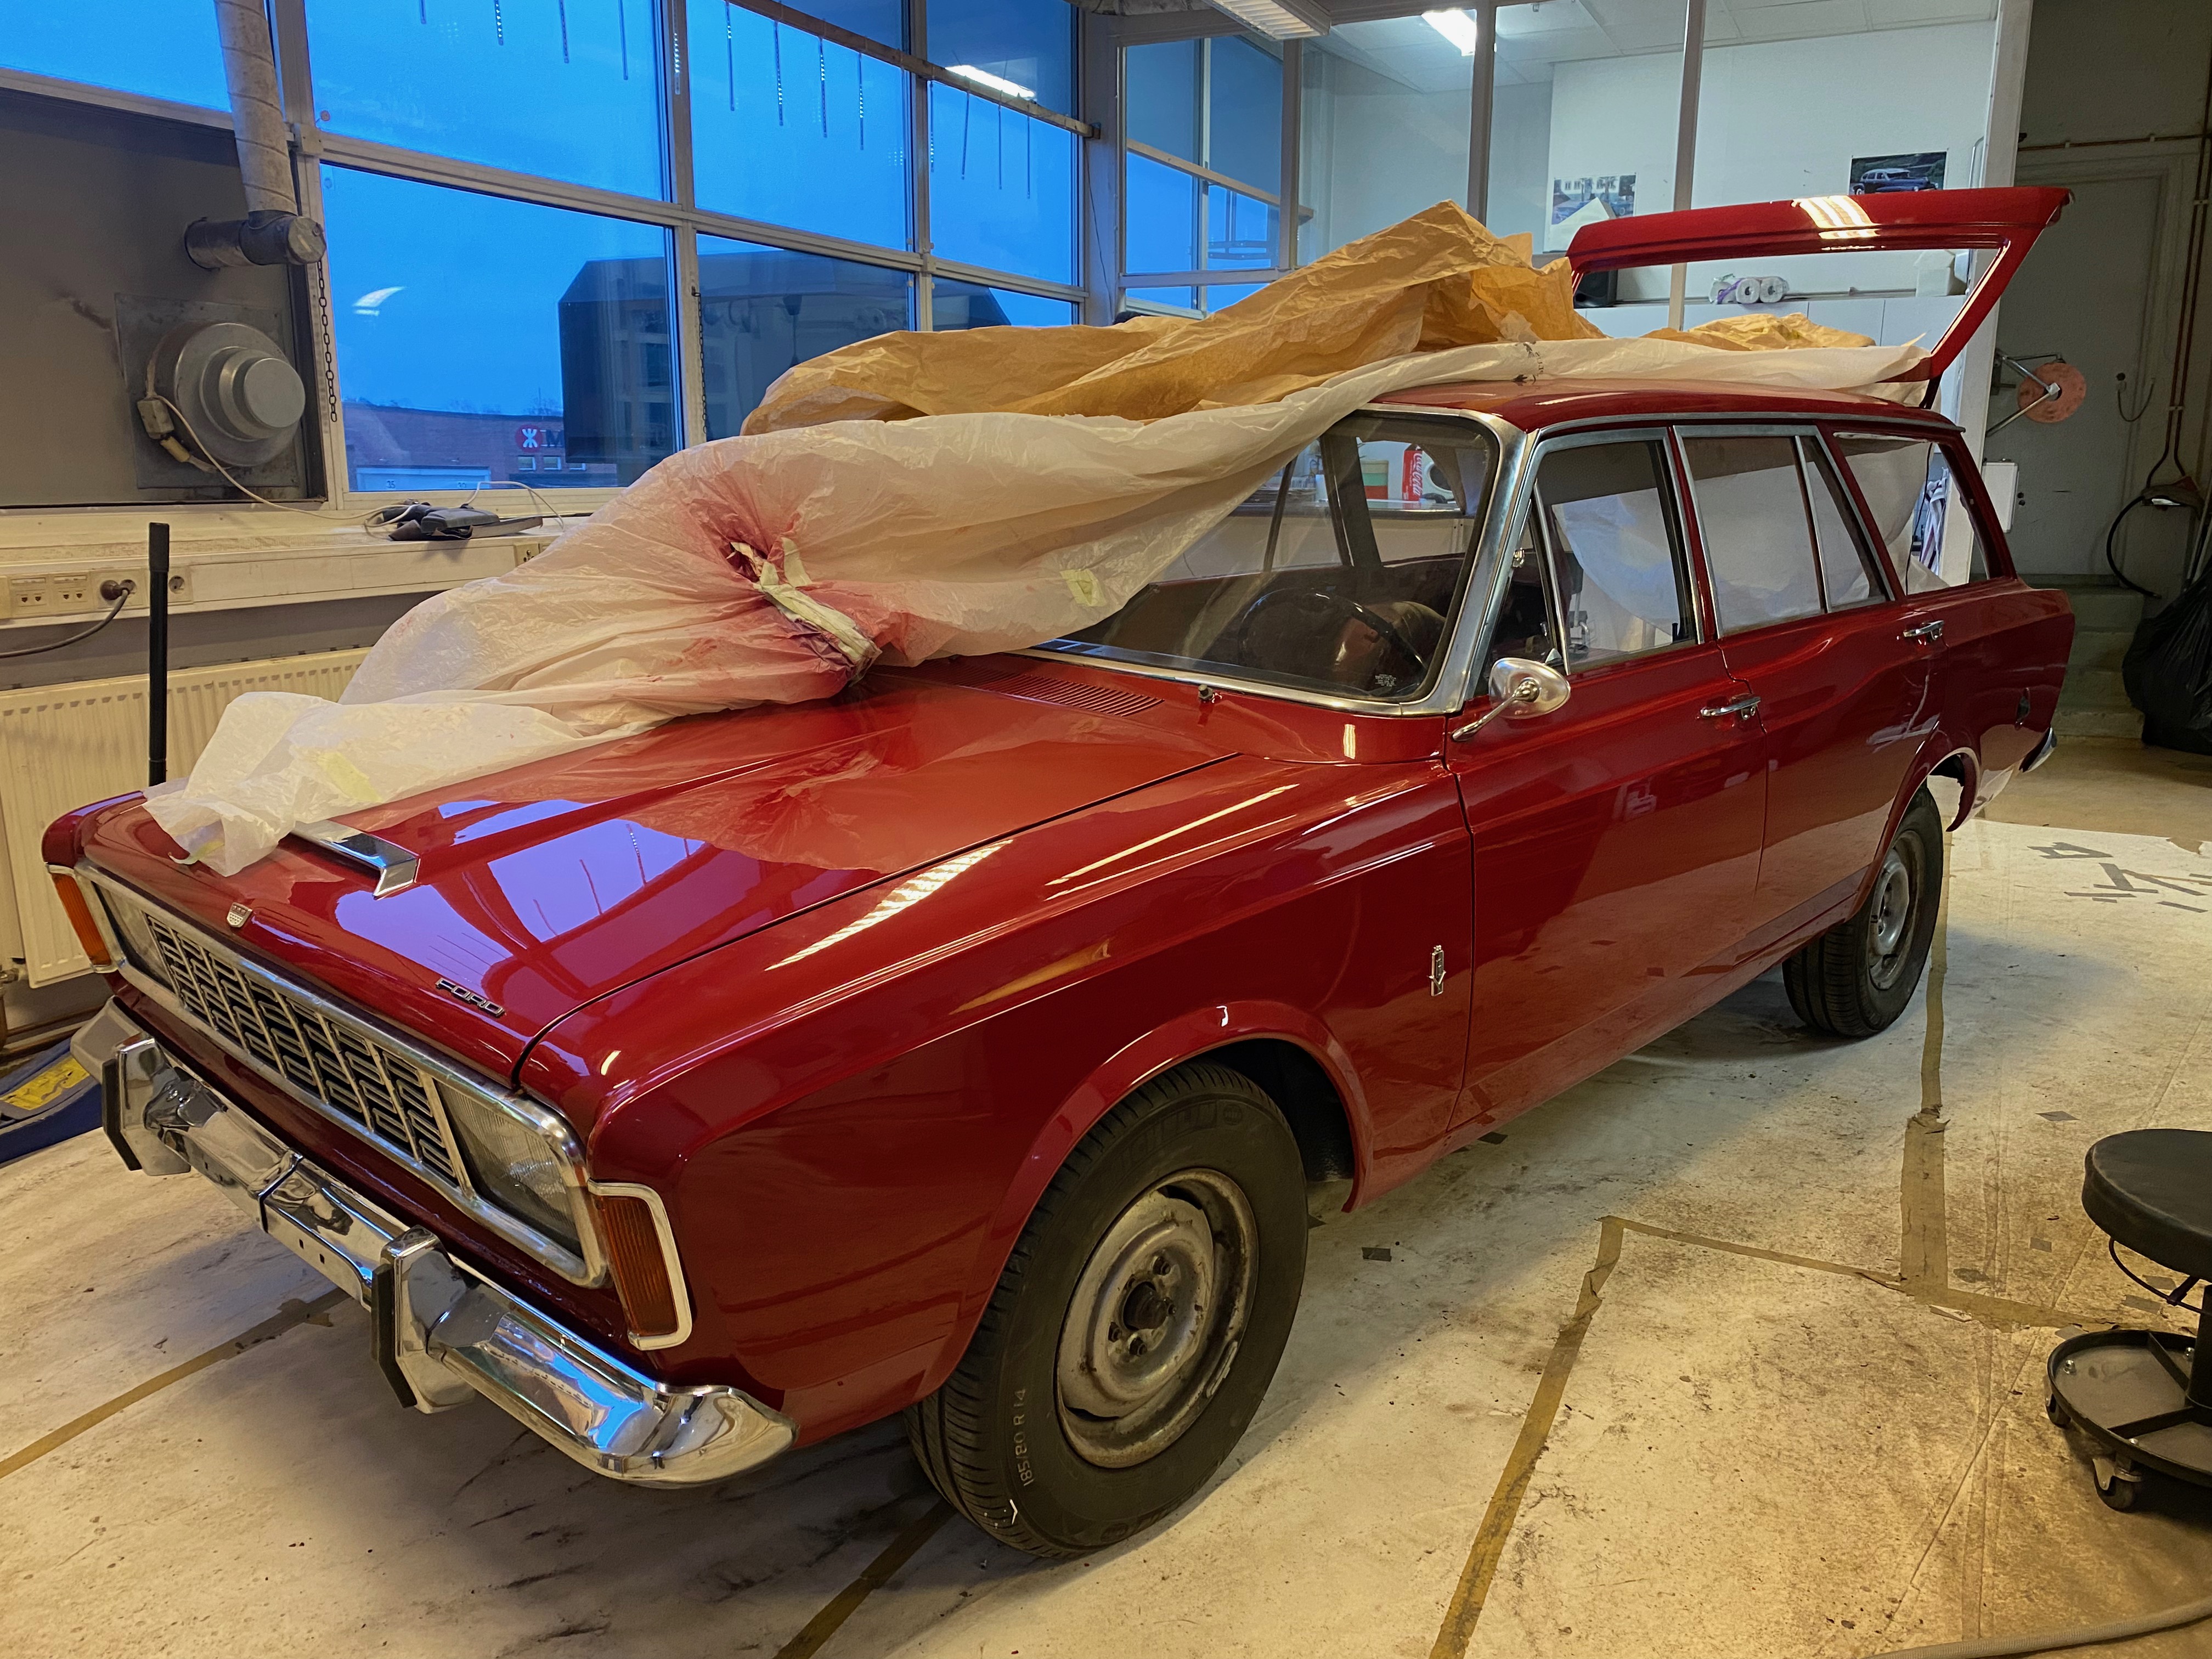
2025-02 All doors painted and mounted
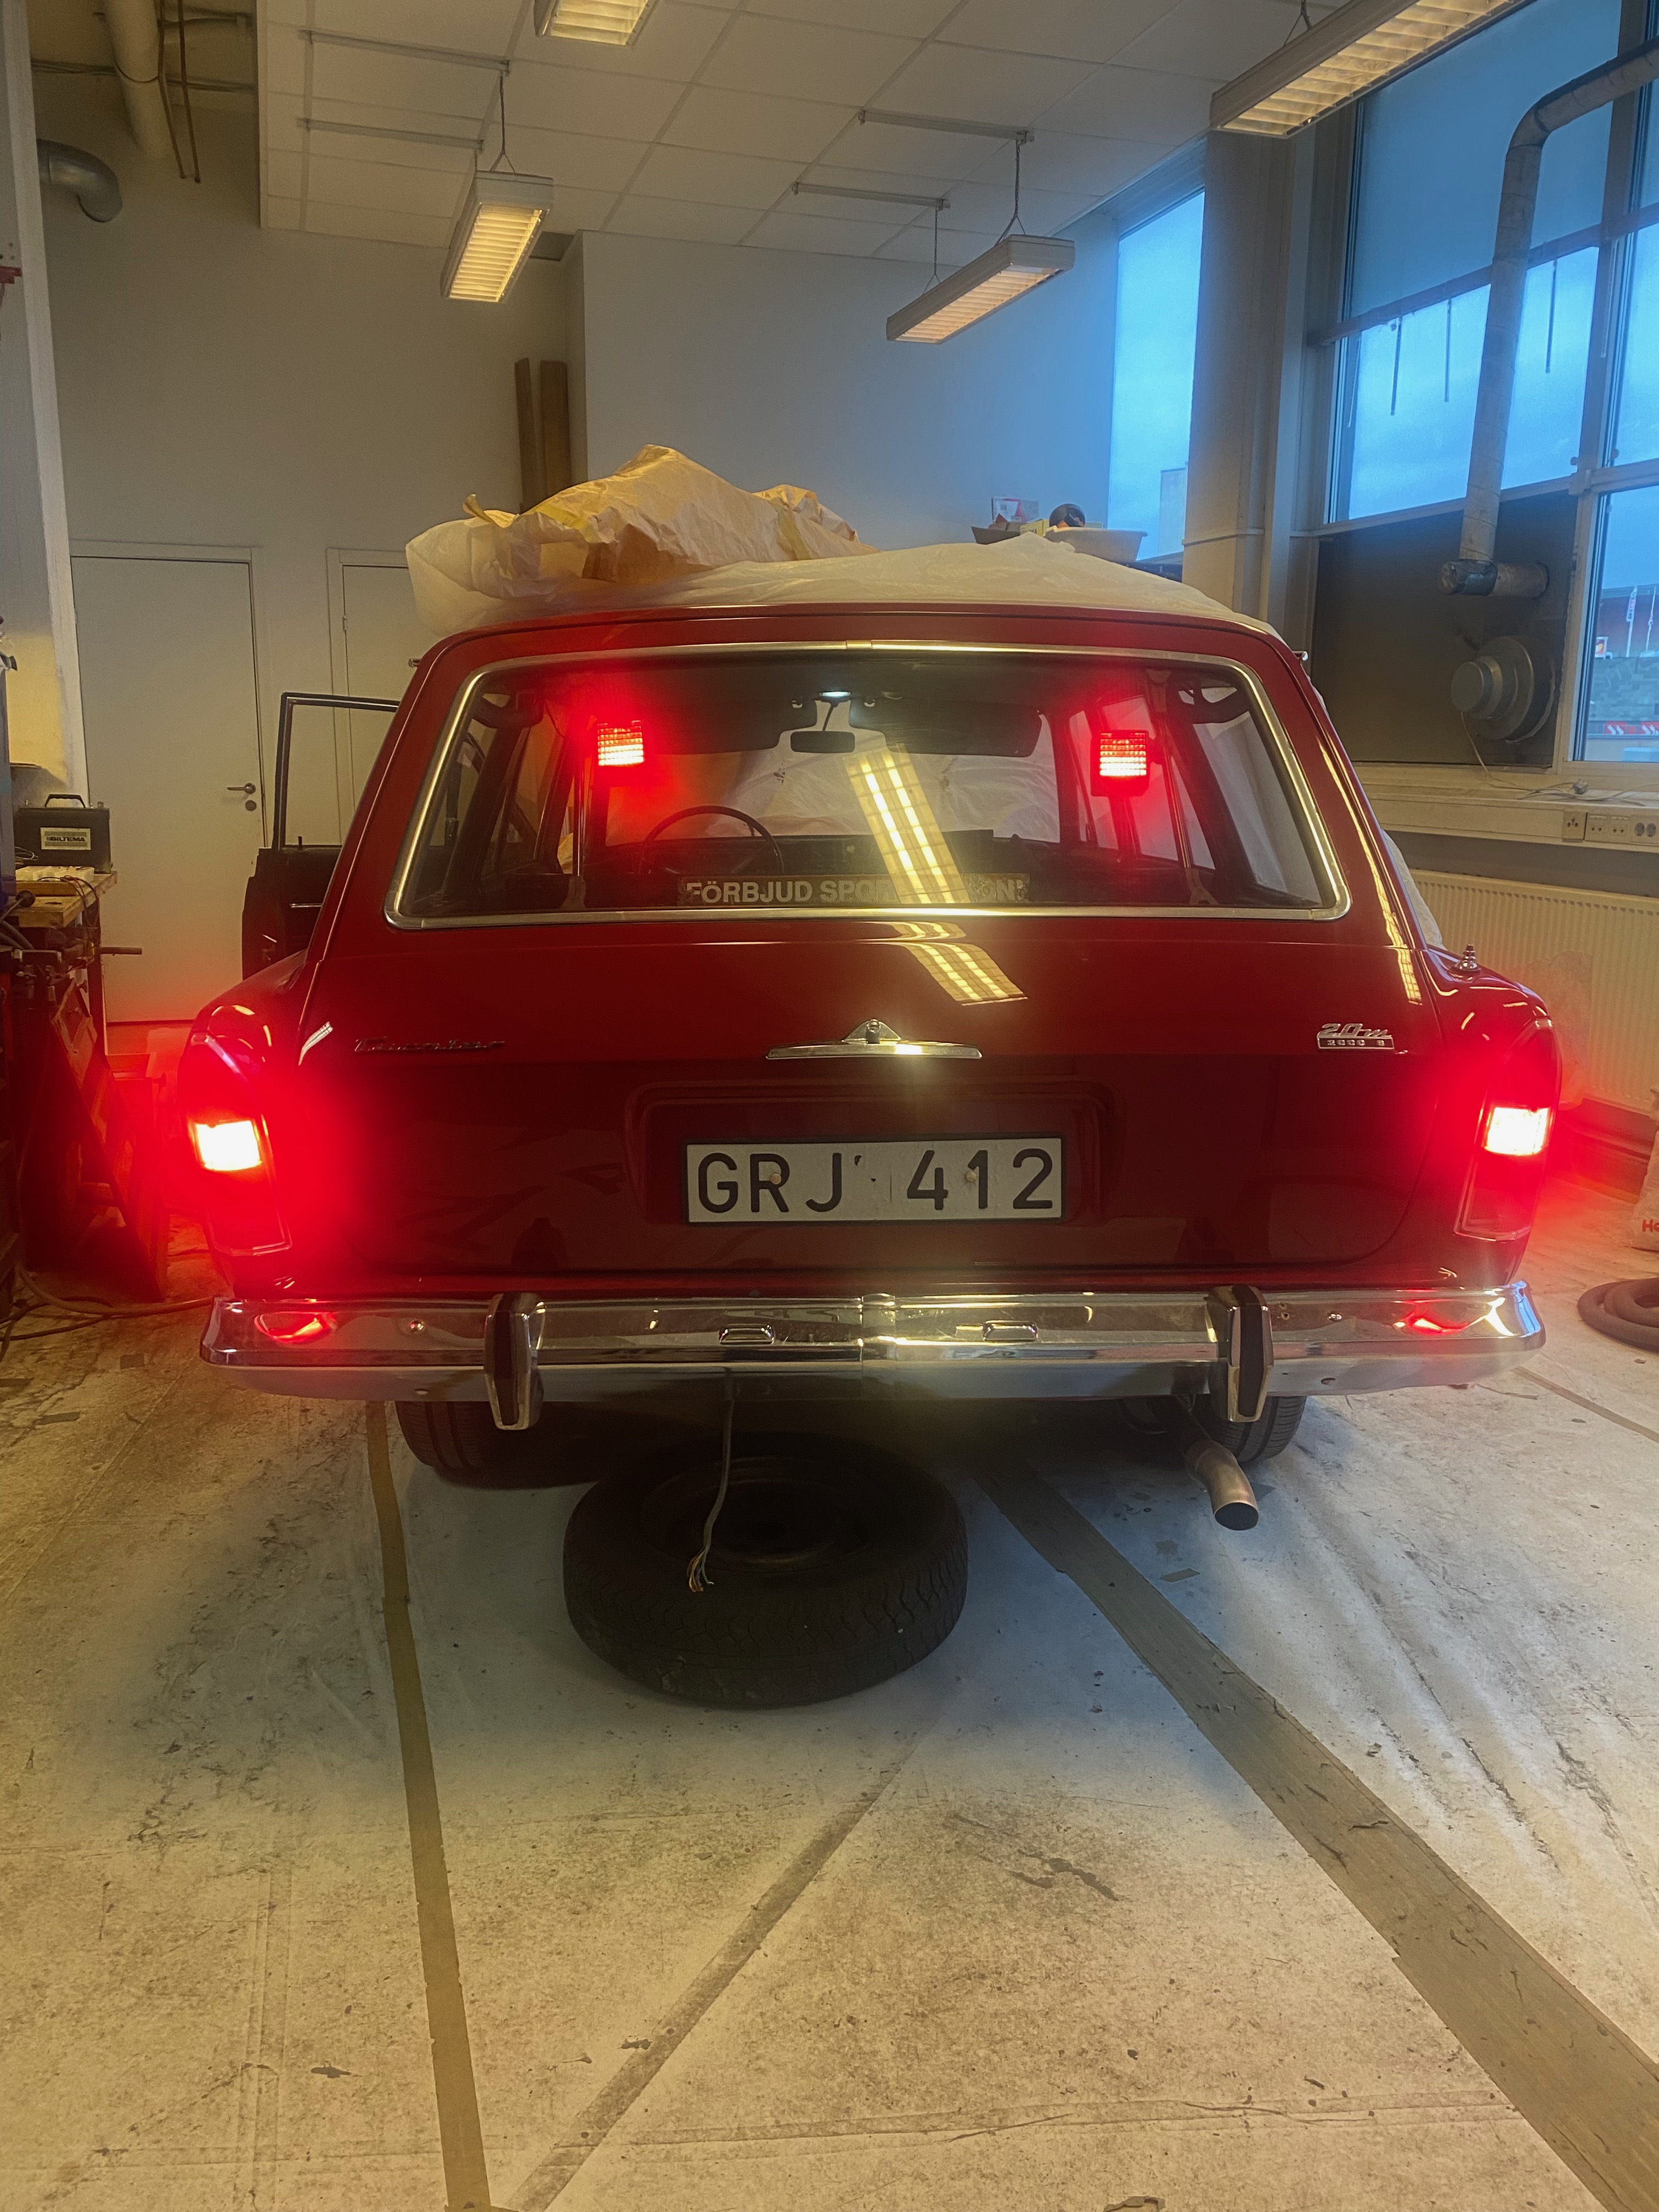
2025-03 Leds in the brake lights
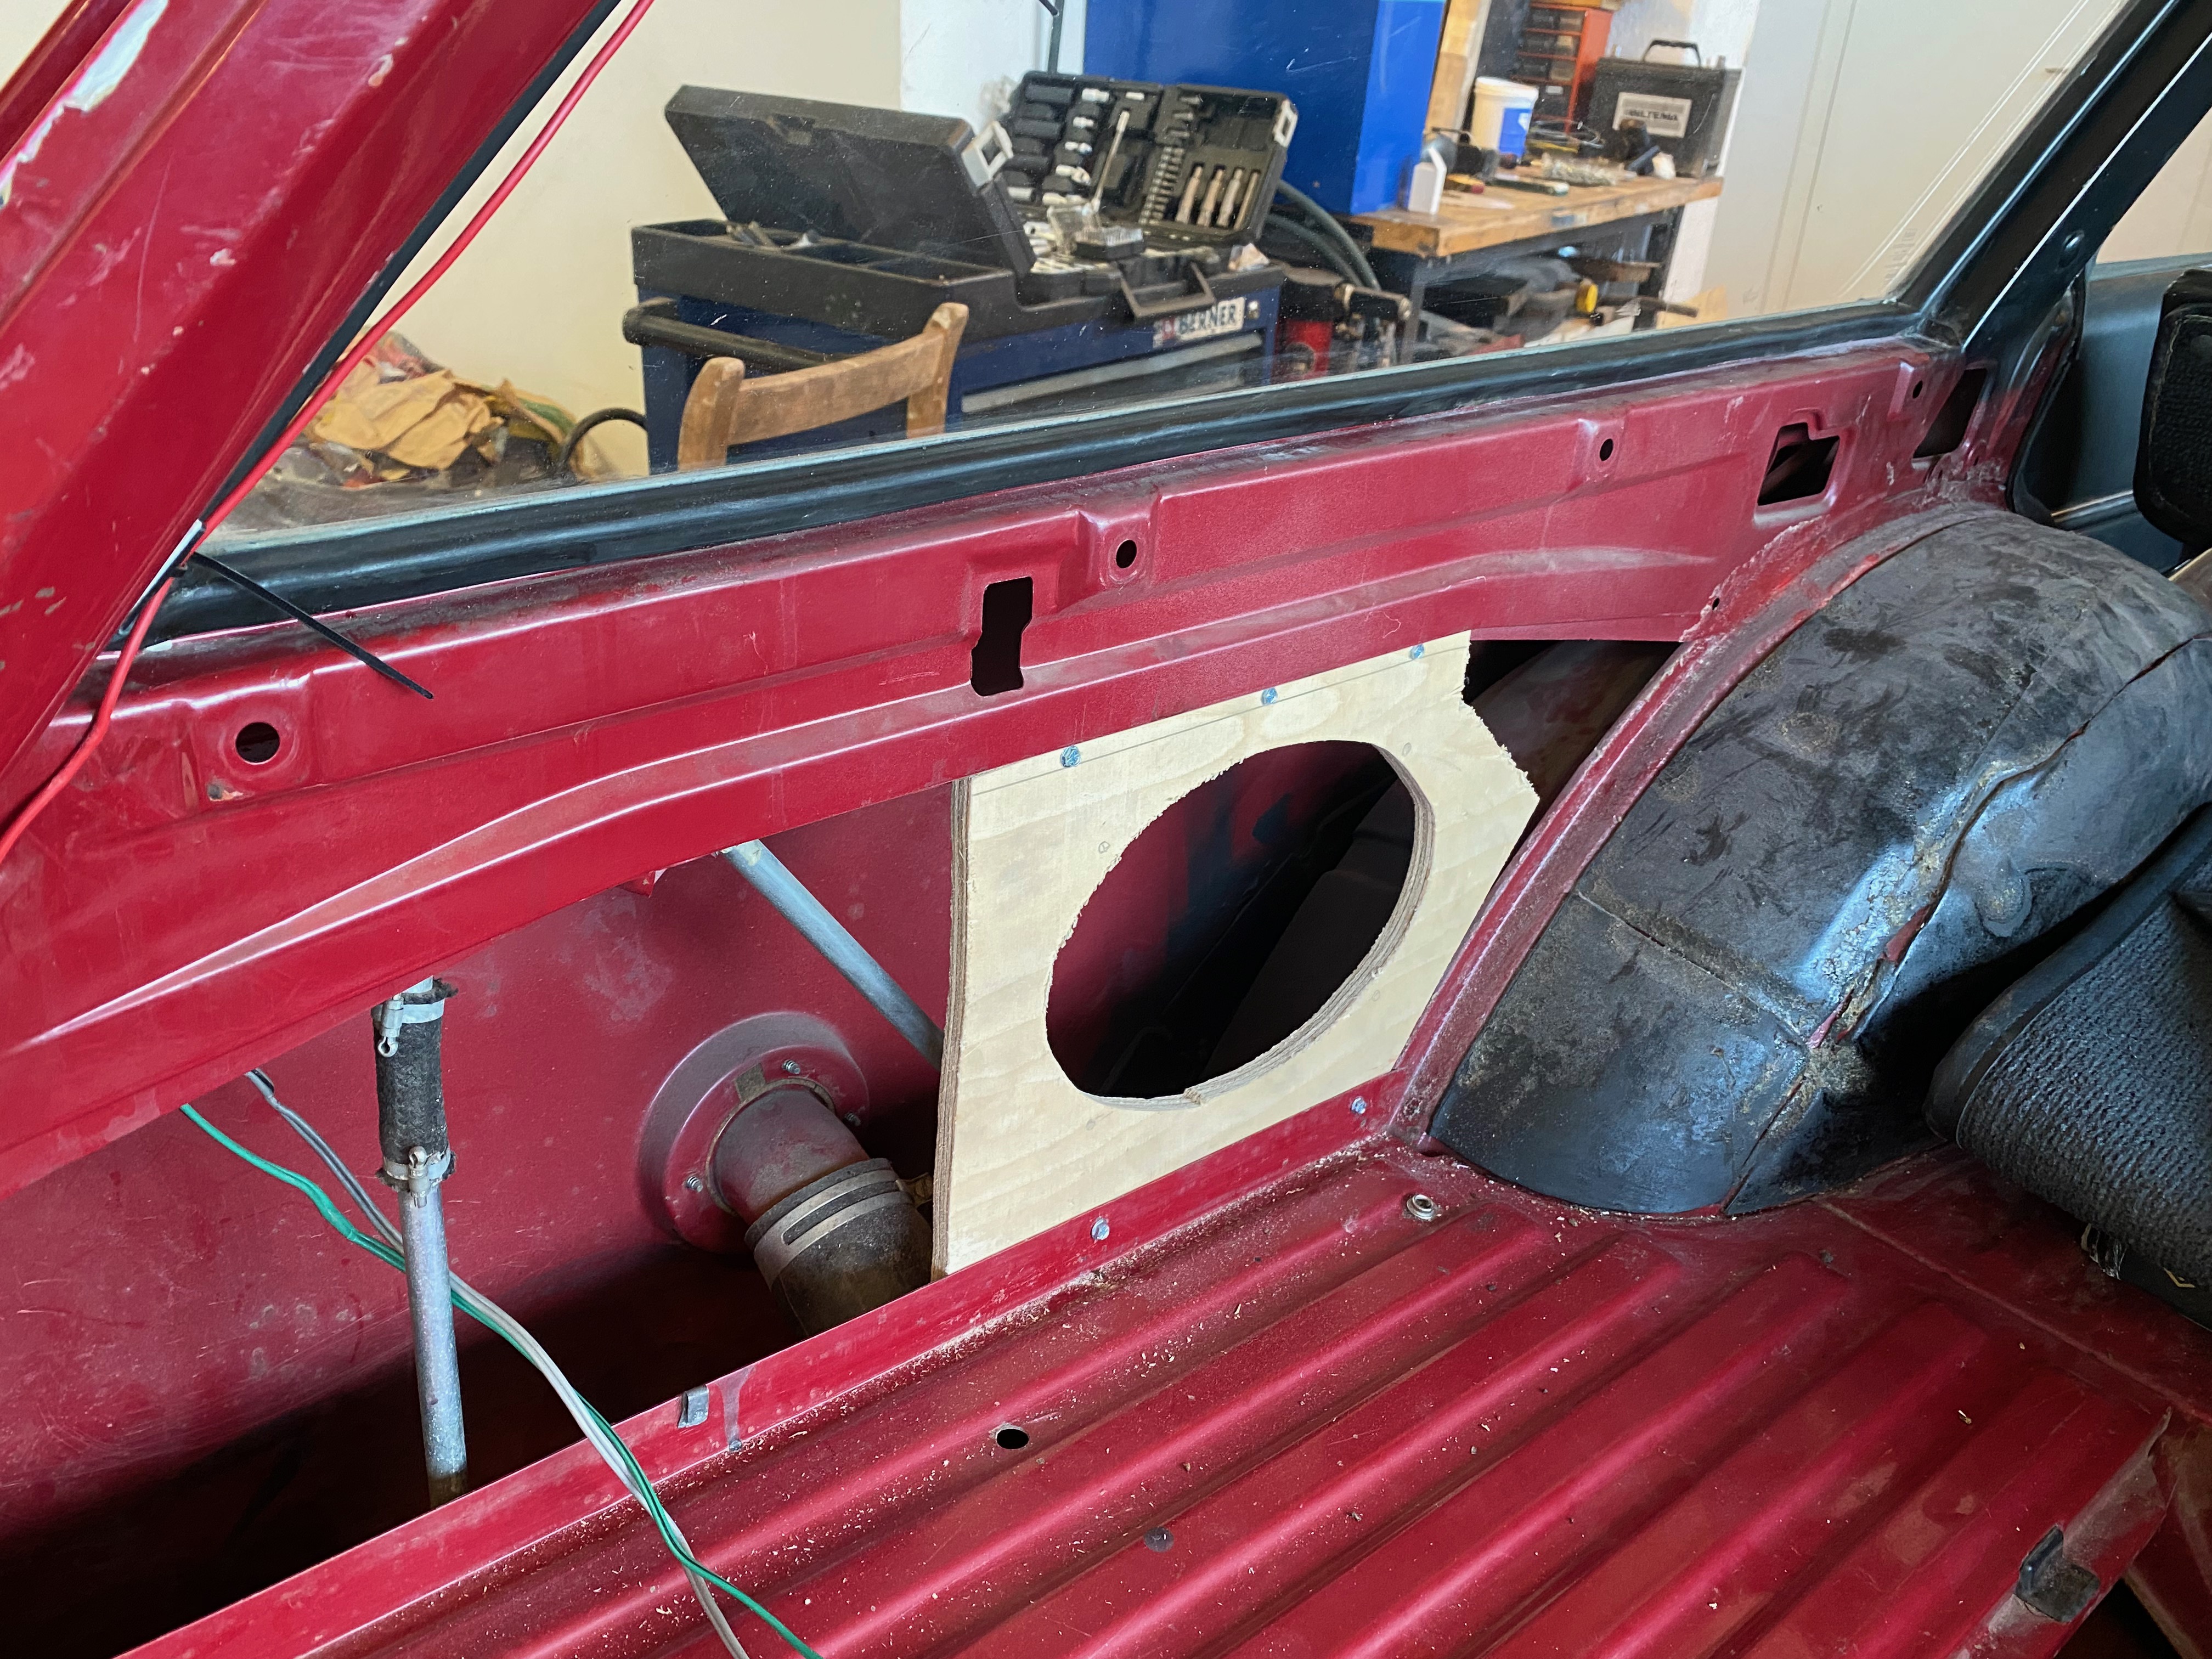
2025-03 Speaker support brakcket
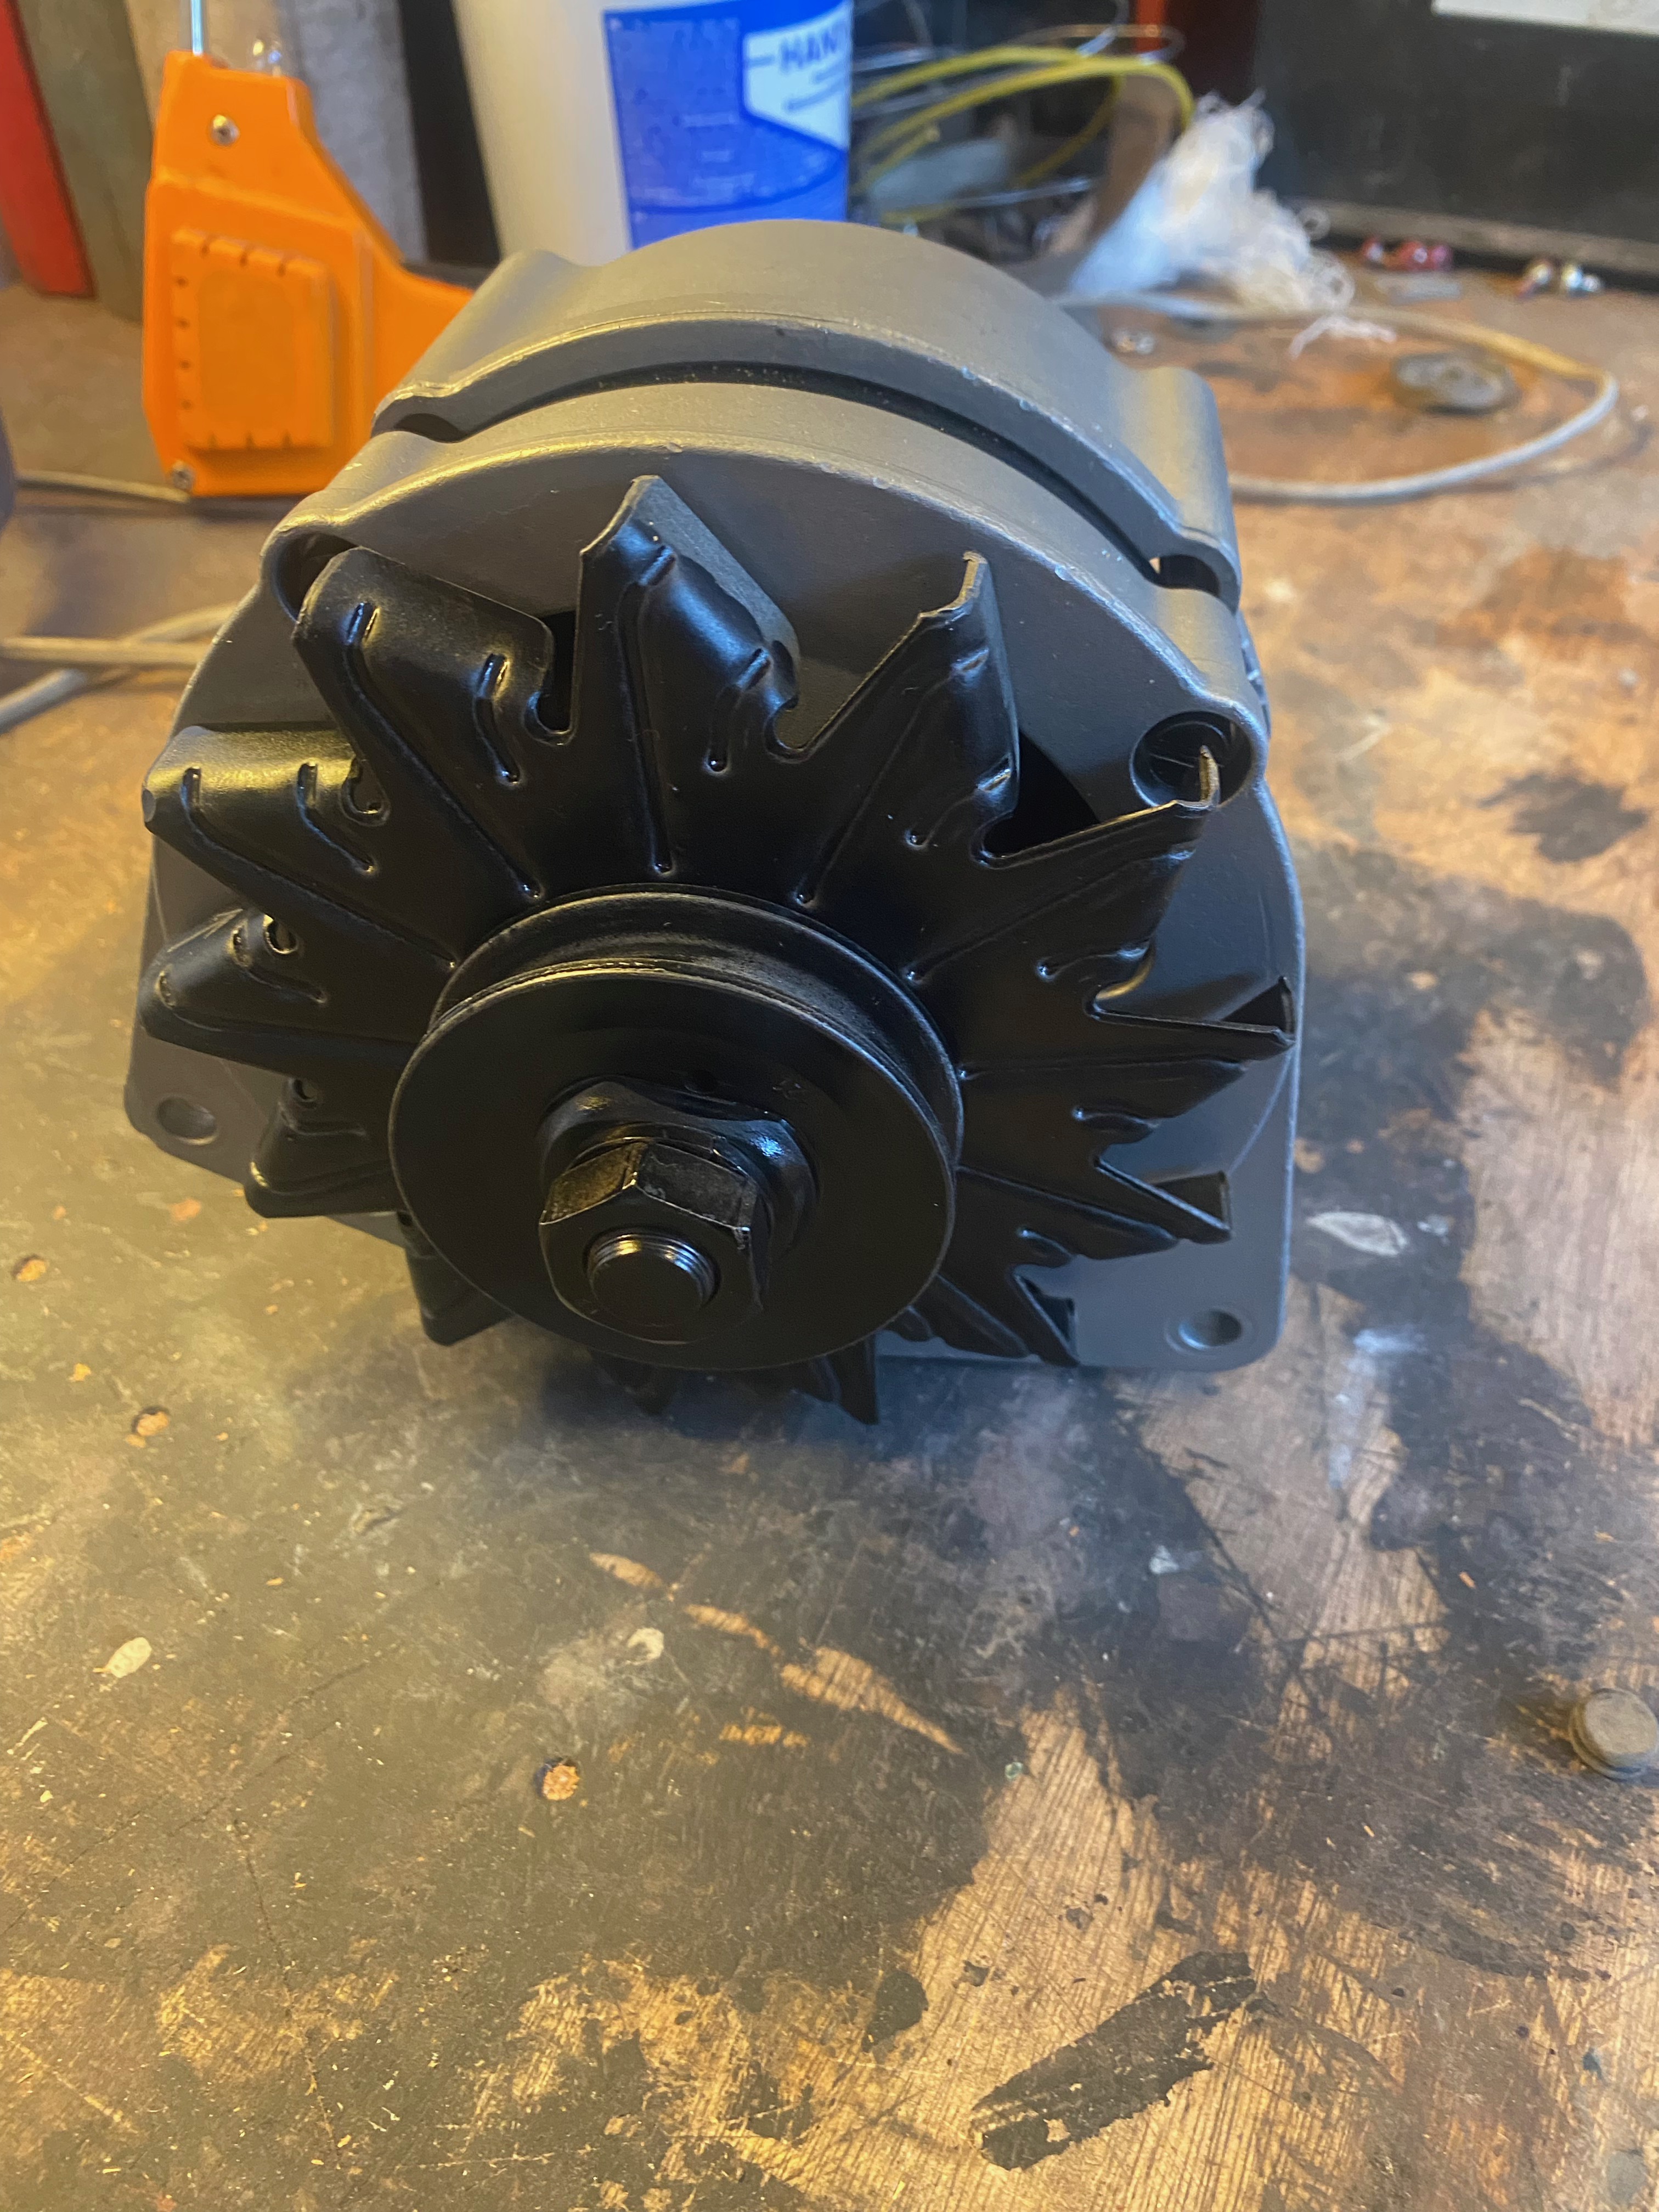
22025-03 Restored alternator
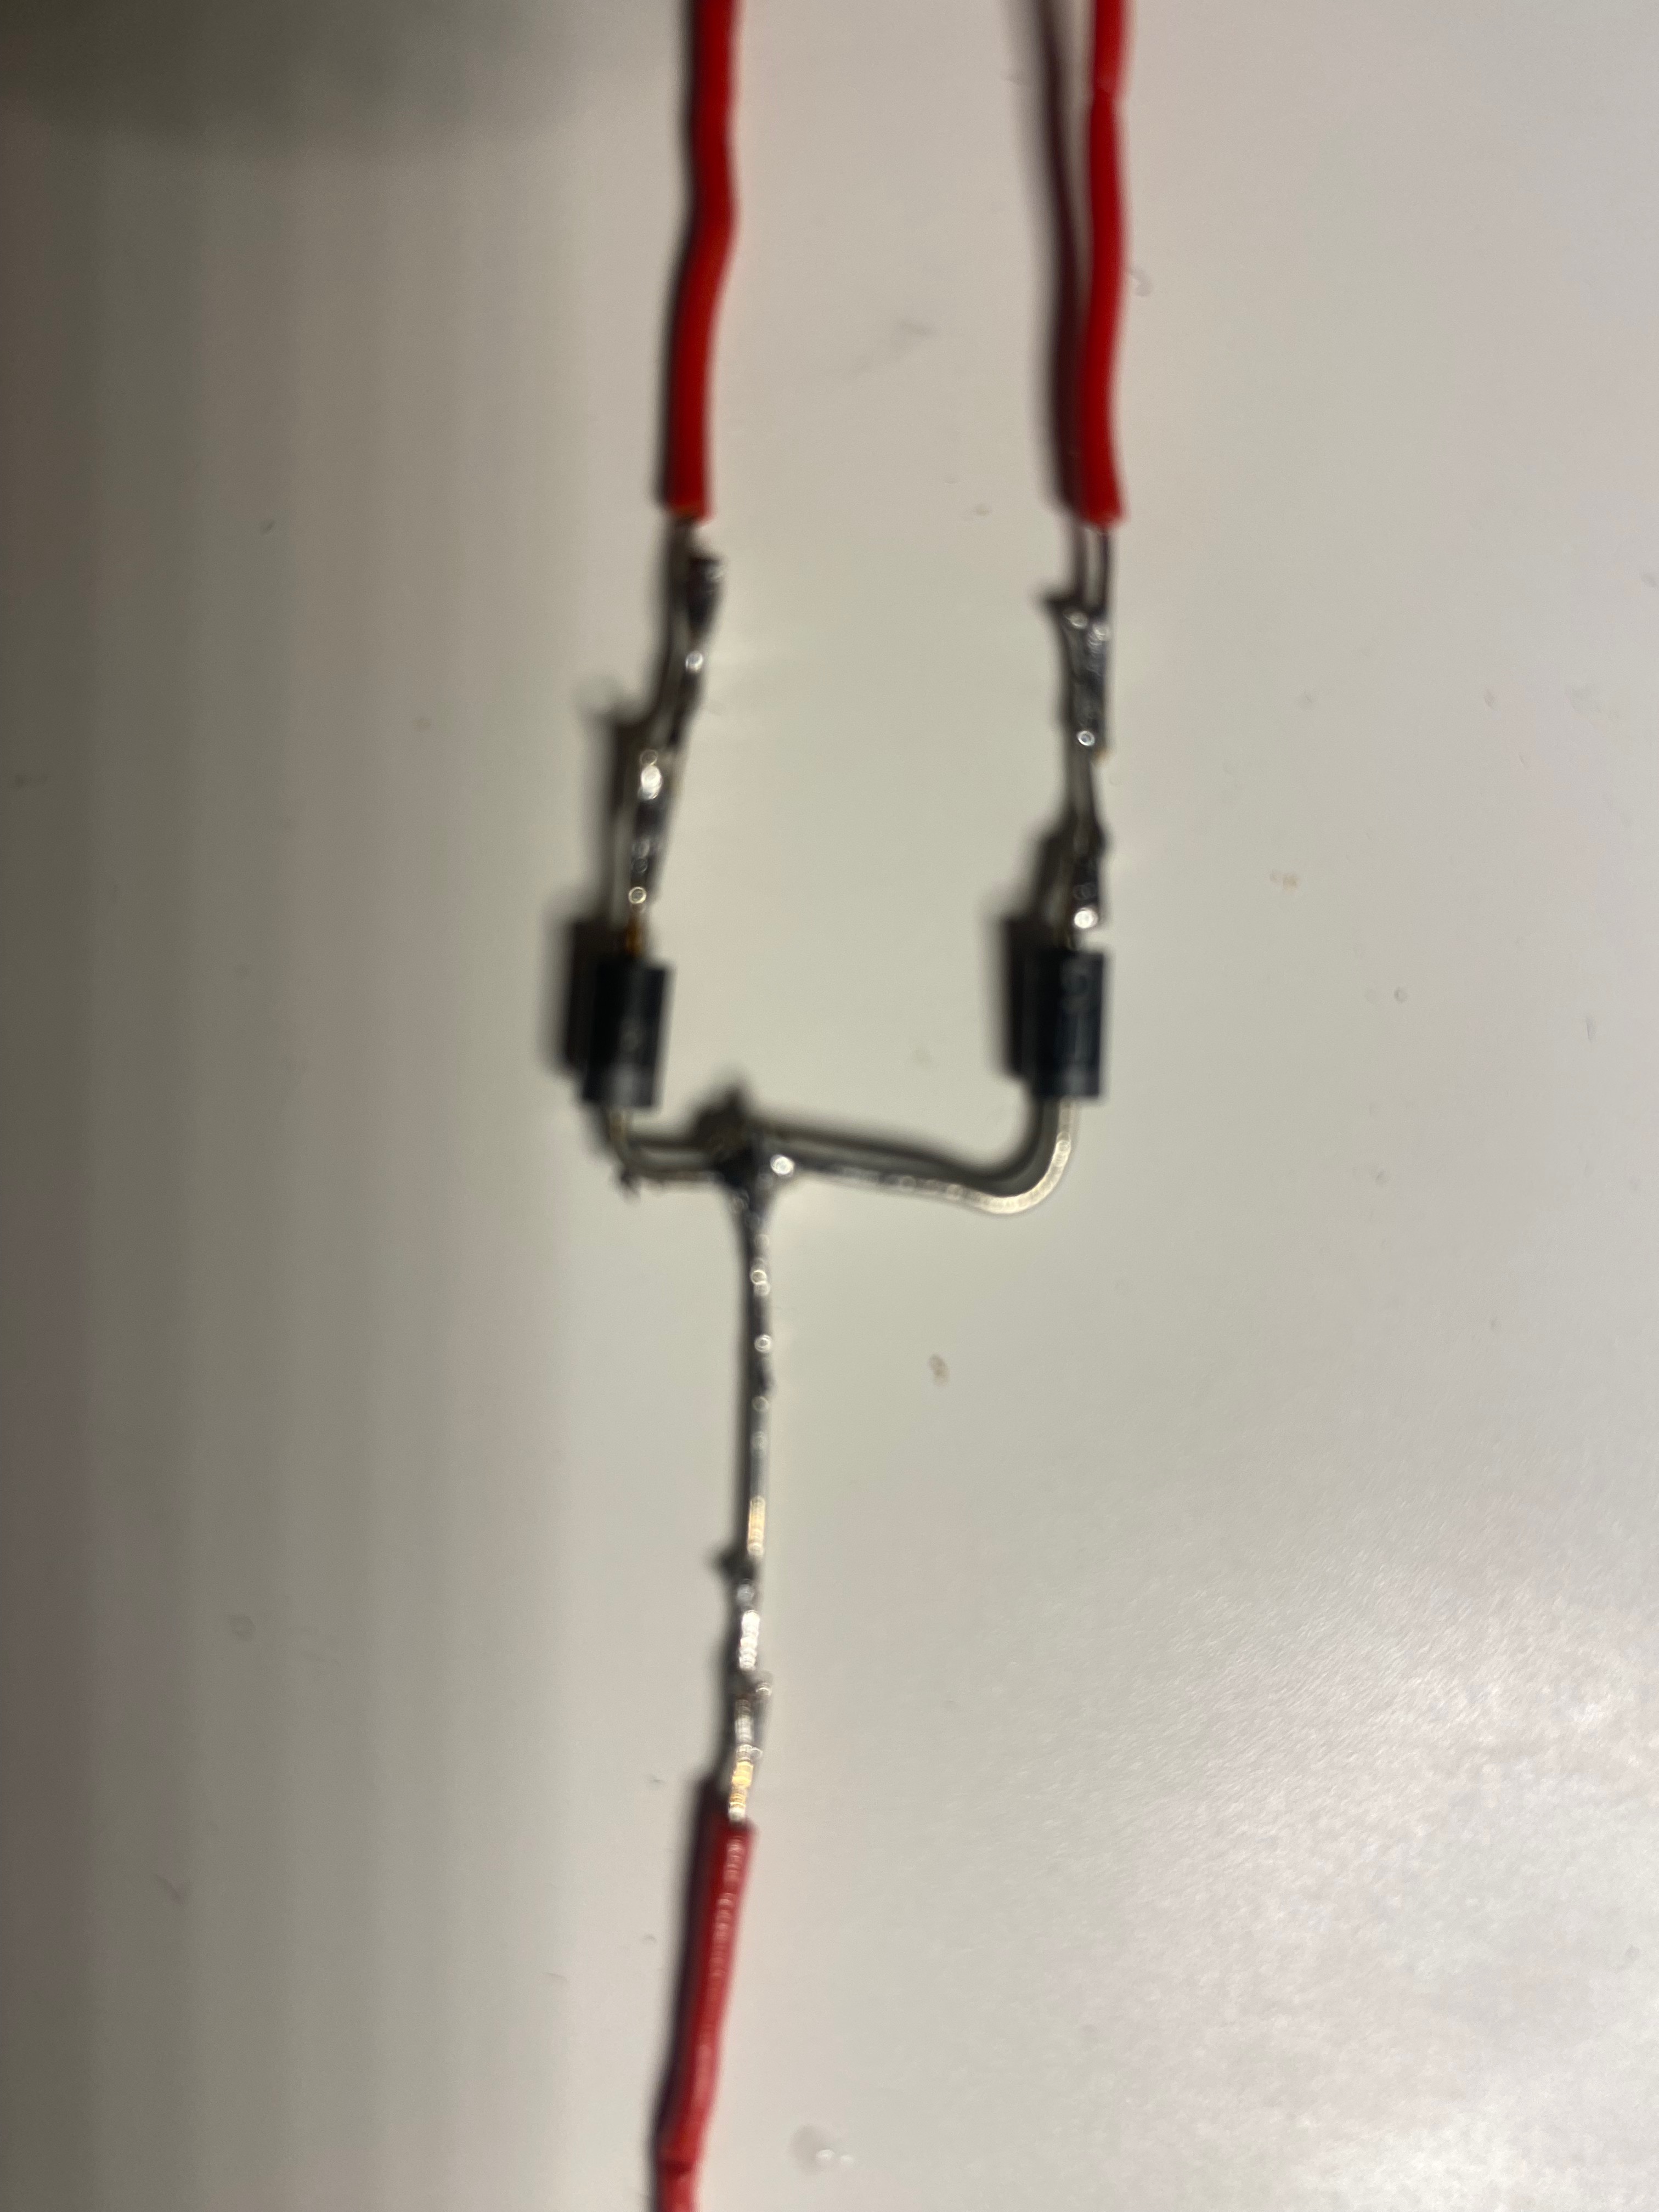
2024-12 Diods used to enable led in indicators
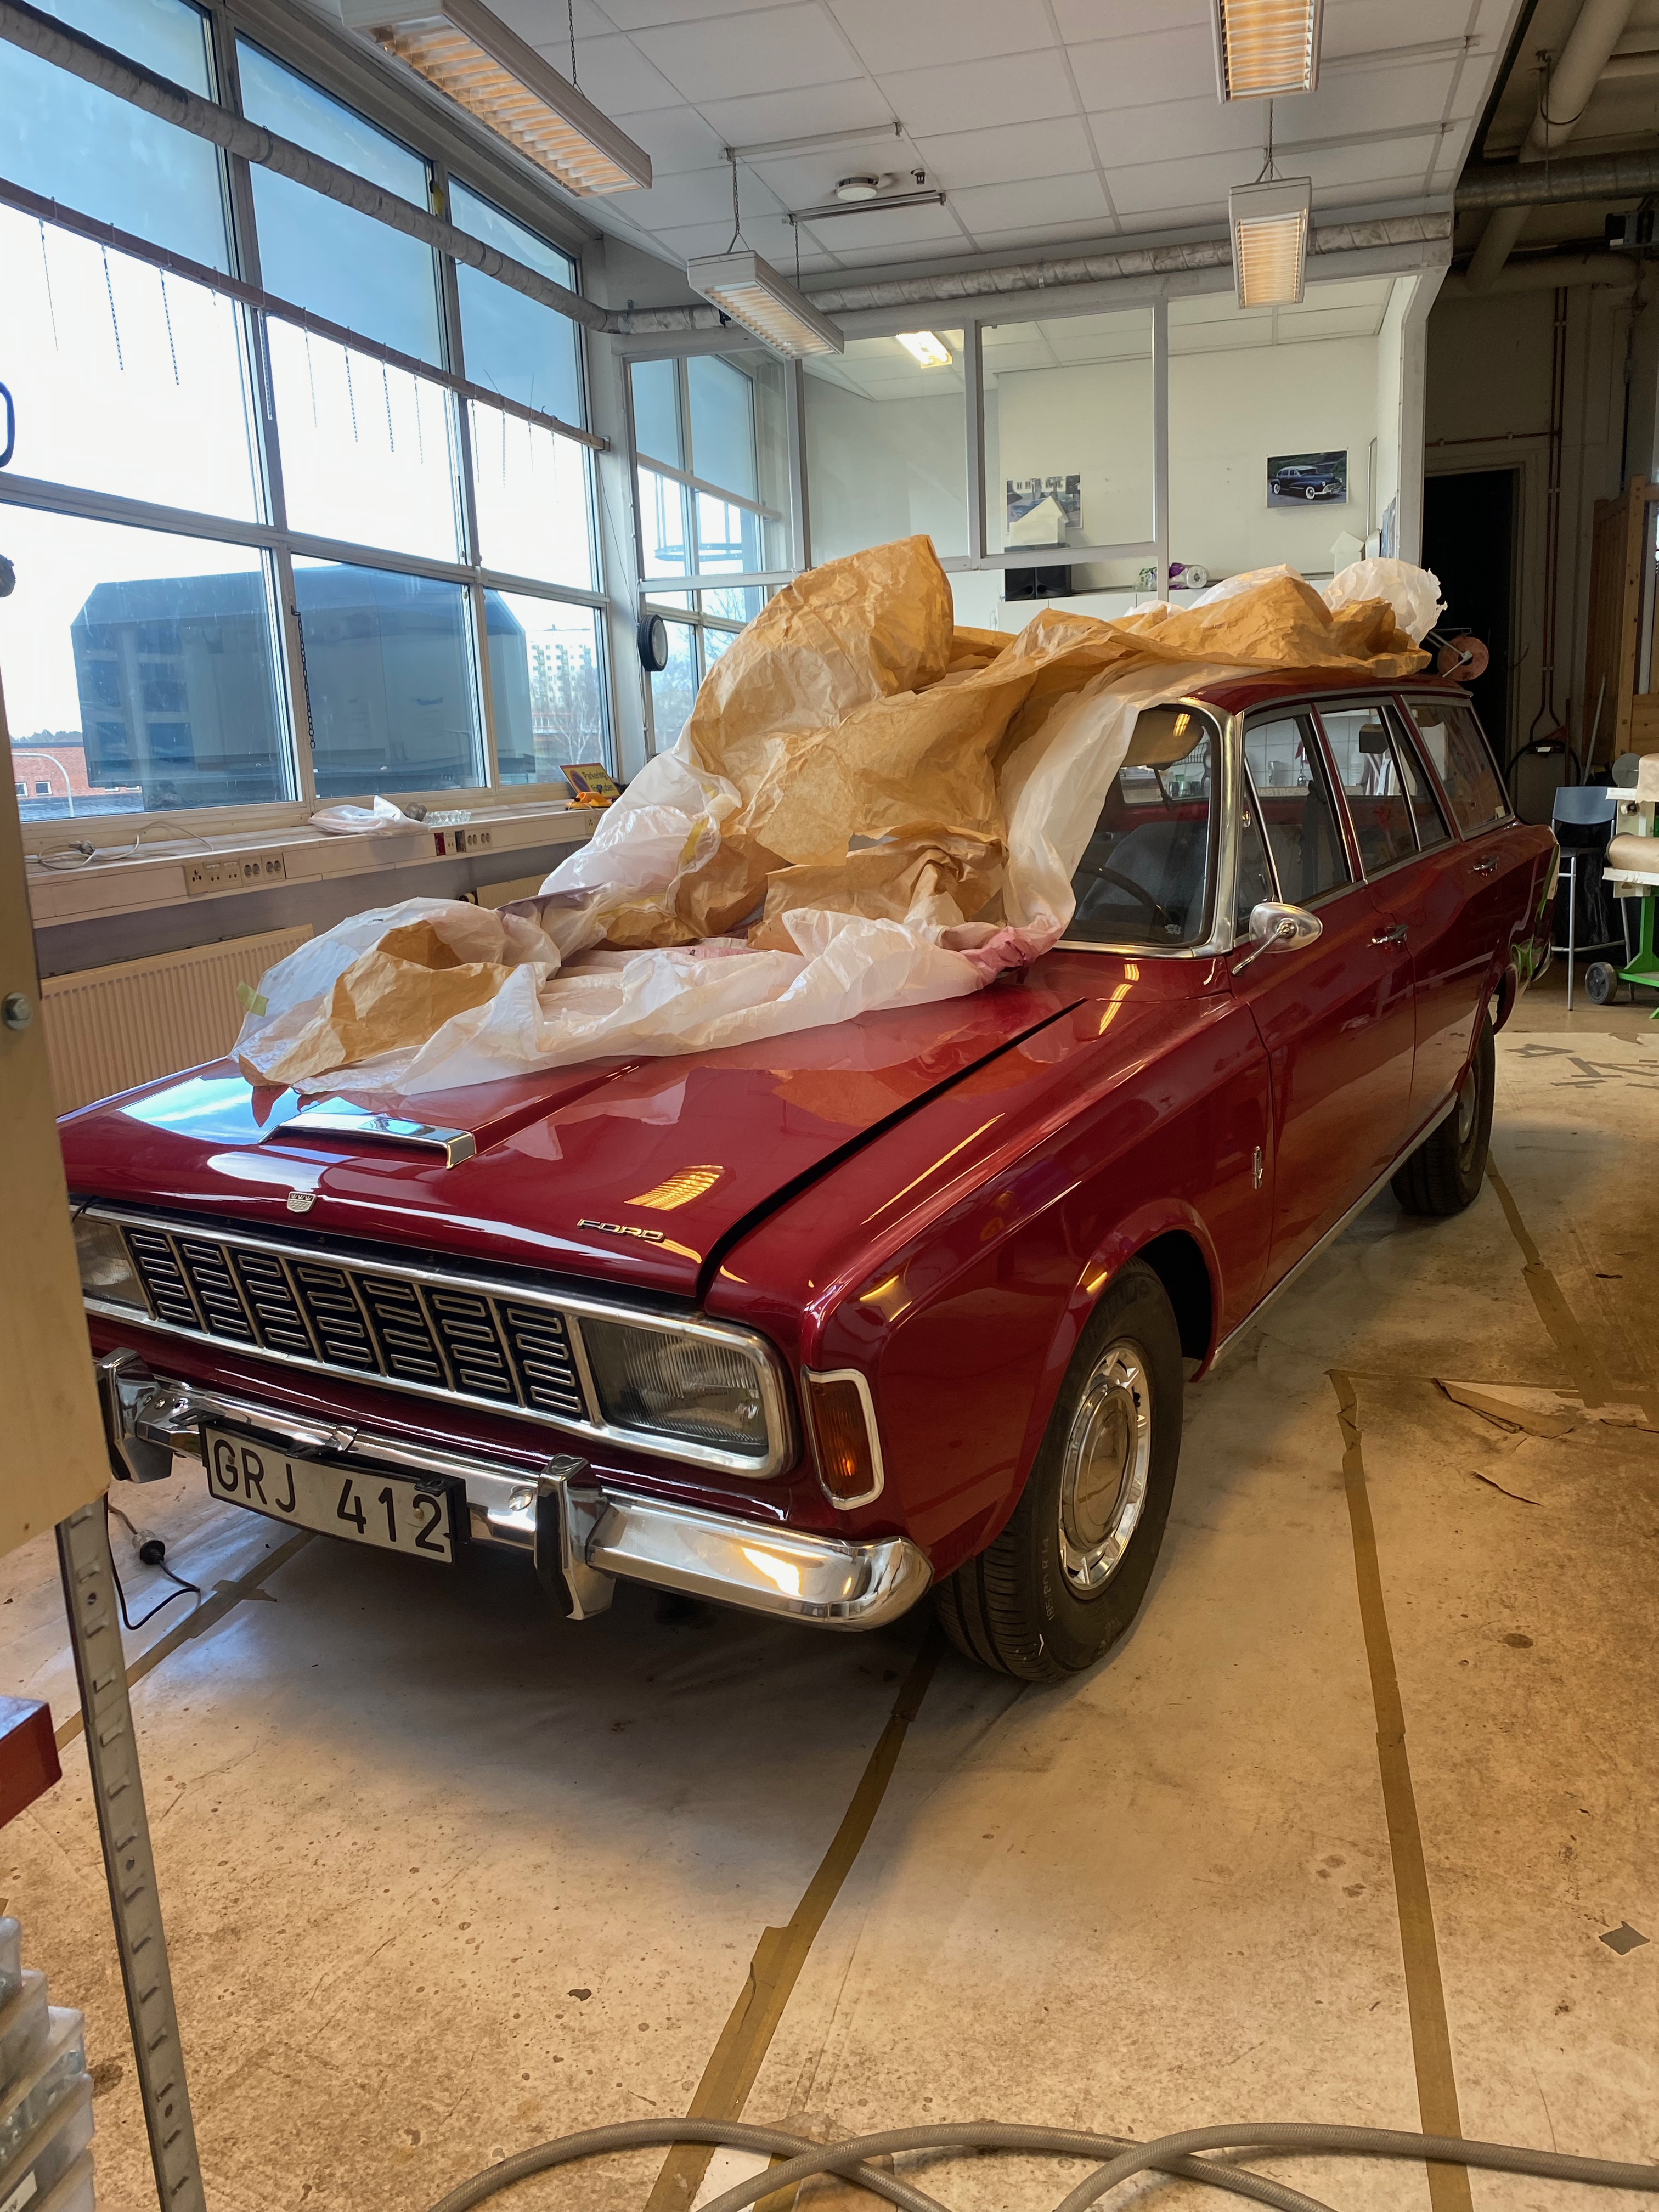
2024-12 Gets more and mor roadready
6845